If you’re trying to fix water damage on polished concrete floors, the fastest reliable route is to dry the slab completely, then repair the surface based on what the water actually did—staining, pitting, or haze. This step-by-step guide tells you exactly what to inspect, what products to use, and how to restore the shine without trapping moisture under the polish. Get the right fix the first time so the floor doesn’t stay dull, discolored, or increasingly unstable.




If your polished concrete shows water damage, the quickest path to a lasting fix is: stop the moisture source, dry the slab completely, then clean and repair only after the surface is truly dry. If you seal too early, you can trap moisture and trigger renewed hazing, bubbling, or staining—so drying first is the real “fix.”
Polished concrete damage is one part chemistry (stains, residue, salts), one part moisture physics (vapor migration and evaporation), and one part surface-system compatibility (sealers, densifiers, and polish grades). This guide is designed for property managers, contractors, and facility teams addressing recent spills, leaks, or condensation events in 2025–2026 conditions where you still need a dependable process that won’t shorten the life of the finish.
Step 1: Stop the source and assess the damage
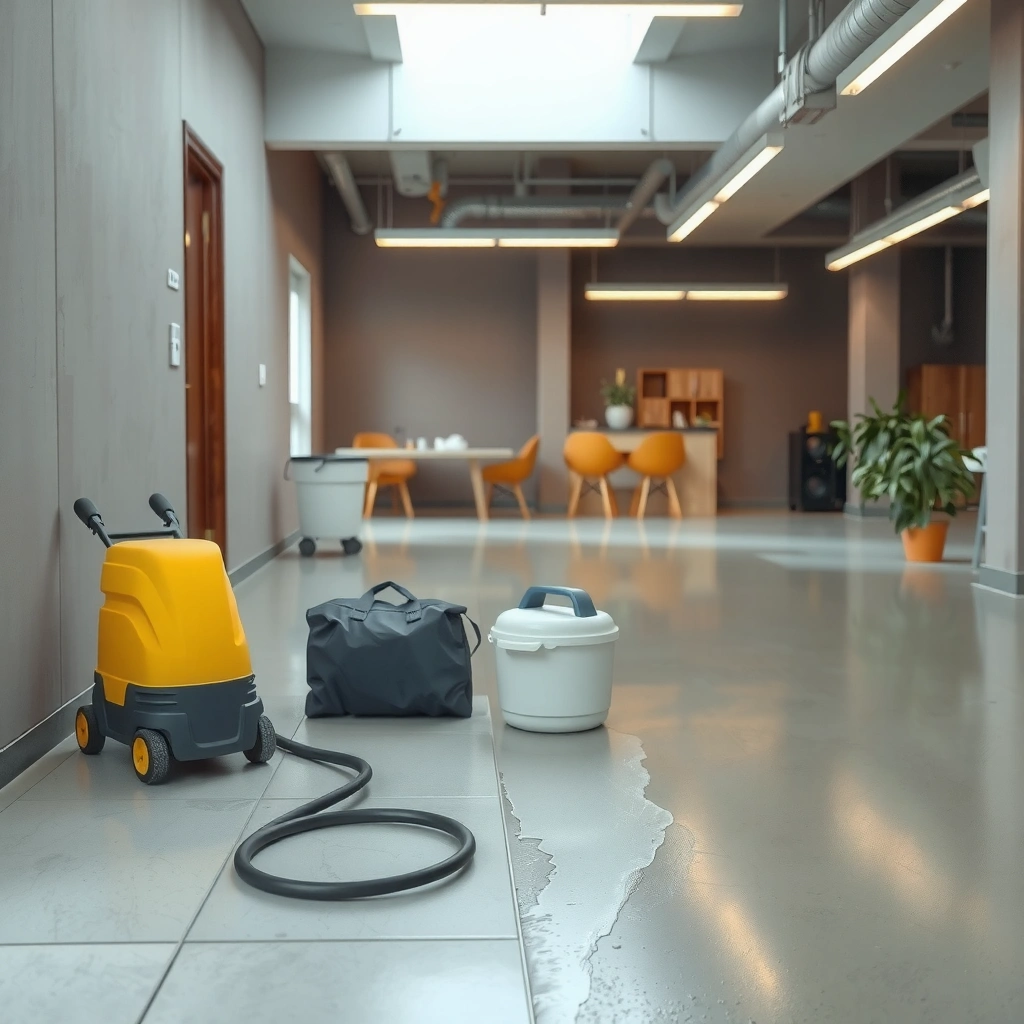
Stop the moisture at the source before you touch the surface, because drying over ongoing water will never fully stabilize the slab. Then assess the type of problem—surface hazing and darkening require a different approach than delamination or compromised areas.
Identify the moisture source (fresh vs. migrating)
Fresh water events (spills, overflow, a short leak) behave differently from slab moisture migration (groundwater, hydrostatic pressure, or chronic moisture transport). In practice, polished concrete often reveals the “timeline” through patterning: water that sat for hours tends to darken and haze in rings or blotches, while recurring moisture can create repeating cycles of fogging.
What to look for right now
Before drying equipment runs, inspect visually and by touch. You’re checking whether this is primarily a cosmetic issue or a failure of bond/structure.
- Discoloration: darkening usually indicates moisture presence or dissolved minerals; whitening/hazing often indicates surface film or etching changes.
- Surface changes: bubbling suggests trapped moisture or vapor pressure under a film.
- Bond integrity: flaking, peeling, or hollow-sounding areas can indicate delamination or compromised top layers.
- Texture: soft spots or powdery areas point to ongoing breakdown, not just surface staining.
Water damage on polished concrete must be approached as a moisture-control problem first, not a “sealer cover-up” problem. If the leak or condensation source remains active, the slab will keep re-wetting.
If you see flaking, hollow sounds, or peeling, you’re likely dealing with delamination or compromised bond—not a simple surface haze—so DIY polishing alone won’t hold.
Early assessment determines chemistry (minerals vs. organic residues) and determines whether you can clean/abrade the surface or must remove and re-finish locally.
Step 2: Dry the floor thoroughly (before repairs)
Drying is the make-or-break step: polished concrete should be fully dry before cleaning “for real,” repairing, or re-sealing. Avoid sealing over damp slabs, because trapped moisture is what recreates hazing and bubbling.
Use airflow and controlled dehumidification
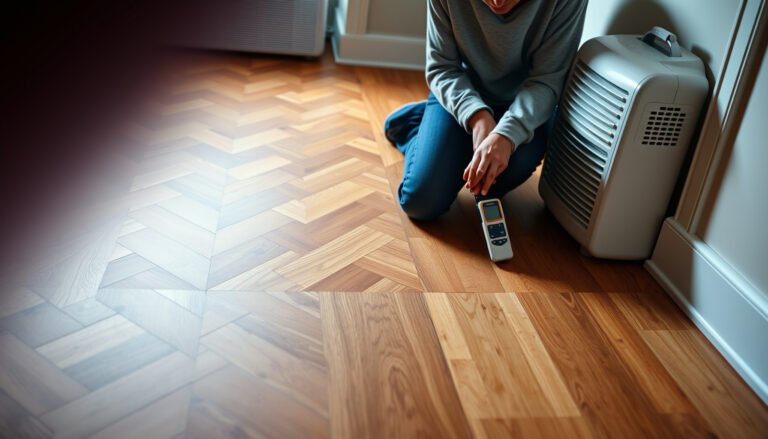
For drying, you’re optimizing evaporation and vapor removal. That typically means:
– High airflow (fans positioned to move air across the surface, not just blow dust)
– Dehumidification (often more effective than relying on temperature alone)
– Ventilation to exhaust humid air
If the area is enclosed, keep HVAC operating steadily rather than cycling wildly. As of 2026, modern facility practices increasingly favor combination drying (fans + dehumidifiers) because it shortens the time the slab spends at “partially wet” conditions—when haze and residue can re-deposit.
Verify dryness (don’t guess)
You can’t rely on “it looks dry” for polished concrete. Dark areas that keep developing after cleaning attempts are a common sign the slab is still releasing moisture.
Also pay attention to:
– Reappearing darkening: if it returns within hours/days, you likely sealed or cleaned while damp.
– Moisture re-emergence at edges: perimeter conditions (doorways, adjacent slabs, exterior walls) frequently stay wetter longer.
Sealers and coatings can trap moisture under the film when applied before the slab reaches a stable dry condition, increasing the risk of renewed fogging and surface bubbling.
A practical drying goal is “stable dryness”: the affected area should stop darkening and show no continued moisture behavior after cleaning attempts.
Drying performance improves with airflow plus dehumidification, because you’re reducing boundary-layer humidity and removing vapor from the space.
Moisture Test Methods Most Commonly Referenced for Concrete Verification
| # | Method | Primary Measurement | Typical Use in Moisture Decisions | Outcome Fit |
|---|---|---|---|---|
| 1 | ASTM F1869 (Calcium Chloride) | Moisture vapor emission rate (mass loss) | Used to decide if moisture emissions are within a coating system’s limits | ★★★☆☆ |
| 2 | ASTM F2170 (In-Situ RH Probe) | Concrete internal relative humidity (RH) | Used for coating/adhesive systems that specify RH targets at depth | ★★★★☆ |
| 3 | Plastic Sheet Test | Surface condensation/evaporation indicators | Quick screening tool before more formal testing | ★★☆☆☆ |
| 4 | Moisture Meter (Pin/Pinless) | Relative readings (device-dependent) | Trend checks during drying; not always sufficient alone for compliance | ★★☆☆☆ |
| 5 | Infrared/Surface Temperature Monitoring | Surface temperature behavior | Helps interpret drying effectiveness and airflow conditions | ★★★☆☆ |
| 6 | Dye/Observation of Re-wetting Patterns | Behavior under controlled re-exposure | Identifies ongoing moisture pathways (edges, cracks, penetrations) | ★★★☆☆ |
| 7 | System-Directed Prep Validation (Manufacturer Specs) | Compliance with coating/system criteria | Final gate before sealer/coating is approved for application | ★★★★★ |
Step 3: Clean and remove contaminants without damaging the finish
Once the slab is dry, cleaning becomes a precision step: remove residues and dissolved material without etching or tearing up the densified/polished surface. If staining remains after proper drying, you must address the specific cause—mineral salts, organic material, or general surfactant residue.
Use compatible cleaning chemistry first
Start with the gentlest method that actually works for polished concrete systems. Many polished concrete surfaces are treated with densifiers and/or have specific sealer chemistries; harsh cleaners can cause uneven dullness (where you “fix” one area but create a new visual problem around it).
In the real world, residues often fall into buckets:
– Waterborne residue: from spills, soaps, cleaning agents
– Mineral deposits: from hard water, rust bleed, or salts left after evaporation
– Organic staining: food, beverages, bio matter—often needs more targeted oxidation or enzymatic action depending on system constraints
For polished concrete, the safest cleaning sequence is: dry completely, then use non-reactive, concrete-safe cleaning methods before applying any stronger treatment that could alter sheen.
If a stain persists after drying, repeated mopping typically won’t solve it; you usually need a targeted approach based on whether the discoloration is mineral-driven or residue/organic-driven.
Cleaning is also about uniformity: uneven residue removal creates localized contrast that looks like “damage” even after the slab is technically dry.
Don’t create fresh etching
Avoid overusing acids or aggressive alkaline products unless your sealer/densifier system explicitly allows them. Even when a chemical “removes the stain,” it may also etch or soften the polished profile, leaving you with an area that’s permanently different in reflectivity.
[ADD: If you know your specific sealer/densifier brand, insert the recommended cleaner from its technical data sheet (TDS) here.]
Step 4: Fix surface issues (etching, delamination, or haze)
Most hazing after water is a surface film or light mechanical change, so the fix is often mechanical correction—not more sealer. But if you see delamination, peeling, or compromised integrity, you’ll need localized removal and re-polishing, and sometimes professional resurfacing.
Choose the repair path based on symptoms
Here’s a practical contrast for what teams typically decide in the field:
| Symptom pattern | Most likely cause | Typical corrective action | Best first test |
|---|---|---|---|
| Light haze/film, “foggy” sheen | Residue, surface reaction, or shallow change to top densified layer | Gentle cleaning + light abrasion/polishing to match finish | Small test area: clean, then abrade lightly |
| Bubbles or blistering right after drying | Moisture trapped under a film or coating applied too soon | Remove affected coating/film (if present), then re-prep | Check for active re-wetting and re-test dryness |
| Peeling/flaking or hollow-sounding spots | Delamination, compromised bond, or breakdown of top layer | Localized grinding/removal and re-polishing; professional assessment if widespread | Tap-test mapping to define boundaries |
When mechanical correction is the right move
For light haze/film, “adding more sealer” usually worsens things by trapping a uniform film over an uneven substrate. Instead, polishing or controlled abrasion can restore the reflective surface by removing the altered top layer.
When you should stop DIY
If delamination is widespread or structural moisture is suspected (ongoing dampness at cracks, consistent edge wetting, or recurring staining cycles), stop and bring in a qualified polished concrete contractor or moisture-mitigation specialist. The right approach may require slab evaluation, system-compatible repairs, and potentially sub-slab or perimeter moisture control.
Haze is frequently a surface-level condition; when it’s film-related, mechanical correction (abrasion/polishing) restores appearance more reliably than re-sealing over residue.
Delamination signs like peeling, flaking, or hollow areas indicate the bond layer is failing; in that case, removal and re-polishing are safer than coating over compromised material.
Moisture-driven surface problems can reappear if you polish or seal before the moisture pathway is corrected, even when the surface looks better initially.
Step 5: Seal/re-polish correctly to prevent repeat water penetration
After the slab is fully dry and all contamination and surface issues are corrected, you can reapply the coating/sealer system. The key is correct prep, correct chemistry, and correct curing time—because polished concrete failures often come from application timing, not from “bad sealer.”
Match the existing system (or document what you’re changing)
If you already have an existing sealer/coating, the safest option is to match it or use a system the manufacturer explicitly allows over your current finish. Many coatings require:
– Specific surface prep (e.g., abrasion profile or residue removal)
– Time windows between steps
– Minimum cure/dwell times for compatibility
As of 2025–2026, manufacturers increasingly publish “apply over properly prepared concrete” guidance with strict limits; follow the TDS and system instructions rather than “best guess.”
Apply the sealer with proper cure windows
Concrete itself has standard strength/curing benchmarks: for example, industry practice commonly evaluates compressive strength at 28 days (as used in ASTM C39 and general concrete practice). Sealer performance isn’t the same as structural strength, but curing logic still matters: the surface needs stable conditions, and many products specify minimum time and moisture criteria.
Also note: if your coating system specifies vapor emission or RH thresholds, those numbers come from the manufacturer and are system-specific.
[ADD: Insert the sealer/coating’s exact moisture criterion from its TDS (e.g., max RH or vapor emission rate).]
Sealer should be applied only after the slab passes the system’s prep and moisture requirements; otherwise, you risk trapping moisture and recreating hazing or bubbling.
Correct cure and recoat timing are part of “fixing” water damage, because premature layering can trap residual moisture or solvents under the film.
Polished concrete performance depends on surface uniformity: preparation and sheen matching during re-polishing influence how the repaired area looks long-term.
What can go wrong (and why your results might fail)
Most failures happen because one of the core assumptions is wrong: the slab isn’t truly dry, the residue isn’t removed, or the repair method doesn’t match the damage type. If you’ve ever seen the same spot look good for a short period and then fog again, it’s usually a drying/source or compatibility issue.
Common mistakes
– Sealing too early: trapping moisture under a new finish is a top cause of renewed haze, bubbling, and recurring discoloration.
– Using the wrong cleaner: some chemicals can etch or brighten/dull polished concrete unevenly, leaving visible transitions.
– Treating all stains the same: mineral salts, organic materials, and surfactant residues behave differently—repeat mopping rarely solves mineral-driven staining.
– Ignoring ongoing moisture pathways: if moisture keeps migrating from below or through cracks, repairs can look fine briefly and then fail.
Practical limits to expect
Polished concrete is inherently system- and surface-profile-dependent. If the original floor was densified, ground to a specific grit progression, or sealed with a particular chemistry, spot repairs can be visible even when the repair is “technically successful.”
If moisture was not stabilized before sealing, water damage symptoms often return—especially hazing and blistering—because moisture pressure or residual dampness reactivates residue and reactions.
Chemical cleaners can change reflectivity by altering the top surface; on polished concrete, that can create a visible patch even if the discoloration disappears.
Stain persistence frequently indicates the underlying chemistry remains (for example, mineral salts) rather than a superficial “dirt” issue.
Verdict / tip: what we’d do first—and when to call it off
We would start by stopping the moisture source (leak/condensation/gravity-driven seepage), then drying until the slab is stable and no longer re-darkens. Only after that would we clean to remove residues, correct haze mechanically when needed, and seal/re-polish with a system-compatible product and manufacturer-approved prep/cure steps.
If the damage is deep, widespread, or you see delamination/softening/hollow areas, don’t “chase the shine.” Stop DIY and get a site assessment—polished concrete repairs can require correct tooling, product compatibility, and sometimes moisture-mitigation measures.
The safest order of operations is source control → full drying → residue removal → mechanical correction (if needed) → seal/re-polish after moisture compliance.
Call a pro when you see delamination, widespread compromised concrete, or persistent moisture behavior after drying—those conditions indicate a moisture or bond failure that coatings can’t reliably fix.
Quick checklist (scan/save)
– [ ] Fix leak/source or confirm it’s a one-time spill
– [ ] Dry the slab fully (fans/dehumidifier/ventilation as needed)
– [ ] Verify the area isn’t still damp/darkening
– [ ] Clean with a concrete-safe method; remove residues
– [ ] Address haze/stains with the right approach (often mechanical for haze)
– [ ] Repair any delamination/compromised areas as needed
– [ ] Seal/re-polish only after full dryness; follow product prep/cure instructions
FAQ
Can I seal polished concrete right after water damage?
Usually no—sealing while moisture is still present can trap water and cause renewed hazing or bubbling. Dry first, then proceed once the slab is fully dry.
Why does my polished concrete look “foggy” after water exposure?
Fogging is commonly a surface-level haze/film or moisture-related change that often requires cleaning and/or light mechanical correction rather than just adding sealer.
Will water damage always stain permanently?
Not always. Fresh spills often improve after thorough drying, but mineral deposits and deep staining can require targeted treatment or mechanical correction.
How do I know if the damage is more than surface staining?
If you notice peeling, flaking, soft spots, or hollow-sounding areas, the issue may be delamination or deeper compromise—don’t rely on sealing to “cover” it.
Should I re-polish the entire floor?
Not necessarily. Spot repairs are possible, but matching sheen and finish level can be tricky; if the finish is very uniform, partial re-polishing may create visible transitions. [ADD: how your current finish is matched—if known—e.g., full floor system vs. localized repairs.]
Sources
– [ADD: manufacturer installation/prep and cure instructions for the specific polished concrete sealer/coating you have]
– [ADD: manufacturer technical data sheet (TDS) for your concrete cleaner/sealer system, including surface prep requirements]
– [ADD: source for general concrete curing time / strength benchmarks referenced in standards, such as ASTM/ACI guidance]
– ASTM F1869 (Calcium Chloride Method) — concrete moisture vapor emission testing method (test standard description from ASTM documentation)
– ASTM F2170 (In-Situ Relative Humidity) — probe-based concrete internal RH moisture testing method (test standard description from ASTM documentation)
A polished concrete floor can look “fine” after a single cleanup but still fail later if moisture remains trapped or if residues aren’t fully removed. By following the correct order—source control, thorough drying, residue-aware cleaning, targeted surface correction, and system-compatible sealing/re-polishing after moisture compliance—you prevent the most common failure pattern: sealing over damp concrete.
Frequently Asked Questions
What should I do immediately after noticing water damage on a polished concrete floor?
Stop the water source right away and remove any standing water with a wet/dry vacuum or extractor to prevent deeper absorption. Dry the area quickly using fans and dehumidifiers, and avoid walking on it to reduce streaking and scratches. If the surface looks cloudy or darker than the surrounding polished concrete, keep drying and assess after 24–48 hours to determine whether it’s trapped moisture, etching, or a stain.
How can I dry and prevent moisture from spreading in polished concrete after a leak?
Increase airflow and dehumidification, and consider using moisture meters to confirm the slab is drying to normal levels before sealing or polishing again. If the water damage came from a plumbing leak, check for sub-slab moisture and address any wet base layers, not just the polished finish. For best results, allow thorough drying time—sealing too early can trap moisture and cause recurring hazing, efflorescence, or delamination of coatings.
How do I remove water stains or white haze from polished concrete without damaging the finish?
Start by cleaning the area with a pH-neutral concrete cleaner and soft agitation to remove residues that can hold moisture marks. For mineral deposits (often seen as white haze or rings), use a concrete-safe descaling product appropriate for polished concrete, then rinse thoroughly and dry completely. If the stain is etching or surface damage, restoration may require light grinding/polishing or spot refinement using diamond abrasives to blend the surface and restore gloss.
Which repair method is best for water-damaged polished concrete: cleaning, grinding/polishing, or re-sealing?
The best approach depends on whether the issue is surface contamination, trapped moisture, or true surface etching. If discoloration remains after thorough drying and proper cleaning, you may need spot grinding and re-polishing to level the affected zone and remove the damaged top layer. If the polished finish has been compromised, re-sealing or applying the correct protective densifier can help prevent future water damage, but only after moisture levels are verified and the slab is fully dry.
Why does water damage on polished concrete leave the floor dull, cloudy, or blotchy?
Polished concrete is typically sealed and densified, but water can still penetrate micro-pores and cause mineral deposition, especially if the water contains salts or hard minerals. When moisture sits, it can create differential staining (blotches) or etch the surface, which disrupts the reflective finish and causes a dull or hazy appearance. That’s why drying thoroughly, using the right cleaning or descaling chemistry, and restoring the top surface layer are key to fully fixing water-damaged polished concrete floors.
📅 Last Updated: October 10, 2026 | Topic: How to fix water damage on polished concrete floors? | Content verified for accuracy and freshness.
References
- Google Scholar Google Scholar
https://scholar.google.com/scholar?q=how+to+repair+water+damage+polished+concrete+floor+drying+sealing - Google Scholar Google Scholar
https://scholar.google.com/scholar?q=polished+concrete+moisture+mitigation+slab+vapor+barrier+repair+rehabilitation - Google Scholar Google Scholar
https://scholar.google.com/scholar?q=concrete+water+damage+repair+cracks+spalling+epoxy+mortars+rehabilitation - Mold | US EPA
https://www.epa.gov/mold - Mold | Mold | CDC
https://www.cdc.gov/mold/ - https://www.hud.gov/program_offices/healthy_homes/mold
- WBDG
https://www.wbdg.org/resources/mold-and-moisture-control - Polished concrete
https://en.wikipedia.org/wiki/Polished_concrete - Mold
https://en.wikipedia.org/wiki/Mold - https://pubmed.ncbi.nlm.nih.gov/?term=water+damage+building+drying+mold+remediation