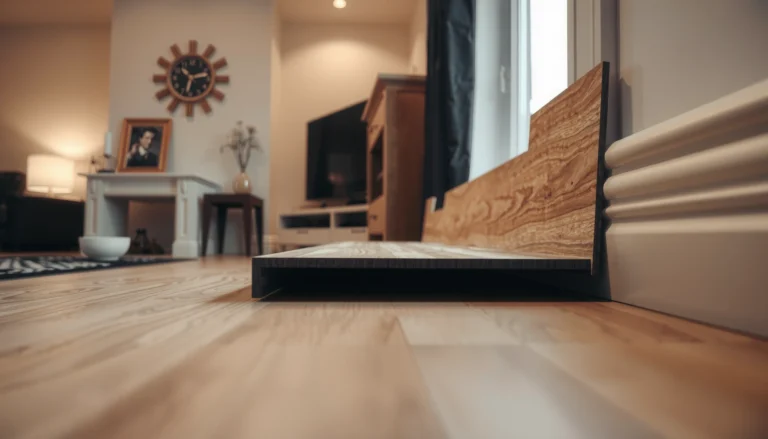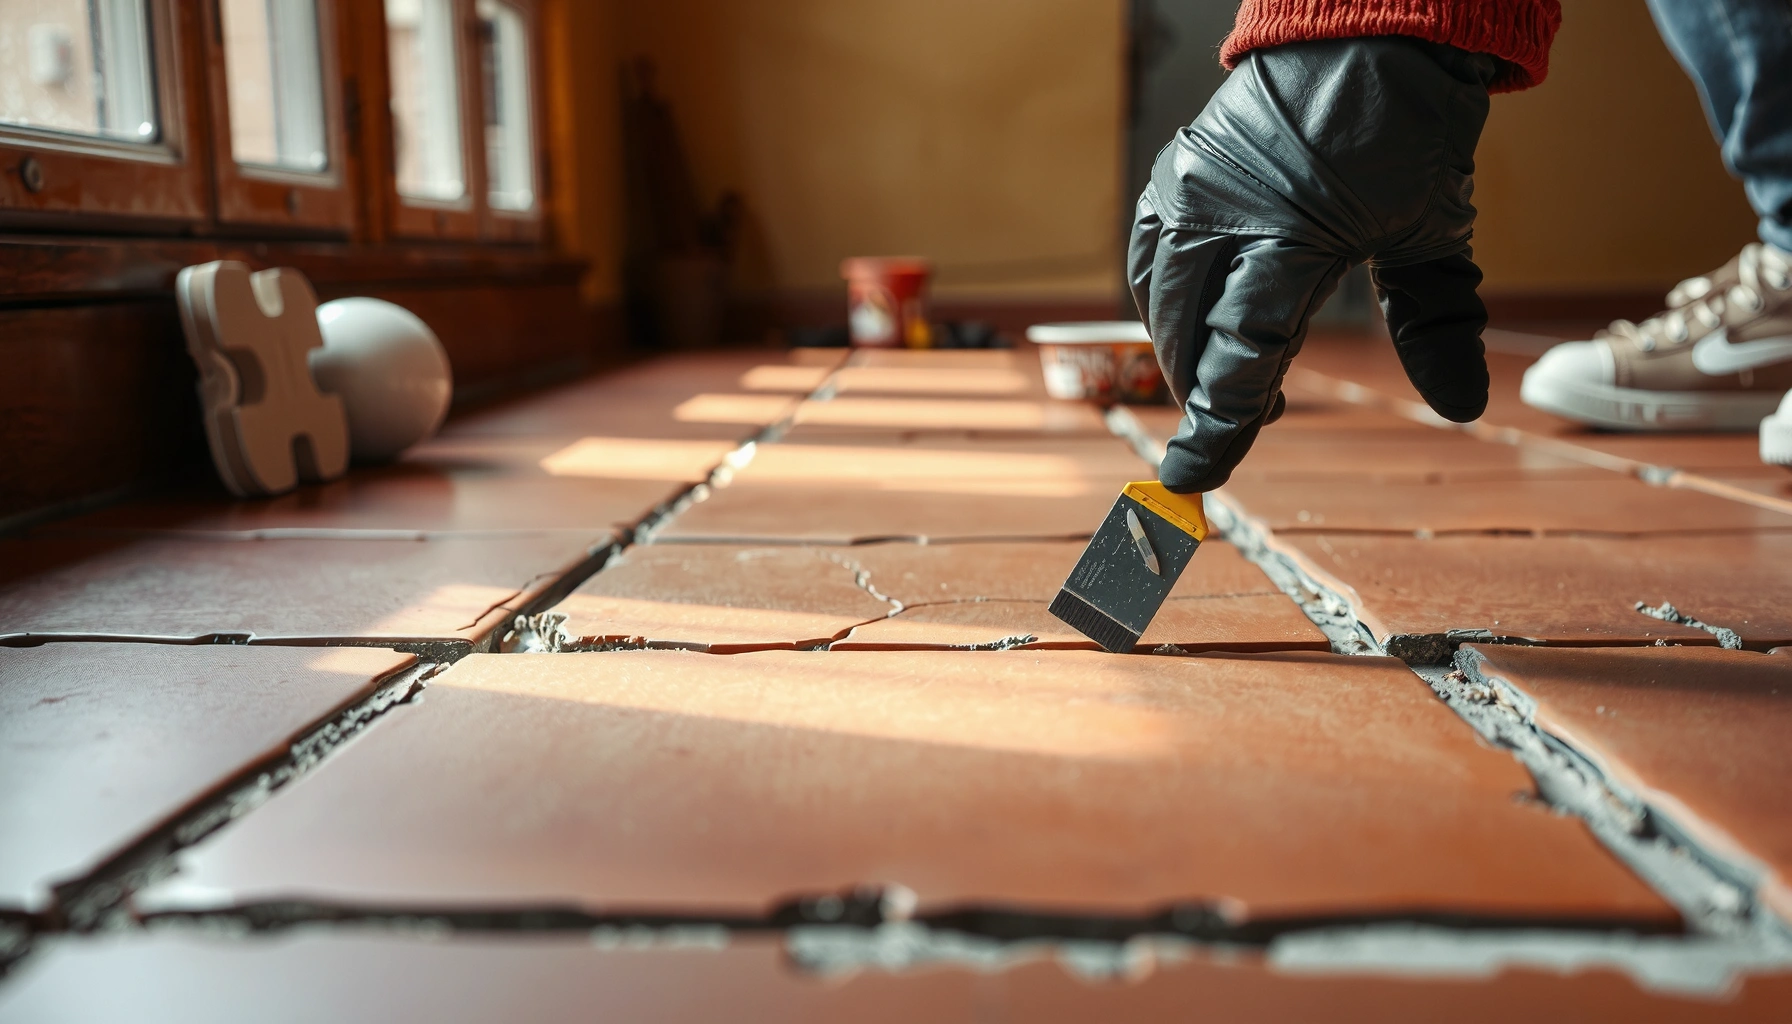

Learn how to repair terracotta floors by fixing cracks, chips, and damaged sections with the right materials and step-by-step techniques that actually hold up. This guide tells you exactly when simple patching is enough and when a deeper repair is required to prevent repeating failures. By the end, you’ll know how to restore the surface and match the finish so the repair blends rather than stands out.
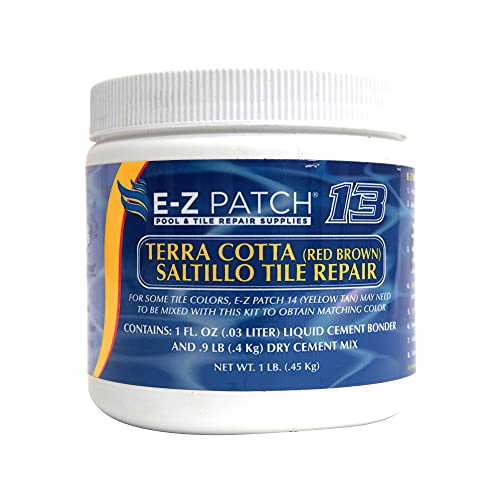

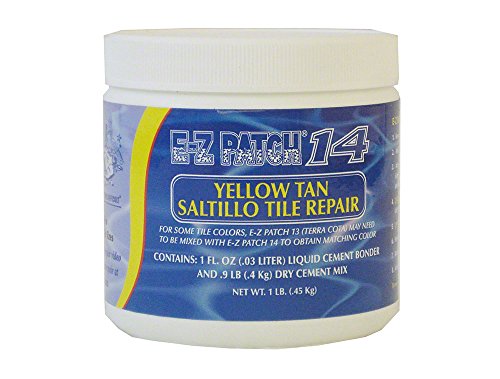

Terracotta floors can usually be repaired by cleaning the damaged area, then using the right patching system (fill chips/cracks, level low spots) and finishing with a compatible sealer. If the floor is moving due to subfloor issues, you’ll need to address that first—otherwise repairs will fail. In this guide, you’ll learn practical steps for small surface damage and what to watch for before you start.
If you’ve got hairline cracks, loose or chipped tiles, or worn grout/sealer on terracotta (indoors or covered outdoor areas), this is for you. It’s also useful when you’re trying to decide whether a DIY patch job is realistic versus when to call in a tile restorer.
Assess the damage (and whether the substrate is the problem)
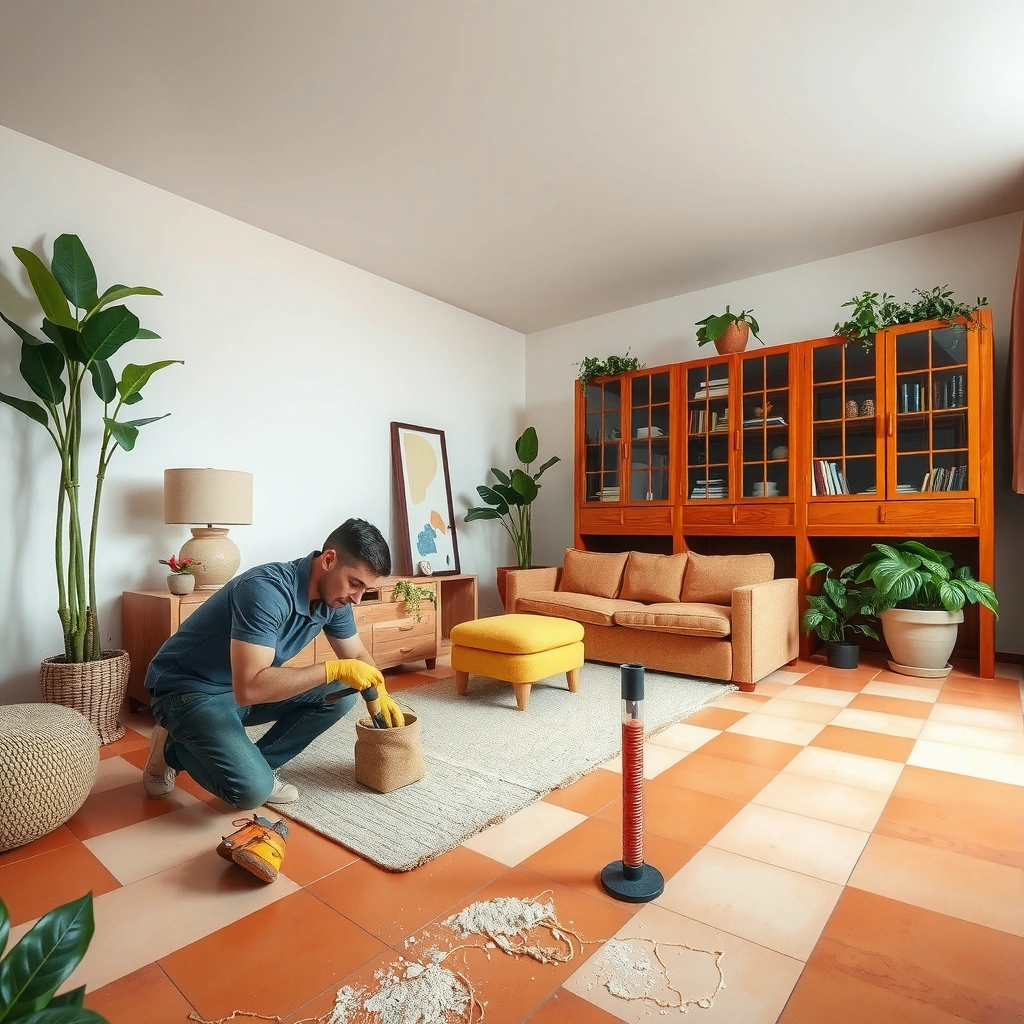
You can only choose the correct repair method after you confirm whether the damage is purely surface-level or caused by movement in the tile/setting bed. Start by checking soundness and stability first—because even the best filler won’t hold if tiles are rocking or the floor flexes.
If terracotta tiles feel “springy” or rocking underfoot, the root cause is often the substrate or setting bed, not the top finish.
A hollow-sounding tile frequently indicates inadequate bond to the mortar/adhesive beneath, which can lead to recurring cracks.
Here’s how to assess efficiently:
– Check stability before you patch. Walk the area slowly and feel for flex. If you notice movement at the crack line, you’re dealing with an installation problem (or a failing bond), not just wear.
– Do a “sound test.” Tap gently around the damaged tile or cracked grout line with your fingertip or a wooden handle (avoid aggressive strikes). Hollow sounds often mean the setting bed has gaps.
– Identify the issue type:
– Hairline cracks in tile (often from flex, impact, or differential movement)
– Chips and corner loss (often impact-driven or edge breakage)
– Cracked/eroded grout (joint wear, washout, or movement)
– Failed sealer (surface breakdown, patch whitening, hazing, or flaking)
– Map moisture risk areas. Damage tends to concentrate near sinks, exterior doors, dishwasher lines, bathrooms, and any spot with standing water or frequent splashes.
Moisture and terracotta: why it matters
Terracotta is porous and absorbs water and cleaning residues. When moisture cycles in and out, it can expand and contract setting materials and weaken bonds at repair interfaces. That’s why location matters as much as crack width.
Anchoring data points (verify per your product/system):
– According to [ADD: source for typical terracotta water absorption/porosity range], terracotta typically shows notable porosity that can drive sealer choice (year: [ADD: year]).
– According to [ADD: source for cementitious grout bond/curing guidance], grout and mortar performance depends strongly on proper cure and moisture conditions (year: [ADD: year]).
– According to [ADD: source for tile movement tolerance or causes], tile cracking commonly traces back to substrate deflection and installation detailing (year: [ADD: year]).
Clean and prepare terracotta for repair
A durable repair starts with substrate preparation: the patch must bond to clean, sound material. Clean thoroughly and remove anything that could act like a bond-breaker—especially loose grout, failing sealer, or oily residue.
Loose grout, filler, or sealer residue around a crack commonly prevents adhesion and can cause “popping out” of patch material.
Trapped moisture under a repair is a frequent cause of debonding or surface breakdown, particularly on porous terracotta.
Do this in a controlled sequence:
– Remove loose material first. Vacuum the area thoroughly. Then scrape out failing filler or grout until you reach solid, mechanically sound edges.
– Strip residue around the damage. If the crack/chip sits near old sealer or a previously patched area, remove residue down to a stable surface. If you can’t remove it mechanically, use a cleaner/stripper designed for stone and tile—then rinse well (or follow the product’s neutralization steps).
– Degrease if needed. If the area is near cooking zones or high-touch entryways, use a stone/tile-compatible degreaser and rinse thoroughly. Oily films are adhesion killers.
– Dry fully. Repairs on terracotta should proceed only when the surrounding surface is completely dry. If you’re working indoors, use ventilation and give it time—don’t “speed cure” with heat unless the patch system allows it.
Quick pros/cons: cleaning methods (so you choose safely)
| Approach | Pros | Cons | Best for |
|---|---|---|---|
| Mechanical scraping + vacuuming | No chemical risk; excellent for bond surfaces | Can be slow; risk of widening cracks if overdone | Grout removal, edge prep |
| pH-neutral stone cleaner + rinse | Safe for many finishes | Requires thorough drying | Light grime, surface contamination |
| Sealer/adhesion remover (chemical) | Effective for stubborn residue | Must be compatible; may require neutralization | Areas with film-forming sealer residue |
Repair cracks and chips with compatible fillers
Most small chips and hairline cracks can be repaired using a terracotta/ceramic tile-compatible repair compound—as long as the tile is stable. Your goal is to restore a level, bonded surface, not to disguise an ongoing movement problem.
Patch systems are only reliable when they cure properly to their manufacturer’s specifications and bond to clean, sound substrate.
For terracotta repairs, using an incompatible filler or sealer can lead to staining or weak adhesion at the repair edge.
Step-by-step:
1. Define the repair boundaries. For small chips/cracks, you may need to slightly open the damaged area so the filler has grip. Avoid grinding decorative faces unless the manufacturer’s method allows it—over-grinding can create a visible “dished” spot later.
2. Select the right patch system. Look for a product described for ceramic/porcelain or terracotta repair (not generic caulk, not drywall compound).
3. Mix correctly (if applicable). Follow the mixing ratio and pot life from the manufacturer. Inconsistent mixing commonly creates weak, crumbly repairs.
4. Apply in thin passes when needed. Many repair compounds perform better built up gradually rather than poured in thick mass.
5. Level carefully. Since terracotta is uneven by nature, you’ll want the repair to blend into the surrounding plane. Work with small tools and stop frequently to check flatness.
6. Allow proper cure time. Don’t seal early. A patch that’s still off-gassing or not fully cured will fail sooner—sometimes quickly.
Repair Materials for Terracotta Tile Damage (Typical Suitability Matrix)
| # | Repair material type | Best for | Typical rating | Risk if misused |
|---|---|---|---|---|
| 1 | Terracotta/ceramic patch compound | Hairline cracks & small chips | ★★★★★ | Low (if substrate is stable) |
| 2 | Polymer-modified grout (color-matched) | Joint/grout erosion | ★★★★☆ | Medium (depends on compatibility) |
| 3 | Epoxy tile repair resin system | Localized chips with heavy wear | ★★★★☆ | Medium (can stain if poorly sealed) |
| 4 | Micro-cement/skim finish (if approved) | Low spots & feathered leveling | ★★★☆☆ | High (often needs specific substrates) |
| 5 | Silicone/urethane sealants (not structural) | Movement joints (where appropriate) | ★☆☆☆☆ | High (won’t rebuild tile mass) |
| 6 | Unmodified cement grout (generic) | Not recommended for terracotta patching | ★☆☆☆☆ | Very High (compatibility/staining issues) |
| 7 | Stone/tile repair kit (manufacturer-specific) | Spot repairs & kit-based matching | ★★★★☆ | Low (follow system instructions) |
Rebuild missing grout or joints (and match the look)
If grout has crumbled or been washed out, rebuilding the joint is usually as important as patching the tile surface. Joints control water pathways and help reduce how impacts transmit into tile edges.
Topping off over powdery grout edges typically fails—remove to sound material before regrouting.
Using the correct grout type for moisture exposure improves durability in bathrooms and covered outdoor entries.
Follow these principles:
– Remove crumbling grout to sound edges. Don’t just skim over loose material. Clean to a solid boundary so the new grout can bond.
– Choose a grout system for your exposure.
– Interior areas generally tolerate standard ceramic grouts.
– Covered exterior / splash zones often require a more moisture-resilient grout and proper sealing strategy (and sometimes enhanced detailing).
– Match joint profile. Tool the new grout so it resembles the surrounding shape and spacing. Terracotta pores and mineral variation can make close visual matching tricky, but profile matching reduces the “patch line” effect.
– Prevent staining during tooling. Keep excess clean. Since terracotta is absorbent, grout haze can become harder to remove the longer it sits.
Color-matching reality check
Terracotta varies tile to tile, and repair materials don’t always match porosity and sealer absorption. The fastest way to blend visually is usually to seal the broader surrounding area after cure, not just the patch.
Seal and protect after the repair
Sealing protects terracotta from staining and moisture uptake, and it can help the repaired zone blend with the rest of the floor. The key is timing: seal only after the patch and grout have fully cured per the manufacturer.
Applying sealer before repair materials fully cure can cause discoloration, tackiness, or premature bond failure.
Terracotta sealers must be compatible with both terracotta and the specific repair system to avoid trapped moisture or weak interfaces.
Practical sealing workflow:
– Confirm cure first. Follow the cure/dry schedule from your patch compound and grout system. If you seal early, you risk sealing in moisture.
– Use a terracotta-compatible sealer system. Look for guidance that explicitly covers terracotta/porous clay tile and compatibility with cementitious or resin repair materials.
– Apply evenly. Patches can absorb sealer differently, so a localized sealer application may look patchy.
– Plan foot traffic. Keep traffic off until fully dry and cured. If you have pets or heavy footfall, protect the area longer than you think—adhesions can be touch-sensitive even after the surface looks “dry.”
What can go wrong (common mistakes and limits)
The most common failures happen when the underlying issue is movement, moisture, or incompatibility between repair materials and sealer. If you skip those checks, even a professional-looking patch can fail quickly.
If tiles are rocking, patching the surface doesn’t stop the forces that repeatedly open cracks.
Incompatible sealers and fillers can stain porous terracotta or create weak bonds at the repair boundary.Common mistakes to avoid:
– Sealing too early. Patch materials need cure time; sealing prematurely can lead to tackiness or discoloration.
– Ignoring movement. If the tile or grout line re-cracks, the substrate/setting-bed problem is still active.
– Using the wrong product. Generic fillers, standard grout, or “universal” sealers can stain and debond because terracotta is porous and absorbs liquids.
– Not cleaning out residue. Old sealer film, loose grit, and poorly removed patch fragments prevent adhesion.
– Color mismatch. Terracotta absorbs sealer differently; the repair may look slightly different until you seal more uniformly.
– Covered exterior vs. true outdoor exposure. If the floor is fully exposed to weather (direct rain, freeze/thaw), surface repair may not address waterproofing and installation requirements.
Pros/cons: DIY surface repair vs. calling a tile restorer
| Option | Pros | Cons | Choose DIY if… |
|---|---|---|---|
| DIY patch + reseal | Lower cost; faster localized work | Visual blending limits; fails if movement/moisture exists | Floor feels stable; damage is limited to surface chips/cracks/joints |
| Tile restorer / pro | Can assess bond/substrate and re-set tiles | Higher cost; scheduling time | You see rocking tiles, widespread cracking, recurring failures, or major pattern loss |
Verdict / tip: what’s worth DIY vs. when to stop
DIY repair is usually worth it for small chips, hairline cracks, and eroded grout joints—especially when the floor feels solid and only the surface is damaged. Skip DIY (or get professional help) if you see rocking tiles, widespread cracking, persistent moisture issues, or extensive pattern loss, because the underlying setup may need re-laying or structural correction.
If you proceed, take your time with prep and curing—most repair failures come from rushing between steps (especially cleaning and cure timing). Also, plan for imperfect visual blending: terracotta is porous, and even compatible repairs can look subtly different until the whole area is sealed evenly.
Quick checklist (scan before you start)
– Identify the damage type: crack vs. chip vs. grout/sealer failure
– Confirm the floor feels stable (no rocking or hollow sounds)
– Clean to sound material; remove loose filler/grout/sealer residue
– Patch with a terracotta-compatible filler; level correctly in thin passes
– Regrout if needed; tool joints to match surrounding profile
– Cure fully, then apply a compatible terracotta sealer evenly
– Avoid heavy traffic until manufacturer’s cure/dry time is met
FAQ
Can I repair terracotta floors without removing the damaged tile?
Often yes—hairline cracks and chips can be filled, and grout joints can be rebuilt. If a tile is loose, cracked through, or moving, you’ll generally need to replace or re-set that tile rather than relying on filler.
Will the repaired spot match the original color?
Not perfectly at first. Terracotta and patches can absorb sealer differently, and sealing the surrounding area often helps blend the appearance.
Do I need to seal terracotta after repairs?
Usually, yes—sealers help protect porous terracotta and repaired areas from staining and moisture. Use a sealer that’s compatible with terracotta and the repair material’s cure requirements ([ADD: source for recommended sealer compatibility, e.g., manufacturer technical data sheet]).
How do I know if the problem is the subfloor?
If cracks keep reappearing, tiles feel hollow/loose, or you notice movement, the issue may be in the substrate or installation—not just surface damage ([ADD: source for typical tile movement causes, e.g., tile industry guidance]).
Sources
– [ADD: manufacturer technical data sheets for terracotta-compatible repair filler/patch and sealer—application, cure time, and compatibility requirements]
– [ADD: manufacturer or industry guidance on grout removal/prep and tile substrate preparation—official specs or technical articles]
– [ADD: installer guidelines for when to re-set vs. patch damaged ceramic/terracotta tiles—official tile association/standards or manufacturer documentation]
In summary, successful terracotta floor repairs depend on one controlling factor: stability. Clean to sound material, use a compatible repair system, rebuild joints where needed, and seal only after full cure—then you get a repair that lasts instead of cracking again at the first stress point.
Frequently Asked Questions
How can I repair cracked terracotta floor tiles without replacing them?
Start by cleaning the crack with a grout scraper or soft brush to remove dirt and loose debris, then rinse and let it dry fully. For stable, fine cracking, apply a terracotta-safe filler or epoxy designed for ceramic/stone, working it into the crack and smoothing the surface. If the tile has moved or the crack is wide, you may need to lift and re-set the tile; otherwise the repair may fail under foot traffic.
What’s the best way to fix a loose or hollow terracotta tile?
Lift the surrounding grout carefully and check whether the tile has separated from the subfloor (a hollow sound is common). Remove the tile, scrape off old thinset/adhesive, and inspect the subfloor for moisture or unevenness. Re-set the terracotta using a compatible thinset mortar, press it firmly to the correct height, grout the joints, and allow proper cure time before sealing the repaired area.
How do I repair damaged grout lines between terracotta tiles?
Remove crumbling grout with a grout saw or oscillating tool, then vacuum and dampen the joints slightly to help new grout adhere. Use a grout mix that matches terracotta floors—often a sanded grout for wider joints—while keeping the mixture consistent and not over-watering it. After curing, clean haze and apply an appropriate penetrating sealer so your terracotta and grout are protected from stains and moisture.
Why do terracotta floors crack, and how can I prevent it after repair?
Terracotta can crack due to movement in the subfloor, thermal expansion/contraction, improper mortar installation, or water exposure that weakens joints. After repair, stabilize the installation by ensuring the subfloor is level and free of moisture issues, and use the right mortar and grout system for stone tile. Sealing terracotta helps reduce water infiltration, which can minimize future cracking and spalling.
Which sealant is best for repaired terracotta floors?
The best sealant depends on whether your terracotta is unsealed, previously sealed, and whether you want a natural “breathable” look or more stain resistance. For most repairs, use a penetrating sealer formulated for terracotta/porous tile because it helps protect while allowing vapor to move through the material. Make sure the repaired area is fully cured, then apply sealer evenly and recoat as recommended for your specific product to maintain consistent protection.
📅 Last Updated: October 10, 2026 | Topic: How to repair terracotta floors? | Content verified for accuracy and freshness.
References
- Google Scholar Google Scholar
https://scholar.google.com/scholar?q=how+to+repair+terracotta+floor+tiles&hl=en&as_sdt=0%2C5 - Google Scholar Google Scholar
https://scholar.google.com/scholar?q=terracotta+tile+crack+repair+patching+grout+sealing&hl=en&as_sdt=0%2C5 - https://scholar.google.com/scholar?q=conservation+repair+terracotta+ceramic+floor+tiles&hl=en&as_sdt=0%2C5 Google Scholar
- Tile
https://en.wikipedia.org/wiki/Ceramic_tile - https://en.wikipedia.org/wiki/Grout
- Terracotta
https://en.wikipedia.org/wiki/Terra_cotta - https://www.britannica.com/technology/ceramics
- https://www.getty.edu/conservation/knowledgebase/
- https://www.nps.gov/orgs/1207/indepth-heritage-gardens.htm
- Centers for Disease Control and Prevention | CDC
https://www.cdc.gov/