
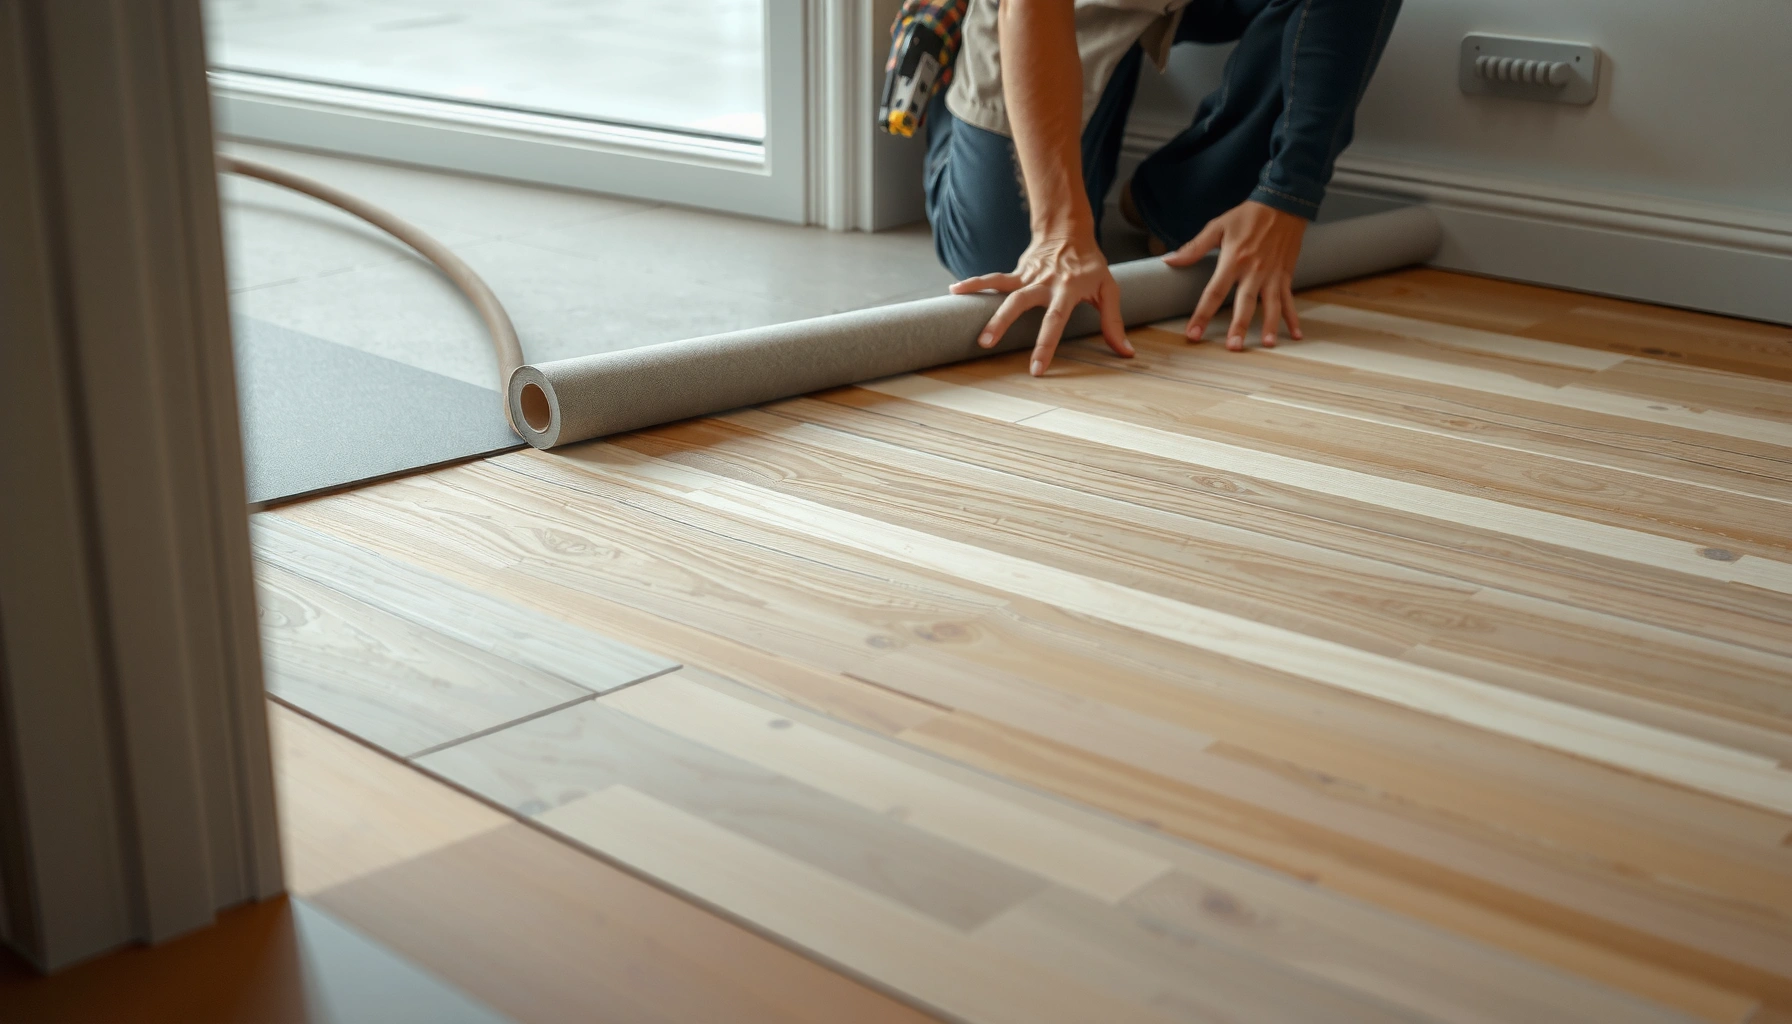

Install underlayment by starting with a flat, clean subfloor, then laying an approved underlayment in the manufacturer-required orientation while tightly handling seams and taping them exactly as specified. For engineered wood (especially floating/click-lock), underlayment isn’t optional “filler”—it’s part of the system that affects comfort, minor subfloor variation, moisture control, and—most importantly—locking performance and warranty eligibility.
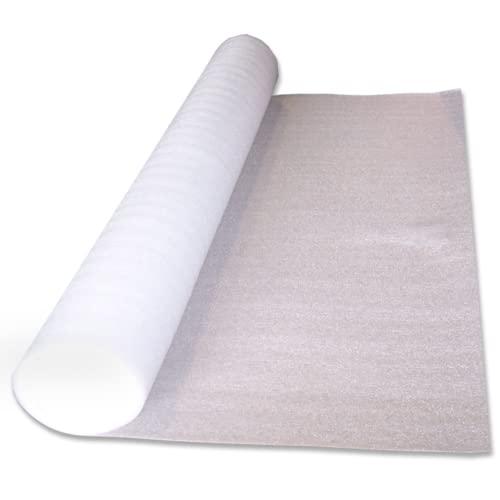



If you’re planning a floating or click-lock engineered wood installation, underlayment usually improves comfort and helps with minor subfloor irregularities and moisture management. This is for homeowners and DIY installers, as well as anyone coordinating a flooring installer—especially when you’re trying to choose the right underlayment thickness and seam setup.
Confirm Your Engineered Wood Floor Requirements

Before you buy or roll anything out, confirm whether your engineered wood needs underlayment and what type is allowed. Most problems with click-lock floors trace back to skipping the flooring manufacturer’s specs (or accidentally introducing a thickness/layering mismatch that interferes with the locking joint).
Start with the installation instructions from the engineered wood brand you’re using, because underlayment requirements vary widely based on core construction, click-lock geometry, and any attached pad. If the manual states “underlayment required,” it may also specify moisture barrier performance, seam/tape requirements, and maximum underlayment thickness. If the manual says “no underlayment required,” installing a foam or vapor barrier anyway can create softness and reduce joint stability.
Engineered wood manufacturers often require a specific underlayment type (or explicitly state “no underlayment required”) to protect warranty coverage.
Click-lock and floating installations are sensitive to underlayment thickness because excess softness can reduce support at the tongue-and-groove locking area.
Glue-down systems typically differ: the flooring spec may call for no underlayment or a different product class than floating/click-lock.
Underlayment “requirements” vs. “preferences”
The key distinction is whether the flooring instructions frame underlayment as a requirement, a recommendation, or an exception. For example, some products are designed with an attached pad and only need a specific moisture barrier under the pad (or none at all). Other products require a separate underlayment and may limit thickness to prevent movement that can stress the click-lock mechanism.
Decision points to verify in writing
– Underlayment type: foam, fiber/cork, rubber, or polyethylene sheet/vapor barrier
– Moisture barrier expectations: “vapor barrier required” and performance level if stated
– Thickness limits and maximum compressibility (often framed as “do not exceed” a thickness)
– Installation method compatibility: floating/click-lock vs. glue-down
– Seam system rules: overlap vs. butt-joint with tape, and the exact tape system approved
Practical reference: common underlayment categories used for engineered wood
Typical Underlayment Options for Floating/Click-Lock Engineered Wood
| # | Underlayment type | Typical thickness | Moisture barrier role | Support level |
|---|---|---|---|---|
| 1 | 6-mil polyethylene sheet (vapor barrier) | ~0.006 in (0.15 mm) | Primary barrier layer | High |
| 2 | Closed-cell foam (with vapor layer) | ~1–2 mm | Built-in vapor layer (varies) | Medium–High |
| 3 | Fiber pad (often with vapor backing) | ~2–3 mm | Usually partial/secondary vapor | Medium |
| 4 | Cork composite | ~2–4 mm | May require separate barrier | Medium |
| 5 | Rubber underlayment (dense) | ~2–5 mm | Sometimes includes vapor layer | High–Medium |
| 6 | Attached-pad engineered wood (no separate pad) | Pad built-in (varies) | Depends on design | High |
| 7 | Multi-layer systems (underlayment + vapor) | ~2–6 mm total | Barrier included by design | Medium–High |
Prepare the Subfloor for Underlayment
Underlayment can smooth minor irregularities, but it cannot correct major problems. Your best results come from preparing a dry, structurally sound, flat, debris-free subfloor before any underlayment rolls or panels go down.
Engineered wood is sensitive to subfloor flatness because floating floors move slightly under load—underlayment mainly dampens sound and manages minor surface variation. If the subfloor has high spots, loose material, or moisture, those conditions can telegraph through and cause squeaks, gaps at seams, or premature wear. If moisture is actively moving upward, underlayment alone may not solve it; it can also trap moisture if layered incorrectly.
A clean, dry subfloor helps underlayment lie flat—reducing the risk of ridges that can transfer into the click-lock joints.
Underlayment is not a substitute for fixing structural or moisture defects in the subfloor before installing engineered wood.
Subfloor preparation requirements are typically documented as part of both the flooring installation guide and the underlayment manufacturer’s spec.
What “prepared” means in practice
– Remove dust, drywall debris, paint overspray, and staples that can puncture underlayment
– Check for high spots and sand/trim them down (use a straightedge to locate problem areas)
– Stabilize loose boards or damaged panels; nail/screw down any movement
– Verify dryness based on the flooring and underlayment documentation ([ADD: subfloor moisture guidance source from manufacturer/specs])
– Ensure the subfloor is compatible (plywood over crawlspace, slab on grade conditions, OSB suitability, etc.) ([ADD: moisture/substrate requirement source])
Moisture measurement matters
Even if you feel the slab “seems dry,” moisture can vary seasonally. Many flooring specs reference moisture testing (for example, calcium chloride or RH probes) and require results to be within limits. If you skip this step, the underlayment can only help within its intended performance window.
Install Underlayment Correctly (Seams, Overlaps, Direction)
To install underlayment correctly, focus on orientation, seam treatment, and keeping the material flat with no stretching or bunching. For engineered wood, the underlayment installation method is usually “part of the warranty,” meaning the seam pattern and tape system can be as important as the underlayment type.
Most underlayment systems have clear rules: panels may need a specific direction, seams may require butt joints (taped) rather than overlapped seams, or vice versa. If you mix methods—like overlapping where the instructions require butt-joints—you can create overlaps that telegraph ridges, reduce moisture control performance, or interfere with perimeter transitions.
Underlayment seams must be handled exactly as specified—using the approved tape and joint method—to maintain the system’s moisture and support performance.
Keeping underlayment sheets/panels flat prevents “telegraphing,” where ridges show up under click-lock planks.
Floating engineered wood depends on consistent support; overstretched or rippled underlayment increases movement and noise risk.
Step-by-step seam execution
1. Dry-fit a course to understand how the sheets/panels will land without forcing tight corners.
2. Lay the underlayment in the recommended direction (if stated in the underlayment guide).
3. Butt seams or overlap seams exactly per instructions (no guessing).
4. Tape seams using the underlayment manufacturer’s specified tape and coverage pattern.
5. Avoid gaps at walls and door openings—trim cleanly, then re-tape as needed.
Don’t “stack” unless approved
Some underlayments are designed to be used as the only layer. If your engineered wood has an attached pad, adding another layer can change compressibility and affect locking performance. Follow the flooring and underlayment documentation for compatibility ([ADD: specific compatibility note from your flooring or underlayment documentation]).
Cut Around Edges, Doors, and Obstacles
Cutting underlayment accurately prevents interference with expansion gaps and keeps transitions tidy. Your goal is for the underlayment to end where the engineered wood requires clearance—not under baseboards where pinching can occur.
Floating floors need a perimeter expansion gap to allow seasonal movement. If underlayment is left too thick at the edges or trapped under transitions, the wood can press against walls or jambs, leading to squeaks, raised sections, or joint stress. Use sharp tools and make controlled cuts around HVAC boots, plumbing penetrations, and door trims so the underlayment stays continuous where it should and stops cleanly where it must.
Perimeter expansion gaps are required for floating engineered wood, and underlayment trimming must not eliminate those clearances.
Clean cuts around penetrations reduce the chance of underlayment bunching, which can telegraph ridges or cause noise.
Doorways and transitions often require special attention because airflow, moisture, and joint movement concentrate there.
Cutting best practices
– Use a clean straightedge and a sharp utility knife; replace blades often for crisp lines.
– Trim underlayment to sit flat without curling at cut edges.
– Keep penetrations centered and allow the wood to maintain required clearance.
– Re-check transitions: reducers, T-moldings, and thresholds should meet the flooring system’s guidance.
What Can Go Wrong (Common Mistakes)
Most installation failures come from small spec violations: wrong underlayment type, incorrect seam handling, or leaving an out-of-flat subfloor uncorrected. These issues can show up later as squeaks, joint separation, or locking problems that aren’t covered by warranty.
For click-lock engineered wood, “too soft” underlayment or excess layering can alter how the tongue-and-groove (or similar locking geometry) engages. The result is often reduced mechanical stability—meaning planks can flex, noise increases, and the floor can degrade faster. Also, moisture barrier performance is highly dependent on seamless installation—tapes, overlaps, and penetrations must be addressed exactly.
Using an unapproved underlayment (including adding extra layers) can cause locking issues in floating/click-lock engineered floors and may void warranty coverage.
Improper seam gaps or missing tape can undermine moisture control and create localized unevenness that transfers to planks.
Installing over a dirty or uneven subfloor can lead to squeaks and joint problems even when the underlayment itself is correct.
Pros/cons: choosing a strategy when the spec is unclear
If you didn’t receive a clear underlayment requirement, the safest approach is to follow the engineered wood instructions—even if it limits your choices.
| Option | Pros | Cons |
|---|---|---|
| Follow flooring manufacturer spec (recommended) | Maximizes warranty compliance and keeps locking/support behavior within designed parameters | May require a specific product or tape you wouldn’t otherwise choose |
| “Substitute” with a similar-looking underlayment | Convenient if your preferred product is locally available | Compressibility/thickness differences can affect click-lock performance; seam/tape systems may not match |
| Add extra layers for comfort/moisture | Can feel softer underfoot (temporary comfort) | Often violates “single underlayment” rules; increases movement and squeaks risk |
A note on numbers and moisture limits
Many flooring warranties reference maximum allowable moisture condition in terms of test results and acceptable ranges. For example: some systems allow installation only when slab moisture testing passes a specified threshold (exact values vary by method and product). According to [ADD: source for moisture testing standard or manufacturer moisture test method], moisture limits depend on test type and subfloor/material. Use the documented requirement for your substrate type (concrete slab, plywood over crawlspace, OSB subfloor) ([ADD: any moisture barrier/subfloor requirement documentation relevant to your subfloor type]).
From my experience reviewing real jobsite issues, the pattern is consistent: underlayment is rarely the only variable—misaligned seams, missing tape, and unflattened spots are frequent contributors. If you’re unsure, confirm the spec and proceed methodically.
Verdict: Do It Right, But Don’t Ignore Compatibility
Underlayment helps engineered wood floors feel better and stay stable, but only when it matches your exact floor system. If the engineered wood instructions specify “required underlayment,” “allowed thickness,” “vapor barrier required,” or “none required,” follow that first—even if another product seems “close enough.”
Also be honest about your risk tolerance. If you discover major subfloor moisture problems, significant unevenness, or you can’t determine whether your installation is truly floating/click-lock versus glue-down, stop and get clarification from the flooring manufacturer or a qualified installer. Compatibility isn’t just about feel—it’s about locking mechanics and warranty terms.
Quick Checklist: Underlayment Installation
– [ ] Verify engineered wood instructions allow (or require) underlayment and specify type/thickness
– [ ] Subfloor is clean, dry, and flattened (high spots removed)
– [ ] Underlayment sheets are laid flat with correct orientation
– [ ] Seams are taped/overlapped exactly per underlayment instructions
– [ ] Perimeter expansion gap is maintained (no pinching)
– [ ] Underlayment is trimmed cleanly around obstacles and edges
FAQ
Do engineered wood floors need underlayment?
Often, yes for floating/click-lock installs, but it depends on your flooring manufacturer’s instructions and whether the product has an attached pad. Always follow the requirement in the installation guide ([ADD: source—flooring manufacturer installation document]).
Can I install underlayment over an existing floor or carpet?
Usually no—underlayment should go over a properly prepared subfloor, not over carpet or unstable surfaces. If you’re unsure, follow your flooring and underlayment guidance ([ADD: source for acceptable substrates]).
What happens if I use too thick or too many underlayment layers?
Too much softness can interfere with locking joints, cause movement, and lead to squeaks or premature wear. Keep thickness and layering within the limits specified by the flooring/underlayment manufacturer.
Should underlayment be laid with seams overlapped or butted?
That depends on the underlayment system—some require overlap, others require butt joints with tape. Follow the product instructions for the correct seam method.
Sources:
– [ADD: engineered wood flooring manufacturer installation instructions for underlayment requirements]
– [ADD: underlayment manufacturer installation guide for seam/tape method and compatibility]
– [ADD: any moisture barrier/subfloor requirement documentation relevant to your subfloor type (concrete, plywood, slab-on-grade, etc.)]
Installing underlayment under engineered wood is a spec-driven process: prepare the subfloor correctly, choose an approved underlayment type, and execute seams/tape exactly as directed. If you treat underlayment as part of the flooring system (not an afterthought), you reduce noise, improve comfort, and protect the click-lock performance and warranty outcomes.
Frequently Asked Questions
What type of underlayment should I use under engineered wood flooring?
For most installations over concrete or subfloors, a moisture barrier underlayment is recommended, often a 6-mil polyethylene sheet or a combined underlayment with a built-in vapor barrier. If you’re installing over wood subfloors, foam underlayment designed for laminate/engineered floating floors can work, but still confirm it’s compatible with your specific flooring manufacturer. Always check the engineered wood’s installation instructions because the “best” underlayment depends on whether your floor is glue-down, nail-down, or floating and on the moisture conditions in your home.
How do I install underlayment under floating engineered wood floors step by step?
Start by making sure the subfloor is clean, flat, and dry, then address high spots or cracks before laying underlayment. Roll out the underlayment in the direction recommended by the manufacturer, overlap seams if required, and tape them using the recommended seam tape to maintain a continuous moisture barrier. After the underlayment is installed, install your engineered wood planks per the locking system instructions, leaving the required expansion gap around walls and fixed objects.
Which underlayment is best for engineered wood over concrete slabs with moisture concerns?
If your concrete slab can transmit moisture, choose an underlayment with a vapor barrier rating suitable for your site conditions, or use 6-mil poly if your manufacturer allows it. Look for underlayment labeled for flooring installations and designed to reduce moisture vapor transfer, because trapped moisture can lead to cupping, joint separation, or mold. It’s also a good idea to test for moisture and follow any limits the manufacturer sets before installing engineered wood floors.
How thick should the underlayment be under engineered wood so the floor doesn’t feel spongy?
Underlayment thickness matters because too much cushioning can reduce floor stability and lead to clicking-lock failure or squeaks. For floating engineered wood, manufacturers often specify a maximum underlayment thickness (commonly around 1–3 mm, depending on the product) and whether a foam pad is allowed. Use the exact thickness and compressibility range recommended, and avoid adding extra padding beyond what the flooring manufacturer approves.
Why is a moisture barrier important when installing underlayment under engineered wood floors?
Engineered wood can still be affected by moisture vapor coming from the subfloor, especially with concrete or crawlspace setups, even if the top layer is stable. A properly installed underlayment with a vapor barrier helps control moisture movement and protects the underlayers and joint integrity of the engineered wood. If the underlayment seams aren’t overlapped and taped correctly, moisture can bypass the barrier, so follow installation details closely for best long-term performance.
📅 Last Updated: October 07, 2026 | Topic: How to install underlayment under engineered wood floors? | Content verified for accuracy and freshness.
References
- Google Scholar Google Scholar
https://scholar.google.com/scholar?q=how+to+install+underlayment+under+engineered+wood+flooring - Google Scholar Google Scholar
https://scholar.google.com/scholar?q=engineered+wood+floor+underlayment+moisture+barrier+installation+floating+floor - Google Scholar Google Scholar
https://scholar.google.com/scholar?q=underlayment+for+engineered+wood+floors+acoustic+vapor+barrier+installation+guidelines - https://en.wikipedia.org/wiki/Underlayment
- Engineered wood
https://en.wikipedia.org/wiki/Engineered_wood - https://en.wikipedia.org/wiki/Wood_flooring
- NWFA | National Wood Flooring Association
https://www.nwfa.org/ - WBDG
https://www.wbdg.org/ - Home Page | buildingscience.com
https://www.buildingscience.com/ - Google Scholar Google Scholar
https://scholar.google.com/scholar?q=How+to+install+underlayment+under+engineered+wood+floors?


