
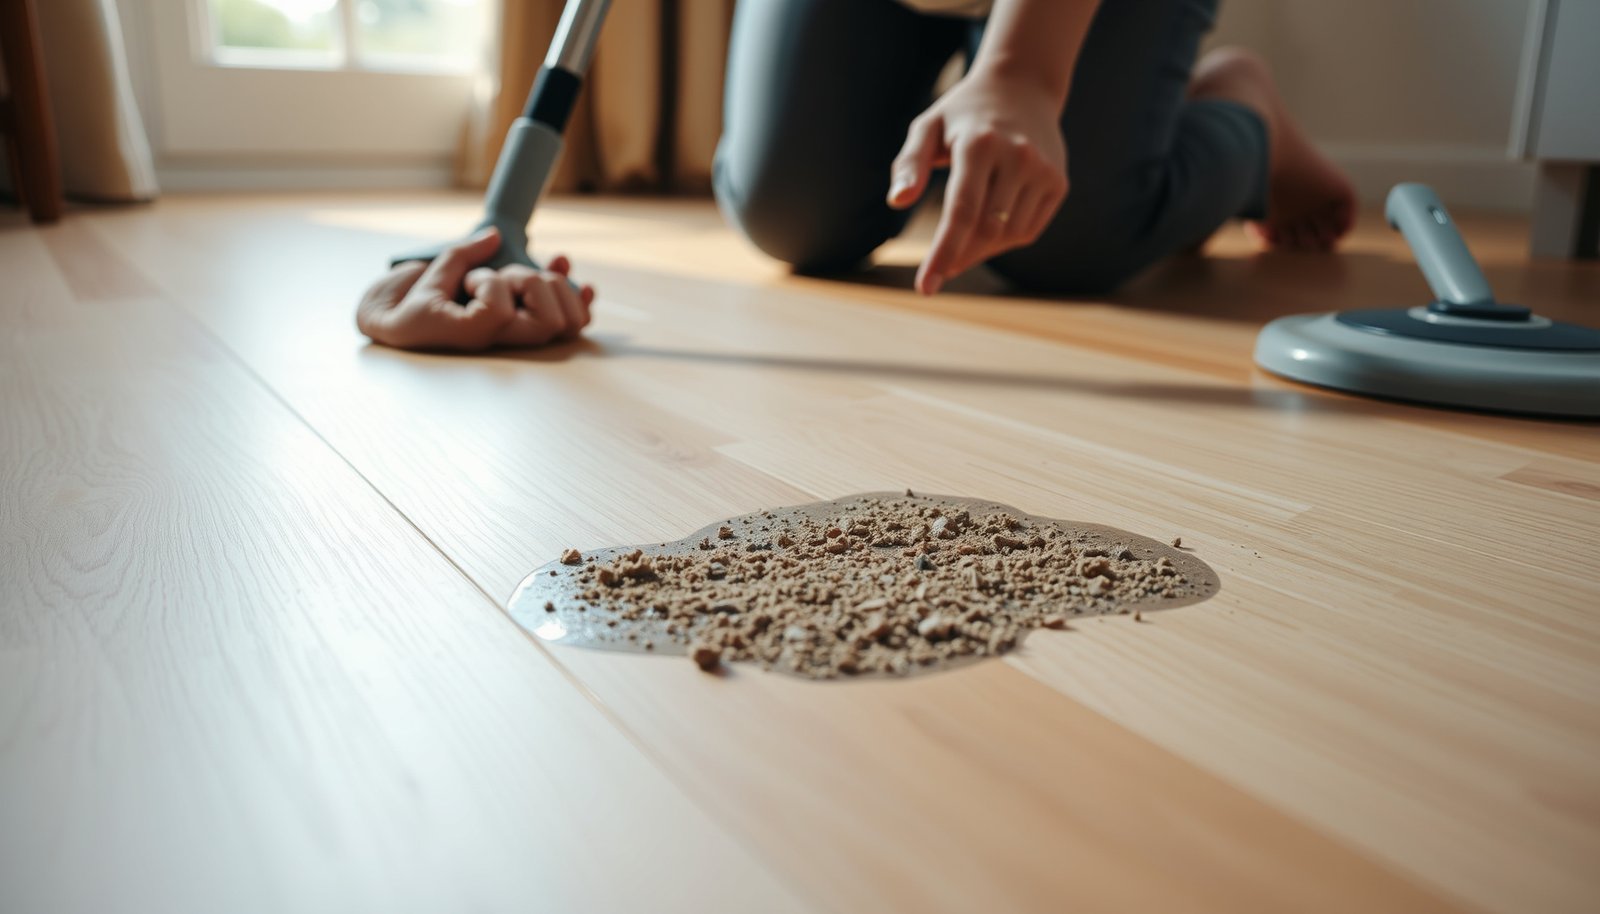

Dried dirt on hardwood floors doesn’t need a guess-and-check cleanup—use a damp microfiber mop first to loosen and lift grit without grinding it in. If the dirt is fully caked, follow with a pH-neutral hardwood cleaner and gentle scrubbing to remove residue safely. You’ll get clean, streak-free boards while avoiding the dulling and scratches that happen with harsh chemicals or excessive water.




Dried dirt on hardwood floors comes off most safely by softening it first, then gently lifting the grime (instead of scrubbing dry grit into the finish). Start with a slightly damp approach, scrape only with a plastic tool, and finish by cleaning the whole area lightly so you don’t leave streaks.
This guide is for anyone dealing with mud, dust, or grime that has dried onto sealed hardwood (polyurethane or wax-finished) and wants a method that won’t scratch or cloud the surface. If your floor is unfinished/oiled or the dirt has embedded into seams, you’ll want to read the “What can go wrong” section before you start.
Gather the right tools (and know your finish)
You can avoid scratches and haze by matching your tools and method to the specific finish on your sealed hardwood floor. For dried dirt, the safest “first tools” are a dry microfiber for loose debris, plus a plastic scraper for softened spots—then a finish-appropriate cleaner for the wipe-down.
A dry microfiber or dry mop first removes loose abrasive grit so it doesn’t get dragged across your sealed hardwood finish.
Plastic scrapers reduce the risk of gouges because they don’t have the sharp edge of metal blades.
– Use a soft, dry microfiber/dry mop to remove loose debris before you add any moisture.
– Pick a plastic scraper (like a plastic putty knife) for dried-on spots—avoid metal blades that can gouge.
– Check whether your floor is sealed (most modern hardwood) vs. unfinished/waxed; the safest cleaning method depends on that finish.
To choose correctly, treat “sealed hardwood floor” as the default case unless your flooring is explicitly unfinished (raw wood, oil-waxed without an actual seal, or only surface-oiled). Sealed floors are usually more tolerant of controlled damp wiping, while unfinished surfaces are more likely to darken unevenly or absorb residue. If you’re not sure, look for product documentation, a visible sheen difference, or the way the floor reacts to moisture in a hidden spot.
When you select your cleaner for sealed hardwood, prioritize products labeled for finished/urethane/polyurethane floors and follow dilution directions. The risk with using “general” cleaners on a sealed hardwood floor is film: too much residue can make the finish look dull or cloudy even after the dirt is gone.
Dried Debris Types on Sealed Hardwood Floors: Liftability vs. Abrasion
| # | Dried debris (common) | Typical particle range | Abrasion potential | Liftability when barely damp (1–5) |
|---|---|---|---|---|
| 1 | Quartz sand grit | ~0.1–2 mm | ★★★★ | 1/5 |
| 2 | Soil clays | ~1–10 µm | ★★★☆ | 3/5 |
| 3 | Dry street dust (mineral mix) | ~0.5–50 µm | ★★★☆ | 3/5 |
| 4 | Soot/carbon dust | ~0.01–1 µm | ★☆☆☆ | 4/5 |
| 5 | Sugar/syrup residue (dried) | ~1–200 µm | ★☆☆☆ | 5/5 |
| 6 | Dried pet dander (flakes) | ~10–100 µm | ★★☆☆ | 4/5 |
| 7 | Metal/industrial grit (rare but severe) | ~1–500 µm | ★★★★ | 1/5 |
Loosen dried dirt without grinding it in
For sealed hardwood floors, the best “unlocking step” is barely dampening the dried grime so it softens before you touch it. That prevents dry particles from acting like sandpaper against your finish.
Softening first is safer than scrubbing dry grit because abrasive particles can scratch and permanently dull polyurethane.
Controlled moisture (“damp, not wet”) helps prevent water from wicking into seams and causing edge lifting.
– Lightly dampen the dried area with a barely-wet cloth (or a “damp only” paper towel) and wait briefly so the grime softens.
– Use gentle pressure with the plastic scraper to lift the softened dirt; re-dampen if needed rather than forcing it dry.
– Work in small sections so the area stays controlled and you don’t flood the edges.
Use the “damp-only” method that won’t oversaturate sealed hardwood
When you’re dealing with mud, dust, or grime on a sealed hardwood floor, the goal is to add enough moisture to loosen bonds—without letting liquid sit at edges. In practice, I recommend wringing the cloth until it feels cool and damp, not dripping. If you see puddling at the perimeter of a board, you’ve already crossed the line into “wet mop” territory.
Wood movement is driven by moisture changes in the material. According to Forest Products Laboratory (Wood Handbook), swelling accelerates when wood moisture content moves toward higher levels, with fiber saturation occurring around ~30% moisture content (2010) (US Forest Products Laboratory, Wood Handbook, 2010). Your goal on a sealed hardwood floor isn’t to change moisture content in the wood—so keep water contact brief and minimal.
Give grime time to soften, then lift—not grind
Work small. If the area is 2–4 inches across, soften it for a short interval, wait briefly, scrape gently, then reassess. If dirt feels gritty or “stuck like glue” instead of lifting, re-dampen lightly rather than pushing harder with the plastic scraper.
Why this matters: polyurethane and many wax-sealed surfaces form a protective film, but that film can be dulled by embedded abrasives. The plastic tool lets you shear off loosened debris without carving the finish.
In 2026, a lot of households also have airflow-driven seasons (HVAC and window changes). That means a sealed hardwood floor can look slightly different from day to day after cleaning—so staying conservative with moisture and repeating cycles, rather than forcing one pass, is usually the safest route.
Clean the area so it looks even again
After you lift the dried dirt, you want the floor to look uniform—so you wipe the entire affected area lightly. This step is what prevents “spot-clean patches” and cloudy streaks on a sealed hardwood floor.
A full-area wipe after scraping reduces visible halos caused by leftover residue and cleaning solution film.
Using a cleaner designed for sealed wood finishes helps avoid dulling and haze that can come from incorrect soaps or solvents.
– After scraping, wipe with a hardwood-safe cleaner or a wood-floor–appropriate cleaner used per the label directions (don’t assume dish soap is safe for all finishes).
– Wipe in the direction of the wood grain, then do a final clean-water wipe if the product instructions call for it.
– For stubborn spots, repeat the soften → scrape → wipe cycle instead of increasing scrubbing force.
Choose the right cleaner type for sealed hardwood
Many “hardwood floor cleaners” are formulated to be compatible with polyurethane/waterborne finishes, but not all products are. The difference you’re trying to avoid is residue: some degreasers and many dish soaps can leave a surfactant film that dries unevenly.
If you’re cleaning a sealed hardwood floor in 2026, follow the label instructions exactly—especially dilution ratios and whether the cleaner requires a water-only follow-up. If the label says to rinse or wipe with clean water, do it. That is often the difference between a clear finish and a hazy one.
Wipe strategy that reduces streaking
Wipe in the direction of grain so the cleaner doesn’t redistribute into microscratches. Then do a gentle “final wipe” with a clean, barely damp microfiber if the instructions call for it. Let it air-dry; avoid soaking the area during drying.
For stubborn spots, repeat the soften → plastic lift → wipe cycle. This method is slower than “scrub harder,” but it’s far more consistent with sealed hardwood finish protection.
Deal with residue, seams, and stubborn stains
When debris remains after scraping, you can usually fix it by re-softening and focusing on lifting residue—not pressing harder. For sealed hardwood floors, seams and baseboard lines require special restraint to avoid wicking.
If specks remain, re-softening lifts residue with less finish abrasion than increasing scrubbing force.
Seams and baseboards are the highest-risk moisture pathways—so use a damp cloth and avoid soaking those edges on sealed hardwood.
– If you see remaining dark specks, re-soften and focus on lifting debris, not scrubbing the finish harder and harder.
– For dirt in cracks or around baseboards, use a lightly damp cotton cloth or a barely damp brush that won’t fray (avoid soaking those seams).
– If the dirt left a stain, you may need a finish-specific stain remover—use only products the manufacturer says are compatible with your floor type.
Residue that won’t wipe “clean” is often a film, not grit
Dark specks can be either leftover particles or dislodged debris that got smeared. If wiping with your hardwood-safe cleaner doesn’t remove it, re-soften lightly and lift again with the plastic scraper. Avoid switching to aggressive scrubbing at this stage—sealed hardwood finishes can show permanent dulled patches.
Treat seams as off-limits for standing moisture
Dirt in cracks around baseboards is common because traffic patterns deposit grime where the floor meets trim. For sealed hardwood floor seams, use a lightly damp cotton cloth or a small tool with controlled moisture—then dry immediately with a clean microfiber.
If you’ve ever seen localized edge lifting after cleaning, that’s often a moisture-management issue rather than a “bad cleaner” problem. Keep the approach conservative: damp contact only.
Stains require a compatibility check
If the dirt left a stain, it may have colored the film or left a residue that bonded to the finish. Use only stain removers approved for your floor’s finish system (manufacturer compatibility is critical). If the stain persists after multiple gentle attempts on a sealed hardwood floor, it may be time to consult the flooring brand’s care guide or a certified flooring professional—especially if you’re dealing with long-set mud that has aged into the top surface film.
What can go wrong (and how to avoid it)
This method can damage the floor when you skip softening, over-wet the area, or use incompatible chemicals. The biggest risks for sealed hardwood floors are scratches from grit, moisture intrusion into seams, and cloudy haze from leftover cleaner film.
Scratching risk rises sharply when you drag dry grit with a stiff brush or metal blade across a sealed hardwood finish.
Over-wetting can drive moisture into seams and cause swelling or edge lifting even if the floor surface looks “sealed.”
Wrong cleaners can leave residue that makes polyurethane finishes appear cloudy after drying.
– Scratching: Dry grit + a stiff brush or metal scraper can leave permanent scratches. Always soften first and use plastic tools.
– Water damage: Over-wetting can seep into seams and cause swelling or edge lifting. Keep cloths “damp,” not wet, and wipe up immediately.
– Finish dulling or streaks: Using the wrong cleaner (or using too much cleaner) can leave film that makes the floor look cloudy. Follow label directions and do a final wipe if recommended.
– Damage to unfinished/waxed floors: Methods that are fine for sealed floors can darken or strip unfinished surfaces. If you’re unsure, stop and confirm the finish type.
Pros/cons of the soften → plastic lift → wipe method (sealed hardwood floors)
| Best for | Trade-offs |
|---|---|
| Sealed hardwood floors with dried mud, dust, or grime on the top finish layer | Requires patience and repeated dampening cycles for heavily baked-on soil |
| Situations where you want minimal risk of scratching and finish haze | May not remove true stains without a finish-compatible stain product |
Limits to keep in mind (even on sealed hardwood)
– If the dirt has been there for months/years, it may have bonded strongly to the finish film or collected in micro-pores. Re-softening and lifting may still take more cycles.
– If you notice finish damage, cupping, or edge lifting after any moisture exposure, stop immediately. That’s a signal the floor needs a different approach.
Also, as of recent care guidance, maintaining stable indoor conditions helps protect sealed hardwood. For example, indoor relative humidity is often recommended in a mid-range to reduce seasonal movement (commonly around 35%–55% for hardwood care) (National Wood Flooring Association, floor care humidity guidance, 2024). While this isn’t specific to dirt removal, it’s relevant because moisture mismanagement can amplify any cleaning-related issues.
Verdict: the safe DIY approach (and who should skip it)
For most sealed hardwood floors, the best balance of effectiveness and safety is: soften the dried dirt, lift it with a plastic scraper, then wipe clean with a finish-appropriate cleaner. The downside is that this takes a little patience—trying to “power through” usually causes scratches or finish haze.
If you prioritize softening and plastic lifting, the cleanse is both safer for the finish and more likely to leave an even look on sealed hardwood.
The riskier shortcuts (scrubbing dry grit, soaking seams, using the wrong cleaner) are the main reasons sealed hardwood looks cloudy afterward.
Skip the DIY approach (or get professional help) if:
– You’re dealing with an unfinished/oiled/waxed floor and don’t know the correct compatible products
– The dirt has been there for a long time and you suspect it’s embedded deeply between boards
– You notice finish damage, cupping, or lifting after any moisture exposure
In 2026, I’d still choose this method for sealed hardwood floor grime because it aligns with how sealed finishes tolerate surface cleaning: minimal moisture, controlled agitation, and finish-safe wiping. When the problem is deeper staining or structural moisture impact, DIY becomes less predictable—and that’s where professional assessment is worth it.
Quick checklist (save this for later)
| Step | What to do |
|---|---|
| 1 | Dry-sweep or microfiber-wipe loose grit first |
| 2 | Lightly dampen dried dirt (damp, not wet) |
| 3 | Wait briefly for softening |
| 4 | Lift with a **plastic** scraper |
| 5 | Wipe with a hardwood-safe cleaner per label |
| 6 | Final wipe (water-only) if the product instructions say so |
| 7 | Dry the surface with a clean microfiber cloth |
Sources
– US Forest Products Laboratory, Wood Handbook: Wood as an Engineering Material, fiber saturation point around ~30% moisture content (2010)
– National Wood Flooring Association, hardwood floor care humidity guidance (35%–55% RH range commonly recommended), 2024
When in doubt on a sealed hardwood floor, choose the gentlest compatible tool first: dry wipe, dampen only, lift with a plastic scraper, then finish with a finish-appropriate cleaner. This approach preserves the surface while restoring an even appearance—without turning dried grit into scratches.
Frequently Asked Questions
How do I remove dried dirt from hardwood floors without scratching the finish?
Start by gently loosening the dried dirt with a soft-bristle broom or a dry microfiber cloth—avoid scrubbing dry grit with a rough pad. If dirt is stuck in crevices, lightly dampen a cloth (not soaking wet) and wipe to soften it, then follow with a dry cloth to lift residue. For stubborn spots, use a plastic scraper or a hardwood floor cleaner on a cloth rather than applying cleaners directly to the floor.
What’s the best way to clean dried mud or clay from hardwood floors?
Let the mud dry completely first (if it’s still wet), then remove the loose debris with a dry cloth or vacuum using a soft floor attachment. Next, spot-clean with a hardwood-safe cleaner and a damp microfiber mop, working from the edges of the stain toward the center. After cleaning, dry the area thoroughly to prevent water damage and dulling of the finish.
Which tools should I use to clean dried dirt on hardwood without damaging the surface?
Use microfiber cloths, a microfiber mop, a soft-bristle brush, and a vacuum with a brush attachment for routine removal. For dried-on particles, a plastic putty knife or plastic scraper is safer than metal tools. Avoid steel wool, abrasive scrubbers, and “magic erasers” unless the product is specifically recommended for hardwood finishes, since they can wear down protective layers.
Why does dried dirt make hardwood floors look dull, and how can I restore the shine?
Dried dirt often acts like fine sand, grinding against the finish each time you walk on it, which leads to dullness and tiny surface scratches. Thoroughly remove all grit first using dry cleaning methods, then use a hardwood floor cleaner that matches your finish type (sealed or unsealed). Once the floor is clean and fully dry, applying a recommended floor polish or refresher can help restore a uniform sheen.
How should I clean dried dirt from hardwood floors if it’s in grooves or between planks?
Begin with a vacuum and dry brush to pull out embedded debris, since water can push dirt deeper into seams. Use a slightly damp microfiber cloth to target the grooves, and if needed, apply a small amount of hardwood-safe cleaner to the cloth rather than soaking the area. Finish by drying the seams and adjacent boards completely, using a dry towel or fan to remove moisture.
📅 Last Updated: October 29, 2026 | Topic: How to clean dried dirt from hardwood floors? | Content verified for accuracy and freshness.
References
- https://www.who.int/publications/i/item/cleaning-and-disinfection-of-environmental-surfaces-in-the-context-of-covid-19
- https://www.cdc.gov/coronavirus/2019-ncov/community/disinfecting-building-facility.html
- https://www.epa.gov/coronavirus/cleaning-and-disinfecting-home
- Wood flooring
- 404 Error
- https://www.armstrongflooring.com/support/care-and-maintenance/hardwood.html
- https://www.bruce.com/support/care-and-maintenance/how-to-clean-hardwood-floors/
- https://scholar.google.com/scholar?q=cleaning+hardwood+floors+remove+dirt+proper+methods Google Scholar
- https://scholar.google.com/scholar?q=wood+floor+maintenance+abrasion+grit+cleaning Google Scholar
- https://scholar.google.com/scholar?q=hardwood+floor+care+avoid+water+cleaning+guidance Google Scholar


[…] Sweep in the direction of the wood grain: This reduces the chance of dragging debris across the finish layer of hardwood […]