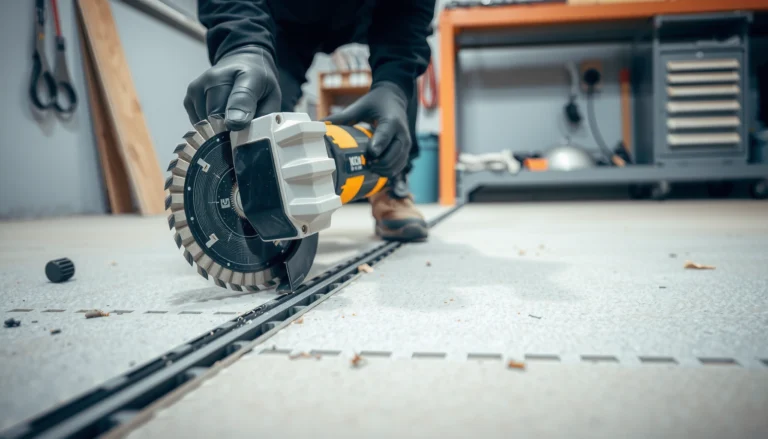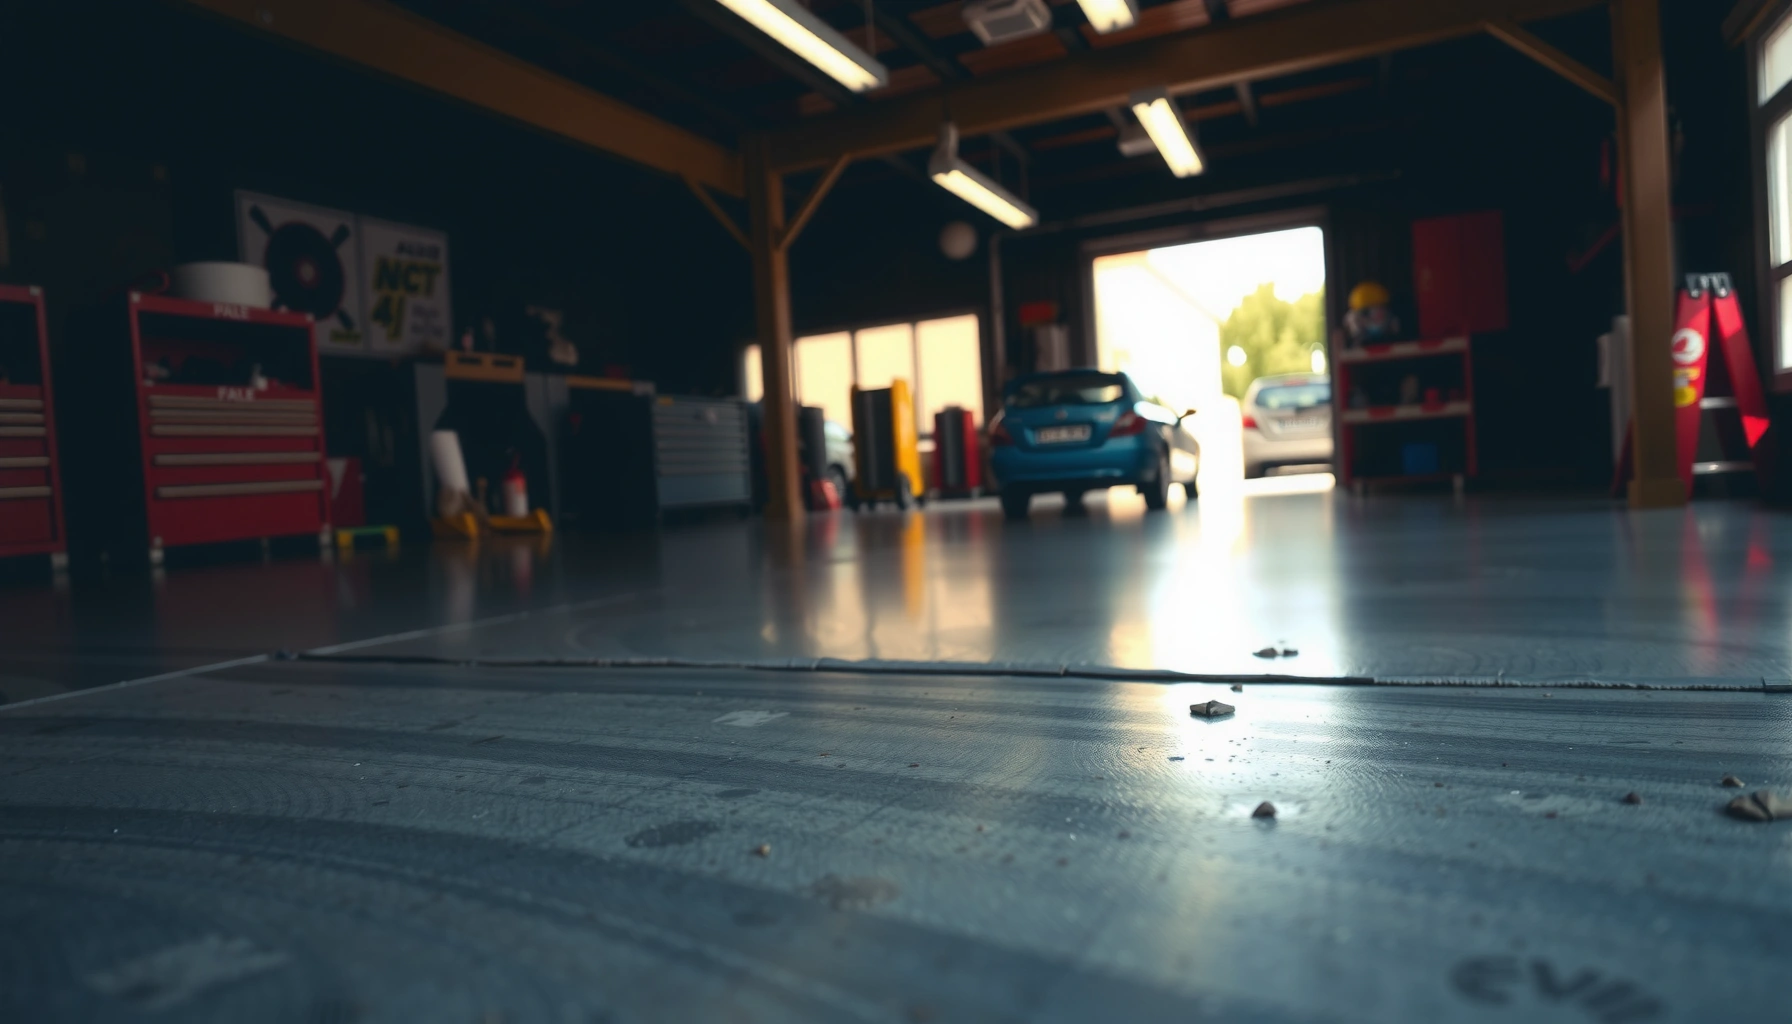

Want to polish garage floors to a smooth, glossy finish that actually lasts? This step-by-step guide lays out the fastest, most reliable process—from prep and grinding through densifying, polishing, and sealing—so you get a uniform shine without gouges or premature dulling. Follow these instructions and you’ll know exactly which products and grits to use at each stage.
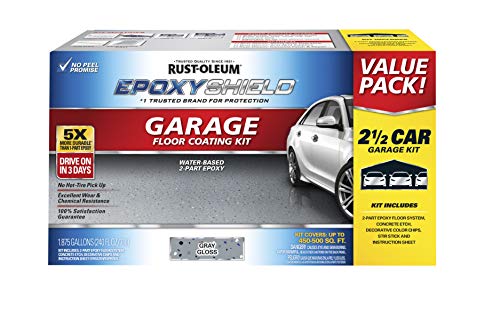

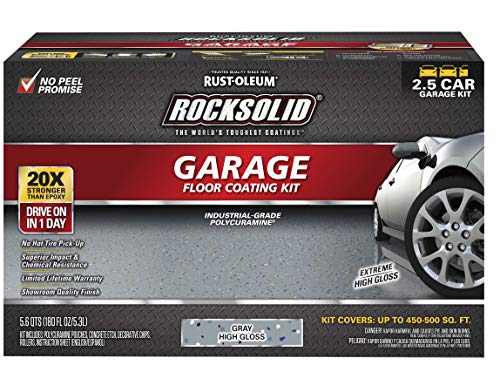
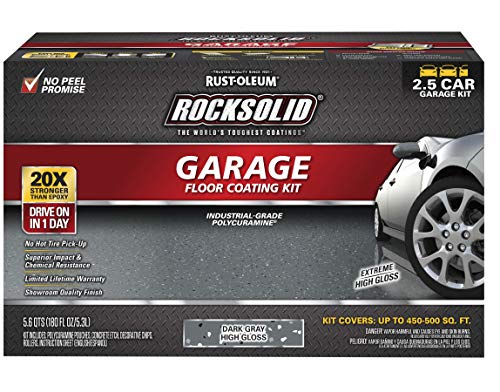
Polish your garage floor by cleaning and repairing the concrete first, then grinding, applying the right densifier/primer if needed, and finishing with a compatible polish sealant or topcoat. The exact products depend on whether you’re polishing bare concrete, fixing stains, or coating over existing finishes, but the core workflow stays the same—this guide walks you through the practical steps and the common mistakes that cause peeling, haze, or uneven shine.
This is for homeowners and small shops with concrete garage floors who want a smoother surface and a cleaner-looking finish. It’s especially useful if your floor has oil spots, rough patches, or minor surface damage and you’re deciding how much grinding/polishing to do yourself versus hiring a contractor.
Prep Like It Matters (Clean, Repair, and Dry)
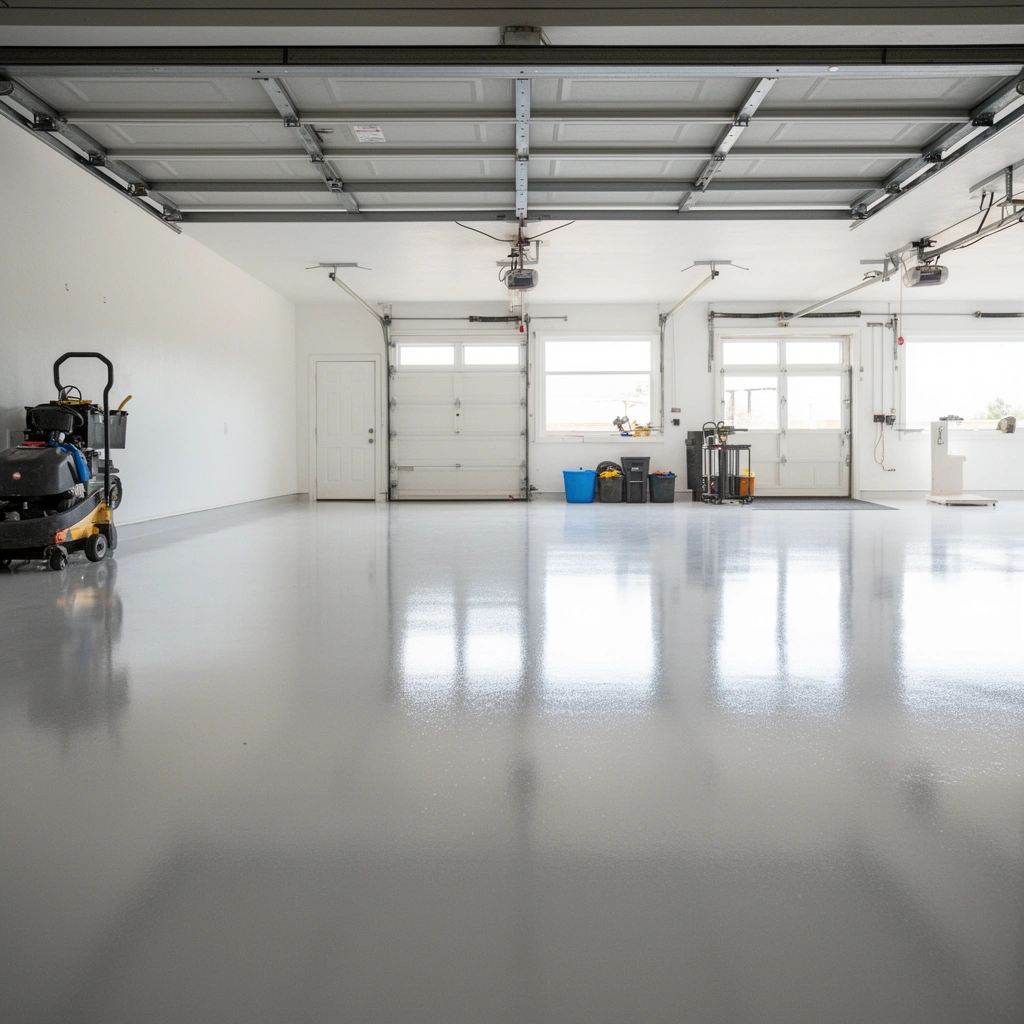
Prep matters because polishing amplifies whatever is already wrong on the slab—dust, contamination, cracks, and uneven areas all show up in the final sheen. If you want consistent results, start with a deep clean, then repair, then verify the concrete is fully dry.
Respirable crystalline silica is a known hazard during concrete grinding; OSHA sets a 50 µg/m³ permissible exposure limit (PEL) for an 8-hour time-weighted average (TWA).
Oil and grease contamination can prevent densifiers and sealers from wetting and bonding correctly, which is a common root cause of patchy gloss and premature coating failure.
ICRI surface-preparation guidance emphasizes matching substrate condition to the coating/polish system so you don’t “polish through” defects you meant to remove.
Clean thoroughly before any grinding
Before you touch a grinder, remove everything that can interfere with adhesion and mechanical bonding: paint drips/overspray, old sealers, adhesive residue, overspray from nearby projects, and loose debris. Then scrub using a concrete-safe cleaner/degreaser appropriate for the contaminants you have (grease vs. general dirt vs. residue from prior coatings). Rinse as recommended by the product instructions and allow the slab to dry completely.
From practical workflow experience: the “looks clean” test is not enough. If you can wipe a white microfiber and see dark transfer, you still have contamination to deal with before polishing.
Repair cracks, spalls, and pitting early
Grinding can make minor surface defects more visible at higher gloss, not less. Repair spalls (chips), fill cracks if your system requires it, and patch pitting so the surface becomes uniform. The goal is not to make every crack disappear—it’s to stop the polish system from treating those edges and voids as “high points” that catch light.
Be intentional about repair products: choose patch/repair materials that are designed for concrete flooring and compatible with the densifier/topcoat you plan to use.
Treat oil/grease staining during prep (not during finishing)
Oil stains are tricky because they can soak into pores and leave residue that later densifiers and topcoats can’t fully bind to. During prep, use a degreaser approach that’s compatible with your stain source and follow the manufacturer instructions for dwell time and rinsing.If stain remains after the first cleaning attempt, you may need mechanical removal (grinding) of the contaminated surface layer rather than relying on chemical cleaners alone—polishing over embedded contamination often produces a mottled “cloudy” look.
Quick safety note on dust control (you can’t skip this)
Concrete polishing and grinding create respirable crystalline silica dust. Use containment and dust collection that matches your equipment, and wear appropriate respiratory protection per your situation and the equipment/safety guidance you follow. According to OSHA, the 8-hour PEL for respirable crystalline silica is 50 µg/m³ (TWA) (OSHA Table Z-3 (Crystalline Silica), current standard framework). If your process exceeds control capabilities, pause and reassess your dust plan before continuing.
Choose Your Polishing Path (Bare Concrete vs. Coated Floors)
Your next step depends on whether the garage slab is truly “bare concrete” or whether it has coatings, sealers, paint, or residual curing compounds. The fastest way to avoid haze and peeling is to identify what’s there first, then choose a polishing/finishing system that’s meant to bond to that surface condition.
If paint, curing compounds, or sealers remain on the slab, densifiers and topcoats may not form a reliable bond after polishing alone.
Mixing pad grades and finish chemicals that aren’t designed to work together increases the odds of haze, soft finish, and uneven gloss.
A small “test patch” is a practical way to confirm whether a polish system will achieve the desired gloss on your existing concrete and surface chemistry.
Decide based on what’s on the slab
– Bare concrete target: Plan for mechanical grinding and densification (or the densifier/primer step specified by your polish system).
– Coated target: Confirm what’s on it (sealant, paint, epoxy remnants, penetrating sealers). Often you’ll need stripping or grinding to open the surface so your intended product can bond.
If you’re not sure, start with a small test area. Grind lightly and observe: does the sheen look uniform as you approach finer steps, or does it smear, stay glossy in patches, or refuse to level out? Those are signals you may have surface chemistry or contamination that needs more prep.
Keep the product system “in-family”
Polished concrete systems rely on compatibility between:– pad type and progression,
– densifier/primer chemistry,
– final polish sealer/topcoat chemistry,
– and cure/wait times between steps.
In my experience reading the failure patterns in real garages (and troubleshooting similar floor systems), the most common “mystery problems” come from mixing brands or skipping steps that are meant to condition the surface.
Grind for Level and Consistency (Start Coarse, Then Progress)
Grinding is how you remove high spots, flatten uneven concrete, and create the scratch pattern that later pads can refine into a uniform shine. If you rush the progression or skip dust control, you’ll end up with ridges, dull zones, and a gloss that looks “striped.”
Concrete grinding should begin with the coarsest step needed to correct surface condition, then progress to finer grits to reduce scratch visibility.
Dust control matters because embedded debris can create persistent dull patches even after you move to finer tooling.
Consistent overlap and even pressure reduce edge ridges that show up more clearly once you finish at higher gloss.
Use a staged grit/pad progression
Start with the coarsest step needed to:
1) remove surface contaminants/weak top layer,
2) knock down high spots,
3) level the scratch field.
Then move through finer steps. Don’t jump ahead. Polishing works by removing or refining the previous scratch pattern—skipping steps often leaves visible haze or an inconsistent “micro-topography” that later coatings can’t fully smooth over.
Work in sections with controlled passes
Polish in manageable sections. Use overlapping passes with steady, repeatable pressure. Keep moving—don’t dwell in one area, because localized heat or uneven abrasion can create soft spots or stubborn sheen differences.
Maintain dust control as part of surface quality
Even if your breathing protection is on, dust can still end up on the floor surface and get ground into the concrete. Use a shop vac system and containment approach appropriate to your grinder (and your local safety requirements). This isn’t just a health issue—it’s part of achieving a uniform optical finish.
Densify and Finish (Primer/Densifier + Topcoat or Sealant)
Finish quality depends on whether the densifier/primer and final topcoat/sealant match your slab condition and your desired performance. Apply the densifier step only when your system calls for it, and finish with compatible polish pads/coats while respecting cure times.
Follow manufacturer spread rates and application timing for densifiers/primers; incorrect coverage is a known cause of uneven darkening and blotchy sheen.
A compatible final sealer/topcoat is often what turns an even grind into a clear, durable surface that resists staining and improves cleanability.
Cure time matters: rushing between steps can trap solvents or prevent proper film formation, leading to soft finish or premature wear.
Apply densifier/primer only when the system specifies it
Densifiers penetrate and modify the concrete surface; primers can improve adhesion when required. If your polish/finish system includes this step, apply it exactly as directed—timing, dwell, and coverage rate are not optional details.
If you’re polishing bare concrete but your slab is very porous, densification typically plays a bigger role in uniformity. If your concrete already has penetrating treatments, you may need mechanical confirmation first.
Choose finishing pads and a compatible topcoat
Your final sheen comes from:
– the final mechanical pad (or polishing stage),
– the sealer/topcoat’s reflectivity and clarity,
– and the surface cleanliness immediately before the coating step.
Avoid overworking the surface during finishing. Streaking often comes from uneven application, insufficient dwell/evaporation control, or contamination that reappears as you move to higher-gloss pads.
Let it cure fully before parking or foot traffic
Even “dry to touch” coatings can still be vulnerable while curing. Wait for full cure per the product instructions, especially if you plan to park vehicles in the garage right after finishing. Rushing is a common reason DIY floors look great initially and then degrade quickly at stress points (turning tires, door edges, and localized heavy loads).
What Can Go Wrong (And How to Avoid It)
Most polishing problems trace back to three categories: contamination, incompatible products, or an incomplete prep/grind sequence. If you address those root causes up front, you prevent the visible symptoms—haze, peeling, and uneven gloss—that frustrate homeowners and shop owners alike.
Haze frequently results from incomplete grinding refinement, contaminant residue on the slab, or skipping steps required by the densifier/topcoat chemistry.
Peeling or flaking topcoat typically indicates inadequate substrate preparation or contamination (sealers, paint, curing compounds) that blocks adhesion.
Uneven gloss usually reflects uneven grinding pressure, inconsistent pad progression, or failure to repair pits and cracks before high-gloss finishing.
Common issues and their likely causes
Haze or dull spots
– Polishing contaminated concrete (oil, dust embedment, residue from prior sealers)
– Skipping densifier/primer step where the product system requires it
– Incorrect pad progression (leaving visible scratch remnants or inconsistent micro-surface)
Peeling/flaking topcoat
– Surface still contains sealers, curing compounds, paint, or adhesive residues
– Grinding wasn’t sufficient to provide mechanical “tooth” (or the finish requires a specific profile)
– Coating applied before proper cure/flash times
Uneven gloss
– Uneven grinding pressure or inconsistent overlap
– Failure to repair pits/cracks so light reflects from edges and voids
– Inconsistent application of final topcoat (coverage, dwell, or recoat window)
Safety and dust issues you must plan for
Concrete grinding can expose you to respirable crystalline silica. OSHA’s framework includes a 50 µg/m³ (TWA) PEL for respirable crystalline silica (OSHA Table Z-3 (Crystalline Silica), current standard framework). Additionally, dust control and respiratory protection must be aligned with your specific equipment and operating conditions.
- Pros of DIY polishing
- Lower cost, control over prep details, and the ability to iterate on a small area first.
- Cons of DIY polishing
- Higher risk of haze/soft finish if the system steps and cure timing aren’t followed exactly; higher safety burden from silica dust.
Verdict / Tip (When DIY Works vs. When to Stop)
DIY polishing can deliver a clean, smoother garage floor when the slab is mostly sound, you invest time into prep, and you follow one coherent polish/finish system’s pad sequence and cure times. Stop and consider a contractor if you have deep cracking, major spalling, unknown coatings/adhesives that require aggressive removal, or you can’t maintain consistent dust control.
Grinding and finishing performance depends more on correct surface preparation and system compatibility than on “finishing shine” alone.
If you discover an unknown coating or curing compound during grinding, further work should match the coating’s removal and surface-prep requirements before applying any topcoat.
For high-gloss results, consistent grinding and finishing application is critical; the final sheen can reveal even small prep inconsistencies.
If your goal is a showroom-style high gloss, consider getting a contractor quote after you’ve identified what’s currently on the slab—this can save time if the surface condition isn’t ideal for DIY. Also keep expectations realistic: a polished concrete look is usually “engineered consistency,” not just “more shine.”
Quick Checklist: Garage Floor Polishing
Respirable Crystalline Silica Limits Used in Concrete Grinding Safety Planning
| # | Organization / Standard | Limit Type | 8-hr Value | Typical Risk Direction |
|---|---|---|---|---|
| 1 | OSHA (USA) | PEL (TWA) | 50 µg/m³ | Lower = better |
| 2 | OSHA (USA) | Action Level (TWA) | 25 µg/m³ | Lower = better |
| 3 | NIOSH (USA) | REL (TWA) | 50 µg/m³ | Lower = better |
| 4 | ACGIH (USA) | TLV (TWA) | 25 µg/m³ | Lower = better |
| 5 | EU (Indicative) | IOELV (TWA) | 100 µg/m³ | Higher = worse |
| 6 | UK (HSE WEL) | WEL (8-hr) | 100 µg/m³ | Higher = worse |
| 7 | Australia (WES) | WES (8-hr) | 50 µg/m³ | Lower = better |
– [ ] Clear floor, clean thoroughly, and confirm the slab is fully dry
– [ ] Repair cracks/pitting/spalls before grinding
– [ ] Identify whether the slab is bare concrete or has coatings/sealers
– [ ] Grind in a staged grit/pad progression (don’t jump steps)
– [ ] Apply densifier/primer only if your system specifies it
– [ ] Finish with the compatible topcoat/sealant and allow full cure
– [ ] Control dust and use proper silica PPE and collection
FAQ
Do I need to strip existing sealers or coatings before polishing?
Usually, yes—if there’s paint, curing compounds, or an incompatible sealer on the slab, grinding alone may not create a surface the polish/finish can bond to. The safest approach is to grind a small test area first and see whether the desired finish develops and stays uniform.
Can I polish over oil stains?
Oil and grease contamination can prevent proper densification and finishing. For best results, degrease and treat stains during prep (and, when needed, use grinding to remove contaminated surface layers).
Will polishing make the garage floor waterproof?
Polishing and finishing can improve stain resistance and cleanability, but it doesn’t guarantee full waterproofing like a heavy coating system. If water or chemicals are a concern, follow the product system’s recommended sealant/topcoat for that level of protection.
How glossy can I get a DIY-polished garage floor?
Gloss depends on your pad/grit progression and the final topcoat/sealant. For maximum shine, consistency in grinding and finishing matters more than trying to rush to the final pads.
Sources
– OSHA Table Z-3 (Crystalline Silica) and related respirable crystalline silica regulatory framework for exposure limits
– ICRI (International Concrete Repair Institute) surface preparation guidance, including general principles for substrate preparation and profile matching
– [ADD: manufacturer specifications for the specific polishing/densifier/primer/topcoat system you plan to use]
– [ADD: equipment safety guidance for concrete grinding/respirable silica exposure from relevant OSHA/industry guidance]
– [ADD: concrete surface preparation guidance from your topcoat/topical sealant manufacturer]
Polishing a garage floor is mostly a preparation and compatibility job: clean the slab, repair defects, confirm what’s on the concrete, then grind in a staged progression, densify only when your system requires it, and finish with a compatible topcoat while respecting cure times. If you treat dust control and product matching as “step 1,” you’ll avoid the most common DIY failures—haze, peeling, and uneven gloss—and end up with a garage floor that looks better and stays easier to maintain.
Frequently Asked Questions
What’s the best way to polish a garage floor step by step?
Start by clearing the garage and thoroughly cleaning the concrete to remove dirt, oil, paint, or sealers. Grind the surface with progressively finer diamond abrasives (and use vacuum shrouds) to flatten high spots and open pores for polishing. Densify with a concrete densifier, then continue with finer grits and follow with polishing pads until you reach your desired sheen. Finish by applying an appropriate concrete sealer or penetrating sealer to protect against stains, salt, and chemicals.
How do I clean and prep a garage floor before polishing?
Proper prep is the difference between a smooth, durable polished concrete and a patchy result. Degrease the floor first and remove any old coatings using mechanical grinding or appropriate strip methods, because polishing over contaminants can cause bonding failure. After cleaning, repair cracks, spalls, and surface imperfections with a concrete patch, then grind to eliminate coatings and achieve a uniform profile. Finally, vacuum thoroughly so the densifier and polishing steps adhere correctly.
Which grit sequence should I use for polishing concrete in a garage?
A common grit progression is to start around 30–50 grit for heavy grinding, then move through 100–200 grit to refine the surface and remove scratches. From there, use 400–800 grit for polishing preparation and finish with 1500–3000 grit (or polishing pads) for a high-gloss look. The exact sequence depends on your current concrete condition and whether you’re targeting a matte, satin, or high-sheen polished garage floor. If you see persistent haze, increase dwell time on higher grits or repeat a grit stage to fully level the surface.
Why does my polished garage floor look hazy or uneven?
Haze usually comes from incomplete grinding, trapped slurry/debris, or polishing too quickly without achieving full scratch removal between grit steps. Unevenness is often caused by low spots, unaddressed high spots, or insufficient surface leveling before densifying. Make sure you use consistent machine passes, keep pads clean, and vacuum well to prevent buildup that can dull the surface. If the haze is mild, you may be able to correct it by re-polishing with a finer grit stage; otherwise, re-grinding may be required.
Should I use a chemical densifier or a stain-and-seal approach for garage floor polishing?
For a true polished concrete look, using a densifier helps harden and reduce dusting, improving gloss and stain resistance over time. Densifiers work best after mechanical grinding because they penetrate exposed concrete pores rather than coatings or surface contaminants. If you want color and visual control, you can pair polishing with stains, but you still need proper grinding and a compatible sealer to lock in results. For heavy garage use, choose a sealer rated for concrete and resistance to oils, brake dust, and road salts.
📅 Last Updated: October 11, 2026 | Topic: How to polish garage floors? | Content verified for accuracy and freshness.
References
- Google Scholar Google Scholar
https://scholar.google.com/scholar?q=how+to+polish+concrete+garage+floor+grinding+sealing - Google Scholar Google Scholar
https://scholar.google.com/scholar?q=polished+concrete+floor+surface+preparation+diagnostics+diamond+grinding - Google Scholar Google Scholar
https://scholar.google.com/scholar?q=concrete+floor+polishing+densifier+maintenance+scratch+resistance - Polished concrete
https://en.wikipedia.org/wiki/Polished_concrete - Silica, Crystalline – Overview | Occupational Safety and Health Administration
https://www.osha.gov/silica - Silica and Worker Health | Silica | CDC
https://www.cdc.gov/niosh/topics/silica/ - https://www.cdc.gov/niosh/topics/concrete/
- WBDG
https://wbdg.org/resources/concrete-floor-finishing-systems - https://www.nist.gov/programs-projects/advanced-technology-programs/concrete-infrastructure
- Google Scholar Google Scholar
https://scholar.google.com/scholar?q=How+to+polish+garage+floors?