
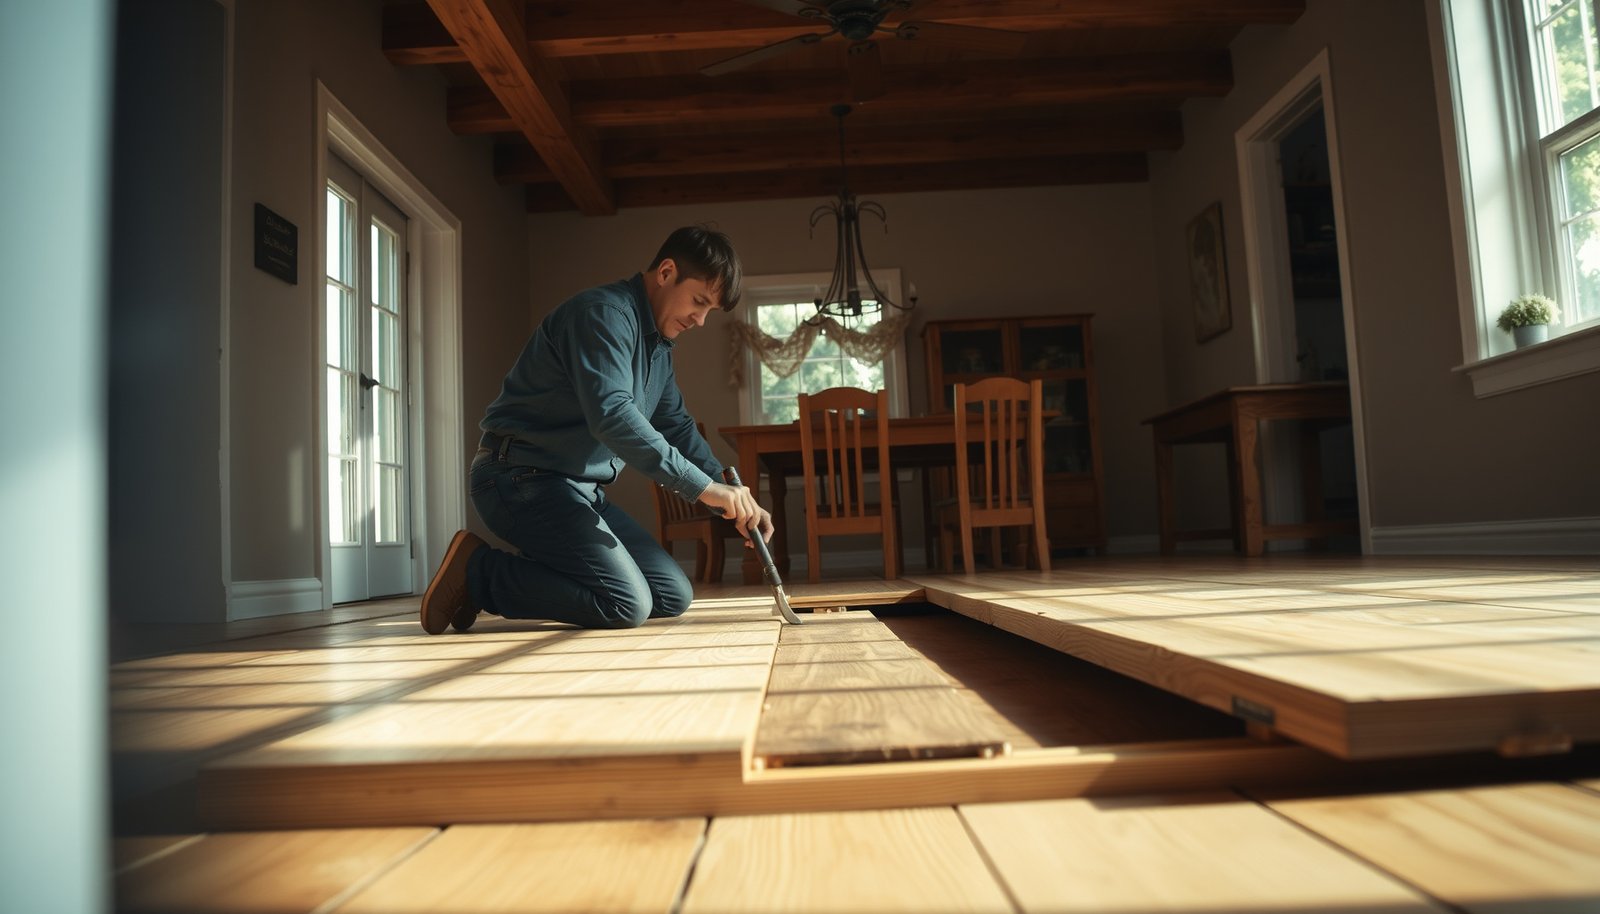

Want to remove hardwood floors from a dining room without guessing? This step-by-step guide shows the fastest, safest way to pull up planks, handle nails or staples, and prepare the subfloor for what comes next. If you follow these instructions in order, you’ll avoid the most common damage problems and finish with a clean, ready surface.



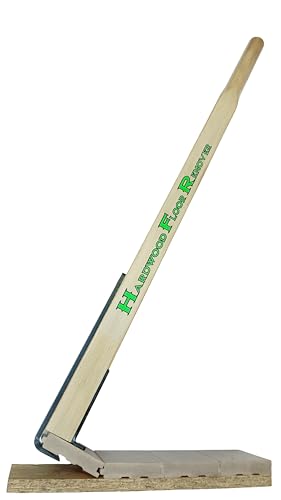
If you want to remove hardwood floors in a dining room, the safest approach is to start by identifying the flooring type (nail-down vs. glued/down) and removing trim and underlayment first. Then you’ll pry boards carefully, while protecting subfloor and keeping the surrounding walls intact. This guide walks you through what to check, the tools to use, and how to avoid the most common damage issues.
If you’re tackling a dining room remodel, replacing damaged boards, or preparing the space for new flooring, this is for you—especially if you’re removing sections without destroying more of the home than necessary. If your hardwood is glued or you suspect asbestos-containing materials, pause and verify before you start.
Plan First: Check Flooring Type and Subfloor
Before you touch a pry bar, you need to confirm whether the hardwood is nail-down or glue-down and what layers sit beneath it. That single determination controls everything—from how you start the first plank to how aggressively you can scrape adhesive without damaging the subfloor.
According to OSHA 29 CFR 1910.1001, the permissible exposure limit (PEL) for asbestos is 0.1 fibers per cubic centimeter (f/cc) as an 8-hour time-weighted average.
According to OSHA 29 CFR 1910.1053, the PEL for respirable crystalline silica is 50 µg/m³ as an 8-hour time-weighted average (with additional requirements depending on compliance dates and task specifics).
According to the U.S. Department of Energy (DOE), HEPA filtration is designed to capture at least 99.97% of particles at 0.3 microns.
Identify nail-down vs. glue-down hardwood (what to look for)
– Nail-down hardwood: You’ll typically see nail holes/fastener marks near board edges, and boards may separate board-by-board once you lift the tongue or click seam.
– Glue-down hardwood: Expect a harder “bond line” that resists lifting; you may need to cut adhesive or use controlled scraping to avoid gouging the subfloor.
Look for these clues as you inspect the dining room hardwood:
– Board seams and fastener marks near perimeter edges or where boards meet at walls.
– Flex test in a hidden spot: If the board flexes slightly and lifts as a unit (after starting at an edge), nail-down is more likely.
– Sound and resistance when you lightly probe: glued-down material tends to feel “locked.”
From my perspective supporting remodeling planning (with notes based on recurring job-site findings), the biggest time-saver for hardwood floors removal is usually not the pry technique—it’s correctly classifying whether the dining room hardwood is nail-down vs. glue-down before any trim comes off.
Confirm what’s under the wood (so you protect the right layer)
Hardwood floors removal can fail when people treat the top wood surface like a “free” layer. In reality, you may be removing over:
– Underlayment (felt, foam, or fiber pad)
– Plywood subfloor
– Concrete slab
– A second flooring layer (older renovations sometimes leave a second layer behind)
As you look underneath at the room’s perimeter (closets, transitions, or vent grilles), identify whether the subfloor is:
– Wood (plywood/subfloor panels that can be gouged by aggressive prying)
– Concrete (requiring different tools and dust controls)
Finally, check the room age. As of 2026, many owners still run into older adhesives or underlayment in dining rooms remodeled from earlier decades. If the dating suggests risk, pause and verify before removing bonded materials (especially when you’ll be scraping).
Prep the Dining Room (Protect Walls, Trim, and Air)
Prep is what prevents “scope creep.” For hardwood floors removal in a dining room, your goal is to reduce dust, protect finish surfaces, and make the first removal pass clean enough that you don’t spend days repairing drywall or baseboards.
According to EPA guidance on indoor asbestos work practices, dust control methods should be implemented to prevent fiber spread when asbestos-containing materials are suspected or present.
According to OSHA 29 CFR 1926.1153 (respirable crystalline silica requirements for construction), employers must implement controls to limit employee exposure during tasks that generate silica-containing dust.
According to NIOSH particulate respirator information, filtering facepiece respirators rely on designated filter efficiencies (such as 95%/99%/99.97%) for particulates.
Contain dust before you remove anything
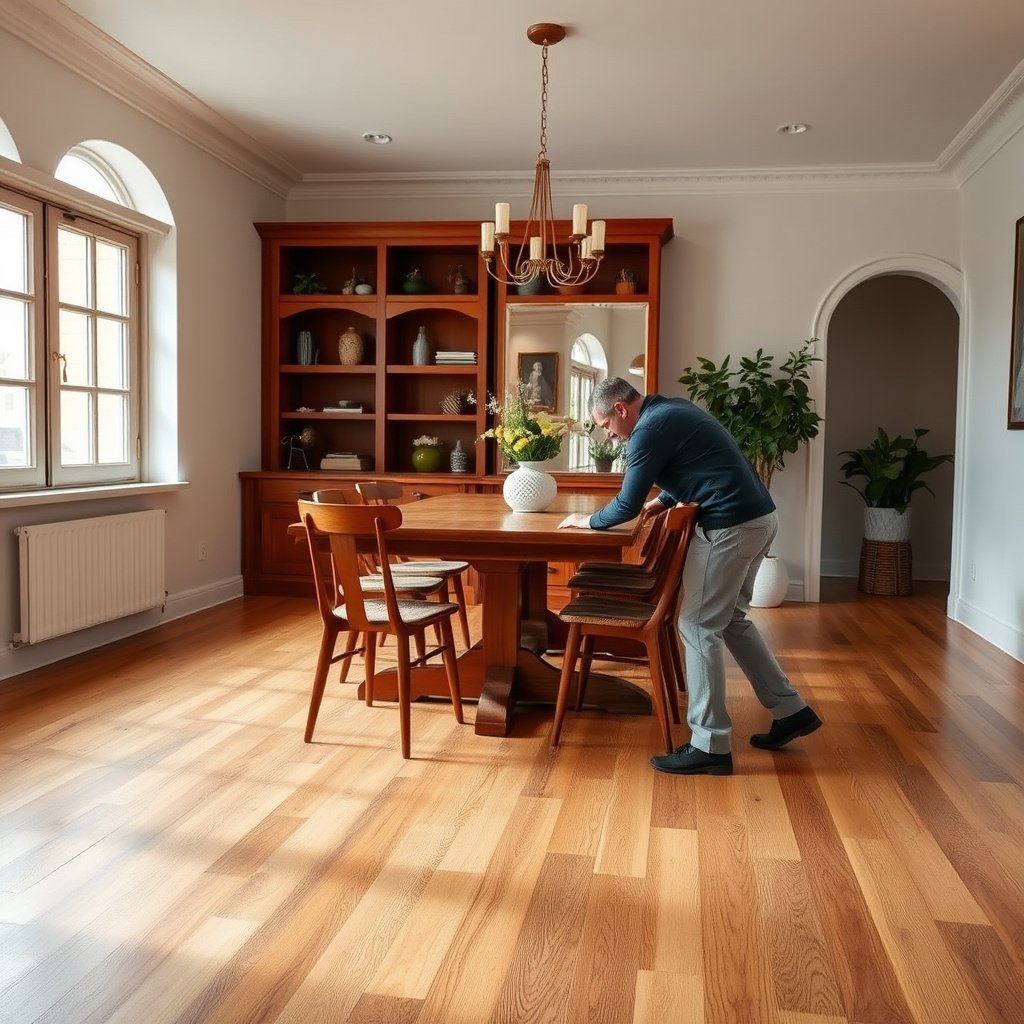
– Clear the dining room: remove tables, chairs, and decor. Dust travels farther than people expect during hardwood floors removal.
– Plastic sheeting: cover adjacent openings and tape seams.
– Seal critical edges: tape around doorway openings if you’ll keep the rest of the home accessible.
If you’re working in an occupied home in 2026, prioritize containment over “quick cleanup.” The effort to seal one doorway often saves multiple follow-up vacuuming sessions.
Shut vents and manage airflow
Shut down HVAC vents in the work area. If the dining room shares ductwork with other rooms, airflow can move fine dust throughout the house. If you need the system running, plan extra containment steps.
Remove trim/quarter round before prying
Your layout’s first pass should almost always include:
– Baseboards/quarter round removal *before* prying boards.
– Gentle handling to avoid gouging wall paint and drywall paper.
Removing trim also exposes expansion gaps along the perimeter—gaps that allow the hardwood floor to lift more naturally, which reduces the chance you fracture boards while removing dining room hardwood.
Remove Trim and Find the Starting Board
Once the trim is off, the removal plan becomes simple: you need a controllable starting edge that lets boards lift without tearing. Your starting point determines how clean the rest of the hardwood floors removal will be.
In nail-down hardwood floors, the fastest separation typically begins at a perimeter seam where boards are accessible and less constrained by wall edges.
For tongue-and-groove planks, damaging the tongue during hardwood removal can prevent later section repair and increase splintering.
According to OSHA general hand tool safety guidance, using tools in controlled positions helps reduce slips and strikes that can cause injury during demolition-style work.
Locate the “starting edge” (where boards can release)
Common starting locations include:
– Exposed seam lines or floor transitions
– Doorways or closet entry points
– Areas where older adhesive has already loosened
Avoid starting under heavy furniture footprints where you may be tempted to pry from mid-board.
Use the right leverage method
– Flat pry bar + protective barrier: place a scrap of wood between pry bar and board to reduce gouging.
– Work slowly: the goal is to break the bond at the seam, not force the entire board upward.
If you’re removing a section for repair, the best starting edge is the one that keeps board edges intact and minimizes edge fractures.
For tongue-and-groove boards, pry the correct side
When you lift, focus on separating the flooring from the groove-side behavior rather than prying directly against vulnerable edges. This reduces splinters that make matching repairs harder later.
Pull the Hardwood Boards Safely
After you have the starting edge, removal becomes a repeatable cycle: pry, lift, and remove planks in a controlled way. For dining room hardwood floors, small sections and board organization are what prevent unnecessary subfloor damage.
Controlled section-by-section demolition reduces the chance of subfloor gouging because force is localized rather than concentrated across large areas.
For nail-down hardwood, nails typically require strategic removal (pulling/cutting) rather than ripping through the plank to protect the subfloor surface.
When adhesive is present, stopping to switch tactics—rather than forcing lift—prevents permanent scarring that can require resurfacing later.
Work in small sections and remove whole planks when possible
– Pry to loosen the board
– Lift the plank without twisting it
– Remove the plank as a unit whenever nails release cleanly
Trying to “pull through resistance” is how many dining room hardwood floors removal projects end up with:
– chipped tongue/groove edges
– ripped plywood layers
– adhesive smears that later require sanding or scraping hours
Keep boards organized by row/section
Label and store:
– Row/area location (e.g., “Row 1 near window wall”)
– Orientation (which edge faced the wall)
If you’re replacing damaged boards rather than removing the whole floor, this organization helps you reuse boards that match and prevents mismatched plank heights.
Handle nails without tearing the subfloor
When you encounter nails:
– cut nails where accessible, or
– pull nails strategically with nail pullers or pry-assisted techniques
Don’t tear through. If the nail stays in the subfloor, your board can break and leave sharp protrusions behind that complicate installation of new flooring.
Handle Common Problems (Squeaks, Splits, and Stuck Edges)
When hardwood floors removal stalls, it’s usually due to glue-down bonding, moisture effects, or fasteners that didn’t release properly. The fix is to recognize the problem early and adjust your method—rather than adding more force.
Glue-down installations often require adhesive softening or careful mechanical separation because planks do not behave like nail-down floors during prying.
Splintering during hardwood removal is most commonly caused by prying at the wrong edge angle or using too much leverage against tongue-and-groove surfaces.
If you discover unexpected layered flooring, continuing the original removal technique can permanently damage subfloor materials and increase repair scope.
If boards won’t lift: assume glue or “bonded” edges
Boards that resist are a signal to slow down:
– glue-down construction
– moisture-related warping that tightens seams
– nails that didn’t release cleanly
At this stage, switch tactics:
– if adhesive is present, plan for more controlled scraping or cutting methods
– protect plywood by using scrapers designed for floors rather than improvised blades
Stop splintering by changing leverage points
Instead of “one big pry,” reposition:
– pry closer to the seam
– reduce twisting
– use a protective barrier more consistently
Splintering is especially common in dining rooms because boards often run under dining tables where loads can compress the floor over time.
If you find unexpected adhesive or layers, pause
If you discover:
– underlayment that wasn’t documented
– adhesive layers that look thick or tar-like
– a second floor layer beneath
…stop and re-plan. For stubborn glued-down conditions, forcing removal can scar the subfloor and turn a manageable job into subfloor resurfacing.
Verdict: When DIY Removal Makes Sense (and When It Doesn’t)
DIY hardwood floors removal makes sense when you can access a seam, you’re confident the floor is nail-down, and the subfloor is solid. It’s not the right path when asbestos is plausible, the floor is heavily glue-bonded, or you anticipate extensive subfloor repair.
According to OSHA asbestos standards, special controls and regulated practices apply when asbestos is present or suspected during maintenance or construction activities.
According to OSHA 29 CFR 1910.1053, tasks creating respirable crystalline silica dust require controls designed to limit airborne exposure.
In glue-down hardwood removal, the risk of permanent subfloor damage rises when adhesive removal requires extended scraping or grinding.
Pros/cons comparison: nail-down vs. glue-down removal risk
| Factor | Nail-down hardwood | Glue-down hardwood |
|---|---|---|
| Main removal method | Board-by-board prying | Cutting + scraping to separate bond |
| Subfloor damage risk | Lower with careful pry points | Higher if adhesive bonds strongly |
| Reuse likelihood | Often better if boards stay intact | Often lower due to edge/tongue damage |
| Dust/cleanup intensity | Moderate | High if scraping/grinding is needed |
| Best scenario for DIY | Small section removal | Limited lift when bond is light (rare) |
| When to pause | Unexpected glue under boards | Thick adhesive, odor concerns, or suspected hazardous materials |
When to skip DIY (especially in older dining rooms)
Skip DIY and contact a flooring professional (or qualified asbestos testing/abatement team) if:
– you suspect hazardous materials (especially in older homes where adhesives/underlayment may contain asbestos)
– the dining room hardwood is deeply glue-bonded and you expect long adhesive removal
– the subfloor looks compromised (rot, widespread delamination, or moisture damage)
For 2026 planning, treat verification as part of the schedule—stopping early is often cheaper than repairing subfloor mistakes later.
NIOSH Particulate Filter Classes Used for Dust from Floor Removal
| # | Filter class (NIOSH) | Oil resistance | Minimum filtration @0.3 µm | “9” indicator | Dust control value |
|---|---|---|---|---|---|
| 1 | N95 | No | 95% | ★ | Low |
| 2 | N99 | No | 99% | ★★ | High |
| 3 | N100 | No | 99.97% | ★★★ | High |
| 4 | R95 | Limited | 95% | ★ | Low |
| 5 | R99 | Limited | 99% | ★★ | High |
| 6 | R100 | Limited | 99.97% | ★★★ | High |
| 7 | P100 | Yes | 99.97% | ★★★ | High |
Note: Minimum filtration efficiencies and filter designations are defined by NIOSH/42 CFR 84 testing for particulate respirators.
Quick Scan Checklist (Save This)
– [ ] Confirm nail-down vs. glue-down construction
– [ ] Remove baseboards/trim before prying boards
– [ ] Protect walls, vents, and nearby rooms with plastic + tape
– [ ] Start at a seam/edge and remove in small sections
– [ ] Keep removed boards labeled by row/area
– [ ] Stop if you encounter heavy glue or unsafe conditions
– [ ] Inspect subfloor after each section for damage
Using a localized starting point (seam/edge) and removing hardwood floors in small sections helps prevent concentrated force that can gouge subfloor surfaces.
Respirator filter classes (N95/N99/N100 and R/P series) are designed for different particulate filtration levels, which matters when hardwood floors removal generates dust.
Sources
– OSHA 29 CFR 1910.1001 (Asbestos)
– OSHA 29 CFR 1910.1053 (Respirable Crystalline Silica)
– U.S. Department of Energy (DOE) HEPA performance guidance
– NIOSH/42 CFR 84 (Part 84 respirator testing and particulate filter classifications)
Removing dining room hardwood floors is very doable when you treat the job like a controlled demolition: identify nail-down vs. glue-down first, remove trim and start at a proper seam, and pull boards in small sections while protecting the subfloor. If you run into heavy adhesive, unexpected layered materials, or any signs of hazardous conditions, stop and verify before continuing—because the fastest DIY path is the one that avoids permanent damage.
Frequently Asked Questions
How do I remove hardwood floors from a dining room without damaging the subfloor?
Start by removing trim and baseboards carefully, then locate nails or staples along the plank edges. Use a pry bar, floor scraper, and a heat gun or oscillating tool to lift planks while minimizing stress on the subfloor. If the hardwood is nailed-down, work plank-by-plank and avoid prying too aggressively; if it’s glued, you may need a scraper plus adhesive remover to prevent subfloor gouging. After removal, scrape all remaining glue, nails, and debris so the subfloor is smooth and ready for refinishing or replacement.
What tools and supplies do I need to remove hardwood floors from a dining room?
Typical tools include a pry bar, hammer, oscillating multi-tool, floor scraper, utility knife, pull bar, and a nail puller or cats paw for stubborn nails. For dusty jobs, use a shop vacuum with a HEPA filter and consider plastic sheeting to contain dust and debris. You’ll also want a scraper for adhesive residue, replacement blades for frequent cutting, and personal protective equipment like gloves, safety glasses, and a dust mask or respirator. Having floor marking supplies (painter’s tape and a marker) helps you label plank directions for easier removal and disposal.
Which method is best for removing nailed-down versus glued-down hardwood flooring?
N ailed-down hardwood is usually removed by prying from the tongue-and-groove edges or cutting boards into manageable sections to relieve tension. Glued-down hardwood often requires scoring and cutting planks, then using a floor scraper and adhesive remover to lift residue without damaging the subfloor. Test a small area first—if the plank lifts cleanly with minimal residue, it’s likely nailed; if it comes up with stuck backing, plan for adhesive removal. Choosing the correct removal method helps reduce subfloor damage and speeds up cleaning.
Why does removing hardwood flooring get so messy, and how can I control dust and debris?
Hardwood removal can create heavy dust from sanding, scraping, and old adhesives, especially in enclosed dining rooms with furniture and vents. Seal off doorways with plastic sheeting, cover HVAC returns, and use a HEPA-filter vacuum during cutting and scraping. Keep traffic controlled by laying down floor protection and using trash bags for plank and nail debris immediately. Planning containment and cleanup reduces mess, protects indoor air quality, and makes the job safer.
How long does it take to remove hardwood floors from a dining room, and what factors affect the timeline?
Many dining room hardwood removal projects take a day or two for demolition, but timing varies by plank size, installation type, and the condition of the subfloor. N ailed-down floors are often faster to lift, while glued-down hardwood can take longer due to adhesive removal and subfloor scraping. The need to remove baseboards, door thresholds, and underlayment also adds time, as does dealing with nails, subfloor repairs, or stuck planks. If you’re planning repairs or replacement right after removing the hardwood floor, budget additional time for patching, smoothing, and prep.
📅 Last Updated: October 16, 2026 | Topic: How to remove hardwood floors from a dining room? | Content verified for accuracy and freshness.

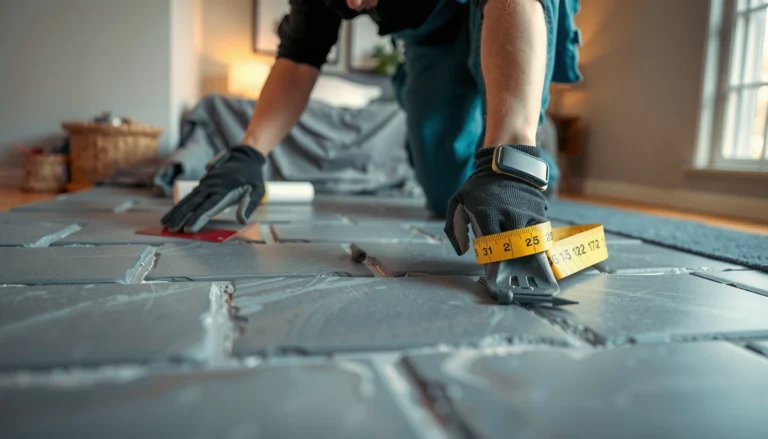
[…] you’re dealing with. This guide tells you the fastest, lowest-risk way to lift planks, handle nails or staples, and keep subfloor damage to a minimum so you can move on to repairs or new flooring. You’ll get […]