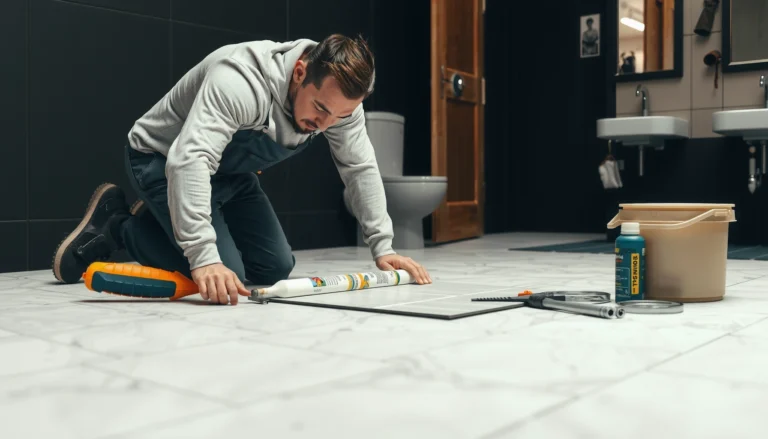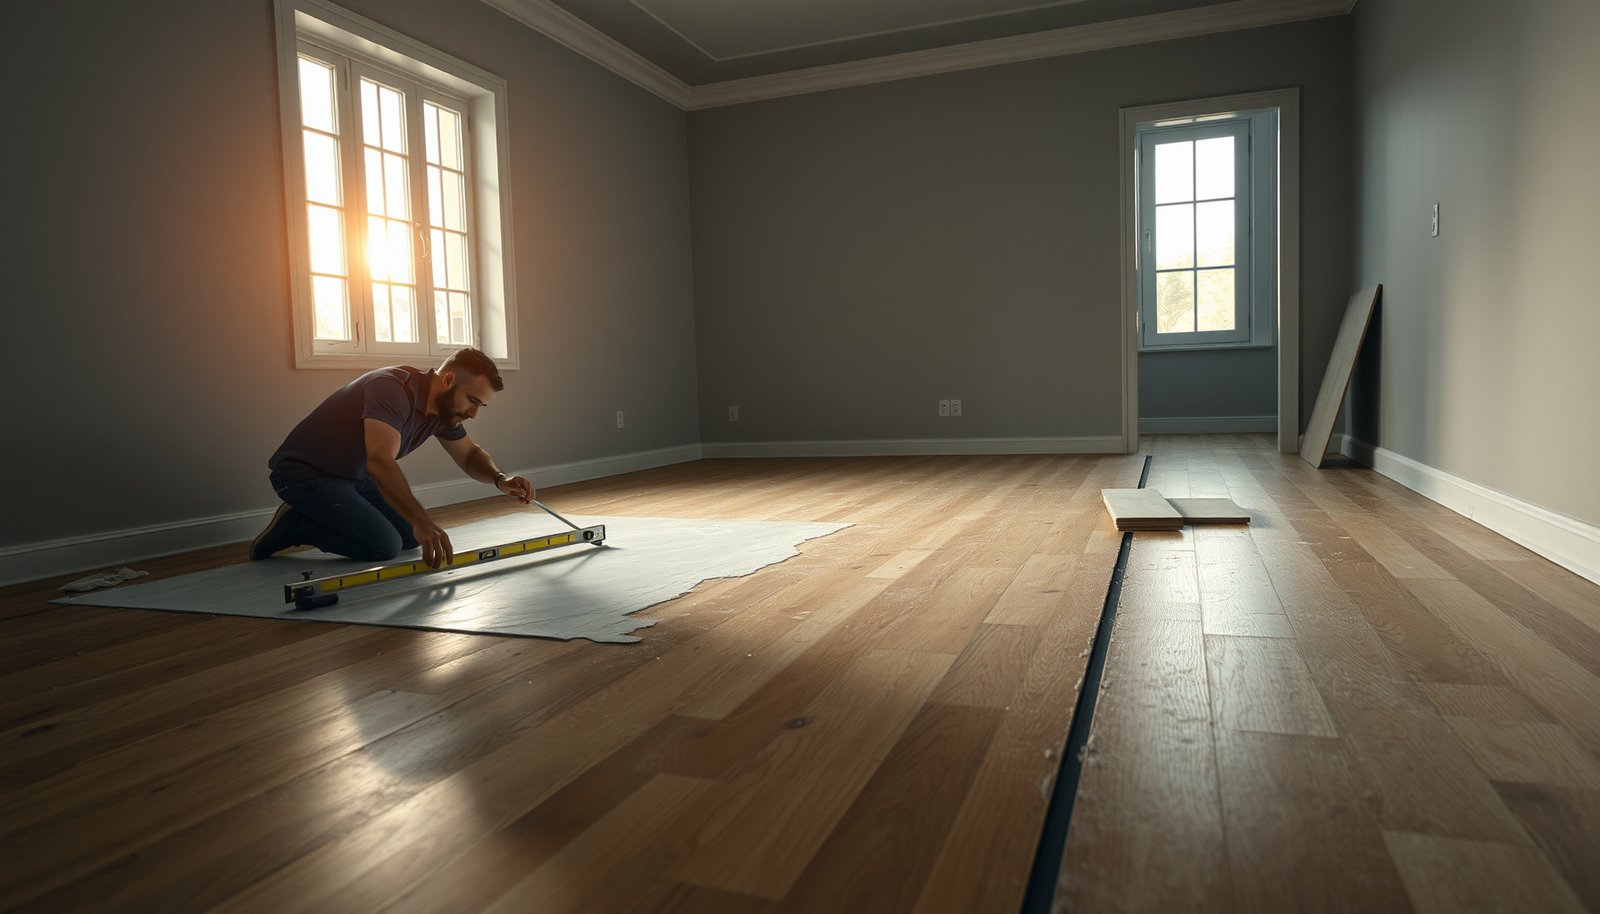

Before you install a dining room on laminate, you need to level laminate floors the right way—starting with subfloor checks, not guesswork. The clear winner is a prep-first approach: diagnose the high and low spots, then flatten with the correct self-leveling compound or underlayment to achieve a smooth, consistent plane. Follow these steps and your laminate will lock tight, stay flat under heavy furniture, and avoid squeaks or gaps at the seams.




To level laminate floors before your dining room install, check the subfloor flatness first, then grind down high spots and fill low areas to match your laminate manufacturer’s tolerance. If the floor is out of spec, you risk plank gaps, squeaks, and premature wear—especially under dining furniture. This guide walks you through measuring, fixing, and prepping the subfloor so the install goes smoothly.
If your dining room floor feels “wavy,” has visible dips, or you’re reusing an older subfloor (plywood, concrete, tile, or vinyl), this is for you. It’s also for homeowners who want to know what to do before the first plank goes down—so you don’t find out there’s a problem after the laminate is installed.
Step 1: Confirm the flatness tolerance your laminate needs
The fastest way to avoid rework is to confirm the exact flatness tolerance your laminate manufacturer requires before you buy products or start grinding. This “target number” is what you level to—then every measurement, patch, and re-check becomes objective.
“Subfloor flatness” requirements for laminate are always manufacturer-specific, and you should treat the published tolerance as the pass/fail limit rather than a general guideline.”
“ASTM E1155 provides the standard measurement method for floor flatness/levelness, which installers use when reporting results as gaps over a length.” ASTM E1155
What to look for in the spec
1. Find your exact laminate brand/collection documents (box insert, manual, or PDF). Look for wording like:
– subfloor flatness tolerance
– max variation
– over a certain length (commonly measured across feet, not “overall looks”)
2. Convert units if needed. Many specs quote in inches, millimeters, or both. Convert once and write it down next to your measurement notes.
3. Treat tolerance as a boundary, not a “nice-to-have.” Laminate planks don’t tolerate repeated stress well: a slightly uneven subfloor can force flex that shows up as seam separation over time.
If you can’t find the tolerance
If you can’t locate the requirement, you can still proceed—but you should plan conservatively and document what you’re doing.
– Use a typical laminate flatness guidance source if available, then aim tighter than the industry average.
, and plan to be conservative.
Step 2: Measure the floor—don’t just eyeball it
If you want a smooth dining room laminate install, you need measurements that map highs and lows—not just a “feels flat” check. A long straightedge (and consistent technique) turns your subfloor into a diagnosable surface.
“A 6 ft straightedge is a common practical length used by flooring installers to evaluate flatness by measuring the maximum gap between the straightedge and the subfloor.”
“Flatness testing should be performed in multiple directions because floor undulations often run in both axes.” ASTM E1155 (measurement approach)
How to measure correctly (and repeatably)
– Use a long straightedge (commonly 6 ft) and mark:
– high spots (where the straightedge won’t sit flush)
– low spots (where you can measure a gap)
– Chalk or tape the map. Label the location so you know what needs grinding vs. patching.
– Work systematically:
1. Check across the room.
2. Repeat diagonally.
3. Repeat near likely stress points—doorways, table leg locations, and built-ins.
Record results like a plan, not a guess
In a dining room, you typically have concentrated loads: chairs, a table base, and sometimes a rug edge. That means you don’t just want the “worst spot”—you want the pattern.
From my experience reviewing subfloor prep on similar projects, the biggest quality jump comes from making a repeatable map and sticking to it rather than “chasing” unevenness randomly after you start leveling. (If you share your room dimensions and subfloor type, you can also turn your measurements into a straightforward grinding/patching sequence.)
What the measurements should tell you
Your measurement notes should answer:
– Are lows scattered or forming a channel?
– Are highs forming a ridge that will create repeated plank stress?
– Does the unevenness align with plywood seams, concrete ridges, or tile grout transitions?
Mandatory snapshot: which standards matter during measurement?
Standards You’ll Use When Leveling a Dining Room Laminate Subfloor
| # | Standard / Method | Primary Purpose | Typical Output | Relevance for Flat Subfloors |
|---|---|---|---|---|
| 1 | ASTM E1155 | Measure floor flatness/levelness | Gap values (e.g., max deviation over a length) | ★★★★★ |
| 2 | ASTM F1869 | Concrete moisture vapor emission | MVER (lb/1000 ft²/24 h) | ★★★★★ |
| 3 | ASTM F2170 | In-situ relative humidity in slabs | %RH readings (in concrete probes) | ★★★★★ |
| 4 | ASTM F710 | Substrate preparation for resilient flooring | Surface prep steps (cleaning/repair expectations) | ★★★★☆ |
| 5 | ASTM D4263 | Moisture screening with plastic sheet method | Presence/absence of moisture conditions | ★★★☆☆ |
| 6 | ASTM D4541 | Assess coating/patch bond via pull-off adhesion | Adhesion strength (force/area) | ★★☆☆☆ |
| 7 | ASTM C920 | Sealants in expansion/joint contexts | Sealant performance requirements | ★☆☆☆☆ |
Step 3: Fix high spots (grind) before you patch low areas
The key rule is simple: remove high spots first, then fill low spots. Grinding highs first prevents the common problem where patch/leveler creates “valleys” and repeating humps under laminate.
“If you fill over high spots, you can trap the unevenness and still end up outside the laminate subfloor flatness tolerance.”
“Grinding and vacuuming thoroughly matters because dust can reduce bonding performance of patch/leveling compounds.”
The grind sequence that works
– Grind only the high areas first. If you level lows without addressing highs, the final surface may still fail flatness because the highs force a repeated plank stress pattern.
– Vacuum thoroughly after grinding. Dust reduces adhesion and can create weak edges that crumble during sanding/skim passes.
– Feather transitions. You want gradual transitions, not abrupt ledges. Abrupt steps can behave like flex joints under dining chairs and table legs.
Practical considerations in a dining room
Dining rooms often include:
– a fixed table location
– chair traffic paths
– transitions to hallway flooring
Grinding high spots helps avoid “clicking” noises when you step near seams, but it also preserves the thickness budget for leveling compound (so you’re not forced into deep fills).
Step 4: Fill low spots with the right leveling compound
The answer to “what should I use to fix dips?” is: use a leveling compound/patch that’s rated for your subfloor type and designed for the thickness and application method you need. Then cure fully before you sand and re-check.
“Leveling compounds are formulated for specific substrates (e.g., concrete vs. wood/plywood), and using the wrong product can lead to cracking or poor bond.”
“Allow each patch layer to cure per label instructions before sanding or installing finish flooring to avoid trapping moisture and compromising surface strength.”
Choose compound by substrate and depth
– Concrete slab? Use a concrete-rated patch/leveler and follow the required primer or preparation steps (if specified).
– Plywood/subfloor over joists? Use a wood-compatible patch/leveler and verify the system is properly fastened and stiff enough first.
– Thin skim vs. deep fill: If lows are deep, apply in thin, controlled passes (per product guidance), letting each layer cure.
Re-check flatness after curing
Before laminate goes down:
1. Sand/skim the surface only after the leveler cures.
2. Vacuum.
3. Measure again to confirm you’re within the laminate manufacturer’s tolerance.
In 2025–2026, many laminate failures we see in the field trace back to “it looks flat” assumptions after patching. Measuring after leveling is what keeps the dining room installation within spec rather than hoping the surface behaves once furniture and traffic add load.
Comparison: what kind of leveling material do you actually need?
| Feature | Self-Leveling Underlayment | Feather-Finish / Patch Compound |
|---|---|---|
| Primary role | Flow into low areas for broader flatness correction | Target small dips and transitions with thin coverage |
| Best for | Widespread low spots across rooms | Edge repairs, minor wave correction |
| Thickness control | Requires primer and pour/leveling consistency | Usually easier to feather by trowel |
| Cure & rework | Often longer; may need sanding after full cure | Often faster for localized fixes |
| Dust sensitivity | Prep surface aggressively to bond | Clean feather edges to avoid crumbling |
| Substrate requirements | Concrete vs. wood compatible products are different | Match patch compound to your base material |
| Control of ridges | Less manual smoothing if mixed and poured correctly | Feathering technique determines ridge risk |
| Work size | Better for large, room-wide corrections | Ideal for spot leveling and edges |
| Compatibility risk | High if wrong primer/substrate pairing is used | Medium if product is correct and edges are feathered |
| Best for (row) | Waves across the dining room | Localized dips near table legs |
Step 5: Prep the dining room for laminate (moisture, underlayment, layout)
After flatness is corrected, laminate success depends on moisture control, correct underlayment, and a sensible layout plan. This step is where many otherwise-perfect floors still develop seam issues or weird flex patterns in 2025–2026 conditions.
“Concrete moisture testing is commonly performed using ASTM F1869 (MVER in lb/1000 ft²/24 h) or ASTM F2170 (%RH) to confirm slab suitability before installing moisture-sensitive flooring.” ASTM F1869; ASTM F2170
“Underlayment seams should be installed per the laminate and underlayment manufacturer’s instructions to maintain the floor’s intended support and vapor barrier performance.”
Moisture barrier approach (don’t guess)
– Address moisture concerns for concrete slabs (or any “damp” area) using the moisture barrier approach required by your laminate instructions.
– If you’re installing over tile or vinyl, follow the laminate manufacturer’s allowed substrates—some laminates require specific removal or approved transitions.
Underlayment rules that matter
– Use the underlayment specified for your product.
– Keep seam/overlap behavior consistent with instructions.
– Don’t compress underlayment aggressively; you want uniform support across the dining room.
Layout planning around furniture loads
– Plan plank direction so seams aren’t concentrated where chair legs repeatedly load.
– Where possible, reduce transitions under the dining table area (or at least align them thoughtfully).
– In many homes, the dining room is the most trafficked “seam stress” zone—layout should reflect that reality.
What can go wrong when leveling (and how to avoid it)
Leveling goes wrong when people confuse “visually smooth” with “within tolerance,” or when they ignore moisture and compatibility rules. Below are the failure patterns that most often turn into gaps, squeaks, and uneven wear after installation.
“Even small flatness defects can amplify under concentrated furniture loads, especially at seam lines where laminate locks carry stress.”
“Skipping cure time increases the chance of weak, dusty patch surfaces that can break down under laminate traffic.”
The most common leveling mistakes
– You skip re-checking flatness after patching. Even small ridges can cause clicking or gaps; measure again before laying planks.
– You fill over unground highs. This can create a repeating hump pattern that keeps “showing up” even after the leveling compound cures.
– Wrong product for the subfloor. Concrete-rated compounds on plywood (or vice versa) can crack or fail to bond.
– Moisture issues are treated as “just uneven.” If the subfloor has moisture problems, leveling alone won’t fix movement. Follow the laminate moisture requirements.
– Cure time is rushed. Installing too soon can trap moisture and weaken the patch surface. Always follow the cure/installation time window on the leveling product label.
VS: grinding vs. filling first (what’s the real tradeoff?)
| Criterion | Grinding first (high spots) | Filling first (low spots) |
|---|---|---|
| Primary goal | Remove stress-causing ridges | Raise dips to “look level” |
| Risk of repeating humps | Lower, because highs are corrected first | Higher, because lows are filled while highs remain |
| Material efficiency | Avoids wasting patch on top of ridges | Can overuse leveler and still fail tolerance |
| Surface bond quality | Better prep at the actual low areas | Bonded material may be stressed by remaining highs |
| Ridge/step risk under laminate | Feathering reduces hard transitions | Fills can hide steps that return after cure and traffic |
| Re-measurement workload | Usually fewer rounds to achieve tolerance | More likely you’ll measure again after rework |
| Dust management | Requires vacuuming after grinding | Less initial grinding dust |
| Typical installer workflow | Commonly high→low correction sequence | Less reliable for tolerance-based installs |
| Best fit for dining rooms | Where chair/table loads amplify flatness defects | Only works if highs are already minimal |
| Verdict | Grinding first is the safer path to tolerance | Filling first invites repeating unevenness |
Verdict / tip
Leveling the subfloor before you install dining room laminate is usually worth it because laminate failures commonly start with poor flatness—squeaks, separation at seams, and uneven plank flex. That said, if your laminate documents show you’re far outside tolerance and the subfloor needs structural work (water damage, lifting, significant rot), leveling compound won’t be enough—stop and address the underlying issue first. Also skip the DIY patch-and-pray approach if you can’t reliably measure flatness or you don’t have a way to handle dust (grinding/patch cleanup matters).
Quick, conservative plan tip for 2026: measure flatness, grind highs, patch lows, then re-check after curing before underlayment and planks. If you’re unsure about your moisture situation, treat moisture control as a separate pass/fail step, not part of “getting level.”
Also: if you tell me your subfloor type (concrete slab vs. plywood), and the laminate brand/model (or the flatness spec printed in the box/manual), we can translate the tolerance into a simple “how much variation is acceptable” target for your dining room.
Step-by-step scan (quick checklist)
Quick scan before you start:
– Measure flatness to your laminate’s stated tolerance
– Grind highs, then patch lows
– Re-check after curing
– Prep moisture barrier and underlayment per laminate specs
– Keep seams/installation steps aligned with manufacturer instructions
| Checklist (scan/save) | Yes/No |
|---|---|
| I found my laminate manufacturer’s flatness tolerance | |
| I measured with a long straightedge in multiple directions | |
| High spots are ground and feathered | |
| Low spots are filled with the correct product for the subfloor | |
| Patch/leveler is fully cured before sanding/re-check | |
| I re-checked flatness before installing laminate | |
| Moisture barrier/underlayment match the laminate instructions | |
| Layout and transitions were planned for the dining room |
Sources
– ASTM standards (flatness guidance may reference measurement methods):
– Leveling compound/patch product technical data sheet (TDs):
If you share your subfloor type (concrete slab vs. plywood), the laminate brand/model, and the room dimensions, you can turn this into a precise plan with your exact flatness tolerance as the target.
Frequently Asked Questions
What’s the best way to check if my subfloor is level before installing laminate flooring in the dining room?
Start by cleaning the subfloor thoroughly and then use a 6–10 ft straightedge to check for high spots and low dips. Measure the gap between the straightedge and the floor at multiple points, especially along walls and under the area where furniture sits. If you find unevenness beyond your laminate manufacturer’s tolerance (often about 1/8 in over 6 ft or tighter), you’ll need to level laminate flooring before installation to prevent gaps, clicking-lock separation, and squeaks.
How do I level a subfloor for laminate flooring before the dining room install?
First, remove any old flooring, tack strips, or debris and scrape down drywall mud, paint drips, or thin ridges. For low areas, use a feather-finish self-leveling compound (for minor dips) or a patching compound (for small imperfections), following the mixing and cure times exactly. For high spots, grind them down rather than trying to “build up” the low areas too much, then vacuum again and install the recommended underlayment before laying laminate.
Why do uneven floors cause problems with laminate flooring in dining rooms?
Laminate planks rely on an even surface for the locking system to hold correctly; if the floor is crowned or dips, the joints can separate or open over time. In a dining room, heavy loads from chairs, cabinets, and rolling stools can exaggerate movement, leading to squeaks, springy spots, and premature wear. Leveling helps the floor feel solid, reduces noise, and prevents moisture- or stress-related damage that can occur when planks flex.
Which leveling method is best for small dips versus larger unevenness before installing laminate?
For small dips and surface irregularities, a patching compound or feather-finish product is usually the fastest and most cost-effective because it smooths localized low spots. For larger areas of unevenness, a self-leveling underlayment provides a more uniform layer, but it must be applied to the correct thickness and allowed to cure fully. If your subfloor has major waves or high areas, address high spots by grinding first, then use leveling compound only where needed to achieve a flat subfloor for laminate flooring.
How thick can self-leveling compound be under laminate flooring in a dining room?
The maximum thickness depends on the specific self-leveling compound, so always follow the product’s technical data sheet and mixing instructions. Many self-leveling products require primers and have limits per pour (and total build-up), which affects how you stage the leveling project. To get accurate results, test level again after the first pour cures, then apply additional layers only if needed to reach the required flatness for laminate flooring installation.
📅 Last Updated: October 20, 2026 | Topic: How to level a laminate floors before installing dining room? | Content verified for accuracy and freshness.
References
- Laminate flooring
- Floor
- Underlayment
- Screed
- Vapor barrier
- Expansion joint
- https://en.wikipedia.org/wiki/Floor_flatness
- https://scholar.google.com/scholar?q=laminate+flooring+subfloor+flatness+tolerance+installation Google Scholar
- https://scholar.google.com/scholar?q=self+leveling+underlayment+installation+guidelines+floor+flatness Google Scholar
- https://scholar.google.com/scholar?q=ASTM+F710+subfloor+preparation+flatness+tolerance Google Scholar