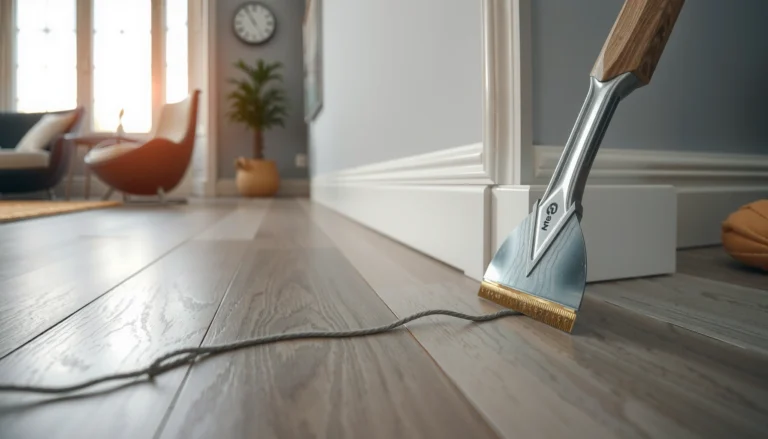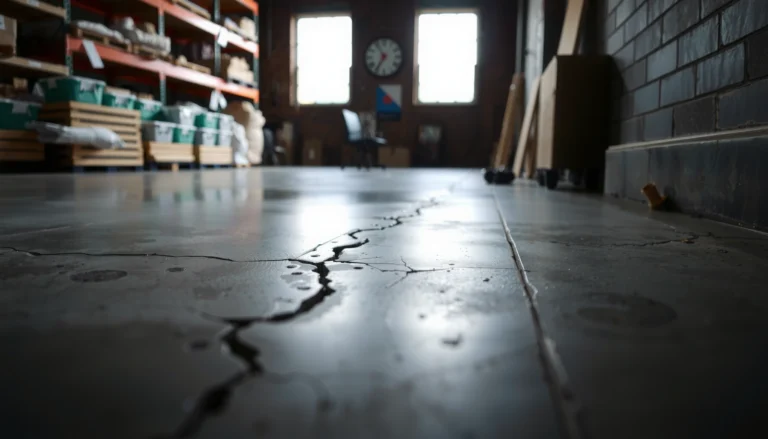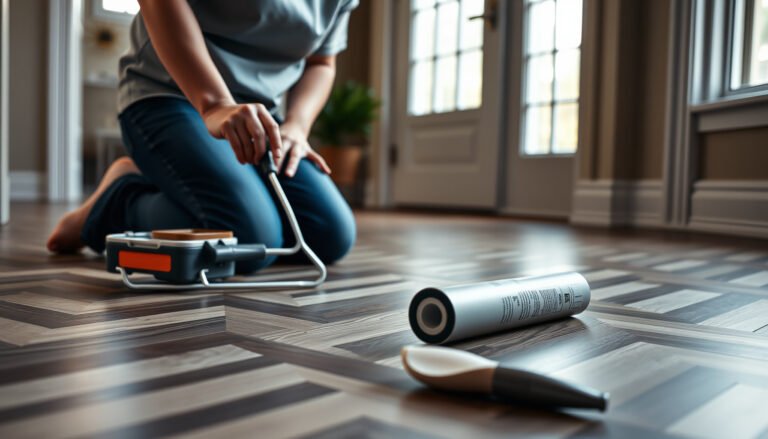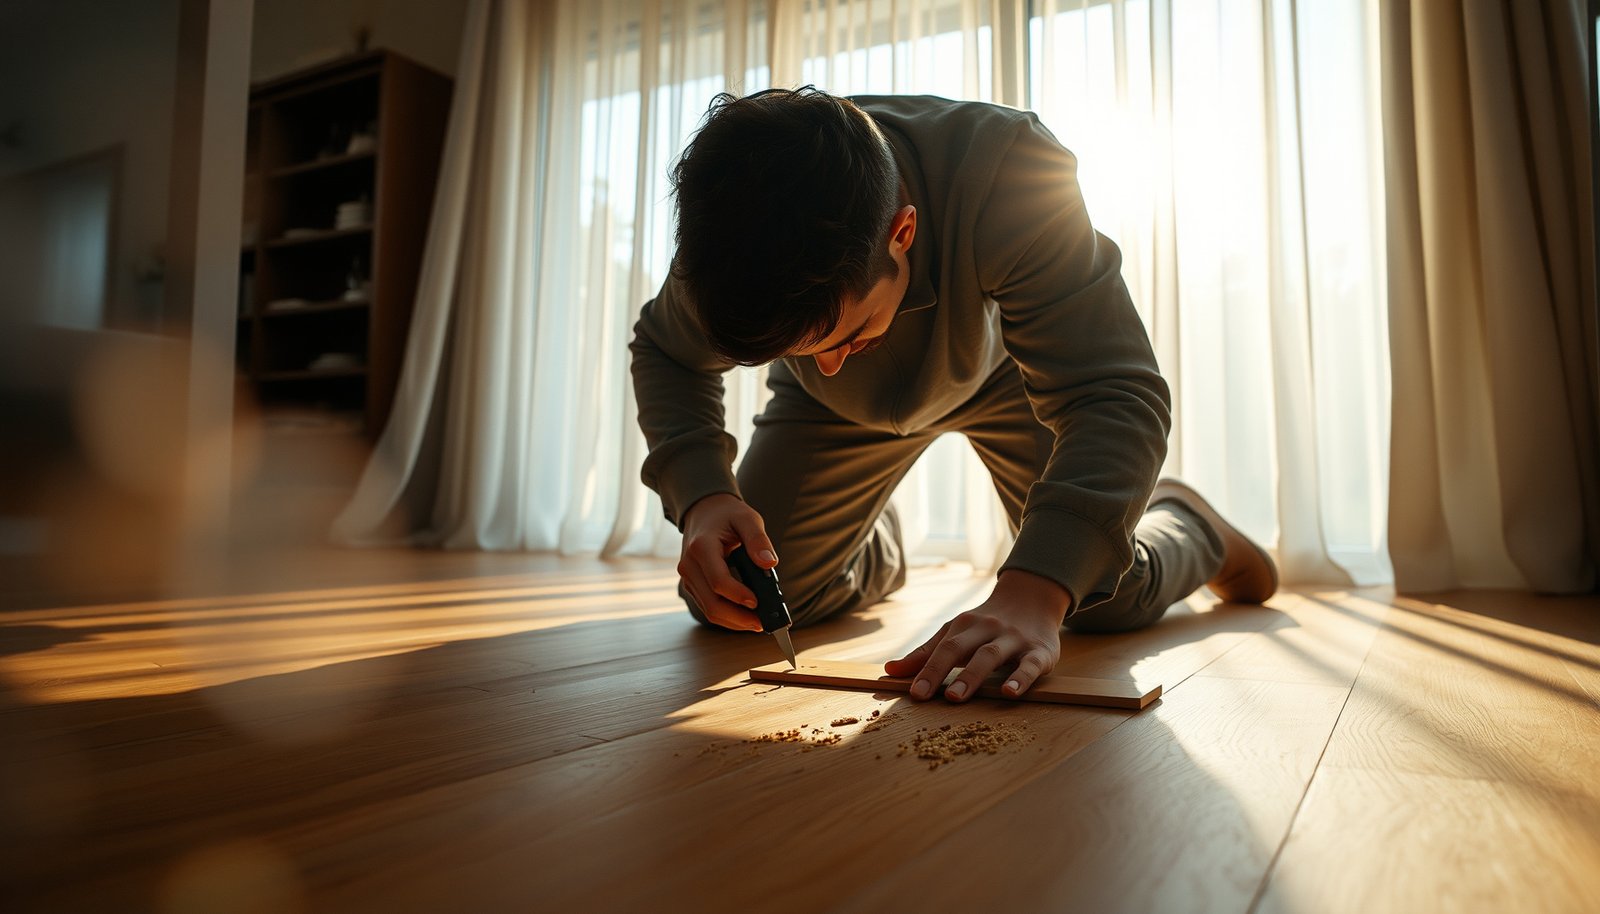

Need to repair laminate floors in a dining room? This guide tells you the fastest, most reliable way to fix the specific damage you’re dealing with—chips, lifting seams, scratches, or soft spots—so the floor looks right and holds up to daily traffic. You’ll get clear steps on when a patch or replacement plank is the right call and what to avoid so the repair doesn’t pop back open.




If a laminate plank is damaged in your dining room, the durable fix depends on the failure type: chips and scratches usually call for patching, while swelling or a lifting plank almost always requires locating (and correcting) the moisture cause before replacing boards. This matters in dining rooms because chair movement, frequent mopping, and occasional spills combine with everyday humidity swings—so the “right” repair is really the one that prevents the laminate floor from expanding and unlocking again (especially as of 2026).
If your dining room sees heavy traffic (chairs, occasional spills, and frequent cleaning), you’ll likely run into common laminate issues like scratches, seam separation, or edge damage. This is for homeowners or DIYers who want a practical repair plan without replacing the whole floor.
Assess the damage first (chips, gaps, or lifting)
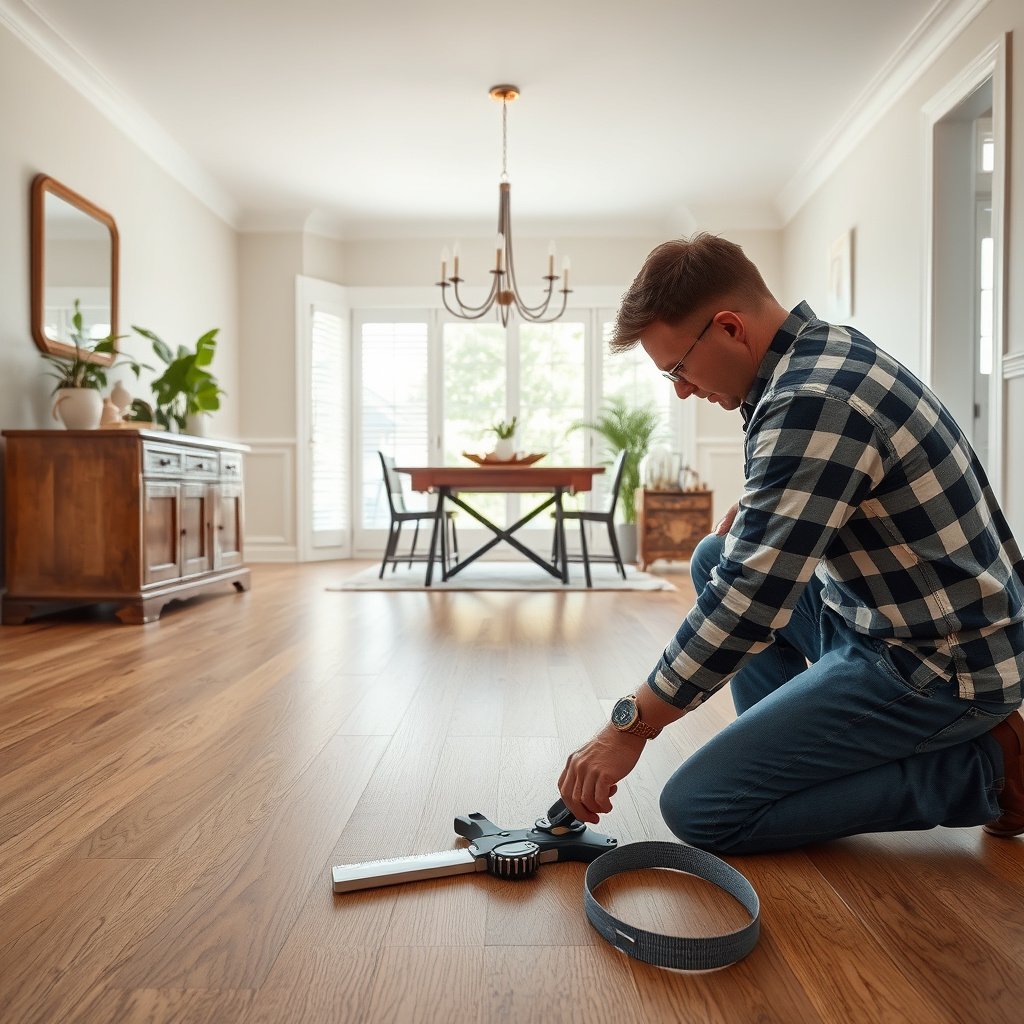
Start with a quick diagnosis: you’re trying to determine whether the laminate damage is cosmetic (chip/scratch) or structural (moisture-related swelling, lifted edges, or a failing joint). In my experience reading installation failures, the same dining-room “symptoms” can have different root causes—so a methodical check around seams and edges is what keeps a repair from looking good for a week and failing again.
“Chip” or “scratch” damage stays on the top wear layer; swollen laminate affects the board body and often changes height around the plank edges.
If click-lock seams reopen after drying, the issue is often ongoing moisture or movement rather than a purely cosmetic surface defect.
Raised laminate edges near windows, exterior doors, or frequent spill zones point toward moisture intrusion pathways (drips, tracked-in water, or HVAC humidity swings).
– Check the exact location: seams (where planks meet) vs. surface damage vs. plank edges. A seam gap often indicates lock movement; an edge lift often indicates moisture working from beneath or from the surface over time.
– Press gently around the damaged area to see if planks flex or lift—lifting often points to moisture or subfloor issues rather than a simple surface defect.
– Look for visible swelling, cupping, or raised edges near doors, windows, or spill zones. Also scan adjacent planks: moisture problems rarely respect a single board boundary.
– Confirm stability after wiping the area dry. If the laminate floor “returns” to flat after fully drying, you may be dealing with a transient moisture exposure; if it stays raised, plan for board replacement and moisture-source correction.
To anchor your diagnosis in measurable targets, use known floor-failure control points: (1) subfloor flatness, (2) acceptable indoor humidity, and (3) correct expansion gaps. According to the U.S. Department of Energy, many homes aim for indoor relative humidity around 30–50% to reduce moisture-related issues in building materials US Department of Energy (Energy Saver guidance) (targeted guidance, current updates vary by page revision). According to the National Wood Flooring Association’s installation guidance, subfloors should generally be flat within about 3/16 in over 10 ft for resilient performance National Wood Flooring Association (installation guideline) (publication date varies by edition). And according to common laminate floating-floor installation practices, perimeter expansion gaps are often around 1/4 in (6 mm) to allow seasonal movement (year varies by brand/version).
Repair minor chips and scratches without replacing planks
For small chips, scratches, and worn spots where the board remains flat and locked, patching is usually the fastest path to a consistent look. The goal is to refill the top wear-layer damage and blend the surface—without trapping moisture or creating a high spot that catches chair casters.
Laminate repair paste or filler is designed to be workable on the wear-layer surface and then leveled flush so chair traffic doesn’t create a lip.
Many laminate touch-up systems include a filler plus a matching color marker or stain to mimic printed décor patterns.
Over-application (too much filler) increases the chance of visible sheen differences because laminate wear layers have a consistent factory finish.
– Clean the area thoroughly (dust and oils prevent adhesion). Use a dry microfiber first, then a laminate-safe cleaner if recommended by the filler manufacturer, and allow complete drying.
– Use a laminate repair paste/filler that matches your color before smoothing it flush. Apply in thin layers if your product specifies layering—thicker fills can shrink slightly and create a depression.
– For small gaps in the top wear layer, consider a touch-up kit (filler + stain/marker) to blend the repair with surrounding patterns. Chair marks often concentrate in one direction, so blend “grain direction” visually.
– Sand lightly only if the instructions allow it. Some fillers are meant to be leveled without sanding to avoid scuffing the factory finish.
– Seal only if the product instructions specify it. Over-sealing can make patched areas look worse or wear differently, and it can interfere with how your laminate floor handles routine cleaning.
– Re-test chair movement. If the repaired spot feels rough, re-level—chair legs and casters will amplify minor defects quickly in dining rooms.
If you’re repairing laminate floor damage as of 2026, also confirm your routine maintenance won’t undo the work: use a damp (not wet) mop approach, and keep water from pooling near seams.
Fix seam separation and small “gaps” correctly
When the seam has opened, your answer is “re-seat if the floor is stable; replace if the lock is broken or moisture is still active.” In dining rooms, seams often fail after water exposure (spills, wet mops) or after uneven subfloor movement—so repairing the joint without fixing the cause usually doesn’t last.
A seam “gap” that reappears after drying suggests movement driven by moisture or subfloor flatness, not just a loose board.
Click-lock joints rely on geometry; if the locking lip is damaged, forcing closure can worsen the failure mode.
Re-aligning planks typically requires both correct angle alignment and full engagement of the locking profile to keep the laminate floor flat.
– If the seam has opened, determine whether the floor is dry and stable or still expanding—repairs won’t hold while moisture is active.
– Re-align the planks by tapping them into position if they’re still firmly seated and the locks haven’t been permanently damaged. Use a tapping block and avoid direct blows that can chip the décor or deform the locking system.
– Check the surrounding area for subfloor movement. If adjacent planks are also lifting or the gap migrates, you may need to lift and re-install multiple rows.
– If the lock is broken and the boards won’t stay together, you’ll need to replace at least the affected plank(s) to restore the joint. A common mistake is “gluing” a click-lock seam—many systems aren’t intended for glue at the floating joint, and adhesive can interfere with future expansion.
As a quick rule: if the laminate floor gap came from a single spot spill and everything dries flat, re-seating can work. If the gap is progressive, associated with raised edges, or clustered near an exterior door, treat it as moisture or subfloor flatness—then repair accordingly.
Replace damaged laminate planks (the usual “real fix”)
When a plank is lifting, swollen, or the joint won’t stay locked, the best answer is board replacement—paired with moisture-source correction. Replacement is the only approach that fully restores the structural integrity of the laminate floor when the board body or locking edges are compromised.
Swollen laminate boards usually cannot be “repaired” back to factory dimensional stability; replacement is typically the durable solution.
Cut-out replacement requires preserving the integrity of adjacent click-lock joints so the rebuilt laminate floor lays flat without forced angles.
Before installing new laminate planks, the subfloor must be clean, dry, and flat to avoid rapid re-opening of seams.
– Remove baseboards/shoe molding in the repair path if you need working clearance (especially in dining rooms with tight chair layouts). Protect the wall finish as you remove trim.
– Cut out the damaged plank(s) carefully, starting with the center and working outward. For many click-lock systems, you’ll need to remove the tongue/groove as needed for your locking system’s design—this is brand-specific, so follow your laminate manufacturer’s replacement/plank removal guidance .
– Install new matching planks, ensuring the locking joints fully engage and the floor remains flat (no forced angles). If the board won’t sit flush, stop and check the joint alignment and underlayment condition.
– Verify perimeter expansion gaps around the repair path. If you discover the floor was installed without adequate space at walls or in transitions, correct that before reinstalling trim.
– After replacement, keep traffic light until the subfloor and underlayment are confirmed dry and stable.
Practical note for dining rooms: because furniture legs can create pinpoint loading, avoid sliding heavy chairs directly over the repaired area. Use felt pads and temporarily reduce load on the new planks.
What can go wrong (and when to stop DIY)
The most common DIY failure is treating laminate floor symptoms while ignoring the cause—so the real answer is to stop DIY when moisture or subfloor conditions make the repair unlikely to hold. If the underlying issue remains, the laminate floor will continue expanding, lifting, and re-opening seams even if the surface looks “patched.”
Filling surface scratches is not the same as repairing a plank that has swollen; moisture-driven distortion affects the board dimensional stability.
If the subfloor is uneven, planks may crack or unlock again after replacement because click-lock joints cannot compensate for major flatness errors.
Visible color mismatch is common because laminate décor printing patterns are complex; blending works best when repair material is applied in thin layers and leveled precisely.
Here’s a quick comparison to keep decisions objective:
| Repair approach | Pros | Cons | Best when |
|---|---|---|---|
| Patch & touch-up | Fast appearance fix | Doesn’t correct moisture/lock failure | Chips/scratches on flat, locked boards |
| Re-seat seam | Can restore joint without full replacement | Fails if lock profile is damaged or moisture persists | Dry, stable floor with intact click-lock geometry |
| Replace planks | Restores structural integrity | More work, trim removal may be needed | Swelling, lifting, broken locks, recurring seam gaps |
If you see any of the following, stop DIY and consider a flooring pro: widespread cupping across multiple boards, persistent raised edges after drying, moldy odors, or multiple boards affected by the same moisture pathway.
Verdict: choose patching for small damage, replacement for lock or moisture issues
The best decision rule is simple: patch cosmetic wear, and replace when the laminate floor’s geometry (locks, edges, or swelling) is compromised. This is the most reliable way to achieve a consistent dining-room look without redoing the work—especially as 2026 humidity and cleaning routines can accelerate seam issues.
Patch materials are for surface appearance; they don’t restore the structural dimensional stability of swollen laminate boards.
Replacing damaged planks is the durable choice when seams are separated, click-locks are compromised, or planks remain raised.
Moisture-driven laminate failures require source correction; otherwise, repaired seams can reopen even after careful re-seating.
To make the choice more concrete, use these decision anchors:
– Patch and touch-up are best for cosmetic chips/scratches where the board is still firmly locked and flat.
– Replace damaged planks when seams are separated, locks are compromised, or planks are lifting/raised—otherwise the repair may fail quickly.
– Skip DIY and consult a professional if multiple boards are affected, if moisture is recurring, or if subfloor flatness is suspect.
Moisture & Flatness Targets That Control Laminate Repair Success
| # | Diagnostic metric | Target / tolerance | Why it matters | Dining-room readiness |
|---|---|---|---|---|
| 1 | Indoor relative humidity | 30–50% RH | Limits board movement that can re-open seams | ★★★★★ |
| 2 | Subfloor flatness (typical flooring guidance) | ≤ 3/16 in over 10 ft | Prevents click-lock stress and edge lift | ★★★★☆ |
| 3 | Perimeter expansion gap (common practice) | ~ 1/4 in (6 mm) | Gives laminate space to expand without buckling | ★★★★☆ |
| 4 | Touch-up / filler cure before traffic | Typically 24 hours (per product instructions) | Avoids re-denting and visible wear-through | ★★★☆☆ |
| 5 | Underlayment moisture protection (vapor control) | Vapor barrier required per system design | Reduces moisture reaching planks and joints | ★★★★☆ |
| 6 | Span of visible seam movement | Repair only holds if movement stops | Ongoing expansion makes “re-seat” temporary | ★★☆☆☆ |
| 7 | Water exposure response time | Blot immediately; keep pooled water off seams | Reduces swelling at the board edges and joints | ★☆☆☆☆ |
Note: Exact tolerances (especially expansion gaps and moisture targets) can vary by laminate brand and installation method, so confirm your specific flooring documentation .
Quick repair checklist (scan/save)
– [ ] Identify: chip/scratch vs. seam gap vs. lifting/swelling
– [ ] Find cause: spills/leaks, humidity, uneven subfloor
– [ ] Clean and dry completely before any repair material goes in
– [ ] Patch small surface damage with the right laminate filler/touch-up kit
– [ ] Re-seat or replace boards if locks are broken or seams won’t hold
– [ ] Don’t seal over ongoing moisture/swelling
– [ ] Match color as closely as possible (and follow product instructions)
Sources
A laminate dining-room repair works best when you treat the floor like a system: diagnose whether the damage is surface-only or structurally driven, correct the underlying moisture/flatness conditions, and then apply the matching repair method—patch for cosmetic wear, re-seat when the locks are intact, and replace when swelling or joint geometry is compromised. If you follow that sequence, your dining room can look consistent again while the repair remains stable through everyday traffic, seasonal humidity changes, and real-life cleaning routines (as of 2026).
Frequently Asked Questions
How do I fix a loose or separating laminate floor plank in my dining room?
Start by clearing the dining room area and removing any baseboards or trim pieces only if necessary to access the seam. If the plank is separating along the click-lock joint, lift the affected boards carefully, check for debris or damaged tongue-and-groove edges, and reinstall using the manufacturer’s recommended method. For small gaps, you can remove the board section, replace it, and re-secure the area with appropriate underlayment alignment to keep the laminate floating.
What’s the best way to repair laminate floor water damage near a dining room spill?
Laminate can swell quickly, so the first step is to stop the moisture source and dry the area thoroughly. For minor swelling or discoloration at the surface, you may be able to sand lightly and re-level the spot, but if the core is warped, the plank usually needs replacement. Use a moisture meter if you can, then install a new matching laminate board and replace any damaged underlayment to prevent recurring damage.
How can I repair scratches and scuffs on laminate flooring without replacing the boards?
Clean the area first, then use a laminate repair kit with color-matched filler or markers for scratches, and a wax-based or paste polish for scuffs. For deeper gouges, fill the groove, let it cure fully, and wipe off excess so the surface remains smooth. Avoid sanding heavily, because thinning the wear layer can make the laminate floor more prone to future damage in high-traffic dining room areas.
Why do laminate floors buckle or separate around dining room chair legs, and how do I fix it?
Buckling or joint separation often happens when the floating floor doesn’t have enough expansion gap or when heavy loads compress the planks repeatedly. Check for blocked expansion space along walls or around doorways, then adjust trim/baseboards so the floor can move. If chair legs or rolling casters are causing impact or repeated pressure, add felt pads and consider protective floor mats to reduce stress on the laminate.
Which tools and materials do I need to replace a damaged laminate plank in a dining room?
You’ll typically need a tapping block, pull bar, utility knife, spacers for expansion gaps, and a replacement plank matching the laminate thickness and finish. Have painter’s tape ready to protect edges and a chisel or jamb saw for precise under-trim work, plus a matching laminate repair filler for blend-and-finish steps after replacement. If the plank damage is near the seam, confirm the click-lock type before removing anything so you can reinstall the floor correctly and maintain proper laminate flooring alignment.
📅 Last Updated: October 20, 2026 | Topic: How to repair laminate floors in a dining room? | Content verified for accuracy and freshness.
References
- Laminate flooring
- Floor
- https://www.armstrongflooring.com/support/
- MohawkFlooring
- https://scholar.google.com/scholar?q=how+to+repair+laminate+flooring+scratches+chips+and+seams Google Scholar
- https://scholar.google.com/scholar?q=laminate+flooring+water+damage+repair+buckling+swelling+moisture Google Scholar
- https://scholar.google.com/scholar?q=replace+damaged+laminate+floor+boards+installation+repair+guidelines Google Scholar