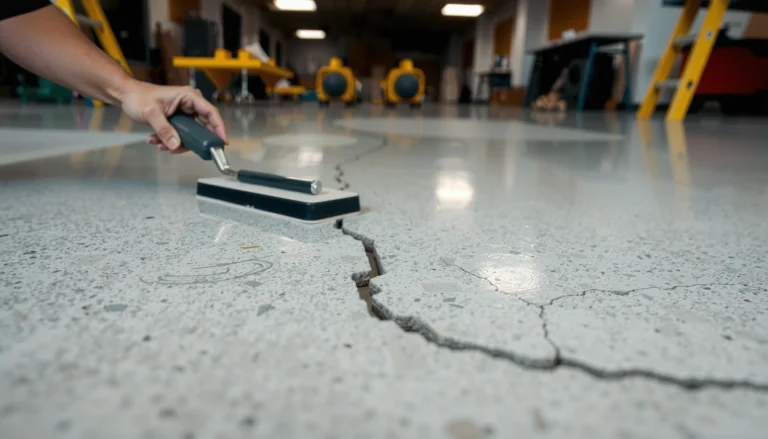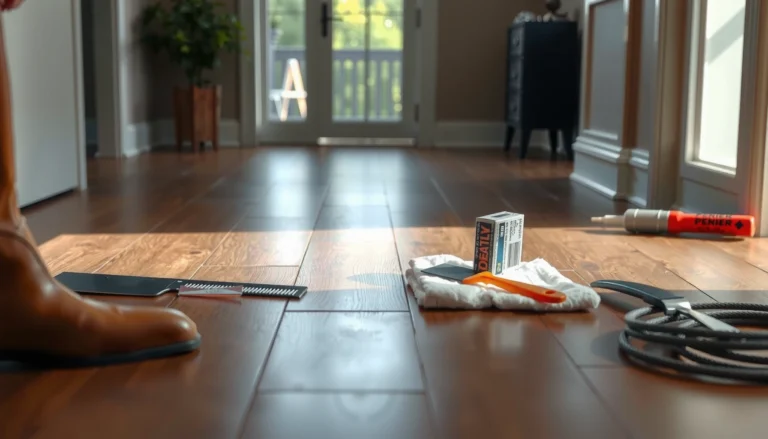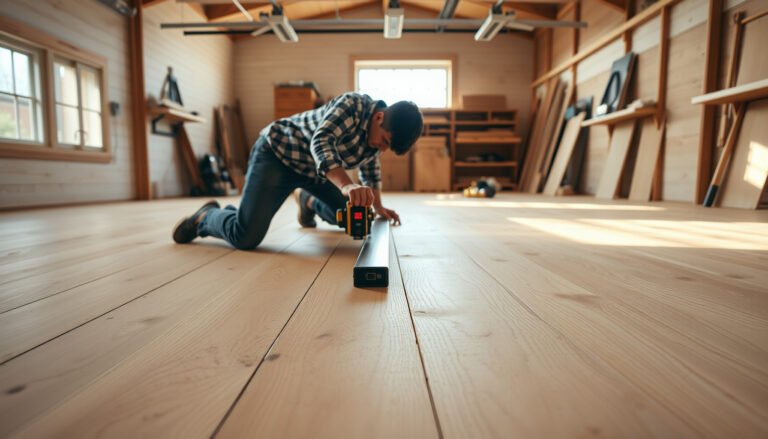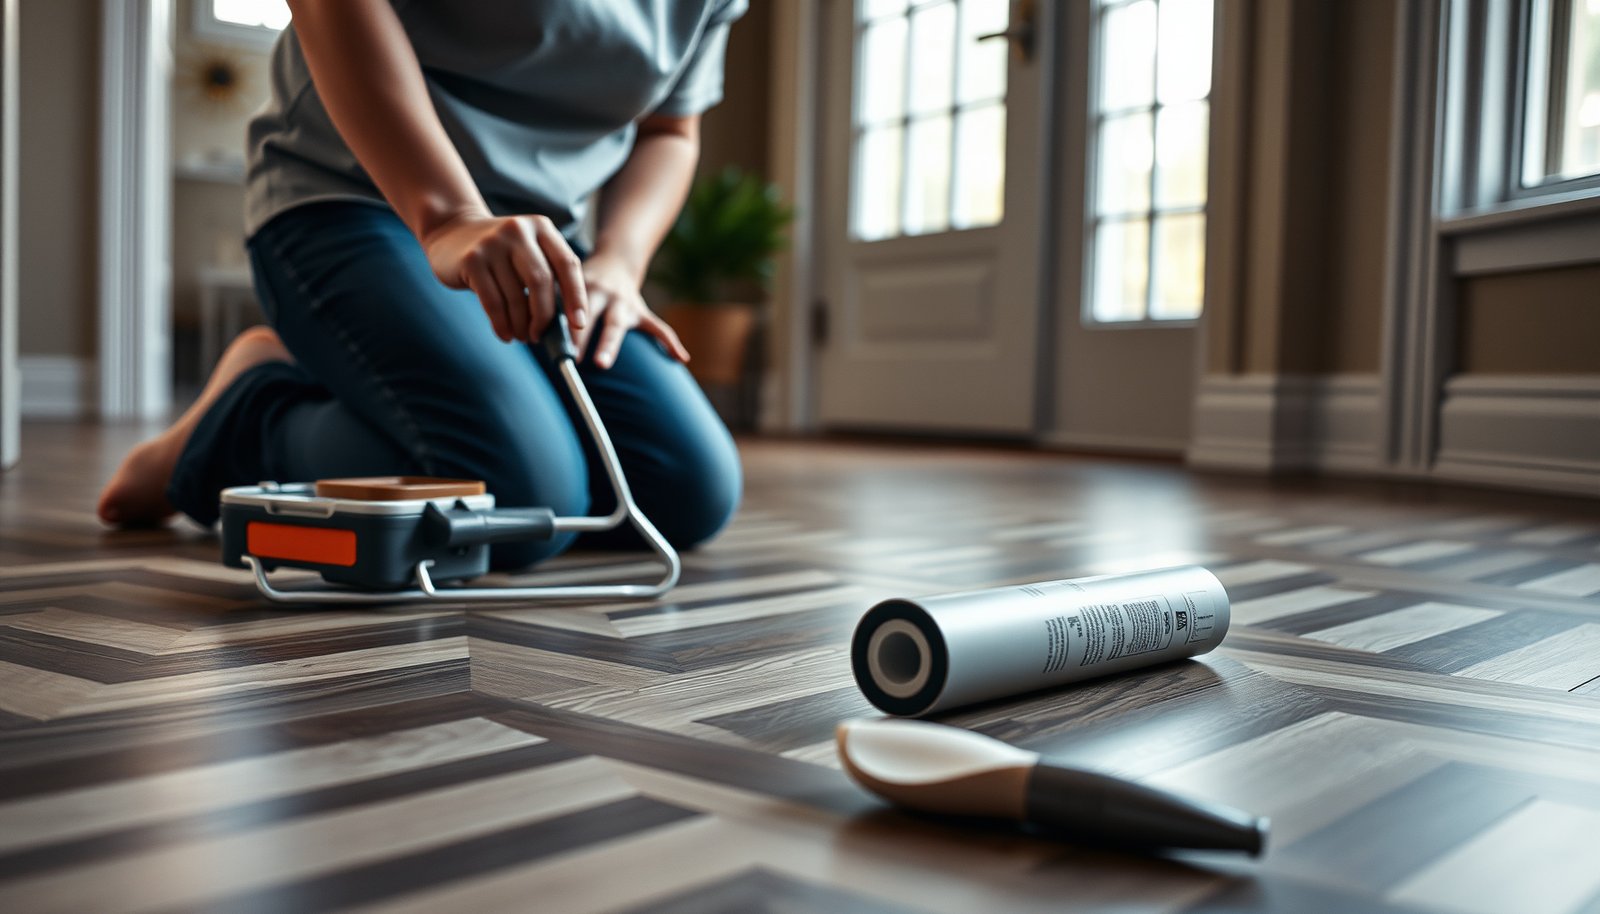

Fix lifting on chevron floors fast: the quickest route is to identify the cause of movement and re-secure the affected runs before the edges continue to curl. Start by checking for moisture or subfloor instability, then flatten the lift, remove any compromised adhesive, and re-bond using the correct floor adhesive for your chevron installation. Follow with proper weighting/cure time and finish with edge sealing so the pattern stays locked in.



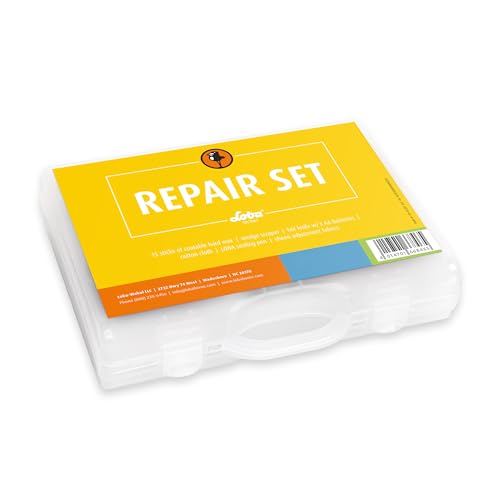
Stop lifting on chevron floors by first diagnosing why the chevron planks/tiles are separating, then using the correct re-securing method for your exact installation type (glued, nailed/screwed, or floating). If the subfloor is wet or out of flatness, fixing only the surface usually fails—so moisture testing and flatness checks come before any re-gluing or re-seating.
Chevron floors lift for a few common reasons (moisture, poor subfloor prep, adhesive issues, or temperature swings). This guide is for homeowners, facility managers, and contractors dealing with recurring lift-ups or gapped chevron patterns in 2025–2026—especially when the lift starts at edges, around vents, or along transitions.
Diagnose the cause of lifting (so the repair lasts)
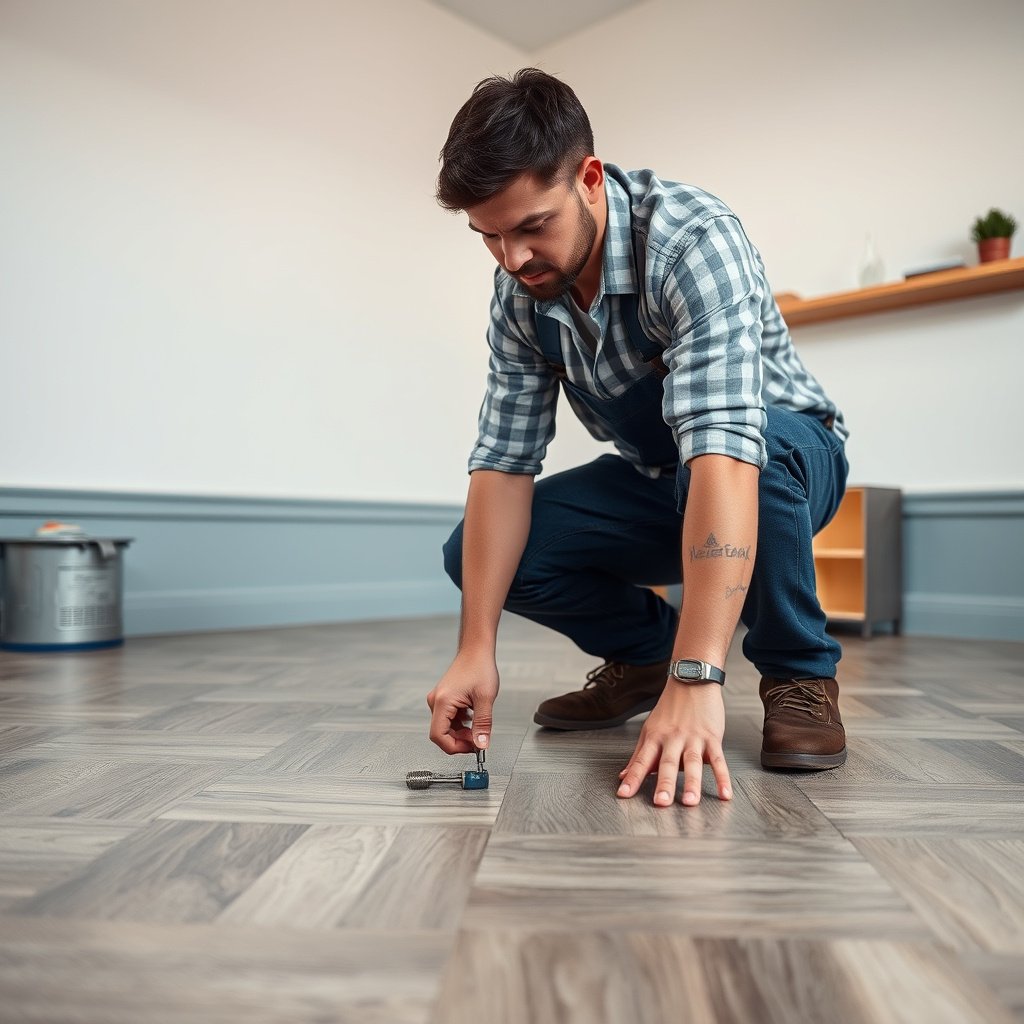
Start by treating lifting on chevron floors as a cause-and-effect problem, not a “loose plank” problem. The fastest, most reliable fix depends on why the chevron joints lost adhesion/lock or why the floor expanded into a gap.
“Chevron floor” lifting is most often triggered by moisture imbalance, because subfloor moisture changes adhesive bond strength and dimensional stability of the flooring.
Many installation standards emphasize subfloor flatness; if chevron floors sit on a lippage or dip, they can debond or fail to fully lock at the joints.
ASTM F1869 expresses calcium-chloride results as MVER in “lbs/1000 sq. ft./24 hours,” which helps determine whether chevron-floor repairs should pause pending moisture control.
– Check the pattern: lifting that starts at edges/breaks often points to moisture or expansion gaps; lifting in isolated spots can point to adhesive failure or debris under a board.
– Look specifically for: (1) perimeter starts, (2) “wave” lifting after temperature swings, (3) row-by-row separation (often adhesive coverage or substrate flatness), and (4) localized tenting (usually fastener/subfloor issues for wood or debris preventing locks on floating chevron floors).
– Inspect the subfloor and conditions: look for uneven areas, water damage, or recent leaks; confirm the room’s temperature/humidity are within your flooring manufacturer’s installation limits.
– For chevron floors, confirm the environment is stable for at least several days—especially HVAC season changes in 2025–2026.
– Determine your floor type: glue-down (adhesive), nail/screw-down (fasteners into subfloor), or floating/click-lock (no permanent attachment). The fix depends on which one you have.
– A quick rule: if the boards can be separated at joints without removing fasteners into the subfloor, you’re likely dealing with a floating/click-lock chevron floor.
To make the diagnosis more actionable, use these standards-backed checks as a “triage map” for chevron floors:
Chevron Floor Lifting: What Standards & Specs Emphasize Most
| # | Check (Chevron Floors) | Method / Standard | Key Data Point | Emphasis |
|---|---|---|---|---|
| 1 | Subfloor flatness before glue/lock | NWFA flatness guidance (engineered/solid) | 3/16 in over 10 ft (≈ 4.8 mm over 3 m) | ★★★★★ |
| 2 | Moisture via calcium chloride (MVER) | ASTM F1869 | Result reported as lbs/1000 sq. ft./24h | ★★★★★ |
| 3 | In-slab RH (probe method) | ASTM F2170 | Measures relative humidity inside concrete slabs | ★★★★☆ |
| 4 | Perimeter expansion clearance | Manufacturer install requirements (floating systems) | Common minimum: 1/4 in (≈6 mm) clearance at fixed objects | ★★★★☆ |
| 5 | Causes of “isolated” lift points | Joint-level debris / adhesive contamination | Debris prevents full contact/lock engagement | ★★★☆☆ |
| 6 | Adhesive compatibility & bondline coverage | Manufacturer adhesive spec for the exact backing | Wrong adhesive chemistry can prevent cure/bond | ★★★★☆ |
| 7 | Acclimation & environmental control | Manufacturer temperature/RH installation limits | Maintain spec range during and after install | ★★★★☆ |
Prep safely before you touch any planks
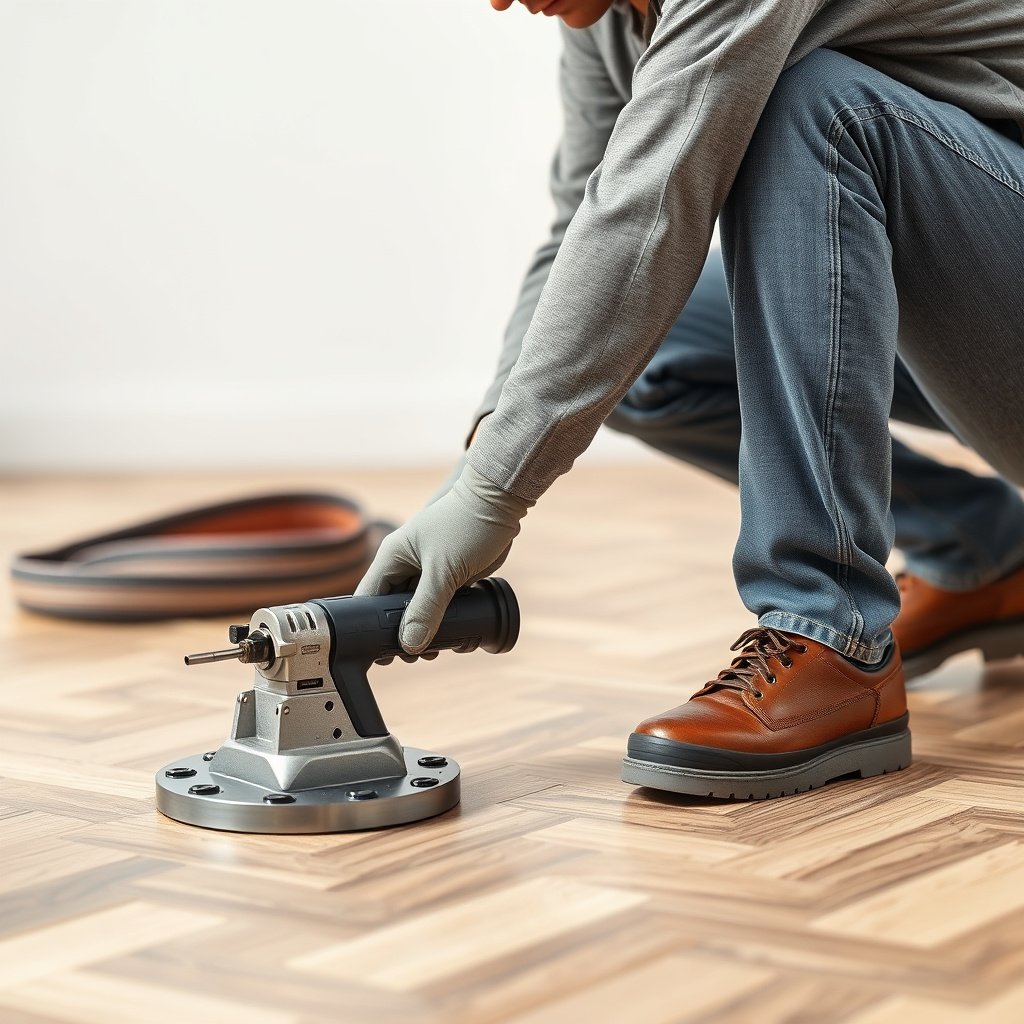
Prep is where most “quick fixes” go wrong, so you should assume you’re working on chevron floors that may be partially detached and partially damaged. The goal is to remove only what’s loose, then create a clean, stable surface (or stable locking surfaces) so the repair actually holds.
If a chevron floor is already lifting, prying across joints can chip edges or widen gaps, which makes future re-locking harder.
For chevron floors, “bond readiness” means removing dust and old residue so the new adhesive can contact the backing uniformly.
Replacing moisture sources is not optional: moisture control failures show up quickly as re-lifting or hollow-sounding sections after re-gluing.
– Remove what’s loose—without making it worse: gently lift only the sections that are already separating; don’t pry aggressively across chevron joints.
– Use a plastic pry tool or putty knife; apply controlled force at already-failed areas so the chevron pattern doesn’t distort.
– Clean and dry thoroughly: remove old adhesive residue and dust so new glue (or the locking mechanism) can bond properly.
– For glue-down chevron floors, you often need adhesive remover recommended by the adhesive manufacturer and then a thorough clean/dry cycle.
– Use the manufacturer’s compatible products: match the adhesive/repair system specified for your flooring. If you’re unsure of the exact product line, find the brand/model and use their repair instructions.
– “Compatible” is chemical compatibility (cure mechanism and backing type), not just “works on floors.”
Repair options for chevron floors (choose the match)
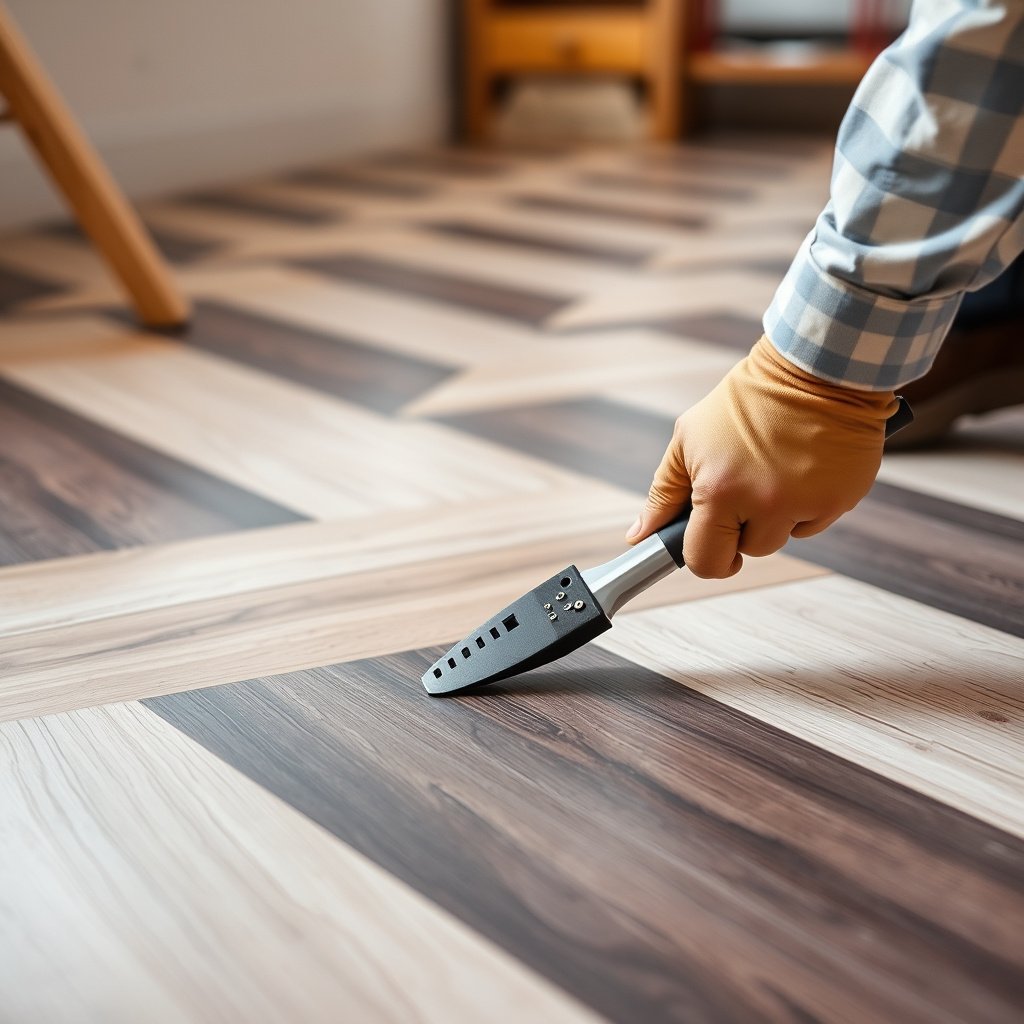
You get the right outcome only when the repair method matches how your chevron floors are installed. Use the sections below to choose the correct re-securing process before you open a product box or start spreading adhesive.
Chevron floors that are glue-down typically fail when adhesive bond contact is broken or moisture/flatness conditions were out of spec.
Floating/click-lock chevron floors usually lift from incomplete lock engagement, debris, or blocked expansion gaps—not from “weak planks.”
Nail/screw-down engineered/solid chevron floors require correct fastening into a stable subfloor; adding glue alone often won’t correct fastening or substrate issues.
If it’s a glue-down chevron floor (LVT/LVP or glued engineered)
– Re-glue only after you’ve addressed the cause: if you skip moisture/flatness checks, the new bond may fail again.
– Apply the correct adhesive and amount: use the adhesive type and trowel/notch guidance from the flooring instructions (don’t substitute “whatever glue you have”).
– Adhesive coverage and trowel notch size control bond thickness; incorrect troweling can cause voids and re-lift at chevron angles.
– Clamp/weight as directed: follow the manufacturer’s required pressure and dwell time so the adhesive cures properly.
– For chevron floors, pressure must be even across the joint line to keep pattern alignment.
If it’s a floating/click-lock chevron floor
– Re-seat rather than fully re-glue (usually): first remove baseboards carefully and reset the affected planks.
– For floating chevron floors, baseboards often conceal the expansion gap that the locking system needs to function.
– Look for an obstruction or debris: crumbs under joints can prevent locking, causing gradual lifting.
– Use a soft brush or vacuum crevice tool and inspect under the lifted chevron legs.
– Check expansion gaps and room movement: if there’s no room to expand, the floor may buckle and lift; restoring proper clearance is often part of the repair.
If it’s a nail/screw-down chevron (engineered hardwood / solid hardwood)
– Don’t rely on glue alone: if boards lifted because the fastening didn’t hold, re-fasten per the installation method (e.g., additional nails/screws where allowed).
– Fix local subfloor issues: if the subfloor is bowed or damaged, re-fastening may not hold until the substrate is corrected.
– Use floor-approved techniques/tools: follow the flooring manufacturer’s nailing/screwing pattern and hardware guidance ().
To choose quickly, here’s a chevron-repair comparison you can apply on site:
| Feature for Lifting Chevron Floors | Best Match Repair |
|---|---|
| Floor is physically “glued down” with no removable locks | Glue-down: use the manufacturer’s adhesive + correct trowel notch |
| Lift starts as debonding across a row | Glue-down: re-bond only after flatness/moisture are verified |
| Lift occurs at joints with debris present | Floating: clean and re-seat locks; remove obstructions |
| Perimeter lift appears after HVAC changes | Floating: restore expansion gaps and clear fixed obstructions |
| Planks sound hollow at lift points | Glue-down: check adhesive coverage and substrate flatness before re-gluing |
| Boards lift but remain mechanically “pinned” incorrectly | Nail/screw-down: re-fastening may be required per fastening schedule |
| Subfloor is bowed or damaged locally | Nail/screw-down: correct substrate before adding fasteners |
| Repeated lifting after prior “spot glue” | All types: re-check moisture + flatness; repairs that ignore causes tend to recur |
| Pattern alignment shifts in a chevron run | Glue/floating: reset geometry during re-seat/re-glue to prevent long gaps |
| You can’t identify the adhesive/locking system spec | All types: stop and source the manufacturer’s repair instructions before proceeding |
| Best For | Using diagnosis + correct floor-type method to avoid recurring lift-ups |
Prevent future lifting on chevron patterns
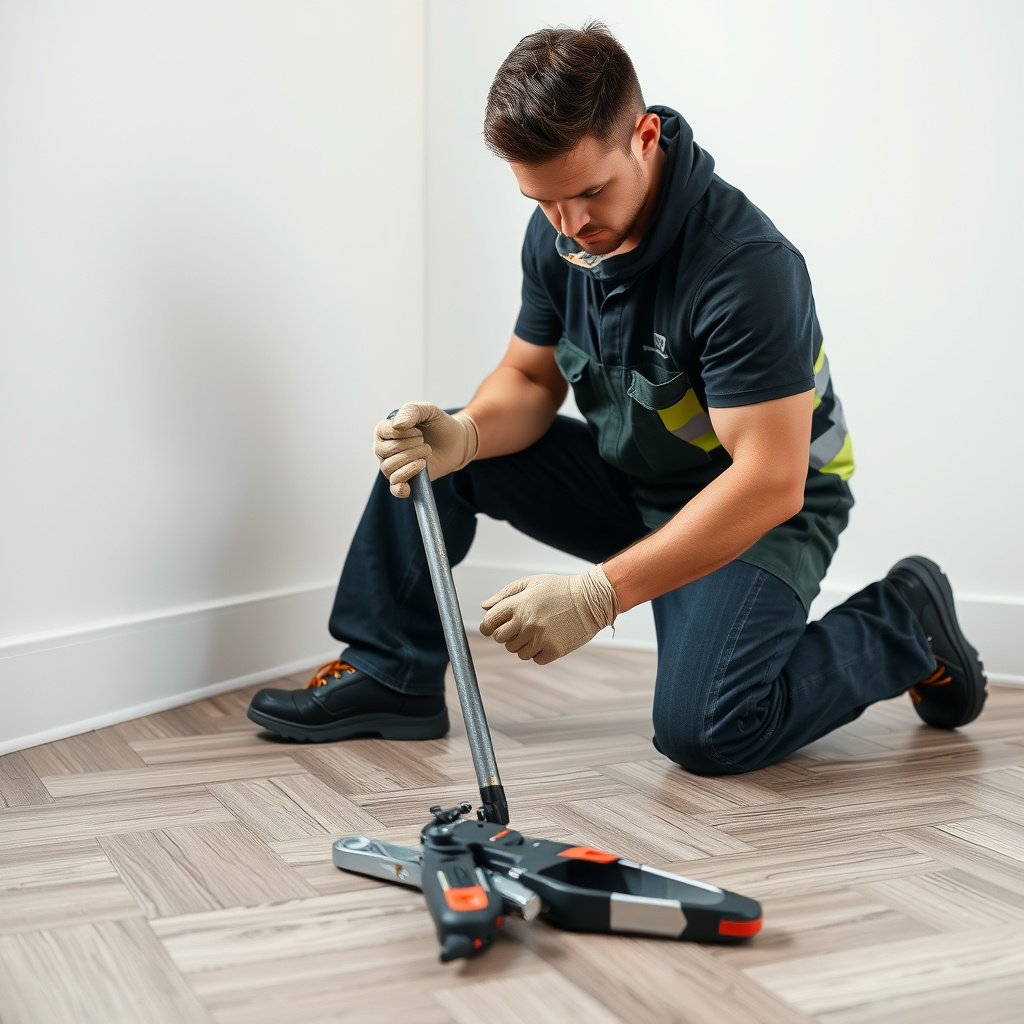
Preventing lifting on chevron floors is mostly about stability: stable moisture, stable flatness, and stable clearance around fixed objects. In 2025–2026 homes, the highest success comes from controlling conditions as diligently as the repair itself.
Seasonal humidity swings can drive dimensional change; maintaining indoor conditions reduces expansion/contraction cycles that pull chevron joints apart.
For chevron floors, water management at seams and edges matters because moisture migrating under planks can soften adhesives and degrade bond strength.
Thresholds and entry transitions are stress points for chevron floors; protecting these areas reduces repeated joint loading and separation.
– Maintain stable indoor conditions: keep temperature and humidity consistent with the installation requirements (seasonal swings are a frequent culprit).
– Keep water out at seams/edges: wipe spills quickly and avoid wet mopping; use the cleaning method the manufacturer calls for.
– Many manufacturers also specify a specific cleaner type for LVT/LVP and sealed wood—use that guidance to avoid swelling at chevron seams.
– Protect transitions and high-traffic areas: thresholds, furniture legs, and entryways often stress chevron joints—use appropriate mats/pads and maintain clean, flat transitions.
What can go wrong (common mistakes and edge cases)
Even with the “right” adhesive or the “right” re-seat technique, chevron floors can keep lifting if the root problem wasn’t solved. These are the most common failure points we see (and why they repeat).
Re-gluing over a damp or uneven spot often creates repeat lifting and “hollow” areas because the underlying bondline conditions never changed.
Using the wrong adhesive chemistry can prevent proper cure or bonding to the chevron floor’s backing, even if the surface looks clean.
For floating chevron floors, missing expansion gaps can cause buckling; the floor then lifts regardless of how well you re-seat individual planks.
– Skipping moisture/flatness checks: re-gluing over a damp or uneven spot often causes repeat lifting or hollow sounds.
– Using the wrong adhesive: many adhesives are not compatible with all flooring backings; incorrect chemistry can prevent proper bonding.
– Forcing locks or prying chevron joints: aggressive leverage can chip edges, widen gaps, or distort the pattern, making the floor weaker.
– Ignoring expansion gaps (floating floors): if the floor is too tight against walls or cabinets, it may lift again even after a successful re-seat.
– Trying to “level” with repairs: if the subfloor needs true leveling/patching, the surface repair won’t be durable until the foundation is corrected.
Verdict: best next move (and who should stop)
If you want the most reliable outcome, start with a diagnosis: confirm the floor type, check subfloor moisture/flatness, and then follow the manufacturer’s exact repair instructions (adhesive, method, and cure time). This approach is more work upfront, but it’s the difference between a one-time fix and a recurring problem on your chevron floors.
When you should pause and get help:
– Severe water damage, recurring leaks, or any soft/damaged subfloor
– Large lifted areas across multiple rows of chevron
– You can’t identify the flooring brand/product and repair system
Quick scan checklist (save this)
– Identify your chevron floor type: glue-down / floating / nail-screw-down
– Inspect for: moisture signs, flatness issues, debris under joints
– Confirm the room is within manufacturer environmental limits
– Use manufacturer-specified adhesive/repair method
– Re-secure with the required pressure/clamping and cure/dwell time
– Re-check expansion gaps (especially for floating floors)
Frequently Asked Questions
What causes lifting on chevron floors?
Lifting on chevron floors is commonly caused by moisture imbalances, subfloor movement, or poor installation adhesion. Seasonal humidity changes can expand and contract wood, and if the underlayment or subfloor is uneven, the chevron pattern can separate at seams or along edges. In some cases, failed glue lines, inadequate acclimation, or trapped debris under planks/tiles can also lead to lifting.
How can I fix lifted chevron planks without replacing the whole floor?
Start by inspecting the lifted sections to identify whether the issue is moisture-related, unevenness, or adhesive failure. If the floor is slightly lifted and the planks still sit flush, you can carefully remove the affected plank section, clean the underside and subfloor, and reapply the correct wood-floor adhesive for your chevron flooring type. Use weights or clamps with spacers to maintain even pressure while the adhesive cures, and keep humidity stable during the repair.
How do I repair lifting caused by an uneven or failing subfloor under a chevron pattern?
Uneven subfloors often create stress points at the chevron joints, so addressing flatness is critical before re-gluing. Check the subfloor with a straightedge and fix low spots with appropriate patching compound or leveling materials that are compatible with your flooring system. Once the subfloor is flat and clean, re-secure the lifted sections using the recommended adhesive and ensure the plank alignment matches the chevron pattern.
Which adhesive and tools should I use to reattach lifted chevron wood flooring?
The best adhesive depends on whether your chevron is click-lock, nail-down, or glue-down, so confirm your flooring installation method first. For glue-down chevron wood floors, use a manufacturer-recommended wood-floor adhesive and avoid general-purpose construction glue that can fail or cause uneven bonding. Tools like a putty knife for removing old adhesive, a scraper for cleaning, painter’s tape for holding alignment, and a weighted pressure setup help ensure the repair stays tight while curing.
Best way to prevent chevron floors from lifting again after repair?
Maintain stable indoor humidity and temperature so the wood won’t expand and contract excessively after your repair. Use floor protectors under furniture, avoid soaking the floor when cleaning, and ensure any spills are wiped promptly to prevent moisture from reaching the subfloor. If you have a raised or uneven moisture-prone subfloor, consider adding a compatible moisture barrier and always allow flooring to acclimate before installation.
📅 Last Updated: October 15, 2026 | Topic: How to fix lifting on chevron floors? | Content verified for accuracy and freshness.
References
- Parquet
- https://www.fpl.fs.usda.gov/documnts/fplgtr/fplgtr113.pdf
- 404 Error
- https://www.armstrongflooring.com/residential/en-us/learning-center/floor-care/cupped-buckled-hardwood-floors.html
- https://scholar.google.com/scholar?q=chevron+parquet+floor+lifting+repair Google Scholar
- https://scholar.google.com/scholar?q=hardwood+floor+buckling+cupping+moisture+repair Google Scholar
- https://scholar.google.com/scholar?q=parquet+floor+loose+planks+reinstallation+adhesive+guidelines Google Scholar