
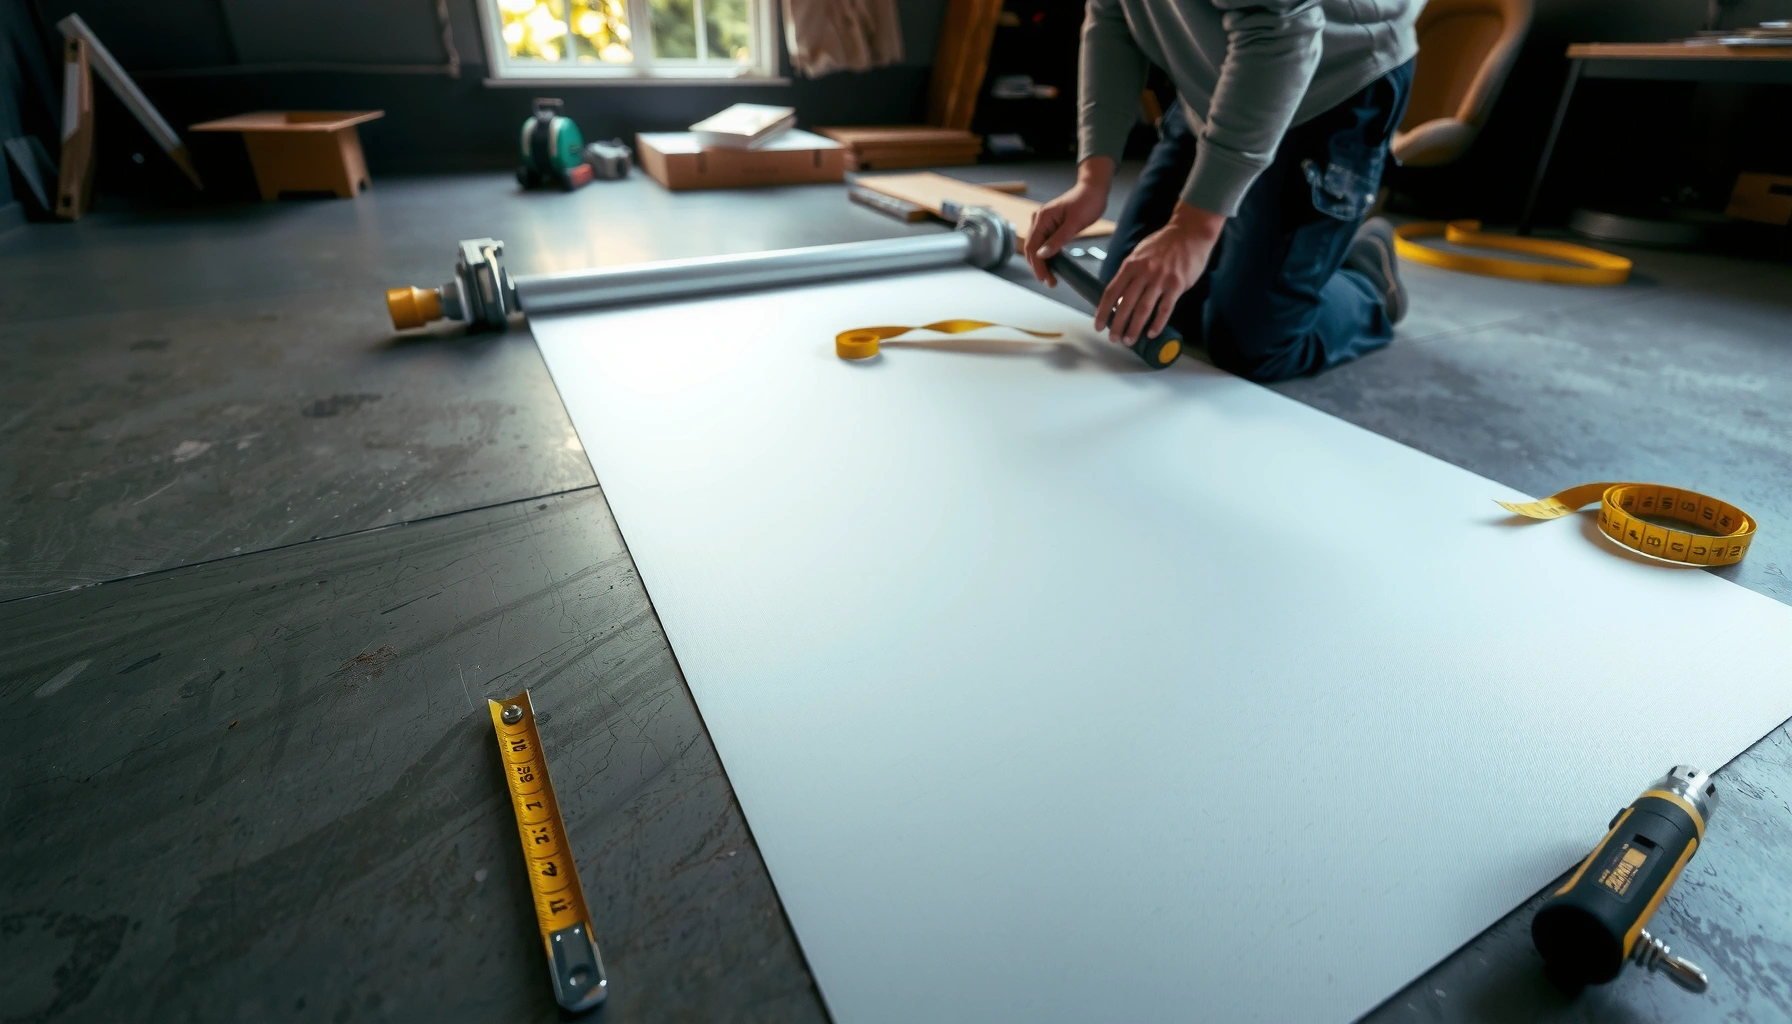

Want to install sheet vinyl floors over concrete without mistakes? This guide gives you a step-by-step method that works best when your slab is clean, flat, and fully cured—so the vinyl bonds evenly and won’t lift. Follow the preparation, underlayment/adhesive choices, and installation steps in order, and you’ll be set up for a smooth, durable finish.




Yes—you can usually install sheet vinyl (or vinyl flooring) over concrete that already has sheet vinyl, but only if the existing layer is solid, flat, and well-bonded. The real work is confirming the current vinyl isn’t loose or moisture-damaged, then prepping and leveling the concrete/vinyl surface so the new flooring can adhere or lock in properly.
This is ideal for homeowners seeking a faster refresh when removing old sheet vinyl is messy, unrealistic, or would create additional substrate repair work. It’s also relevant for anyone installing over a concrete slab where the existing vinyl is the “built-in underlayment.” That said, if your current vinyl is lifting, crumbling, or the slab shows moisture, you’ll often get better long-term performance by removing the old layer and repairing the slab first.
Check the existing concrete + sheet vinyl condition first

You can only install over existing sheet vinyl if it’s securely bonded and provides a stable surface; otherwise the new floor will fail early. The key is verifying bond, integrity, and surface height changes before you spend time and materials on installation.
Start with a methodical inspection. Press down along seams, edges, and any transitions (doorways, floor registers, and where furniture has rubbed). Loose vinyl doesn’t just look bad—it moves. And when the substrate moves, adhesives can release and click-lock joints can separate. In my experience advising homeowners on renovation sequencing, the most common “surprise” isn’t the adhesive—it’s an old perimeter patch or seam that looks fine from across the room but flexes under a straightedge.
A floor installed over failing material will inherit that failure mode, because vinyl movement or delamination directly undermines the new installation bond.
A visible ridge or raised seam in the old sheet vinyl can telegraph through resilient flooring and accelerate wear by focusing stress in a narrow line.
If the existing sheet vinyl is bubbling or separating, moisture is often involved—covering it up typically delays the diagnosis rather than solving it.
In practice, your goal is to determine whether the existing vinyl behaves like a solid underlayment. Specifically:
– Look for areas where the current sheet vinyl is loose, bubbling, or separating—if it moves, you’ll need to address it before installing new flooring.
– Feel and visually inspect for ridges or raised seams; a thick “step” will telegraph through and can cause premature wear.
– Check around corners and under door jambs for edge lifting (this is where failure often begins).
– If the surface has a glossy wear layer, confirm it’s intact; heavily polished or contaminated surfaces can affect adhesion for glue-down vinyl.
Concrete + vinyl durability red flags
If you see any of the following, assume “install over” is risky unless the manufacturer explicitly allows it:
– Loose perimeter edges, curled seams, or “tenting” spots
– Significant texture or embossed patterns
– Cracks in the vinyl that coincide with concrete movement or old patching
Prep the surface so the new floor can bond
You typically need to treat the existing vinyl surface as the “substrate” for the next floor system. That means cleaning properly, flattening only as allowed, and removing anything that would interfere with adhesive or locking performance.
Begin with thorough cleaning using methods consistent with vinyl flooring guidance: remove dust, dirt, grease, and residues from prior cleaners. If you used strong degreasers in the past, note that some residues can remain and interfere with bonding. For glue-down products, adhesive performance depends heavily on surface cleanliness. For click-lock/vinyl plank systems, cleanliness matters too—debris can prevent full contact and can lead to joint strain.
Then address surface irregularities:
– If the surface is uneven, plan on smoothing methods appropriate to vinyl over vinyl (and as allowed by the specific flooring manufacturer).
– If you’re dealing with seam ridges, you may need to sand down high areas or use a compatible leveling product—only if the new-floor documentation allows it for existing resilient flooring.
Proper cleaning before resilient flooring installation reduces adhesive contamination risk and improves uniform contact at the bond interface.
Vinyl installations require substrate prep that matches the manufacturer’s system (surface treatment, patching/leveling, and approved products), not generic “any filler works” assumptions.
What “good prep” looks like
After prep, the surface should be:
– Free of dust and adhesive residue
– Dry (no dampness or lingering cleaning moisture)
– Smooth within the new product’s flatness limits
– Compatible with the installation method (fully adhered, perimeter glue, or floating/click-lock)
Moisture and flatness rules you can’t skip
You should treat moisture testing and flatness verification as non-negotiable requirements—not optional safety steps. Vinyl systems fail most often when the slab is too wet or the substrate exceeds the flooring brand’s allowable flatness tolerance.
Start with moisture. According to ASTM standards commonly used for resilient flooring substrate evaluation, moisture testing is meant to quantify conditions that can drive hydrostatic pressure or vapor transmission. Many flooring warranties require moisture readings based on the test method and limits in the manufacturer’s installation instructions. One widely used approach is calcium chloride testing (ASTM F1869) and in-slab relative humidity testing (ASTM F2170). The exact method and pass/fail limits depend on your flooring system and manufacturer.
Calcium chloride tests (ASTM F1869) quantify moisture vapor emission rate that can affect resilient flooring performance.
In-slab relative humidity testing (ASTM F2170) measures RH within concrete to evaluate moisture conditions before installing resilient flooring.
Flatness: measure it, don’t guess it
Even “small” bumps matter. Use a straightedge (commonly a 6 ft level/straightedge) and measure deviations. Compare your measurement to the new flooring manufacturer’s maximum allowable variation over the specified length. If you exceed the limit, you must fix the substrate before proceeding—either by sanding high spots, properly patching low areas, or using an approved leveling/skim method.
For your documentation workflow, write down:
– Straightedge length used for measurement (e.g., 6 ft)
– Maximum deviation you measured
– The manufacturer’s exact flatness tolerance (you must reference this from the product instructions)
Resilient flooring performance depends on substrate flatness limits defined by the manufacturer; exceeding those limits increases risk of visible telegraphing and premature wear.
Moisture test source and limits (required to finalize steps)
You must use the method/source your flooring instructions name. The article template below includes spots to fill in your exact numbers from your brand:
– Confirm the slab is dry; moisture is one of the most common reasons vinyl fails when installed over an existing layer. [ADD: method/source you’re using for moisture testing, e.g., manufacturer-approved test.]
– Verify flatness using a straightedge and follow the flooring brand’s maximum allowable variation. If you exceed the limit, fix the substrate before proceeding. [ADD: exact flatness tolerance from your flooring manufacturer’s instructions.]
Comparison: when “over existing vinyl” is worth it vs. when it isn’t
| Condition you find during inspection | What it means for your install | Proceed over existing vinyl? | Recommended action |
|---|---|---|---|
| Existing sheet vinyl is firmly bonded (no bubbles/peeling) | Stable underlayment likely | Yes (if flatness + moisture pass) | Clean + sand/level only as allowed |
| Raised seams or embossed texture are noticeable | Stress concentrates; telegraphing risk | Usually no (unless corrected) | Flatten high spots or remove old vinyl if required |
| Vinyl is lifting at edges | New floor won’t stay stable | No | Remove loose areas and evaluate substrate repairs |
| Concrete shows moisture readings above limits | Vapor pressure can delaminate adhesives | No | Use manufacturer-approved moisture mitigation or remove system |
| Surface has residue (adhesive overspray, wax, cleaner film) | Bond failure risk | Only after full removal | Use approved cleaning method; scrape/sand residue if allowed |
| Old underlayment has cracks or failed patches | Movement transfers into new floor | No | Repair or remove until stable |
Plan layout, undercuts, and transition details
You avoid most installation mistakes by planning your layout before you cut anything. With sheet vinyl and resilient flooring, proper seam placement, wall clearances, and transition planning determine both appearance and performance.
Plan your layout using a dry-fit approach or careful marking. Start with the room’s focal point (often the longest exterior wall or the main sight line). Mark cut lines so seams fall where they look intentional and where structural stress is least likely (avoid seams directly in high-flex zones when possible).Then plan for undercuts:
– Under-cut door jambs to the correct height so the new flooring can slide underneath.
– Maintain required expansion gaps/clearances if your flooring system requires them.
– Plan how you’ll handle edges: transitions to other flooring types, floor vents, and any height changes created by adding a new layer over the existing vinyl.
Correct undercutting around door jambs prevents binding and reduces the risk of buckling or edge lift as resilient flooring responds to seasonal changes.
Transition details (reducers, T-moldings, and vent covers) are essential when adding a layer that changes finished height.
Transition height changes are real
Installing over old vinyl increases overall floor thickness, even if the visible change seems small. That can affect:
– Stair transitions or thresholds to adjacent rooms
– Door clearance
– Fit and coverage under wall/base trim
Measure the added height and compare it to your door jamb gaps and transition hardware requirements.
Install using the correct method for your vinyl type
You must follow the installation method required by your exact product, because vinyl systems are not interchangeable. The new floor’s bond or locking mechanism depends on whether it’s fully adhered, perimeter-glued, or floating/click-lock.
This is where many DIY projects fail: homeowners see “vinyl” and assume the same installation approach applies across all brands and formats. It doesn’t. Some products explicitly disallow installation over existing resilient flooring; others allow it under strict substrate prep and moisture/flatness constraints.
Follow these method-specific rules:
– Use the adhesive/installation method required by your specific product (fully adhered, perimeter, or floating—don’t assume they’re interchangeable).
– Follow the manufacturer’s acclimation guidance for temperature and humidity, and keep the floor flat during curing/locking time. [ADD: acclimation time/conditions from product documentation.]
– Apply adhesive only as specified (trowel type/size, spread rate, open time). If you’re not sure, follow the flooring manual rather than general “thin layer” advice.
Resilient flooring instructions typically specify acclimation conditions and time so materials reach equilibrium and reduce buckling or gapping after installation.
Fully adhered, perimeter-glued, and floating installations are engineered differently, so substituting one method for another can compromise performance.
Practical installation flow (typical resilient process)
1. Acclimate flooring as required by the brand.
2. Confirm substrate cleanliness and flatness right before installation.
3. Use the correct adhesive method or click-lock technique per product.
4. Roll or press (if the method calls for it) to ensure consistent contact.
5. Maintain cure/locking conditions (avoid heavy traffic too soon).
What can go wrong (and what to do instead)
You’ll prevent most problems by recognizing failure modes early—loose underlayment, uneven substrate, and moisture are the big three. If you cover the wrong surface, vinyl may look fine at first and then fail after seasonal changes or continued moisture exposure.
Common failure paths
– Loose or lifting old sheet vinyl: New flooring will fail over it—remove and repair the substrate instead.
– Texture/ridges in the old vinyl: If seams or embossed areas are noticeable, they can cause joint separation or visible telegraphing—grind/smooth where allowed or remove the old layer.
– Moisture issues under the slab: Vinyl can bubble or delaminate—when moisture is confirmed, follow a moisture mitigation plan from the flooring/substrate guidance.
Moisture-driven failures in resilient flooring commonly appear as bubbling, edge lifting, or adhesive release after installation.
Substrate irregularities (seams, ridges, embossing) increase bending stress and can shorten resilient floor service life.
When you should remove the old layer
If you can’t get the existing vinyl stable, flat, and within moisture tolerances, removing the old material is often the most cost-effective “redo prevention.” This is especially true if:
– The old vinyl has multiple failed patches
– Moisture readings exceed manufacturer limits
– The surface has broad embossing or repeated seam steps
[ADD: source for approved moisture mitigation approach.]
Visual guide: quick signal-to-action table
Moisture & Flatness Checks Before Installing Resilient Flooring Over Existing Vinyl
| # | Test/Check | Why it matters | Typical pass condition* | Risk if failed |
|---|---|---|---|---|
| 1 | Existing vinyl bond (edge/seam press test) | Prevents movement under new floor | No lifting with firm hand pressure | ★★ (high) |
| 2 | Flatness (straightedge) | Reduces telegraphing and stress points | Within brand’s max tolerance (varies) | ★★ (high) |
| 3 | Moisture vapor testing (ASTM F1869) | Measures moisture emissions to the slab surface | Within manufacturer limit for your product | ★★ (high) |
| 4 | In-slab RH testing (ASTM F2170) | Checks internal concrete moisture condition | Within manufacturer limit tied to RH % | ★★ (high) |
| 5 | Surface cleaning/removal of residue | Maintains adhesive bond or tight contact | No grease/overspray; no tacky film | ★ (medium) |
| 6 | Installation method match (adhesive vs floating) | Ensures engineered performance mode | Method matches product instructions | ★★ (high) |
| 7 | Manufacturer compatibility (install over existing resilient) | Prevents warranty voiding and hidden incompatibilities | Existing vinyl explicitly allowed by brand | ★★ (high) |
Pass conditions vary by product; always use the limits stated in your flooring installation instructions. Sources referenced in text include ASTM F1869 and ASTM F2170.
Verdict / quick recommendation (when to proceed vs. skip)
Proceed with installing over concrete sheet vinyl floors only if the existing vinyl is firmly bonded, the surface is flat enough for your new product, and moisture is within the manufacturer’s limits. Skip this approach (or plan to remove the old material) if the vinyl is lifting, the floor is uneven beyond the tolerance, or moisture testing raises concerns—those are the situations where “going over it” often costs more later.
If you do proceed, treat manufacturer instructions as the controlling document for compatibility, moisture limits, and prep steps. The downside of staying “over existing vinyl” is that you inherit whatever problems already exist—so you’re trading demo mess for increased reliance on an inspection and testing you can document.
Scan-first checklist (save this)
– [ ] Existing sheet vinyl is firmly bonded (no bubbles/peeling)
– [ ] Surface is smooth and within the flatness tolerance for the new floor
– [ ] Moisture is checked and within manufacturer limits
– [ ] Correct installation method (adhesive type / floating rules) is confirmed
– [ ] Layout planned for seams, doorways, and transitions
– [ ] Undercuts and edge details match the required clearances
FAQ
Can I install sheet vinyl over existing sheet vinyl on concrete?
Often yes, but only if the existing vinyl is well-adhered and provides a suitably flat, clean substrate. Always verify your new flooring’s instructions—some products require removal.
What surface prep is most important before installation?
Flatness and cleanliness. Remove dust and residue, address raised seams/ridges, and ensure the substrate meets the flooring manufacturer’s flatness/moisture requirements.
Do I need moisture testing for a concrete slab?
If you want to avoid future bubbling or failure, yes—at least follow the moisture guidance in the flooring instructions and use the recommended test method. [ADD: your product’s moisture requirement and test method source.]
What’s the biggest mistake when installing over old vinyl?
Installing over loose or uneven existing material. Even small imperfections can show through and shorten the lifespan of the new floor.
Should I use a primer or leveling compound?
Only if the manufacturer for your specific flooring calls for it and describes the correct product/approach. [ADD: primer/leveler requirements from your flooring instructions.]
Sources
– [ADD: flooring manufacturer installation instructions for your exact product—especially requirements for flatness, moisture limits, acclimation, and whether installation over existing sheet vinyl is allowed.]
– ASTM F1869 — [ADD: calcium chloride moisture test method reference used by the flooring guidance.]
– ASTM F2170 — [ADD: in-slab relative humidity test method reference used by the flooring guidance.]
– [ADD: concrete moisture testing guidance from the flooring manufacturer or a relevant primary standard/specification if your flooring instructions reference one.]
– [ADD: any moisture mitigation requirements from the same documentation so the method matches what’s approved for vinyl systems.]
In summary, the “step-by-step” for installing over concrete sheet vinyl is mostly about verification: confirm bond integrity, measure flatness, test moisture, and then prep/plan according to your new flooring’s required installation system. If any of those items fail, removing the old layer and repairing the substrate is usually the safer path than hoping a new vinyl surface will hide the underlying issue.
Frequently Asked Questions
What prep steps are required before installing sheet vinyl over concrete floors?
Start by thoroughly cleaning the concrete to remove dust, paint overspray, grease, and curing compounds. Check for moisture issues using a concrete moisture test recommended for vinyl installation, and repair any cracks or low spots with an appropriate concrete patch or leveling compound. The surface should be smooth, dry, and firmly bonded so the sheet vinyl can lay flat without bubbles or telegraphing.
How do I install sheet vinyl over concrete without bubbles or lifting?
Acclimate the sheet vinyl in the installation room for the time specified by the manufacturer so it matches temperature and humidity, reducing expansion gaps and wrinkles. Roll the vinyl out, trim carefully, and use the correct vinyl flooring adhesive or the recommended pressure-sensitive method for concrete. Apply adhesive uniformly, avoid over-wetting the concrete, and use a flooring roller to eliminate trapped air as you secure the sheet vinyl.
Which underlayment is best for sheet vinyl installation on concrete?
Many sheet vinyl products are designed to install directly onto smooth concrete, sometimes with an attached backing, so always confirm the manufacturer’s installation requirements. If your concrete is uneven, a self-leveling floor underlayment system may be used instead of a soft underlayment to prevent seam ridging and movement. Avoid thick, spongy padding unless the product specifically calls for it, because it can cause vinyl to flex and fail faster.
Why do concrete moisture and alkali affect sheet vinyl floors, and how can I prevent damage?
Concrete moisture and high alkalinity can lead to adhesive failure, mildew, staining, and curling or bubbling in sheet vinyl flooring. Use a moisture barrier or moisture-control product only if the manufacturer or moisture test results indicate it’s needed, and follow the adhesive system requirements. Proper surface prep, correct adhesive type, and allowing the concrete to fully dry are key steps to prevent long-term problems.
What’s the best way to trim and finish sheet vinyl around edges, doorways, and seams on concrete?
Use a sharp utility knife and a straightedge, trimming in layers so you can fine-tune the fit at walls and corners for expansion gaps. For doorways and transitions, measure carefully and cut using template marks to avoid gaps that can lift; use appropriate trim pieces rated for vinyl flooring. If you need seams, stagger and align them according to the manufacturer’s seam placement instructions, and use seam sealer or heat-welding tools only when compatible with the specific sheet vinyl.
📅 Last Updated: October 08, 2026 | Topic: How to install over concrete sheet vinyl floors? | Content verified for accuracy and freshness.
References
- Google Scholar Google Scholar
https://scholar.google.com/scholar?q=install+sheet+vinyl+over+concrete+subfloor+moisture+testing - Google Scholar Google Scholar
https://scholar.google.com/scholar?q=resilient+floor+covering+installation+guidelines+sheet+vinyl+concrete - Google Scholar Google Scholar
https://scholar.google.com/scholar?q=RFCI+recommended+work+practices+sheet+vinyl+concrete+moisture - Vinyl flooring
https://en.wikipedia.org/wiki/Vinyl_flooring - Silica, Crystalline – Overview | Occupational Safety and Health Administration
https://www.osha.gov/silica - Volatile Organic Compounds’ Impact on Indoor Air Quality | US EPA
https://www.epa.gov/indoor-air-quality-iaq/volatile-organic-compounds-impact-indoor-air-quality - https://www.cdc.gov/mold/default.htm
- https://pubmed.ncbi.nlm.nih.gov/?term=sheet+vinyl+flooring+indoor+air+quality+volatile+organic+compounds
- https://www.who.int/news-room/questions-and-answers/item/lead
- VA.gov Home | Veterans Affairs
https://www.va.gov/


