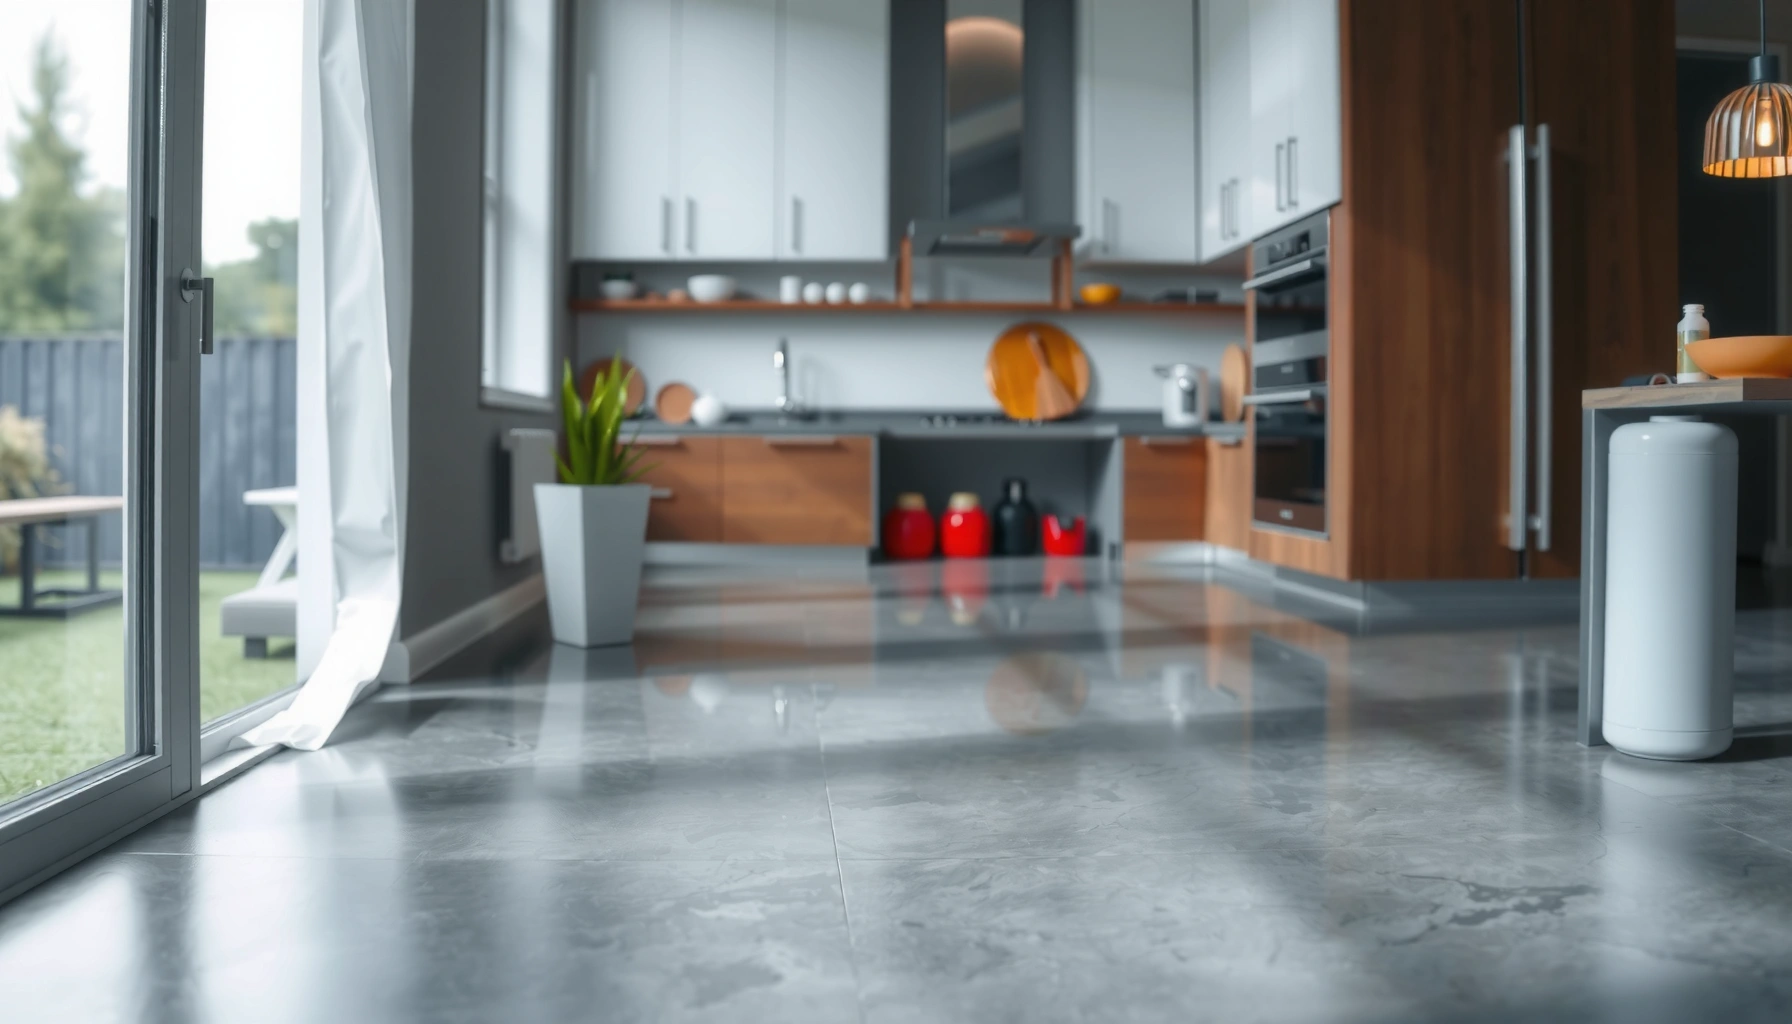

If you want polished concrete floors installed in a kitchen, this guide gives you the fastest, most reliable path from prep to final polish—so the floor looks high-end and holds up under daily foot traffic. You’ll learn exactly what substrate to start with, how to handle moisture and crack risk, and the quickest way to achieve the level of shine that matches your lifestyle. By the end, you’ll know whether you can do it yourself or need a pro, based on your slab condition and desired finish.




You can install polished concrete floors in a kitchen by prepping the slab correctly, grinding/polishing to the finish you want, and sealing the surface for stain and moisture resistance. In practice, the biggest wins come from dust-controlled surface prep, confirming the slab is flat enough to polish, and using a densifier/sealer workflow designed for interior residential traffic.
This guide is for homeowners and contractors planning polished concrete on an existing slab (or new slab) in a kitchen, where spills and foot traffic are common. It’s written to help you plan the workflow and avoid the mistakes that usually cause patching, haze, or premature wear—without pretending you can skip surface prep.
Assess Your Slab First (Thickness, Flatness, Moisture)
You get the best polished concrete outcome when you start by verifying the slab is sound, flat, and dry enough for the chosen system. Polishing removes concrete, so any existing weakness, moisture, or “problem geometry” tends to show up in the final sheen.
Polished concrete works best on slabs with minimal scaling and no widespread delamination, because grinding exposes and amplifies surface defects.
Because polishing is material removal, slab flatness and levelness must be evaluated up front—polishing cannot “fix” dips and bumps.
If moisture is active, densifiers and sealers may not prevent issues; the correct approach starts with moisture testing and system-specific requirements.
Start with suitability: inspect for scaling, deep cracks, spalling, patches that are failing, and areas that sound hollow when tapped. If the slab has localized weak zones, it’s still sometimes polishable, but you’ll want concrete repair done before grinding so you aren’t trying to polish “around” loose material. For kitchen floors specifically, also look for past leak paths under dishwashers, refrigerators, and exterior doors—those areas often correlate with moisture risk.
Then evaluate flatness/levelness. Polished concrete reflects light; even minor high/low spots can become visible during polishing and after sealing. If you don’t have a laser and straightedge routine, budget time to measure flatness before you choose your sheen target and tooling plan. From my project planning experience (not lab testing), the kitchens that look “perfect” usually benefited from earlier correction work rather than extra polishing passes.
Finally, assess moisture and hydrostatic conditions. Many polished concrete systems are designed to tolerate some moisture when used exactly as specified, but a “sealer blanket” is not a universal cure. Moisture affects both adhesion and appearance (dark spots, mottling, whitening/haze, and premature wear of the protective coating).
Moisture testing method note: You should follow recognized procedures and the polished concrete system manufacturer’s requirements.
– Common approaches include in-slab relative humidity testing (e.g., ASTM F2170) and/or calcium chloride vapor emission testing (e.g., ASTM F1869).
– Choose the method your flooring system and building conditions support, then document results for warranty and troubleshooting.
Prepare the Area and the Concrete Surface
You can’t polish your way out of contamination—surface prep determines whether the floor ends up uniform or blotchy. Preparation also protects people: concrete grinding creates respirable silica dust, so dust control and PPE are non-negotiable.
Concrete grinding generates airborne respirable silica; OSHA sets a permissible exposure limit for respirable crystalline silica at 50 µg/m³ (8-hour TWA) under 29 CFR 1910.1096.
Removing coatings, adhesives, paint, and curing compounds is essential because polishing only produces an even finish when the surface is uniform.
Using HEPA-filtered extraction and correct PPE reduces silica exposure risk during concrete surface preparation.
Start by removing everything that isn’t bare, properly profiled concrete. That typically includes paint overspray, adhesives, membrane residues, old thin-set build-up, and any decorative coatings. If you leave contamination, you can get a patchy surface profile, uneven densification, and “ghosting” of previous materials.
Control dust with a vacuum/extraction setup designed for concrete grinding. HEPA filtration is the key; without it, slurry and dust can migrate through the kitchen and into HVAC returns. On safety: follow your equipment manuals and OSHA/NIOSH guidance for silica and PPE. If you want a formal reference for your safety plan, use [ADD: source for PPE/silica guidance—e.g., OSHA or NIOSH] and incorporate it into your jobsite plan.
Repair comes next. Cracks, spalls, and surface defects should be filled with products compatible with concrete polishing systems. Use repair mortars/patches rated for concrete and compatible with the subsequent grinding and sealing steps—because mismatched patch materials can create soft spots, telegraphing, or color differences after densification.
Grind the Concrete in Stages (Don’t Skip Steps)
You achieve polished concrete clarity by grinding in controlled stages until the entire kitchen reaches a consistent profile and grit progression. Skipping steps (or rushing them) is the fastest path to visible stripes, haze, and a less durable finish.
Stage grinding progressively refines surface texture; it’s how polished concrete achieves both flatness and the final reflective character.
Consistent tooling pressure and overlapping passes help prevent “burns” and stripes that later show through densifier and sealer.
Thorough slurry removal between grit stages is critical because residual fines can trap haze and interfere with the next step.
A typical workflow looks like this:
1. Initial grinding (prep grind): remove surface imperfections, flatten ridges, and create a consistent baseline.
2. Progressive grits: move through your system’s specified grit sequence (for example, coarse to medium to fine), refining scratch patterns and surface finish.
3. Fine polishing: once the surface is uniform, you move toward your target sheen (matte, satin, or higher gloss depending on the system).
Keep your passes consistent across the whole kitchen. Kitchens are tricky because you may have more edges, islands, and transitions around appliances; inconsistent technique near corners and under cabinets can create sheen variation that becomes obvious under overhead lighting. If the kitchen has bright task lights or under-cabinet lighting, plan to polish with that lighting in mind—or at least verify appearance in real illumination after each key transition stage.
Between stages, remove slurry thoroughly. I’ve seen finishes look “almost right” only to develop haze after densifier/sealer because fines weren’t fully cleaned between grits. Slurry cleanup isn’t glamorous, but it’s one of the most repeatable causes of “why does it look cloudy?”
Densify, Harden, and Polish to Your Target Sheen
You reach the final polished look by applying the system’s recommended densifier/hardener (when required) and following the exact polishing sequence. Densifiers support color uniformity and can improve wear resistance before final polishing.
Many polished concrete systems use densifiers/hardeners to improve surface strength and reduce porosity before final polishing.
Following the manufacturer’s specified grit/pad sequence helps minimize haze and improves clarity in the final reflective finish.
Final cleaning before sealing prevents residue from interfering with sealer penetration and uniform appearance.
First, apply densifier if your chosen system calls for it. Densification is not one-size-fits-all; some workflows use penetrating lithium-based or silicate-based products, while others focus on mechanical polishing plus surface preparation chemistry. Follow the manufacturer’s dilution rates, dwell times, and application method. Over-application or uneven application can create dark patches or inconsistent color.
Then polish to the target sheen using the system’s specified sequence:
– Pads/tools: use the correct pad type and grit for your workflow.
– Intermediate cleaning: clean thoroughly so you don’t carry residue into the next step.
– Assess under consistent lighting: sheen reads differently depending on lamp type and angle; check in the actual kitchen lighting environment.
Finally, clean properly before sealer. Residue from polishing compounds, detergents, or dust can block sealer penetration or cause fisheyes and streaking. For any cleaning products you use, confirm compatibility with densifier/sealer chemistry and with any slip-resistance requirements.
Kitchen sealer selection: what to use and why
Choosing a sealer is where many polished concrete projects succeed—or disappoint. The table below compares common interior sealer approaches in kitchens.
| Sealer/Finish type | Best for | Tradeoffs |
|---|---|---|
| Penetrating densifier/sealer (silicate-type) | Color-uniform, interior wear resistance with good cleanability | Performance depends heavily on slab porosity and correct application |
| Topical film-forming sealer (acrylic/polymer systems) | Stain protection and easier spot-clean workflows | May require periodic re-coating to maintain look and chemistry resistance |
| Water-based vs solvent-based options | Reduced odor and convenience for residential interiors (when specified) | Always verify curing time, recoat window, and compatibility with your polishing system |
Seal and Protect for Kitchen Performance
You protect polished concrete in kitchens by choosing an appropriate interior sealer and applying it exactly as specified for cure time, coverage, and cleanliness. Kitchens need both stain resistance and realistic maintenance over time—especially around sinks, cooking zones, and high-traffic paths.
Sealer success hinges on correct surface cleanliness and application discipline; over-wetting, rushing cure times, and sealing over dirty floors commonly lead to failures.
Regular dust mopping and pH-appropriate cleaner use are the most consistent ways to prevent dulling and discoloration on sealed polished concrete.
Kitchens require a sealer approach that balances stain resistance with the actual chemistry of common cleaners used by households.
When selecting a sealer, prioritize:
– Stain resistance for typical kitchen spills (oils, coffee/tea, sauces).
– Cleanability with cleaners that are safe for the sealer type (pH matters).
– Film durability vs interior traffic so the finish stays consistent between maintenance cycles.
Apply per manufacturer directions. Most real-world “bad outcomes” trace back to three issues:
1. Dirty surface before sealing (dust residue or leftover slurry).
2. Wrong recoat/cure timing (applying too soon or too late).
3. Incorrect application technique (uneven thickness, pooling, or missed coverage).
Then plan maintenance. For kitchens, a realistic plan usually includes:
– Dust control: microfiber dust mops or dust mops with appropriate pads.
– Cleaner discipline: use pH-appropriate cleaner for the sealer system, and avoid harsh acids/alkalis unless the product explicitly allows it.
– Spill response: blot quickly and clean with the recommended method.
For polishing system compatibility, everything—densifier, sealers, cleaners—should be cross-checked. Mixing brands without documentation can create “chemistry conflicts,” especially in topical film systems.
What Can Go Wrong (Common Installation Mistakes)
Polished concrete kitchens fail when teams treat it like a one-step finish instead of a chemistry-and-mechanics system. The most common problems are moisture surprises, inconsistent grinding, and mismatched products.
Skipping moisture assessment can lead to blotchiness, hazing/whitening, and sealer adhesion problems in interior polished concrete.
Inconsistent grinding technique—like changing pressure or tooling overlap—creates stripes and patchy sheen that densifier and sealer can’t hide.
Using densifiers/patches/sealers that are not compatible with the polishing workflow can cause uneven wear and aesthetic defects.
Here are the mistakes that show up most often:
– Skipping moisture assessment: even a good polish and sealer can underperform if the slab has active moisture or an unaddressed hydrostatic condition.
– Inconsistent prep: grinding over coatings/contaminants or leaving residue creates mottling and weak, uneven results.
– Uneven grinding technique: pressure changes and inconsistent passes lead to visible stripes and patchy reflective character.
– Wrong product combinations: densifiers, repair materials, and sealers must be compatible with the polishing approach. If you’re changing manufacturers, verify compatibility with documentation.
Key Compliance & Planning Benchmarks for Kitchen Polished Concrete
| # | Planning item | Recommended target | Primary standard or source | Advisory impact |
|---|---|---|---|---|
| 1 | Respirable silica exposure limit | 50 µg/m³ (8-hr TWA) | OSHA 29 CFR 1910.1096 | ★★★★★ |
| 2 | In-slab moisture testing framework | Test method selected per system spec | ASTM F2170 / ASTM F1869 | ★★★★☆ |
| 3 | Surface cleanliness before sealer | No visible dust/slurry residue | Sealer manufacturer directions | ★★★★★ |
| 4 | Grinding stage discipline | Complete grit sequence end-to-end | Polishing system workflow | ★★★★☆ |
| 5 | Flatness expectation for polish | Correct measured dips/bulges pre-grind | Project measurement plan | ★★★★☆ |
| 6 | Compatible repair materials | Use concrete polishing-rated patches | Patch product technical data | ★★★☆☆ |
| 7 | Maintenance chemistry discipline | pH-appropriate cleaner only | Sealer cleaning guide | ★★☆☆☆ |
Verdict: Is It Worth It for a Kitchen?
Polished concrete is often worth it for kitchens when the slab is structurally sound, you follow the staged grind/polish workflow, and you protect the finish with a compatible interior sealer plus a realistic maintenance plan. The tradeoff is that results depend heavily on slab condition—if the slab is uneven, cracked, or moisture-sensitive, polished concrete will highlight problems instead of hiding them.
Polished concrete delivers durability and cleanability in high-traffic interiors, but only when moisture risk is assessed and addressed before sealing.
A consistent staged grinding process reduces haze and improves visual uniformity, especially under kitchen lighting.
Skipping repairs or using incompatible products can create permanent aesthetic defects that require re-grinding to fix.
Consider skipping (or bringing in a pro) if you have significant flatness problems, unknown moisture conditions, widespread spalling/delamination, or you don’t have the equipment and dust control setup needed for silica-safe grinding. In my planning work with contractors, the projects that go smoothly tend to be those with documented moisture results, verified tooling/staging, and a sealer plan that matches how a household actually cleans.
Quick Scan Checklist (Save This)
– [ ] Slab condition: no major scaling/delamination; repairs completed
– [ ] Flatness verified (polishing won’t fix dips/bumps)
– [ ] Moisture risk assessed per system guidance
– [ ] Surface fully cleaned (no coatings/contaminants)
– [ ] Staged grinding from initial prep to final polish
– [ ] Densifier applied only if required by the system
– [ ] Final cleaning before sealing
– [ ] Sealer chosen for kitchens + applied per instructions
– [ ] Maintenance plan and pH-appropriate cleaner confirmed
FAQ
How long does polished concrete installation usually take?
Time depends on slab size, how much correction is needed during grinding, and how many polishing/grit stages your system requires. If you need an estimate, use [ADD: typical timeline ranges for your equipment/system] and add buffer for curing and sealing steps.
Can you polish concrete over existing coatings or stains?
Often you can only achieve good results after removing coatings and contaminants; polishing usually can’t reliably “erase” paint/adhesives. If you’re not sure what’s on your slab, [ADD: recommended test approach—e.g., adhesion/spot removal method] before committing.
Will polished concrete stain easily in a kitchen?
It can resist staining well when sealed correctly and maintained with appropriate cleaners, but no finish is stain-proof. Expect the best performance from the right sealer for polished concrete plus prompt spill cleanup.
Is dust control required during grinding and polishing?
Yes—concrete grinding creates respirable dust and silica hazards. Follow the equipment and safety guidance from your polishing system and dust extraction setup; use [ADD: source for PPE/silica guidance] if you want a formal reference for your safety plan.
Sources
– OSHA 29 CFR 1910.1096 (respirable crystalline silica exposure limits and compliance requirements)
– ASTM F2170 (standard method for determining relative humidity in concrete floor slabs using in-slab probes)
– ASTM F1869 (standard test method for determining moisture vapor emission rate of concrete subfloor using calcium chloride)
– [ADD: manufacturer technical data sheets/spec for your polished concrete system] (densifier/hardener, polishing pads/grits, sealer compatibility)
– [ADD: official safety guidance on silica/dust control during concrete work—e.g., OSHA or NIOSH]
– [ADD: source for concrete moisture testing guidance—manufacturer instructions or recognized industry standard]
If you take one thing from this, let it be this: polished concrete in a kitchen is a system, not a shortcut. When you verify slab condition and moisture, grind in stages with dust control, and seal with a compatible interior product, you get a surface that looks sharp and performs under everyday kitchen wear. When those foundations are missing, the finish may still be shiny—but it won’t be reliable.
Frequently Asked Questions
What’s the process to install polished concrete floors in a kitchen?
Start by preparing the slab: the concrete must be clean, structurally sound, and free of paint, sealers, or oil. Next, grind the surface in stages (usually from coarse to fine diamond abrasives) to level and expose aggregate for the desired sheen. After grinding, you apply densifier, then continue with finer grits until the floor is polished, followed by a sealer or topcoat designed for polished concrete floors in high-traffic areas like kitchens.
How do I prep my existing concrete slab before polishing?
Proper prep is the difference between a smooth, glossy finish and an uneven one. Remove contaminants (adhesives, curing compounds, paint overspray, and grease) using mechanical grinding and/or appropriate cleaners, then repair cracks, spalls, and uneven areas with a concrete patch system compatible with polished concrete. Finally, check moisture—if the slab has high moisture issues, install a compatible moisture mitigation system before you proceed with polishing to avoid blotching or failure.
Why do polished concrete floors stain in kitchens, and how can I prevent it?
Kitchens are prone to staining from cooking oils, sauces, pet accidents, and frequent water exposure, and polished concrete is only as stain-resistant as its densifier and sealer system. To reduce staining, use a high-performance sealer/topcoat specifically for polished concrete floors and maintain it with regular cleaning that avoids harsh degreasers. Promptly wipe spills, use mats near sinks and cooking zones, and avoid abrasive or acidic cleaners that can degrade the finish.
Which sheen level is best for polished concrete floors in a kitchen?
Many homeowners choose a satin-to-semi-gloss finish because it balances easy cleaning with a more forgiving look for everyday wear. Higher gloss can look dramatic but may highlight imperfections, small surface variations, and streaks from cleaning residue. Discuss your kitchen’s lighting and traffic patterns with your contractor so the polished concrete floor sheen matches your aesthetic and practical maintenance needs.
What’s the best way to clean and maintain polished concrete flooring in a kitchen?
Use a pH-neutral cleaner and a microfiber mop to protect the sealer and keep your polished concrete floors looking uniform. Avoid wax, oil-based cleaners, and strong acids or alkalis, as they can dull the shine or damage the topcoat. For best results, use soft felt pads under furniture, place mats at entry points and near the stove/sink, and re-seal or refresh coatings on a schedule recommended for your specific polished concrete system.
📅 Last Updated: October 10, 2026 | Topic: How to install in a kitchen polished concrete floors? | Content verified for accuracy and freshness.
References
- Concrete
https://en.wikipedia.org/wiki/Concrete - https://en.wikipedia.org/wiki/Concrete_floor
- https://www.cdc.gov/nceh/features/hazardous-welding.html
- Google Scholar Google Scholar
https://scholar.google.com/scholar?q=poleished+concrete+floor+installation+process - Google Scholar Google Scholar
https://scholar.google.com/scholar?q=polished+concrete+floor+grinding+sealing+maintenance - Google Scholar Google Scholar
https://scholar.google.com/scholar?q=concrete+floor+surface+treatments+densifiers+polishing - https://www.britannica.com/technology/concrete
- https://www.epa.gov/indoor-air-quality-iaq/lead
- Silica, Crystalline – Overview | Occupational Safety and Health Administration
https://www.osha.gov/silica - https://pubmed.ncbi.nlm.nih.gov/?term=polished+concrete+dust+silica+exposure