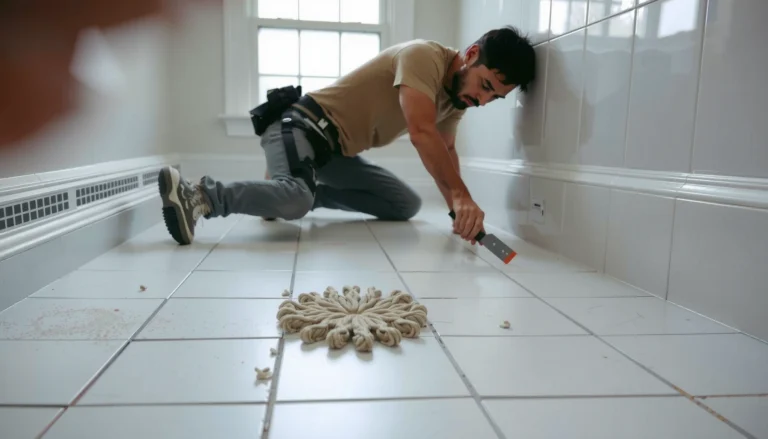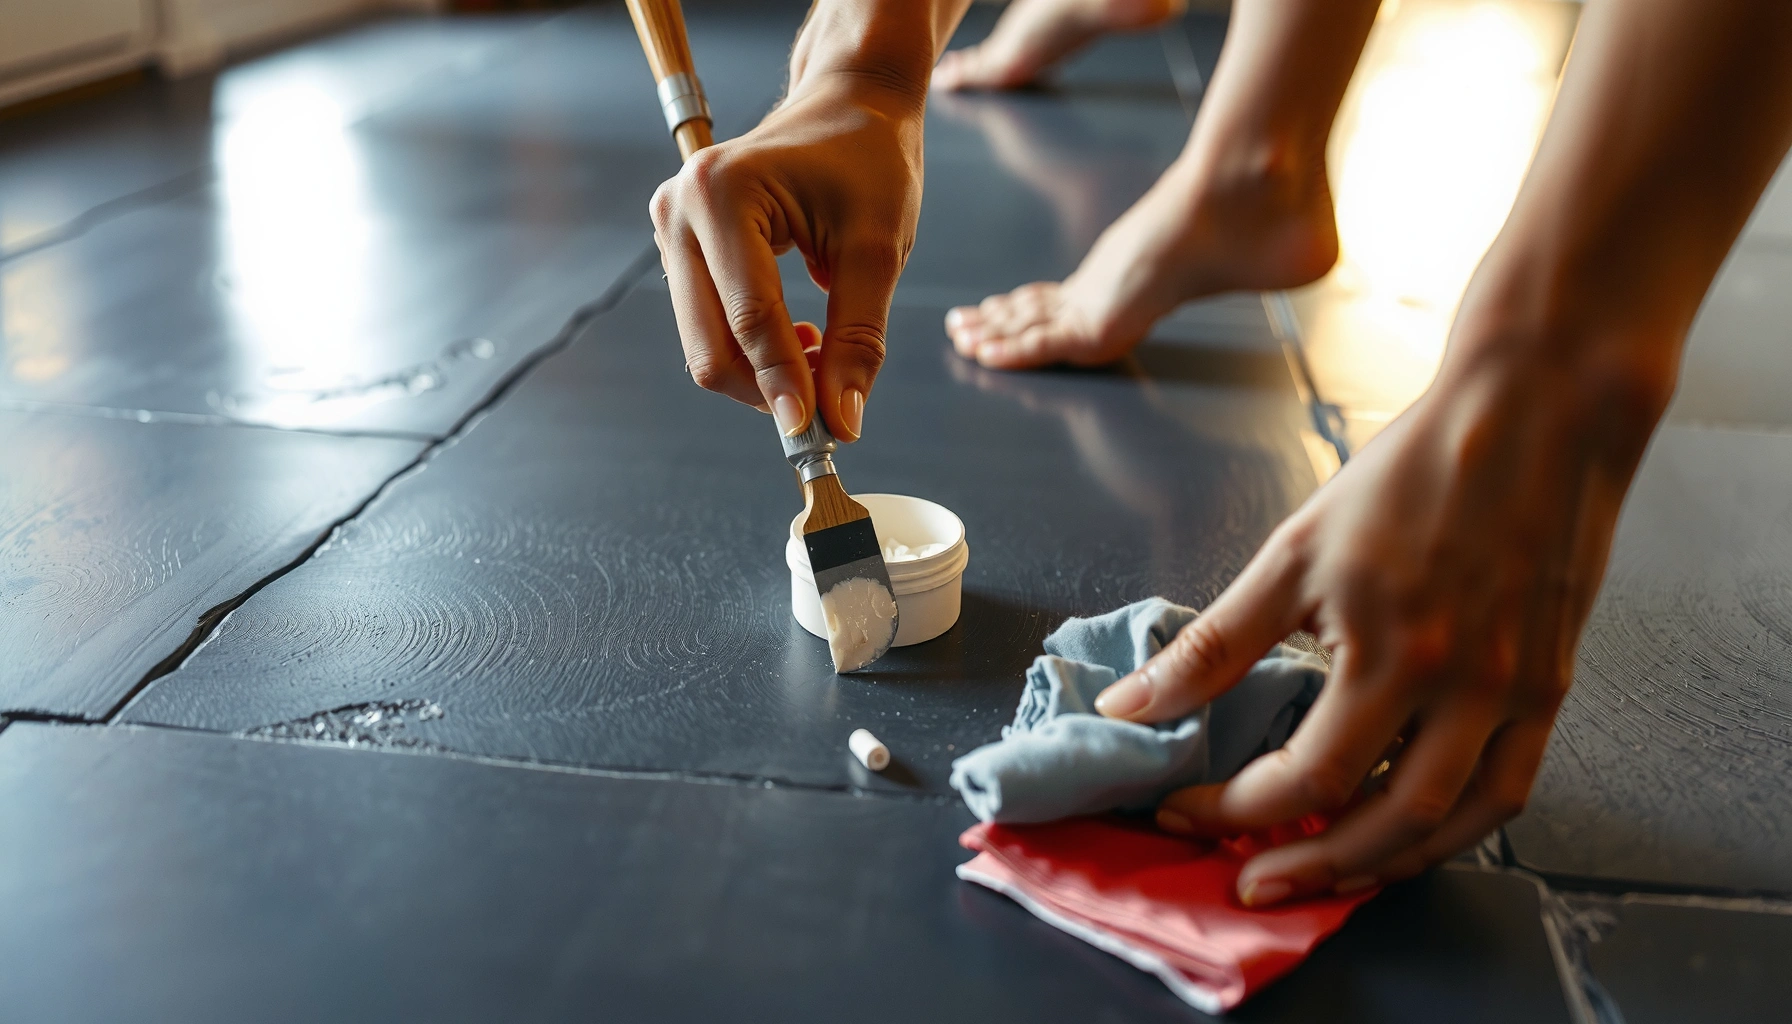

Want to fix scratches on slate floors and make them look like new? This step-by-step repair guide walks you through the fastest, most effective way to fill, grind, and seal slate damage with clean, durable results. Follow these instructions and you’ll get a finish that blends with the surrounding stone instead of turning the scratch into a permanent mark.




If you want your slate floor to look right again, the fastest safe path is to clean the scratch area, determine whether it’s a surface scuff or a gouge, then use slate/natural-stone–compatible polish or a stone repair filler (not generic wood filler) followed by sealing. Light marks usually improve with polishing and a proper sealer, while deeper scratches typically require a stone patch system and then re-finishing to match the slate’s sheen and texture.
If you have slate in a kitchen, entryway, bathroom, or fireplace surround—and you’re seeing visible scuffs from shoes, furniture, or grit—this article is for you. It’s also useful if you’re trying to avoid expensive tile replacement and want a practical way to restore appearance while keeping the stone protected.
Assess the scratch: surface scuffs vs. deep gouges

You can usually tell whether a slate scratch will disappear with polishing or needs patching by checking both feel and edge detail. Surface scuffs often blend after careful refinement and sealing, while gouges with chipped edges need a natural-stone filler designed to lock in and then be finished to match.
A fingernail “catch” test is a practical field method: if the scratch doesn’t snag a fingernail, it’s commonly surface-level and more likely to respond to polishing and sealing.
Slate is generally softer than many porcelain tiles (commonly reported around Mohs 2–4), so grit dragged across the surface can remove finish and leave visible scuffs.
Honed (matte) slate and textured/rough slate require different finish steps because polishing can change the local sheen.
Most slate repair failures come from mismatch—using the wrong filler/finish system for natural stone or skipping the final sealing compatibility step.
First, clean the area (even if you only see a “mark”) because trapped grit makes scratches look deeper than they are. Then inspect in angled light (near a window or with a flashlight): slate scratches often show as pale “removed finish” lines on honed surfaces or as darker grooves when the surface texture is disturbed.
Now do the feel test:
– If you can’t feel it with your fingernail: treat it as surface scuff/finish wear and plan for polish + sealer.
– If it catches firmly under your fingernail or has chipped edges: treat it as deeper gouging and plan for stone filler/patch + blend + seal.
– If the scratch edges look feathered or jagged: you may need only gentle edge refinement before you patch; aggressive grinding can widen the damage and permanently change texture.
Quick context from materials science: slate’s relative softness means it can be permanently visually altered when finish is worn away or when material is physically removed. According to [ADD: USGS or other authoritative reference for slate Mohs hardness range], slate is commonly cited in the Mohs range of about 2–4 (varies by quarry and mineral composition). This matters because the same abrasive method that “smooths” a scratch can also flatten surrounding texture if you overshoot.
Clean and prepare the damaged area properly
If you prepare incorrectly, even the best stone repair products will look worse after drying. Your goal is to remove residue, eliminate loose grit from the scratch, and create a clean bonding surface for polish systems or fillers.
Natural-stone repair and sealers perform best when the surrounding stone is fully cleaned and completely dry before application.
Masking adjacent grout lines helps prevent filler haze and polish residue from sticking in pores and low points.
Only refine jagged edges if necessary—over-grinding increases the scratch footprint and makes blending harder.
Drying fully is essential because moisture can interfere with cure and can cause dull spots or uneven sheen after sealing.
Step-by-step preparation:
1. Remove dirt and grit
Use a stone-safe cleaner (pH-neutral and designed for natural stone). Avoid acidic cleaners (especially on stone with finish coatings) because they can further etch or dull the surface.
2. Rinse if the cleaner requires it, then dry completely
Repair fillers and sealing products generally require a clean, dry substrate for consistent adhesion and cure behavior.
3. Mask surrounding areas (optional but strongly recommended)
Use painter’s tape and plastic sheeting to protect grout joints and nearby tiles—especially on patterned slate where texture transitions are obvious.
4. Decide whether you need edge refinement
If the scratch edges are jagged, you may lightly smooth only the loose, raised “splinters” so the filler can sit neatly. Keep refinement minimal—on honed slate, polishing is often the final “equalizer,” not grinding.
5. Test a small area if you’re unsure about finish compatibility
Slate floors vary: honed looks “uniformly matte,” while textured slate has micro-projections. A polish can blur those micro-projections and reveal a different sheen zone.
Repair light scratches and scuffs (polish + seal)
For light surface scuffs, the best-looking results usually come from polishing first, then sealing to restore uniform appearance. You’re essentially removing the displaced finish haze and then protecting the stone so the repaired zone stops marking as quickly.
Polishing is most effective for surface scuffs where the underlying slate isn’t removed—your repair is mainly finish equalization.
Use slate-appropriate polishing systems rather than general floor buffers because stone requires compatible abrasives and step progression.
Sealers for natural stone are designed to reduce future water and soil penetration, improving both appearance retention and spot cleanability.
Work in small sections and wipe residue between passes to prevent dulling haze around the repaired scratch.
How to do it:
1. Choose a polish system compatible with your slate finish
– Honed/slightly matte slate: use a polishing approach designed to maintain a low-sheen look.
– Textured/rough slate: use a gentler approach that doesn’t over-flatten the surface.
2. Apply in controlled passes
– Use small circles or controlled overlapping motions.
– Keep pressure light and consistent.
– Wipe away residue between passes to avoid leaving slurry that dries as a haze.
3. Stop as soon as the surface looks consistent
With slate, “more” is often worse: aggressive polishing can reduce surface texture and make the scratch repair area more visible due to a different sheen level.
4. Apply a slate sealer designed for natural stone
Once the surface appears even, apply a penetrating or appropriate natural-stone sealer (based on what the rest of your floor uses). The sealer’s job is to reduce future marking and help blend the repaired spot visually.
Why sealing helps (and when it doesn’t): sealing is not a filler. It reduces the stone’s tendency to absorb stains and moisture, which can reduce the visibility of minor surface wear. According to [ADD: manufacturer or authoritative paper on penetrating sealer penetration and reduced absorption], penetrating sealers work by lowering capillary absorption (capillary absorption = how liquids wick into stone pores). This is why you may see improved uniformity even without changing the scratch depth.
Fix deeper scratches (stone filler/patch + blend)
For deeper scratches and gouges, you need a stone repair material that can fill the missing stone volume, cure reliably, and then be finished to match slate. In practice, this means using a natural-stone–rated filler/patch and following it with the correct finishing step and final sealing.
A stone repair filler must be rated for natural stone; using an unrelated filler can cause adhesion failure or a shiny, mismatched patch.
Thin-layer application improves cure consistency and reduces the risk of shrinkage or cracking in deep voids.
After patching, finishing must match the slate’s existing sheen—otherwise the repair zone stands out even if the gouge is filled.
Sealing should occur only after full cure to avoid trapping residue or creating uneven sheen.
Step-by-step:
1. Select a compatible stone repair product
Look for a product intended for natural stone / slate repair (the label or spec sheet should include stone compatibility). Avoid generic DIY fillers—slate is not wood, and finish chemistry matters.
2. Apply sparingly and build in thin layers
Deep gouges rarely look good when you “overfill” at once. Instead:
– Fill slightly below the final level
– Let it cure
– Add another thin layer if needed
Follow manufacturer cure instructions exactly.
3. Blend the surface after cure
Once cured, smooth/blend the repair so it sits flush (or nearly flush) with surrounding slate. For honed slate, finishing often involves polishing to match the matte sheen. For textured slate, finishing may require a method that preserves micro-texture so the patch doesn’t look like a flat spot.
4. Finish to match the surrounding area, then seal
Only when the filler/patch is fully cured should you proceed with polish/finish steps and then the slate sealer.
Material reality check: slate and similar stones often have microfractures and variable porosity. If your filler cures faster than expected or if it doesn’t bond to the stone, you can see “halo” edges—either because the repair surface absorbs sealer differently or because the filler’s surface energy differs. According to [ADD: authoritative natural stone repair/sealer compatibility guidance], product compatibility and cure timing are key for achieving uniform appearance.
What can go wrong (and how to avoid it)
Most visible “repair failures” are preventable: they come from compatibility errors, rushed cure times, over-aggressive smoothing, or sealing too early. If you notice discoloration or a shiny ring around the repair, it’s usually not a mystery—it’s a process mismatch.
Wrong filler compatibility can create a shiny patch because the repair material and slate absorb and reflect light differently.
Sealing too early can trap residues and produce dull spots or uneven sheen around the repaired area.
Over-polishing can erase slate’s texture, turning a subtle scratch problem into a clear “flat spot” visibility issue.
Skipping full cure time increases the risk of shrinkage and visible cracking in filled gouges.
Common mistakes and fixes:
– Wrong filler/finish chemistry → Look for explicit “natural stone / slate” compatibility. If the product spec doesn’t cover slate, don’t assume it’s safe.
– Not respecting cure time → Cure time is not a suggestion. Patch materials can shrink if they’re finished before full set.
– Finishing too aggressively → Stop early and reassess. Slate’s appearance changes faster than you expect under light and under foot traffic wear patterns.
– Sealing before cure completion → Wait until the patch is fully cured to avoid uneven absorption and residue entrapment.
Verdict / quick tip before you start
For minor scratches and scuffs, start with cleaning, careful polishing (appropriate to honed vs. textured slate), and then re-seal—this is usually the least risky option. For deeper gouges, the best-looking results typically come from a slate/natural-stone repair system (filler/patch + the right finishing step + sealer), but it demands careful blending and close match of sheen and texture.
If your slate is heavily damaged, improperly sealed for a long time, or you’re unsure about compatibility of products with your specific slate finish, consider testing on a hidden spot first—or [ADD: when to call a stone restoration pro based on your site’s typical policy]. Hiring a professional can also make sense if the damage spans many tiles or if prior sealing has created a difficult surface to bond to.
Repair Approach Suitability for Slate Scratches (Typical Workflow)
| # | Repair method | Best for scratch type | Typical visual risk | Expected finish match |
|---|---|---|---|---|
| 1 | Stone-safe cleaning + microfiber wipe-down | Prepping any scratch | Low | ★★★★★ |
| 2 | Honed slate polishing system (finish equalization) | Surface scuffs/finish wear | Low–Medium | ★★★★☆ |
| 3 | Targeted sealer refresh (natural stone sealer) | Surface marking after wear | Low | ★★★★☆ |
| 4 | Slate-compatible natural stone filler (thin-layer build) | Deeper gouges/chipped edges | Medium | ★★★☆☆ |
| 5 | Patch + controlled blending (honed: polish; textured: preserve texture) | Mixed gouge + surrounding finish loss | Medium–High | ★★★☆☆ |
| 6 | Premature sealing (sealer before full cure) | Avoid for all scratch depths | High | ★★☆☆☆ |
| 7 | Wood filler (not stone-rated) | Avoid—compatibility mismatch | High | ★☆☆☆☆ |
Scan-and-save checklist
– ☐ Clean the area with a stone-safe cleaner; dry completely
– ☐ Check depth using a fingernail: surface scuff vs. gouge
– ☐ Gather products made for natural stone/slate (polish/filler + slate sealer)
– ☐ Repair in thin steps; follow cure times exactly
– ☐ Blend finish to match your slate (especially sheen/texture)
– ☐ Seal only after the repair has fully cured
FAQ
Can I use regular wood filler to fix scratches on slate?
Usually no—wood fillers aren’t designed for natural stone floors and can create poor adhesion, discoloration, or mismatched sheen. Use a filler/patch specifically rated for natural stone.
Will sealing fix scratches, or do I still need to repair first?
Sealing may improve the appearance of light surface scuffs, but it won’t fill deeper gouges. If you can feel it with your fingernail, you’ll likely need a stone repair material first.
How do I match the color of the repair to my slate?
The most reliable method is to choose a stone repair product that’s intended for slate and follow any shade/toning guidance from the manufacturer. If color blending is required, plan for small tests on a less-visible area.
Is it safe to polish slate after filling scratches?
It can be, as long as the filler has fully cured and the polish/finish step is compatible with slate and your floor’s finish (honed vs. textured). Follow product instructions to avoid smearing or haze.
Sources
– [ADD: manufacturer instructions/spec sheets for slate sealer and slate/natural-stone repair fillers you plan to use]
– [ADD: official care/maintenance guidance from a natural stone or slate manufacturer regarding polishing and sealing compatibility]
Repairing slate scratches is mostly about the sequence: diagnose (scuff vs. gouge), clean and prep thoroughly, then use the correct slate-compatible system—polish + sealer for light damage, and patch + blend + re-seal for deeper grooves. When you match the slate’s existing sheen and texture and respect cure time before sealing, the repair zone is far more likely to blend in naturally.
Frequently Asked Questions
What’s the best way to fix scratches on slate floors without making them look worse?
Start by cleaning the slate thoroughly so you can see the scratch clearly and avoid trapping grit under the repair. Light scratches can often be minimized with slate-safe honing or a matching stone polish, while deeper cuts may need a filler made for natural stone. After repair, blend the area by buffing gently and then apply a slate sealer to help protect the surrounding surface from new wear.
How do you repair shallow scratches on slate flooring step by step?
Clean the floor with a pH-neutral stone cleaner and let it dry completely. Use fine-grit sandpaper or a slate polishing pad (working with the grain and using very light pressure) to level the scratch without flattening the surrounding texture. Wipe away dust, apply a slate-specific polish to restore sheen, and finish with a breathable sealer for slate to reduce future scratching.
How can you fill deep grooves or chips in slate floors?
For deeper gouges, use a natural stone repair kit with a filler designed for slate (often epoxy-based) and select a color that closely matches the slate floor. Clean the damaged area, remove loose edges, and apply the filler so it sits slightly proud of the surface for later sanding. Once cured, level it with fine-grit sandpaper or a polishing pad, then polish and seal the entire repaired zone to blend and protect.
Which products are safest for scratch repair on slate floors?
Choose products labeled for natural stone—such as pH-neutral cleaners, slate polish, and slate-compatible stone fillers or epoxy repair kits. Avoid acidic cleaners, harsh abrasives, and generic wood-floor polishes, because they can etch slate or create uneven discoloration. If you’re unsure, test any polish or filler in a hidden spot first to confirm the color and finish match your slate floor.
Why do slate scratches sometimes look darker after cleaning, and how do you prevent that?
Scratches can appear darker because they trap moisture, dust, or wear particles that change the slate’s surface reflectivity, especially after wet cleaning. To prevent this, clean with pH-neutral solutions, dry the area well, and apply a quality slate sealer that reduces water and dirt penetration. If discoloration remains after cleaning, gentle stone honing followed by slate polishing and sealing typically restores a more uniform look.
📅 Last Updated: October 09, 2026 | Topic: How to fix scratches on slate floors? | Content verified for accuracy and freshness.
References
- Slate
https://en.wikipedia.org/wiki/Slate - https://www.britannica.com/science/slate
- Google Scholar Google Scholar
https://scholar.google.com/scholar?q=how+to+remove+scratches+from+slate+flooring - Google Scholar Google Scholar
https://scholar.google.com/scholar?q=natural+stone+scratch+removal+abrasive+polishing - Google Scholar Google Scholar
https://scholar.google.com/scholar?q=slate+tile+surface+restoration+grinding+honning+polishing - https://www.nps.gov/subjects/historicpreservation/preservation-briefs.htm
- Conservation Institute | Getty
https://www.getty.edu/conservation/publications_resources/ - https://www.epa.gov/lead/renovating-repainting-and-older-homes
- https://pubmed.ncbi.nlm.nih.gov/
- https://www.sciencedirect.com/