
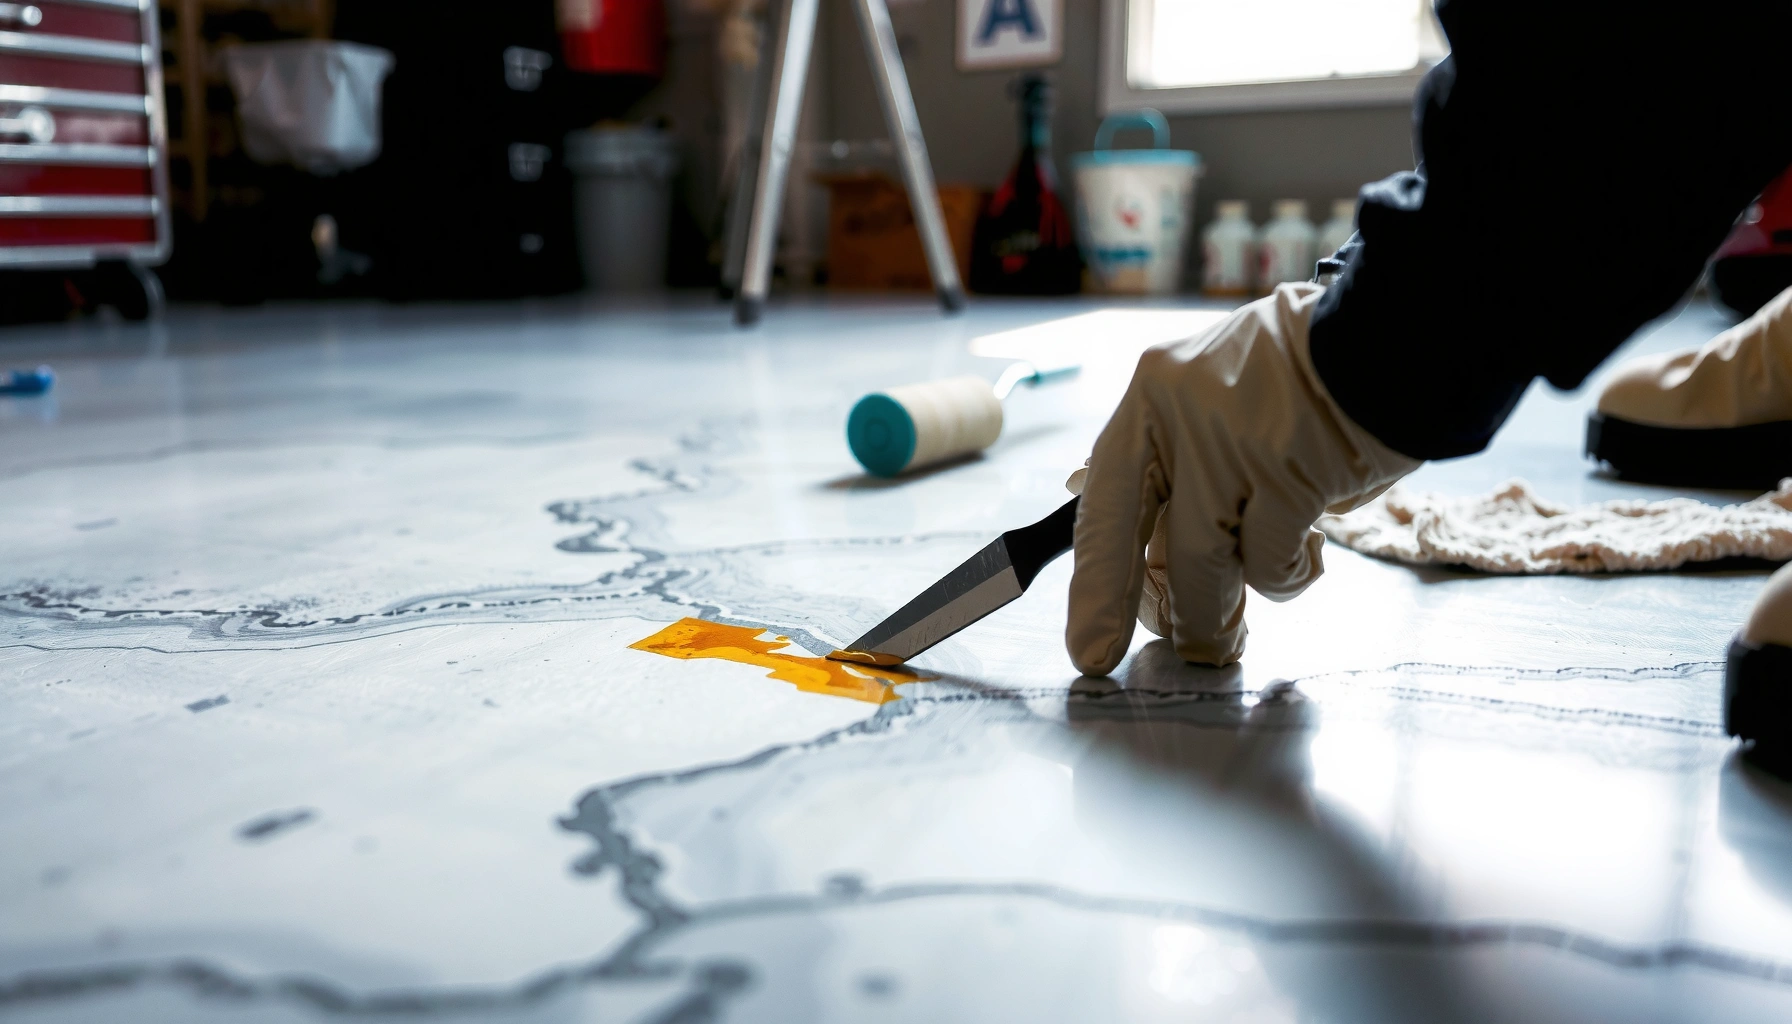

Want to know how to fix scratches on epoxy floors quickly and cleanly? This guide lays out the simplest repair steps that work when scratches are superficial, including how to prep, fill, and finish so the surface looks uniform again. Follow these methods and you’ll restore the epoxy floor’s smooth, protective coating without guesswork.




If your epoxy floor has scratches, the right repair depends on whether you’re dealing with light scuffs or true gouges. In most cases, you’ll get the smoothest, most “invisible” result by cleaning thoroughly, abrading for bonding, and using a compatible epoxy (or clear topcoat) system—then patching/decking any raised damage before recoating.
This guide is for homeowners, facility managers, and contractors managing scratched epoxy floors in garages, basements, warehouses, retail spaces, or workshops. It’s also designed for people who want repairs that don’t leave ridges, cloudy patches, or early peeling—problems that typically come from skipping surface prep, using the wrong product chemistry, or failing to level the damaged spot before topcoating.
If you want the best outcome using your existing system, check your original product labels/SDS/technical data sheets (TDS). Compatibility between primer, filler, and topcoat is the single biggest variable in long-term bond success.
Assess the Scratch (Scuff vs. Gouge)
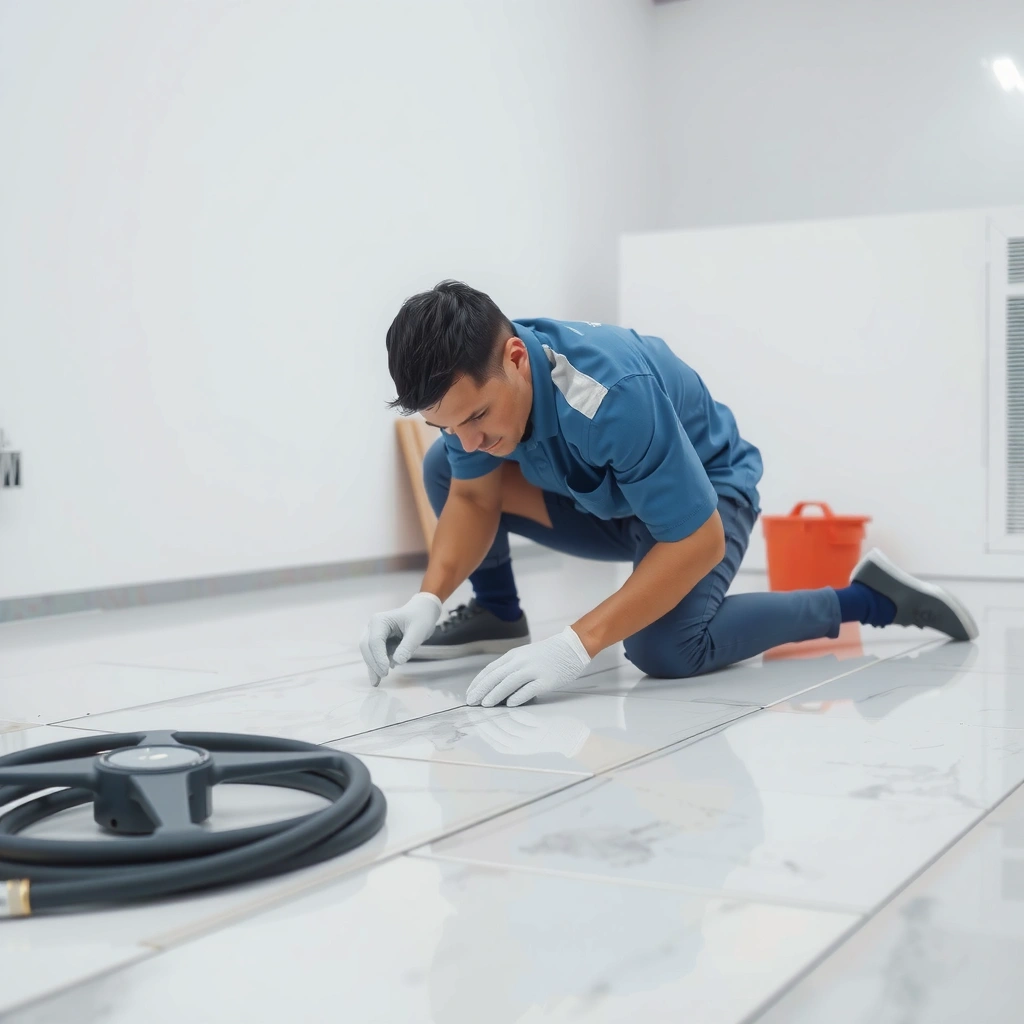
You can usually determine the correct fix by testing scratch catch and checking for raised edges. If your fingernail catches, you’re more likely repairing a gouge (material removal and surface/strength disruption); if it doesn’t, you can often restore appearance with a surface-level recoat.
Here’s how to assess fast and accurately without guesswork:
– Check depth with a fingernail. If the nail catches, the scratch likely has enough depth to create a mechanical “valley” that will telegraph through a thin topcoat. If it doesn’t catch, you’re likely seeing surface scuffing or micro-wear in the clear coat/top layer.
– Inspect width and edge condition. A narrow hairline scratch can still be a gouge if the edges are sharp or raised. Raised edges (even if the scratch looks “small”) generally require grinding or sanding to avoid a visible ridge.
– Identify epoxy type and finish (if possible). Clear-coated systems, pigmented epoxy, and satin vs. glossy finishes all require different visual matching strategies. Clear topcoats often blend better for appearance, while pigmented systems can require tighter color matching.
A fingernail “catch” test is a practical field indicator of whether epoxy topcoat has been mechanically breached enough to need abrasion and leveling for a smooth repair.
Raised scratch edges usually must be ground flush; recoating over a high ridge nearly always creates a visible line or texture variation under foot traffic.
Finish type matters: satin and gloss clear coats reflect light differently, so sheen mismatch is a common cause of cloudy-looking repair zones.
What I recommend before you buy anything: take 2–3 photos in daylight, plus one close-up from a low angle. That simple documentation makes it easier to evaluate sheen and texture alignment after you recoat.
Clean and Prep the Damaged Area
A clean surface is the foundation of every epoxy scratch repair. Even the “best” patch material fails if dust, grease, or residue prevents chemical and mechanical bonding.
Start with a controlled prep that matches typical coating-industry requirements:
– Clean the scratch and surrounding area thoroughly. Remove dirt, tire marks, oils, and residues using a method consistent with your epoxy system’s manufacturer prep instructions (many systems specify detergent + water, then solvent wipe; others require degreasing followed by thorough rinsing/evaporation).
– Remove loose or failing material. If you see any peeling, lifting, or powdery edges, remove it back to stable substrate—an unstable edge will “grow” under the new epoxy layer.
– Vacuum and surface-clean before coating. Dust is one of the biggest reasons repairs become dull, gritty, or poorly bonded. Use vacuum (ideally HEPA-rated if available) and avoid wiping with a cloth that leaves lint or overspray residue.
Most epoxy repair failures trace back to contamination (oil/solvents/dust), because bonding depends on a clean surface and an adequate surface profile.
Removing weak or lifted edges prevents the new epoxy layer from bridging over unstable material, which otherwise leads to edge lifting and peeling.
Using the manufacturer’s listed cleaning method improves repeatability; different epoxy families can respond differently to detergents, solvents, and rinsing steps.
Key data anchors (so you know what “proper prep” means)
– According to ASTM D4060 (abrasion testing standard), abrasion performance depends on how contaminants and surface condition affect material behavior ([ADD: ASTM International D4060 standard]). In practice, dust and residue similarly change the effective bonding surface.
– According to common two-component epoxy practice described in manufacturer TDS documents, recoat windows (time ranges when subsequent coats bond optimally) are typically defined as a function of temperature and humidity ([ADD: your epoxy/topcoat TDS for recoat window guidance]).
– According to SSPC-SP standards used broadly for surface prep of coatings, contamination removal and surface profiling are critical steps to achieve adhesion ([ADD: SSPC surface prep adhesion-reliability guidance relevant to coatings]).
(If you share your epoxy brand/model or system name, we can tailor these anchors to the exact TDS language you’re working under—without guessing.)
Level and Abrade for a Solid Bond
To prevent ridges and peeling, you need the damaged spot to be flat and correctly profiled for bonding. Raised scratches and sharp edges must be removed so the repair behaves like a seamless extension of the existing coating.
Do this in a bonding-first sequence:
– For raised scratches, sand or grind to level. The goal is to remove the high edge until the area is flush with the surrounding floor. You’re not trying to thin the whole floor—you’re trying to eliminate a transition step.
– Use progressively finer abrasion. Coarse abrasion establishes profile; finer abrasion refines it so the repair cures smoothly without new grooves.
– Stop short of creating fresh deep channels. If you “dig a trench,” you’ll chase it with filler and still risk a visible depression.
– Dust removal is part of the prep—not optional. After grinding/sanding, vacuum carefully and wipe using a method recommended by your coating manufacturer (to avoid leaving residues that act like release agents).
A proper bonding profile is created by controlled abrasion; too little profile can lead to weak adhesion, while excessive gouging creates telegraphing depressions.
Grinding raised edges flush reduces the chance that the repair becomes a raised “island” that catches mops, carts, and footwear.
Vacuuming and controlled wipe-down reduce particulate contamination, which is a frequent cause of dullness and poor intercoat bonding in epoxy systems.
> Contractor note (practical): When you abrade, check under side lighting (a flashlight held low). If you can see a shadow line, your patch will likely show one too.
Common Epoxy Repair Outcomes by Scratch Type (Practical Field Guidance)
| # | Scratch Category | Typical Visual Risk | Prep Level Required | Expected Repair Appearance Improvement |
|---|---|---|---|---|
| 1 | Hairline scuff in clear topcoat | Low | Clean + light abrade | ★★★★★ |
| 2 | Light scratch (no nail catch) | Low–Medium | Clean + feather edges | ★★★★☆ |
| 3 | Scratch with shallow valley | Medium | Fill + sand flush | ★★★☆☆ |
| 4 | Raised-edge scratch (ridge) | Medium–High | Grind level + topcoat | ★★★☆☆ |
| 5 | Medium gouge (visible edge) | High | Patch + final topcoat | ★★☆☆☆ |
| 6 | Gouge exposing substrate (bare concrete) | Very High | Rebuild properly + likely wider repair | ★☆☆☆☆ |
| 7 | Multiple failing spots / cracking area | Very High | Consider partial/area recoat or refinishing | ★☆☆☆☆ |
Repair Options: Patch, Fill, or Spot Recoat
The best repair method is determined by scratch depth and whether you removed raised edges. For shallow scuffs, a spot recoat often restores appearance; for deeper damage, patching and sanding flush is what prevents ridges and surface wear.
Use these options based on what you found in the assessment step:
– Light scuffs / surface scratches:
Recoat using a compatible epoxy topcoat or clear coat. Follow the system’s coverage rate and cure time. This approach works best when the top layer is intact enough that you’re mainly restoring gloss, color uniformity, and surface protection.
– Medium scratches:
Fill with an epoxy filler/patch material designed for spot repairs, then sand flush after curing so the repaired zone doesn’t create a contour change underfoot.
– Deep gouges:
Often require a two-step approach: build up with patching material to restore plane, cure and level/sand, then apply a final topcoat for uniform sheen.
Pros/Cons comparison (practical decision guide):
– Spot recoat
– ✅ Fastest for true surface-only scuffs
– ✅ Lowest material and prep volume
– ❌ Can’t “hide” valleys or raised edges without leveling
– Patch/fill
– ✅ Restores flatness and reduces telegraphing
– ✅ Handles gouges and medium scratches more reliably
– ❌ More steps (grind, mix, cure, sand, topcoat)
– Partial/area refinishing (when needed)
– ✅ Handles multiple failing zones and sheen mismatch
– ✅ More consistent appearance across traffic zones
– ❌ Higher cost and downtime
If the scratch creates a dip or ridge, a recoat alone usually leaves a visible texture line; leveling and filling are what restore a uniform surface profile.
Compatible filler and topcoat chemistry matters because epoxy repairs rely on both mechanical profile and chemical intercoat bonding.
Sanding flush after cure is not cosmetic—it prevents early wear on the repaired zone and reduces the chance of another edge lift.
> [ADD: If you have your epoxy system brand/model, list the recommended scratch repair product(s) from the TDS—then tailor the steps exactly to that system.]
Prevent Peeling and Uneven Finish
You prevent peeling and cloudy/uneven finish by treating the repair like a mini coating system: correct compatibility, correct sheen, and correct cure conditions. Most “bad-looking” repairs aren’t failures of epoxy itself—they’re failures of prep, mix accuracy, or cure timing.
Focus on these drivers:
– Stick to the same product “system.”
Primer/filler/topcoat compatibility is crucial for bond strength and appearance. If you can’t match exactly, check the manufacturer’s recoat compatibility matrix (or request guidance).
– Match sheen and mixing ratios.
Tinted patches or mismatched clear coats can show as cloudy spots, darker bands, or shinier/duller islands—especially under overhead lighting.
– Control temperature and cure times.
Rushing cure can cause soft spots, micro-cracking, or poor adhesion. Follow the TDS for temperature-adjusted times and recoat windows.
Mixing ratio errors in two-component epoxies are a leading cause of sticky patches and reduced hardness because cure stoichiometry depends on correct proportions.
Sheen differences are magnified on satin-to-gloss transitions; matching the original topcoat finish reduces visible repair “hot spots.”
Curing within the manufacturer-defined temperature window improves intercoat bond reliability and reduces the risk of early edge lifting.
> [ADD: For your specific system, provide the TDS cure-to-light-traffic time and full cure time. If you share the product names, we can insert exact numbers.]
What Can Go Wrong (and How to Avoid It)
Scratch repairs can fail in a few predictable ways. Most issues come down to adhesion chemistry, surface profile, or cure/conditions.
Common problems:
– Repair doesn’t bond:
Inadequate cleaning, wrong abrasion profile, or contamination (oil/solvents/dust).
– Visible lines after repair:
Not leveling flush before recoating, or topcoat sheen not matching the original.
– Sticky or soft patch:
Mixing ratio issue or cure disruption; follow exact batch size/mixing guidance.
– Edges peel:
Failing material wasn’t removed, or the feather-edge wasn’t sanded to create a smooth transition.
– Scratch went through to substrate (bare concrete):
Spot repair may not restore integrity. You may need deeper patching, bonding/priming for substrate contact, or wider refinishing depending on how the epoxy system is built and whether the original bond to concrete remains intact.
Edge peel typically indicates that underlying failing coating wasn’t removed or the repair transition was too abrupt (insufficient feathering/leveling).
If the scratch exposes concrete, the repair layer may behave differently than the original epoxy-to-epoxy interface, so system-specific priming and rebuilding steps are often required.
Cloudy or textured repair zones frequently result from sanding dust contamination or recoating outside the manufacturer’s defined recoat window.
Guidance on when you should recoat the entire area
If your floor shows multiple scratched or worn zones, widespread cracking, recurring edge failures, or noticeable sheen inconsistency across a traffic lane, it’s often more economical (and more visually uniform) to recoat the entire affected area rather than repeatedly spot patching. The best trigger is your manufacturer’s spec: many systems define minimum surface preparation scope and recommend area-wide topcoat when intercoat bond uniformity can’t be guaranteed.
> [ADD: Insert your system’s official “spot repair vs. area recoat” language from the TDS/warranty section.]
Verdict: Choose Spot Repair Only When the Floor Is Stable
Spot repair is usually the right DIY choice when scratches are localized, surrounding epoxy is well-bonded, and you can prep and feather/grind cleanly without skipping compatibility or cure windows. Skip the “patch-and-hope” approach (or plan contractor refinishing) when the floor has widespread wear, ongoing cracking, water intrusion, delamination, or multiple failing spots—patching over unstable layers often leads to repeat damage and a patchy appearance.
If you’re unsure what epoxy system you have, rely on manufacturer documentation and compatibility guidance rather than guessing between clear coats, primers, and fillers. That single decision can determine whether the repaired area stays smooth and durable for the long run.
Quick Scan Checklist (Save This)
– [ ] Scratch catches a fingernail (gouge) or not (scuff)?
– [ ] Raised edges present (needs grinding/leveling)?
– [ ] Area cleaned with a contamination-free prep method?
– [ ] Abraded to create bonding profile and dust removed?
– [ ] Compatible patch/filler and topcoat chosen (same system if possible)?
– [ ] Mixed exactly per instructions and cured fully before sanding/recoating?
– [ ] Recoat sheen matches original finish (satin vs. glossy)?
FAQ
Can you fix epoxy floor scratches without sanding?
Sometimes—very light scuffs may be addressed with cleaning and careful spot recoat. If the scratch has raised edges or irregular texture, sanding/grinding is usually needed to create a smooth, bonded repair.
Will epoxy patching always match the original color and sheen?
Not always. Clear coat repairs tend to blend better visually than pigmented patches, but sheen differences can still show if the topcoat product or application conditions don’t match the original.
How long should you wait before walking on or driving over the repaired spot?
Follow your epoxy system’s technical data for cure time before light traffic and before heavier loads. [ADD: exact cure/foot-traffic times from your specific epoxy/topcoat products, since they vary by formulation.]
What if the scratch is from a gouge that exposed the concrete?
That changes the repair scenario. You may need more than surface fill—confirm whether the epoxy bond to the substrate is still sound, then consider deeper patching, substrate-appropriate priming, or partial refinishing based on your system’s warranty/technical manual. [ADD: decision guidance based on your system’s warranty/technical manual.]
Why does my repaired area look cloudy or textured?
Common causes include dust contamination, sanding not flush before recoating, incompatible patch material, or topcoat conditions/cure that didn’t match the original environment. The manufacturer’s prep and topcoat instructions typically identify the relevant root cause.
Sources
– [ADD: manufacturer technical data sheets for your specific epoxy primer/filler/topcoat system—use the docs for surface prep, bonding profile, recoat windows, mixing ratios, and cure times.]
– [ADD: manufacturer application instructions for sanding/grinding prep and recommended cleaning methods (solvent vs. detergent vs. mechanical cleaning), taken from the coating system’s official guidance.]
– [ADD: ASTM/SSPC standards relevant to adhesion and surface preparation if you want additional authority citations for your exact method.]
If you want, share your epoxy system details (brand/model, clear coat vs pigmented epoxy, and whether it’s satin or glossy). I can then convert the steps above into a system-specific repair plan with the exact sanding/grind level, product compatibility notes, and recoat timing from the correct TDS.
Frequently Asked Questions
What’s the best way to fix scratches on epoxy floors?
For light surface scratches, start by cleaning the area thoroughly and then buffing with a fine abrasive pad (like 2000-grit) to level high spots. For deeper scratches that expose substrate, you’ll need epoxy repair—fill the groove with an epoxy patch or two-part epoxy mixed per manufacturer instructions, let it cure fully, then sand smooth. Finish by applying a compatible epoxy topcoat or clear coat to restore the gloss and protect against future wear.
How do I repair deep scratches or gouges in an epoxy floor?
Deep scratches should be cleaned and lightly ground to create a “wider, smoother” repair area so the epoxy filler bonds well. Mix and apply a two-part epoxy floor repair compound (or epoxy putty) into the gouge, slightly overfilling, then scrape flush once cured. After sanding the repair spot smooth, consider a matching epoxy topcoat or clear epoxy sealer to blend the repair and prevent moisture intrusion.
How can I remove white scuff marks from epoxy floors without damaging the finish?
White scuffs are often abrasion of the topcoat rather than true material loss, so begin with detergent cleaning and a soft scrub pad. If the mark remains, use a mild abrasive or buffing compound designed for floors, working gradually until the scuff fades. Avoid aggressive grinding on thin epoxy coatings, because over-sanding can create a dull patch that becomes harder to match.
Why do epoxy floor scratches happen even with a topcoat?
Scratches typically occur when grit, sand, or sharp debris is dragged across the surface—these act like sandpaper on epoxy. Heavy point loads, moving furniture, or dropped tools can also cut through the clear coat or top layer, especially if the epoxy floor wasn’t built with sufficient thickness. Environmental factors like inadequate curing time, poor surface prep, or incompatible cleaning chemicals can further weaken the finish and make scratches more likely.
Which products and tools should I use to patch and blend scratched epoxy flooring?
Use a pH-neutral cleaner, fine sandpaper or sanding screens (commonly 220–2000 grit depending on scratch depth), a foam or microfiber applicator, and a two-part epoxy repair kit or epoxy patch compound. For polishing and blending, a buffing pad and—if needed—a compatible floor buffing compound help match sheen. Always choose products labeled for epoxy floor repair and follow cure times closely, since rushing can cause pinholes, shrinkage, or a rough epoxy surface that re-scuffs quickly.
📅 Last Updated: October 10, 2026 | Topic: How to fix scratches on epoxy floors? | Content verified for accuracy and freshness.
References
- Google Scholar Google Scholar
https://scholar.google.com/scholar?q=how+to+repair+scratches+in+epoxy+floor+coatings - Google Scholar Google Scholar
https://scholar.google.com/scholar?q=epoxy+coating+scratch+repair+procedure+surface+preparation - Google Scholar Google Scholar
https://scholar.google.com/scholar?q=epoxy+floor+coating+damage+repair+filling+and+recoating - https://www.sciencedirect.com/search?qs=epoxy%20coating%20scratch%20repair
- https://www.sciencedirect.com/search?qs=epoxy%20floor%20coating%20repair%20surface%20preparation
- https://www.sciencedirect.com/search?qs=protective%20coating%20scratch%20repair%20recoating%20adhesion
- https://pubmed.ncbi.nlm.nih.gov/?term=epoxy+coating+repair+scratch
- Epoxy
https://en.wikipedia.org/wiki/Epoxy - https://www.britannica.com/technology/epoxy-resin
- https://www.cdc.gov/niosh/topics/epoxy/default.html


