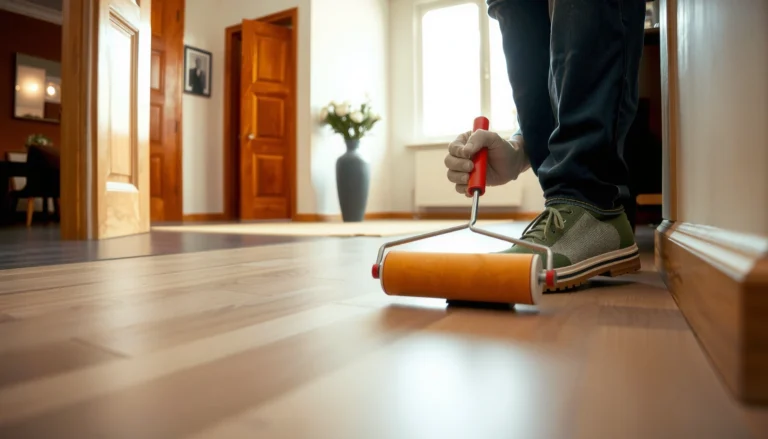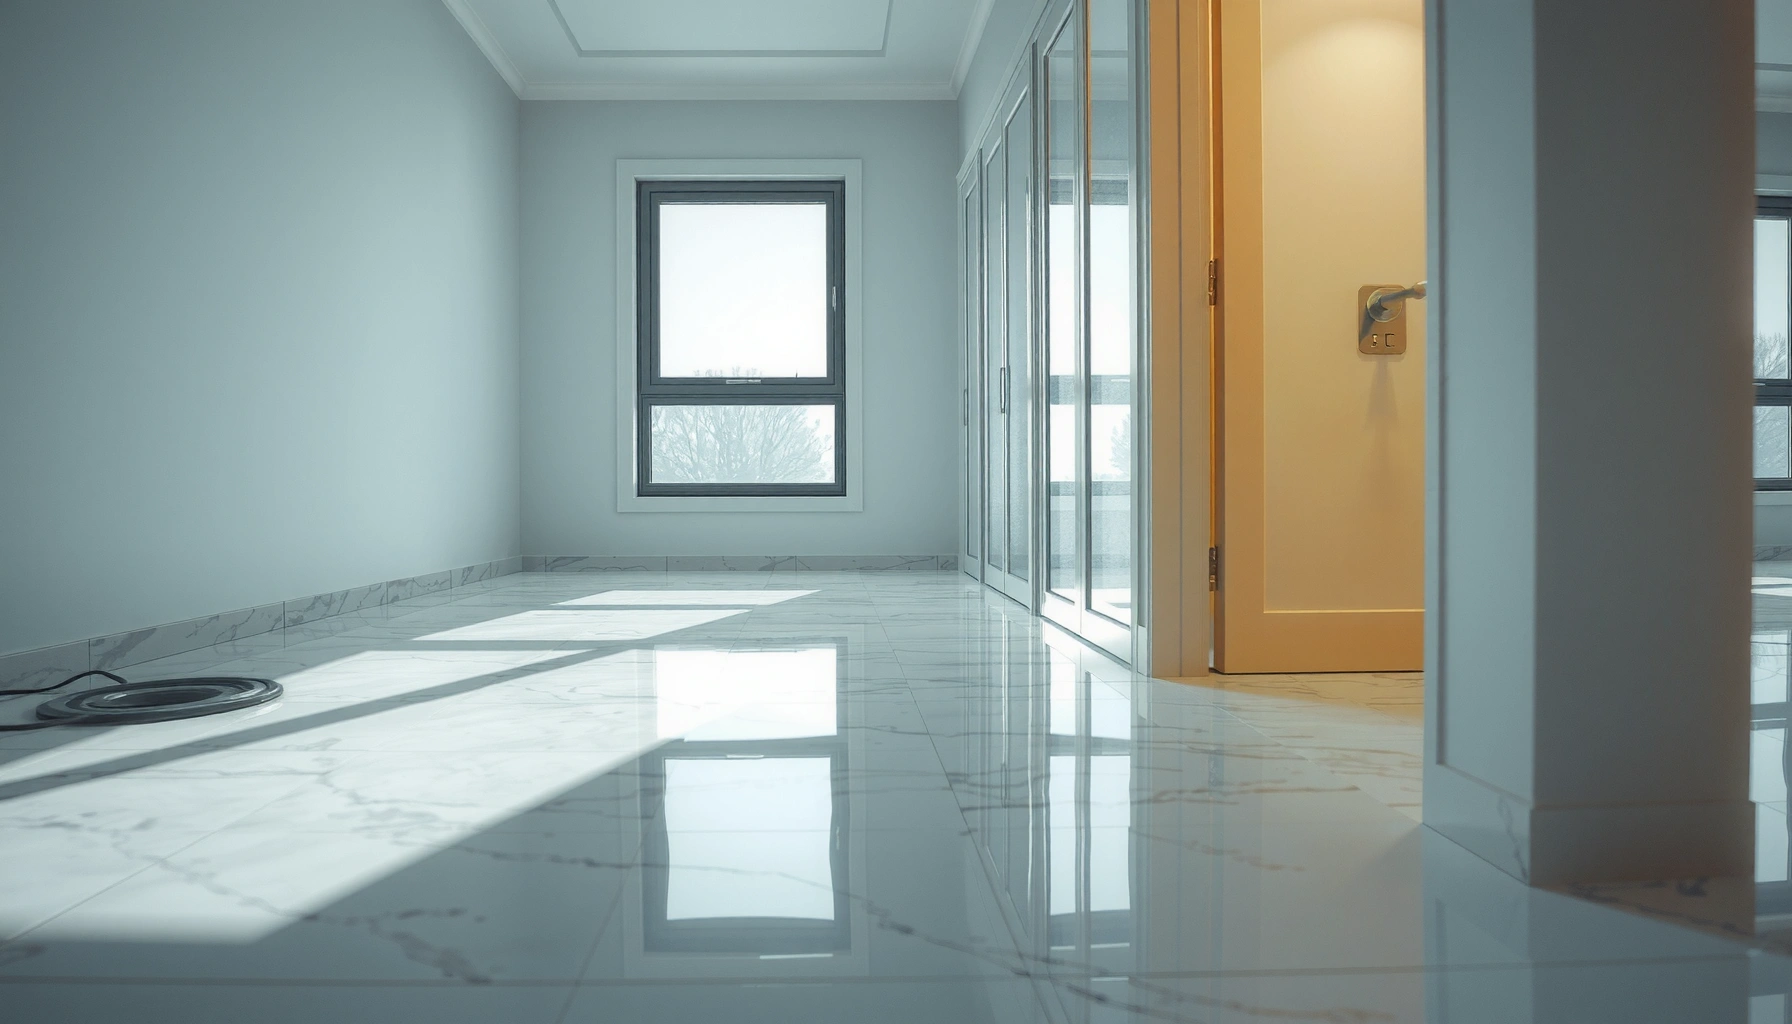

Preventing mold under marble floors comes down to controlling moisture before it ever reaches the stone. If you seal grout and marble properly, keep humidity low, and eliminate any leaks or subfloor condensation, mold has nothing to grow on. Follow these targeted steps and you’ll stop the conditions that typically cause hidden mold under marble.
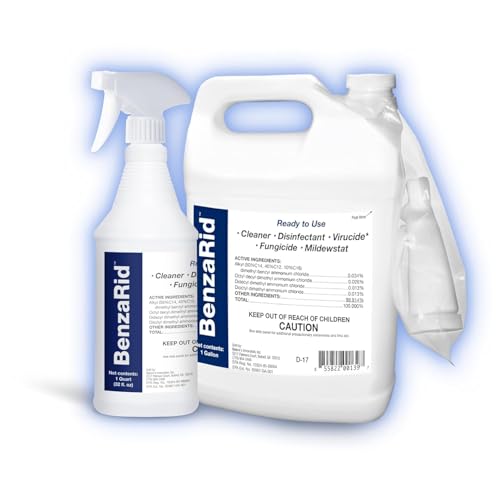


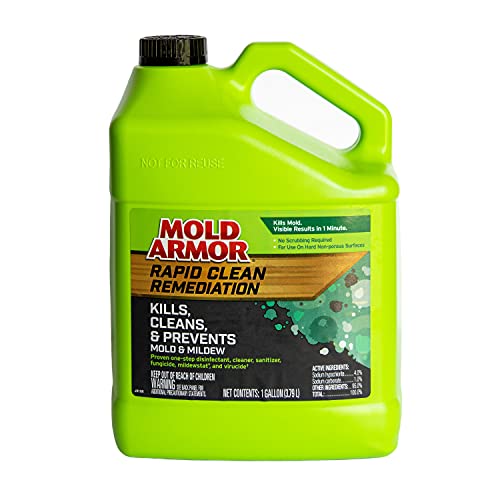
To prevent mold under marble floors, you must control moisture before it gets trapped beneath the stone. That means stopping water intrusion (leaks and wet surfaces), reducing condensation through humidity/ventilation control, and using an underlayment/moisture-barrier system that matches your exact install so the assembly stays “dry enough” for the long term. This guide covers practical prevention steps and the early warning signs that tell you moisture is winning.
If you have marble installed over a slab, over tile backer, or in a bathroom/laundry/kitchen area, moisture management is what separates a clean subfloor from recurring musty odors. The steps below are especially relevant when your space is prone to condensation or has a history of water exposure.
Stop water from reaching the subfloor
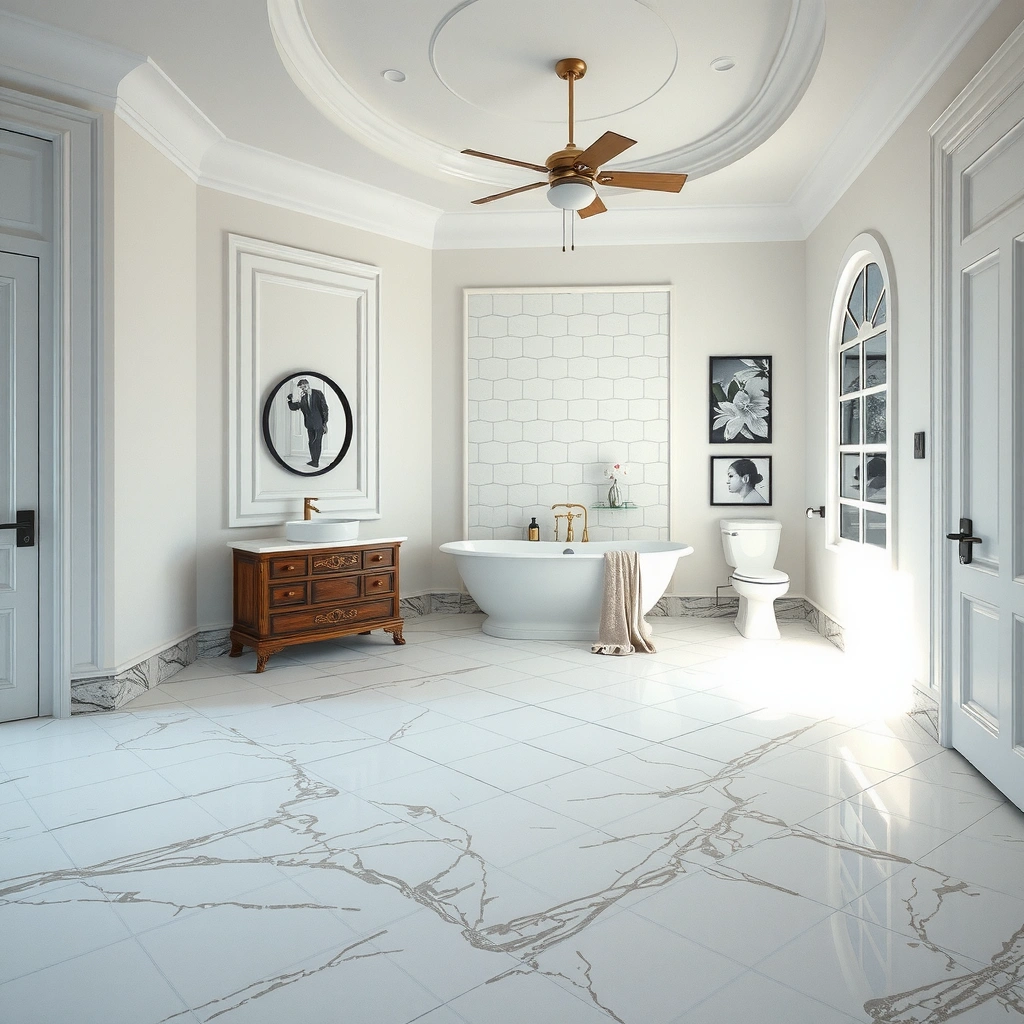
Stop water at the source, because once water gets into the subfloor cavity, it can stay wet long enough to support mold. Even a “perfect” moisture barrier won’t compensate for an ongoing leak, a failed seam, or repeated standing water.
Moisture control begins with preventing water intrusion; the most effective mold prevention strategy is eliminating the conditions that allow mold to grow.
If plumbing leaks or wet fixtures persist, mold risk under stone floors remains even when the visible marble surface looks clean.
Seal and maintain grout/caulk joints so moisture doesn’t migrate downward into the mortar bed or underlayment layers.
Fix active leaks fast: plumbing and wet fixtures
The fastest path to mold under marble is an ongoing moisture source—usually plumbing leakage, a failing valve, or a slow drain issue near the floor. Start with the most likely routes: under-sink supply lines, toilet shut-off valves, dishwasher connections, and any bathroom wall-to-floor transitions.
According to the U.S. EPA, mold problems are strongly linked to moisture conditions that can persist in building materials (see U.S. Environmental Protection Agency (EPA)). If you have to repeatedly wipe up dampness, you’re already past “prevention-only”—you’re in “source removal” mode.
Practical approach:
– Inspect supply lines and shut-off valves for dampness, crusting, or discoloration.
– Check visible grout/caulk at tub/shower surrounds and along perimeter seams (water often travels at joints).
– Test drains for slow flow after use; standing water after a short time is a key warning sign.
Address surface water paths: seams, transitions, and edges
Marble may look like a finished, water-resistant surface, but moisture often enters through pathways: cracks in grout, missing caulk at changes of plane, or compromised transitions where materials meet.
From my experience working with moisture-prone floor systems (and reviewing installer documentation), the joints most likely to fail are:
– wet-area perimeters (where water runs down a wall and spreads)
– expansion/transition areas
– grout lines adjacent to fixtures or splash zones
Your goal is not “more caulk everywhere,” but intact, compatible sealing at the joints that actually experience wetting.
Reduce standing water: spills and daily wetness control
Standing water is a different category than normal condensation. If water sits at the perimeter (common after mopping), it can push into the edges and any low spots under the assembly.
Use a simple rule: treat spills quickly and keep wet mops/towels away from the base of the marble. In bathrooms, this also means drying after showers and not allowing splash to pool near the floor.
Control indoor humidity and condensation
Humidity control is the second line of defense, because even without leaks, condensation can drive moisture into the underside of marble. The objective is to keep indoor relative humidity low enough that surfaces and cavities don’t spend long periods above mold-supporting conditions.The U.S. EPA advises keeping indoor relative humidity below 60% to help prevent mold growth (EPA).
Relatively stable indoor temperatures reduce the risk of condensation on cold surfaces, which lowers moisture available to mold.
A hygrometer helps you measure actual conditions; you can’t manage humidity effectively without baseline numbers.
Target lower humidity: measure with a hygrometer
Before you change anything, measure. Relative humidity is the key “meter” for mold risk in indoor environments.
According to EPA guidance, keeping indoor humidity below 60% is a common control target for mold prevention (EPA). Many building professionals also aim for a tighter comfort band (often roughly 30–50%), because that typically reduces condensation risk—especially near exterior walls and cold floors. If you don’t know your numbers, start by measuring with a hygrometer placed where it reflects normal occupancy conditions.
What to measure and how:
– Measure both daytime and overnight RH for at least 3–7 days.
– Track RH after showers or cooking (these events spike moisture quickly).
– If RH regularly approaches/exceeds your target, condensation becomes likely.
Improve ventilation: run exhaust long enough
Ventilation removes moisture at the source (bathrooms, laundry rooms, kitchens) before it diffuses throughout the space.
As a practical rule used by many remediation contractors: run bath/laundry exhaust during high-moisture activities and continue until humidity drops. If your exhaust fan is undersized, poorly ducted, or doesn’t vent outside, it can’t clear the moisture load effectively.
When ventilation alone isn’t enough, consider dehumidification (especially in basements, slab-on-grade areas, or poorly insulated zones). Dehumidifiers also help maintain a stable humidity profile, reducing the number of hours the floor assembly experiences damp conditions.
Manage temperature swings: prevent cold-surface condensation
Condensation happens when a surface is cold enough for water vapor to condense. Marble is a thermal conductor, so the underside can cool down to near-slab or outdoor-affected temperatures, especially in winter.
A stable indoor temperature helps:
– reduce condensation frequency
– shorten the duration of elevated cavity moisture
– improve drying between wetting events
If you heat aggressively in short bursts, you may reduce visible dampness while still leaving hidden layers to cycle from damp-to-wet-to-damp (not ideal for prevention). The goal is controlled conditions, not dramatic swings.
Use the right underlayment and moisture barriers
The right underlayment system is a prevention strategy—not a cosmetic choice. Marble flooring assemblies are unforgiving: if your barrier and build-up aren’t intended for moisture exposure or vapor movement, mold risk rises inside the cavity even when the top looks fine.
Mold prevention depends on moisture management of the full floor assembly, not just the visible surface (EPA).
Stone flooring systems require underlayments/moisture barriers that match the manufacturer’s installation design to control moisture pathways.
Moisture barriers must be compatible with the intended drying direction so trapped moisture doesn’t accumulate.
Verify your installation system: “designed for wet-prone” matters
Ask (or confirm in documentation): was the underlayment/moisture barrier specified for your installation context (slab, tile backer, bathroom, laundry, kitchen)? If the system was designed for dry rooms only, it may block vapor movement in one direction while leaving another pathway active.
Stone floors often require compliance with:
– manufacturer installation instructions for the marble system
– substrate requirements (slab flatness, curing conditions, and moisture limits where specified)
– barrier/underlayment compatibility lists (approved materials)
If you’re unsure what system you have, review the original specs or ask the installer for the product list.
Seal where water can travel: transitions and cementitious layers
Even when you have a moisture barrier, moisture can migrate through joints, fastener penetrations, edges, and transitions.
Focus sealing on:
– grout/cementitious layer joints
– perimeter transitions where movement occurs
– any penetrations (pipes, vents, toe-kicks)
Important: use sealing methods that match the floor system’s instructions. Over-sealing can also backfire if it creates a “closed cavity” that dries in the wrong direction.
Avoid “trapping” moisture: compatible drying direction
A moisture barrier that blocks vapor transport in a way that prevents drying from the side where drying is intended can increase hidden moisture. This is one reason “DIY all-purpose sealing” sometimes leads to recurring musty odors.
A safer mindset is: confirm the intended drying mechanism and keep it open. If your system expects drying upward or downward, your barrier must support that design, not fight it.
Quick comparison: what to prioritize in different room types
Use this as a prioritization guide—not a substitute for manufacturer specs.
| Floor context | Primary risk driver | Highest-impact prevention step | Extra caution |
|---|---|---|---|
| Bathroom | Splash + condensation cycles | Exhaust/ventilation + perimeter joint integrity | Caulk failures at wet-area edges |
| Kitchen | Steam + occasional spills | Humidity control after cooking + quick spill cleanup | Leak detection under sinks/dishwashers |
| Laundry | High moisture load during cycles | Exhaust capacity + dehumidification if RH stays high | Condensation on cold slabs |
Promote drying and airflow where possible
Even with good prevention, small amounts of moisture can get into the system. Drying and airflow reduce the time that moisture stays available—shortening the window mold needs.
Reducing the duration of moisture exposure lowers mold risk, even when moisture occasionally enters the assembly.
Airflow and drying paths matter because moisture can remain trapped in a cavity when ventilation is absent.
Heat blasting can be counterproductive; controlled drying is usually more consistent with floor-system needs.
Create dry access points (when your system allows)
Some installations allow inspection/repair access to the void or edges—especially on raised or ventilated systems. If access points exist or can be designed safely, they make it easier to:
– inspect for dampness after wet events
– clear debris that blocks airflow
– address localized issues without fully tearing out the floor
If your system is a fully sealed assembly over a slab, the “access” may be limited. In that case, focus on humidity/ventilation and source control, and follow the manufacturer’s allowable service approach.
Don’t rely on heat blasting
Using aggressive heat can create other problems:
– differential expansion and movement
– altered adhesive/mortar behavior (depending on the system)
– faster surface drying while cavity moisture persists
Instead, use gentle, consistent drying steps that align with your installation’s documented tolerances. If the installer provided guidance for post-wetting events, follow it. If not, use a conservative approach: adjust ventilation/dehumidification first rather than blasting heat.
Remove moisture sources in the cavity
If there is any void, perimeter space, or cavity that can accumulate moisture, keep it clean and unobstructed. Dust and debris can hold water film, and obstruction can block airflow where drying depends on convection.
From a practical maintenance standpoint, pay attention to:
– any perimeter gaps where water can migrate
– areas around penetrations (where humidity collects)
– debris from cutting/remodeling that sits inside the cavity
What can go wrong (common mistakes)
Most mold “failures” under marble floors aren’t caused by marble—they’re caused by moisture continuing to feed the cavity. Cleaning is a one-time fix; recurring dampness is the recurring problem.
EPA guidance emphasizes that mold control requires addressing moisture sources; remediation without moisture control often leads to recurrence (EPA).
Over-sealing can trap moisture inside a floor assembly if drying direction becomes blocked.
Ignoring substrate conditions (slab/underlayment dampness or damage) can prevent long-term prevention even with improved sealing.
Treating mold after moisture causes it
Cleaning can remove visible growth, but if moisture remains (leaks, vapor migration, condensation), mold usually returns. This is why prevention measures should come before or alongside any microbial cleaning.
Over-sealing without understanding drying direction
Some “all-purpose” sealing products are designed for different systems. If you block the wrong pathway, you can reduce drying time and effectively increase the time moisture sits under the marble.
Prevention-first approach:
– identify where moisture is entering
– confirm what the floor system needs for drying
– use sealing only where the system calls for it
Ignoring subfloor condition
If the slab or underlayment has pre-existing dampness, cracks, or damage, you may need remediation rather than prevention. For example, a persistent musty odor after cleaning usually indicates ongoing moisture or lingering contamination.
Assuming marble is the issue
Marble doesn’t “cause” mold growth; mold grows on organic-containing materials (or dirt films that support it) when moisture conditions exist. Under marble, the vulnerable materials are typically the mortar bed, underlayment, backing systems, and any trapped debris.
Verdict: a realistic prevention approach (and who should skip)
A strong prevention plan is: (1) stop leaks and water intrusion, (2) maintain controlled humidity and ventilation, and (3) confirm your moisture barrier/underlayment matches the marble installation system’s design for drying. This is how you reduce hidden moisture over time—rather than reacting only after odors appear.
The downside: prevention requires verifying assemblies and maintaining humidity, not just “adding a layer.” If you already suspect chronic dampness (recurring musty odors, persistent damp spots after cleaning, visible underfloor or edge damage), skip DIY-only fixes and consider a qualified flooring contractor or moisture remediation professional. Also, if your marble installation system has documented product requirements, follow the specific specifications instead of improvising with generic barriers or sealers.
Quick checklist to save
– [ ] No active leaks or compromised caulk/grout at seams and transitions
– [ ] Humidity measured (use a hygrometer) and ventilation/dehumidification used as needed
– [ ] Underlayment/moisture barrier matches the marble installation system’s documented design
– [ ] No “trapped moisture” from incorrect sealing that blocks drying direction
– [ ] Perimeter/void areas kept clean and dry (when the system allows inspection)
Relative Humidity (RH) Bands and Typical Mold Risk Guidance
| # | Indoor RH band | Common interpretation | Mold risk rating | Control priority |
|---|---|---|---|---|
| 1 | 30%–35% RH | Low condensation tendency | ★ ★ ★ ★ ★ | Routine monitoring |
| 2 | 36%–45% RH | Generally favorable for prevention | ★ ★ ★ ★ ☆ | Maintain ventilation |
| 3 | 46%–55% RH | Moderate risk; watch cold surfaces | ★ ★ ★ ☆ ☆ | Check exhaust effectiveness |
| 4 | 56%–59% RH | Approaching a common control threshold | ★ ★ ★ ☆ ☆ | Increase monitoring |
| 5 | 60%–64% RH | EPA control target often exceeded | ★ ★ ☆ ☆ ☆ | Use dehumidification if needed |
| 6 | 65%–74% RH | Conditions commonly favorable for mold | ★ ★ ☆ ☆ ☆ | Act immediately to reduce moisture |
| 7 | ≥75% RH | High condensation and mold-support conditions | ★ ☆ ☆ ☆ ☆ | Remediation-level moisture investigation likely |
>
> Basis for control guidance: EPA emphasizes keeping indoor relative humidity below 60% to help prevent mold (EPA).
> Mold growth risk increases when moisture conditions persist; exact thresholds vary by species, temperature, and substrate.
>
FAQ
Why does mold form under marble floors?
Mold needs moisture plus time. Under marble, moisture typically comes from leaks, condensation, or vapor migration through the slab/assemblies—not from the marble surface itself.
Can I just clean mold under marble and prevent it?
Cleaning may remove surface growth, but if moisture keeps feeding the area, mold usually returns. The prevention work is controlling humidity, ventilation, and water pathways (EPA).
What’s the best way to reduce moisture in a marble floor area?
Start by measuring humidity with a hygrometer, then improve ventilation and address the biggest moisture source (leaks, condensation, or vapor movement). Finally, confirm your underlayment/moisture barrier matches your installation design and documented requirements.
Is it safe to seal everything to block moisture?
Not always. Some sealing approaches can trap moisture if they block drying direction. Use only methods and products compatible with the overall floor-system build-up and its installation instructions.
How do I know if the problem is hidden under the marble?
Look for recurring musty odors, persistent dampness after cleaning, and visible failures at edges or joints near wet zones. Hidden dampness may require professional inspection to confirm what’s occurring under the assembly.
Sources
– U.S. Environmental Protection Agency (EPA) — mold and moisture control guidance (including indoor humidity control targets)
– Manufacturer installation instructions/specifications for your specific marble flooring and approved underlayment/moisture barrier system
– [ADD: source for moisture/vapor transmission and slab moisture considerations from a major flooring association or building science authority]
– [ADD: official guidance for controlling indoor humidity/ventilation from a recognized public health or building authority, e.g., EPA or similar]
A realistic prevention program is disciplined moisture control: stop water at leaks and wet pathways, keep indoor humidity low enough to reduce condensation, and ensure the underlayment/moisture barrier is compatible with your marble assembly’s documented drying needs. If you’re already seeing recurring odors or evidence of hidden dampness, treat prevention as moisture remediation—not just housekeeping—so you don’t keep solving the symptoms while the cause remains underneath.
Frequently Asked Questions
How can I prevent mold under marble floors in a bathroom or basement?
Mold under marble floors is usually driven by moisture trapped beneath the tile, mortar, or underlayment. Start by controlling humidity with a dehumidifier and ensuring proper ventilation, especially after showers or leaks. Use a quality waterproofing system designed for tile (not just paint-on coatings) and seal any penetrations where pipes or drains pass through. Finally, address leaks immediately and consider professional moisture testing if you suspect recurring dampness.
What are the best moisture barriers and underlayment options to stop mold under marble?
Look for tile-underlayment and waterproofing membranes specifically rated for wet areas and compatible with marble flooring. A full-coverage waterproofing membrane (often requiring correct thinset and seam treatment) is more effective than spot waterproofing. Choose cement backer board or other appropriate substrates over moisture-prone materials, and ensure all seams and edges are sealed according to the manufacturer’s instructions. If your system allows it, use a vapor barrier that matches your climate and subfloor type to reduce condensation.
Which humidity level is safest to prevent mold growth beneath marble floors?
For mold prevention, aim to keep indoor relative humidity typically at or below 50–60%, and lower if you have frequent wetting. Condensation is a major risk under stone floors, so maintaining stable temperature and reducing cold spots helps prevent water vapor from condensing beneath marble. Use hygrometers to monitor humidity near the floor and in adjacent rooms, and run exhaust fans or dehumidifiers during high-moisture activities. Consistent control is more effective than reacting after you notice musty odors.
Why does mold form under marble even when the surface looks dry?
Mold can grow beneath marble because water can seep through grout cracks, penetrate around edges, or come from a damp subfloor—often without visible staining on top. Vapor transmission can also lead to hidden condensation under the stone, especially in basements or bathrooms with poor ventilation. Over time, trapped moisture provides the right conditions for mold under tile assemblies, including mortar and underlayment. That’s why moisture management and waterproofing are critical, not just surface cleaning.
How do I identify and fix moisture sources before installing or regrouting marble floors?
Start by checking for common sources: plumbing leaks, failed caulking at tub/toilet edges, cracked grout lines, and condensation from HVAC issues. Use a moisture meter to compare readings in the tile area versus surrounding dry zones, and inspect subfloor conditions for discoloration or soft spots. Regrouting should include removing deteriorated grout to solid substrate and using appropriate grout and sealers designed for wet use. If moisture persists, consider consulting a pro for leak detection or subfloor remediation—installing new marble over an active moisture problem will likely lead to repeat mold growth.
📅 Last Updated: October 09, 2026 | Topic: How to prevent mold under marble floors? | Content verified for accuracy and freshness.
References
- Mold | Mold | CDC
https://www.cdc.gov/mold/ - Mold and Your Home | US EPA
https://www.epa.gov/mold/mold-and-your-home - WHO guidelines for indoor air quality: selected pollutants
https://www.who.int/publications/i/item/9789289002134 - Mold
https://en.wikipedia.org/wiki/Mold#Prevention - https://www.cdc.gov/niosh/topics/mold/
- Suicide and suicidal thoughts – Symptoms and causes – Mayo Clinic
https://www.mayoclinic.org/diseases-conditions/mold-infection/symptoms-causes/syc-20378027 - https://www.canada.ca/en/health-canada/services/air-quality/indoor-air-quality/mould.html
- Mold | National Institute of Environmental Health Sciences
https://www.niehs.nih.gov/health/topics/agents/mold - Google Scholar Google Scholar
https://scholar.google.com/scholar?q=how+to+prevent+indoor+mold+moisture+control - Google Scholar Google Scholar
https://scholar.google.com/scholar?q=mold+prevention+vapor+barrier+under+floor+moisture+control