
Prevent water damage to vinyl floors in a commercial office by stopping leaks fast, controlling indoor humidity, and preventing standing water before it reaches seams and edges. This guide gives you the most effective, real-world protections—clear procedures for spills, traffic flow, and maintenance—that keep your floors intact through daily wear. If you want the shortest path to fewer bubbles, warping, and mold, start with these steps.




Preventing water damage to vinyl floors in a commercial office comes down to controlling moisture at the source, limiting how much water reaches seams and edges, and responding fast when liquid appears. In 2026, the most reliable approach combines leak prevention, entrance matting to reduce tracked moisture, spill protocols that “blot first,” and cleaning methods that use damp—never flooded—applications consistent with your vinyl flooring manufacturer’s guidance.
If you manage a workplace—office manager, facilities lead, or property owner—this is for you. It’s especially useful in high-traffic areas, near entryways, break rooms, restrooms, and zones where mopping or floor-washing happens regularly.
Stop water before it reaches the vinyl
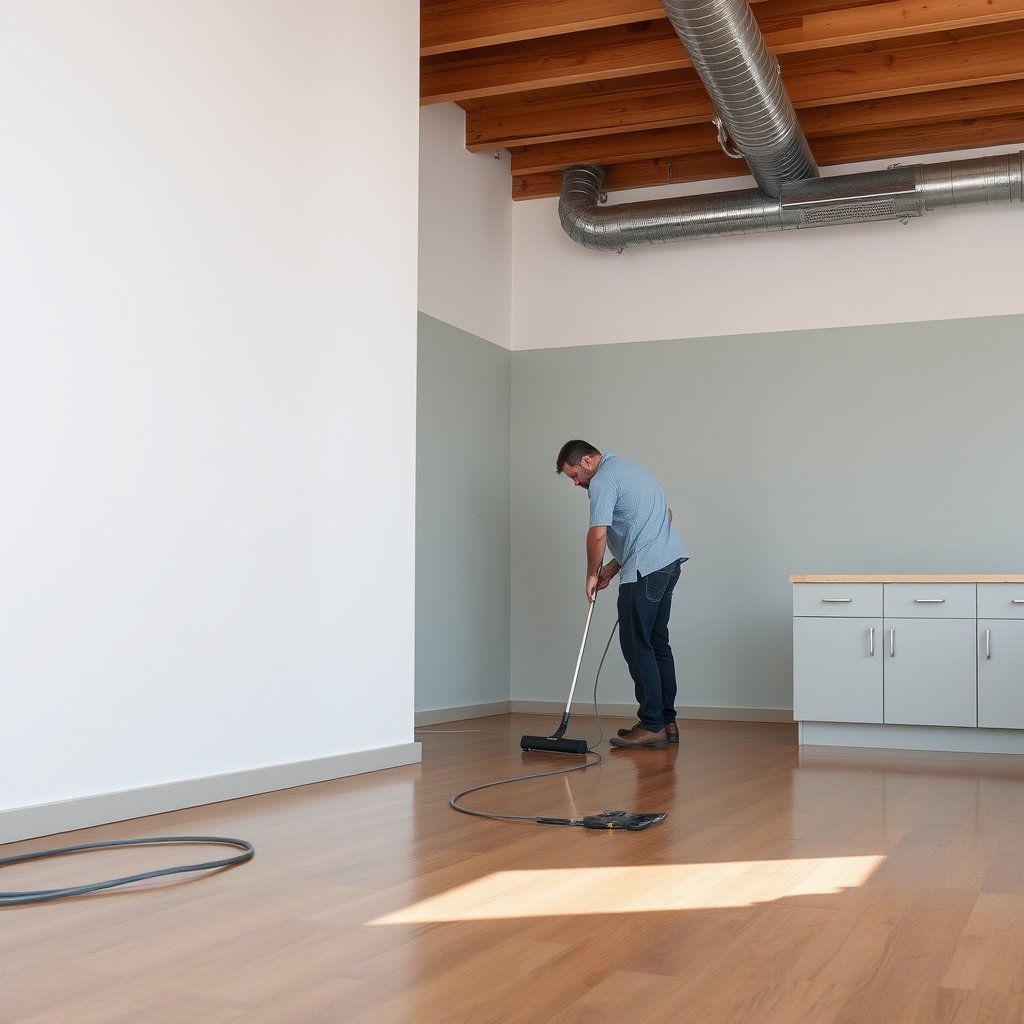
The fastest way to protect vinyl floors is to prevent water from entering the building and reaching the floor system in the first place. You reduce long-term risk by stopping tracked meltwater, catching leaks early, and targeting moisture-prone zones (entries, kitchens, restrooms) before it can migrate into seams, edges, and underlayment.
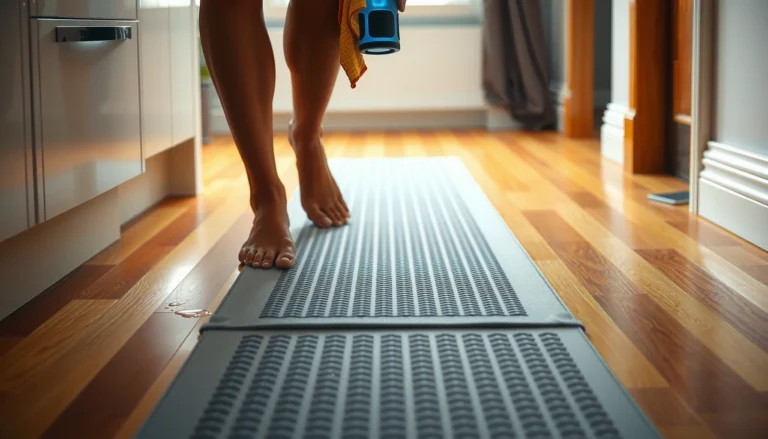
– Install entrance mats (and keep them maintained) so dirt and meltwater don’t get tracked inside and onto the floor.
– Use door mats or floor runners in “wet zones” like near exterior entrances, elevators with frequent wet mopping nearby, and kitchen/break areas.
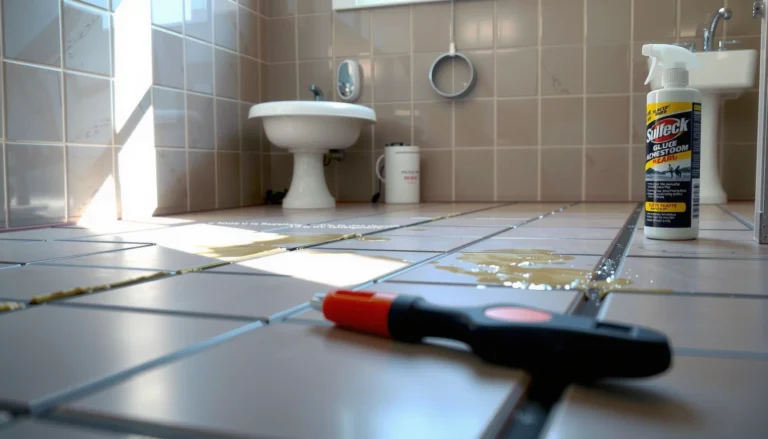
– Address plumbing and appliance leaks early (sink valves, ice machines, water coolers, restroom fixtures), since repeated small leaks can seep into seams and edges.
Entrance matting that actually reduces moisture
Entrance matting is one of the highest-return actions because it controls the “first contact” problem—moisture and grit carried in on shoes before it ever lands on vinyl flooring. In my experience supporting facilities teams, the biggest failure isn’t buying mats—it’s letting them get saturated, torn, or unmaintained, which turns matting into a water-transfer surface rather than a trap.
Entrance mat systems are designed to capture dirt and moisture at building entrances so it does not transfer to resilient flooring like vinyl.
If entrance mats are worn, rolled, or dirty, they can increase surface moisture on vinyl floors instead of reducing it.
Wet-zone runners near kitchens, elevator corridors, and exterior doorways help keep incidental water from reaching seams and transitions.
Practical setup for commercial offices
– Use a two-stage entrance system where feasible: an outer scraper mat plus an inner absorbent mat. Scrapers remove grit; absorbents handle moisture.
– Keep mats fully flat (no curled edges) so foot traffic doesn’t push puddles into the vinyl.
– Assign ownership: a facilities lead or janitorial supervisor should document mat checks on a schedule (daily during storms, weekly otherwise).
Fixing small leaks prevents repeated moisture loading
Small leaks are particularly damaging to vinyl floors because repeated moisture exposure can work its way into the floor’s weak points—seams, panel edges, and baseboard/trim junctions. Many offices treat leaking faucets or loosened restroom fixtures as “surface issues,” but moisture often migrates invisibly, especially at edges and transitions.
Repeated small leaks can drive moisture into seams and edges of resilient flooring systems over time.
Moisture control works best when plumbing repairs and maintenance are handled immediately, not after visible flooding occurs.
Where leaks commonly show up in offices
– Sink valves and under-sink couplings in break rooms
– Ice machines and water coolers (lines, drip trays, hose connections)
– Restroom fixtures (toilets, supply lines, wall-mounted valves)
– Rooftop condensation and HVAC condensate routing near vinyl zones (often missed in routine floor-care planning)
Data point to keep in mind: According to the U.S. CDC, mold can begin growing within 24 to 48 hours after water damage occurs, depending on conditions—so waiting for “surface drying” is not a safety strategy CDC (Mold and water-damaged buildings).
Build a spill response plan (seconds matter)
The best protection for vinyl floors once liquid appears is a spill response plan that focuses on speed and moisture removal—not spreading the liquid around. Seconds matter because water can travel toward seams, under transitions, and into edges long before the visible puddle is gone.
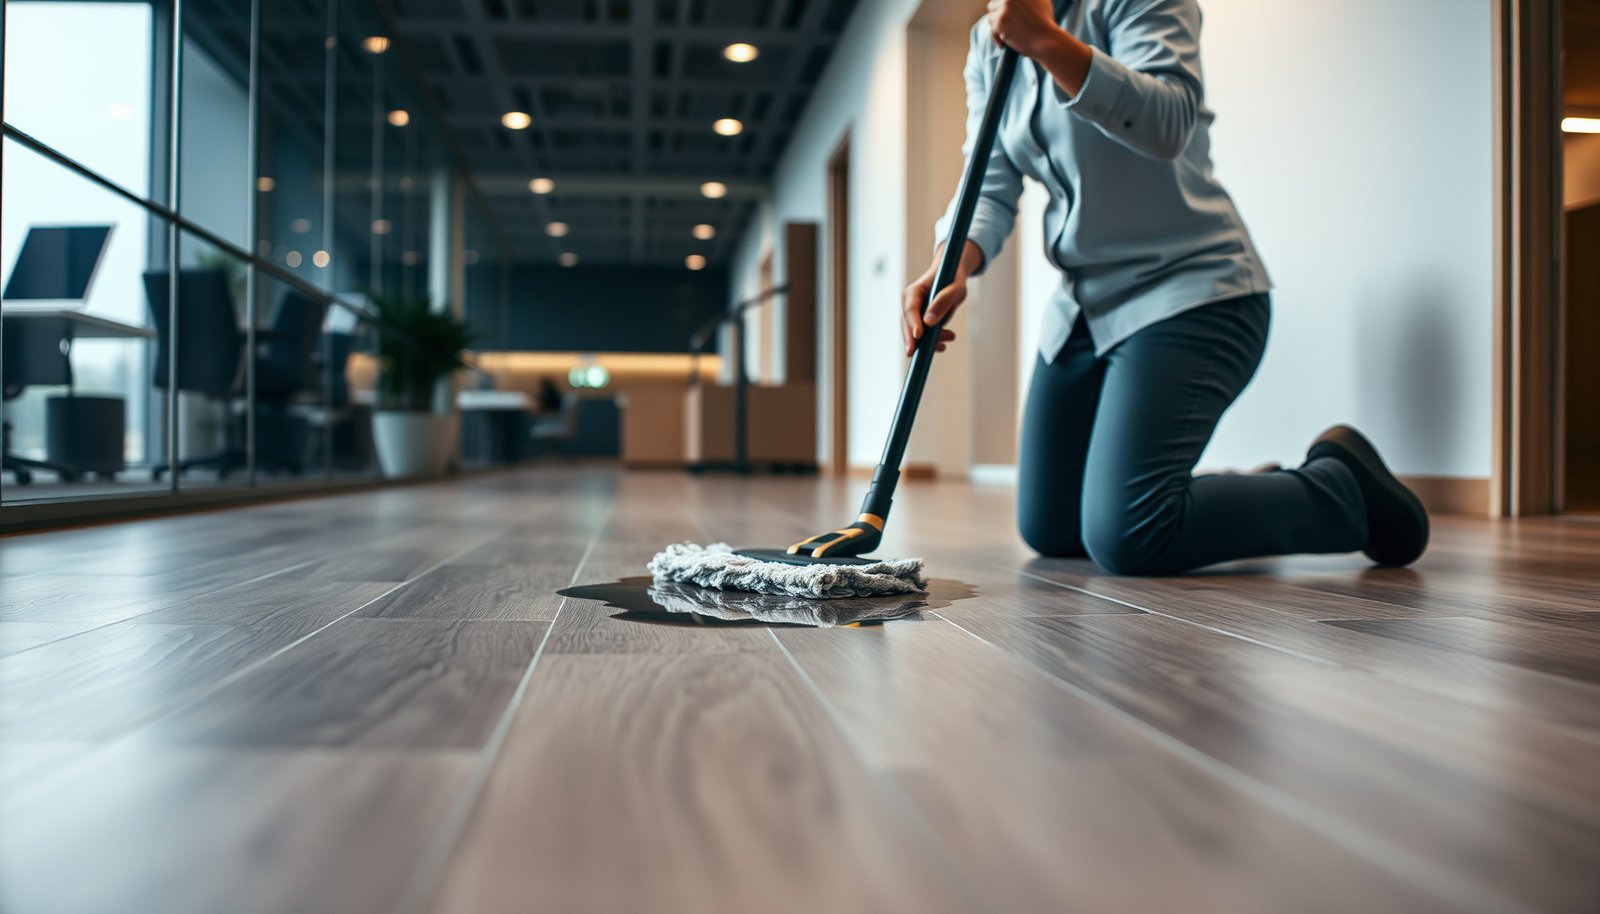
– Train staff to blot spills immediately—avoid letting liquid sit or spread toward seams, transitions, and baseboards.
– Keep absorbent supplies on hand (e.g., microfiber towels and a wet/dry vacuum if your operation has one).
– Set a rule: if a spill reaches grout-like lines, seams, or under furniture edges, treat it as a moisture-risk event, not a quick wipe-down.
“Blot, don’t smear” training for vinyl floors
Spill training should be simple enough that staff can execute it under time pressure. For vinyl floors, the key behavior is removing liquid fast without pushing it into joints and perimeters.
Blotting spills immediately limits how much liquid migrates toward resilient flooring seams and edges.
Microfiber towels and quick extraction (wet/dry vacuum where appropriate) support faster moisture removal from vinyl surfaces.
Treating spills that reach seams or under furniture as moisture-risk events reduces hidden moisture buildup.
Recommended spill protocol (office-ready)
1. Shut the area down briefly to keep foot traffic off the spill.
2. Blot from the outside of the spill inward (avoid rubbing).
3. Remove residue with a damp microfiber—don’t leave cleaner pools.
4. Extract residual moisture (wet/dry vacuum for standing water; then dry towels).
5. Dry the edges: pay attention to baseboards, chair legs, cabinet kickplates, and vinyl transition strips.
Assign roles and document moisture incidents
A spill response plan fails when ownership is unclear. Your workflow should identify who responds, where supplies live, and how incidents are logged so recurring sources (like an under-draining sink) get fixed.
Minimum documentation to include
– Location (e.g., “near printer room sink / vinyl plank transition”)
– Spill type and volume estimate (water, soda, cleaning solution)
– Time discovered and time area returned to service
– Photos if your team tracks trends (especially for repeat incidents on the same seam)
Clean without saturating the floor
The safest cleaning approach for vinyl floors is damp-mop cleaning that controls water quantity and follows manufacturer directions. Over-wetting is the most common “well-intentioned” cause of damage because it increases the chance of moisture reaching seams, swelling edges, or creating an environment for discoloration and odor.
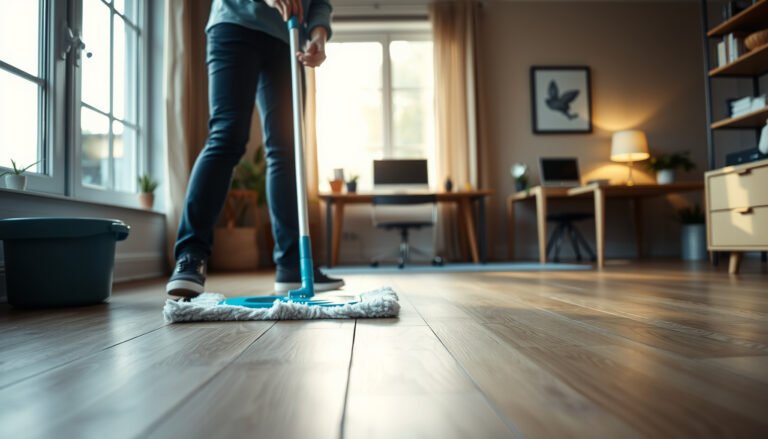
– Use damp-mop methods instead of flooding: wring the mop well and apply minimal water consistent with manufacturer guidance.
– Avoid steam cleaning unless the vinyl flooring manufacturer explicitly approves it (heat and moisture can cause issues depending on the product).
– Use cleaners labeled safe for your vinyl type and finish; if you’re unsure, check the product manual/spec sheet and follow the stated dilution and dwell times.
Damp-mop technique reduces moisture pathways
A damp mop should leave the vinyl surface clean without leaving standing moisture. That distinction matters: even if vinyl looks dry at the top layer, liquid can still sit in micro-gaps around seams or at the perimeter.
Damp-mop cleaning reduces the risk of liquid migrating into resilient flooring seams compared with flooding.
Steam cleaning should only be used when the specific vinyl flooring manufacturer explicitly approves it.
Technique details that facilities teams can standardize
– Use a mop head that can be laundered easily and replace when saturated or worn.
– Apply cleaning solution using manufacturer dilution—avoid “extra concentrate for quicker results.”
– Wring mops thoroughly; re-dip/re-wring frequently so you’re not pushing dirty, wet water around.
– After cleaning, inspect seams and transitions visually and by touch—if it feels cool or wet, extract again.
Moisture tolerance context (for subfloors): ASTM standards used for resilient flooring installations often specify moisture limits for concrete using tests such as ASTM F2170 (relative humidity) and ASTM F1869 (moisture vapor emission rate). For example, many resilient-floor installation specifications commonly reference RH limits such as 75% and MVER limits such as 3 lb/1000 sq. ft./24 hours for successful installations, depending on the flooring system and adhesive ASTM F2170; ASTM F1869 / moisture testing practices for resilient flooring. While your office is already installed, it underscores why controlling moisture load matters for vinyl performance.
Cleaner compatibility and dwell time
Cleaner choice affects vinyl floors in two ways: (1) residue left behind can attract grime and build up, and (2) incompatible chemistry can dull finishes or impact adhesion layers. Your goal is “clean surface, minimal remaining moisture and residue.”
Using vinyl-labeled cleaners and following dilution/dwell time reduces risk of residue and finish dulling on resilient flooring.
Pros/cons: damp-mop vs. more aggressive methods
| Method | Pros for vinyl | Cons / risks |
|---|---|---|
| Damp-mop with manufacturer-approved cleaner | Controls water quantity; supports finish longevity; repeatable SOP for crews | Requires correct dilution and wringing; may need multiple passes for heavy soil |
| Flooding / high-water mopping | May remove surface grime quickly | Increases liquid migration into seams, transitions, and edges; heightens hidden moisture risk |
| Steam cleaning (without explicit approval) | Can lift some residues and sanitize surfaces | Heat + moisture can be incompatible with certain vinyl products; manufacturer approval is required |
Moisture-Control Actions That Most Protect Commercial Vinyl Floors
| # | Action | Best Office Zone | Primary Moisture Path Reduced | Vinyl-Care Fit | Priority Result |
|---|---|---|---|---|---|
| 1 | Two-stage entrance matting (scraper + absorbent) with scheduled cleaning | Main entries | Tracked meltwater & grit | ★★★★★ | High |
| 2 | Wet-zone floor runners near exterior doors & elevators | “Wet corridors” | Sideways moisture transfer | ★★★★☆ | High |
| 3 | Immediate blotting + extraction for standing spills | Desks, break rooms | Seam/edge migration | ★★★★★ | High |
| 4 | Damp-mop cleaning with manufacturer-approved dilution | Daily/weekly cleaning | Excess water accumulation | ★★★★☆ | High |
| 5 | Avoid steam cleaning unless explicitly approved for your vinyl | All vinyl zones | Heat + moisture incompatibility | ★★★★☆ | High |
| 6 | Flood-mopping / leaving puddles to “evaporate” | Maintenance corridors | Liquid migration into edges | ★☆☆☆☆ | Low |
| 7 | Delayed repair of recurring appliance or plumbing drips | Break rooms & restrooms | Hidden moisture loading cycles | ★☆☆☆☆ | Low |
Seal and protect common failure points
The most durable vinyl-floor protection strategy is to reinforce the “water meeting points” where moisture pools or has an easy path underneath. That means careful attention to transitions, edges, and any barrier details (like caulk and trim) that your installation includes.
– Pay attention to transitions (door thresholds, transitions to carpet/tile, and expansion gaps if applicable) where water can collect.
– Inspect and maintain caulk or trim at edges/baseboards if your installation detail includes those barriers.
– Replace damaged planks/tiles promptly—warped or lifting sections can create pathways for water to move underneath.
Transitions and edges where water pools
In commercial offices, vinyl floors rarely fail in the center of a room. More often, the issue starts at a door threshold, a transition strip to carpet, or an expansion/transition joint where water slows down and can collect.
Door thresholds, transition strips, and expansion joints are common moisture-collection points for vinyl floors.
Damaged or lifting vinyl planks/tiles create pathways that allow water to move underneath the flooring system.
What to inspect in routine rounds
– Door thresholds: look for gaps where moisture can wick
– Changes in floor type: carpet-to-vinyl and tile-to-vinyl edges
– Baseboards/trim lines: signs of separation, cracked caulk, or darkened edges
– Chair/table legs: micro-leaks from wheels, caster trails, or damp cleaning residue
Caulk and trim maintenance to block “side entry”
If your installation uses caulk, trim, or perimeter barriers, those details are part of your moisture protection system—not decoration. When they fail, water can enter from the side and reach seams and underlayment.
Perimeter caulk and trim details act as moisture barriers; damaged barriers increase risk of water entry along vinyl edges.
Repair guidance
– Repair small caulk failures promptly rather than waiting for discoloration or swelling.
– If a plank/tile is lifting, replace it rather than trying to “seal over” the symptom.
What can go wrong (and when you should rethink)
The most common reason vinyl floors still get damaged is not vinyl itself—it’s the cleaning routine, the moisture source, or the installation detail that lets water keep loading the floor. If you’re seeing repeated incidents, you should change the moisture plan (not just the mopping method).
– Over-wetting during routine cleaning is one of the biggest causes of damage; “extra water” doesn’t clean better on vinyl and can increase risk.
– Delayed spill cleanup: even if the surface looks fine, moisture can migrate into seams and underlayment over time.
– Incompatible chemicals: some strippers/deep cleaners and certain solvents can dull finishes or affect adhesion layers—check documentation before switching products.
– If water intrusion is ongoing (roof leak, plumbing issue, repeated condensation), floor-care alone won’t solve the problem—fix the moisture source first.
– If your vinyl flooring has known lifting at seams/edges, extensive bubbling, or persistent odor from moisture trapped underneath, DIY cleaning may mask the issue; consider professional inspection.
When “surface dry” still means hidden moisture
Visible dryness can be misleading. Vinyl floors can show no immediate change while moisture travels into seams or underlayment, especially after repeated damp cleaning or a spill that wicked under furniture edges.
Moisture migration into vinyl seams and underlayment can occur even when the surface appears dry immediately after a spill.
Ongoing water intrusion (roof/plumbing/condensation) requires source correction; floor-care alone cannot stop moisture loading.
Chemical incompatibility and finish breakdown
Facilities teams sometimes switch to “stronger” products after complaints about grime. For vinyl floors, that can be counterproductive: aggressive solvents, stripping agents, or improper cleaners can dull finishes or affect layers that help the floor perform.
Using chemicals not labeled for your vinyl type can dull the finish or affect adhesion layers, increasing long-term maintenance problems.
If you’re considering a new cleaner
– Verify the product is labeled safe for your vinyl type and finish.
– Follow dilution ratios and dwell times exactly.
– Test in an inconspicuous area first (especially for high-gloss or patterned finishes).
Consider professional inspection when symptoms repeat
If your vinyl floors show persistent odor, extensive bubbling, repeated lifting along seams, or recurring wet spots tied to the same locations, the issue is likely moisture intrusion or underfloor conditions—not routine cleaning. In those cases, a professional inspection can identify the moisture pathway and the right remediation steps.
Recurring vinyl edge lifting and persistent moisture odor can indicate trapped moisture pathways that routine cleaning can’t resolve.
Verdict / tip: preventive maintenance works best—don’t “flood and hope”
Preventing water damage to vinyl floors in a commercial office is mostly about moisture control: stop leaks, reduce tracked water, blot quickly, and clean with minimal moisture. The downside is that prevention takes ongoing discipline—mat maintenance, staff training, quicker response—not occasional deep cleaning. Skip the “aggressive cleaning” approach and avoid steam or heavy liquid applications unless the flooring manufacturer explicitly allows it.
If you want one operational rule: any moisture event that reaches seams, transitions, or under furniture edges requires full drying and follow-up, not just a fast wipe.
Quick checklist: water-damage prevention for vinyl floors
– Entrance matting in place; mats replaced/cleaned on schedule
– Leak response workflow (who responds, where supplies are, how to document)
– Spill protocol: blot immediately; remove residue; dry the area
– Damp-mop cleaning only; no flooding; follow cleaner dilution instructions
– Inspect seams/edges/transitions regularly; repair caulk/trim as needed
– Use only manufacturer-approved cleaners/tools (especially around finish)
Sources
– CDC (Centers for Disease Control and Prevention) — Mold and water-damaged buildings guidance (including the 24–48 hour mold-growth window after water damage).
– ASTM F2170 — Standard Test Method for Relative Humidity in Concrete Floors Using in situ probes (used in moisture evaluation frameworks for resilient flooring installations).
– ASTM F1869 — Standard Test Method for Measuring Moisture Vapor Emission Rate of Concrete Subfloor Using Anhydrous Calcium Chloride.
Preventing water damage to commercial vinyl floors is achievable, but it requires systems thinking: control moisture entering the space, enforce a fast blot-and-dry spill workflow, and clean using damp methods that follow manufacturer directions. When you reinforce transitions, edges, and recurring leak sources, you reduce both visible damage and the hidden moisture problems that develop over time—even in busy, high-traffic offices.
Frequently Asked Questions
What are the most common causes of water damage to vinyl floors in commercial offices?
Water damage usually starts with spills that aren’t cleaned quickly, leaking sinks or water coolers, and wet mopping practices that leave excess moisture behind. In offices, the risk is also higher near entrances, bathrooms, break rooms, and HVAC areas where condensation can accumulate. Standing water can seep into seams and edges, causing vinyl planks or tiles to lift, cup, or develop mold underneath.
How can you prevent standing water from damaging vinyl flooring in a commercial office?
Use floor mats at entry points and in high-traffic wet zones to capture moisture from shoes before it reaches the vinyl. For spills, train staff to dry immediately and use absorbent towels or wet vacuums instead of letting liquid sit or spread. It’s also important to set quick-response procedures so maintenance teams can address leaks and puddles the same day to prevent water from penetrating seams.
How should you clean vinyl floors to avoid water damage from mopping?
Avoid soaking the floor—use a damp mop with a manufacturer-approved vinyl cleaner and minimal water. Change mop pads frequently to prevent dirty water from being re-deposited, and use microfiber to improve pickup without over-wetting. After cleaning, verify there’s no visible pooling and allow adequate drying time, especially in areas with low airflow.
Which protective measures work best for preventing water intrusion at seams, edges, and transitions?
Pay close attention to seams, corners, and transitions—apply a suitable vinyl-flooring protection product or sealant only if it’s recommended for your specific vinyl type. Use proper thresholds and caulking at doorways and around plumbing penetrations to block moisture migration. Maintain door sweeps and keep water-prone fixtures sealed so leaks don’t track into grout lines, baseboards, or expansion gaps.
Why is moisture control important for preventing water damage to vinyl floors in offices?
Vinyl flooring can tolerate normal cleaning, but prolonged humidity and moisture can undermine the subfloor and lead to lifting, warping, or odor. Commercial offices often have fluctuating humidity from HVAC systems, resulting in condensation near windows and exterior walls. Maintaining consistent indoor humidity, fixing leaks promptly, and ensuring good ventilation helps protect vinyl floors from swelling and long-term damage.
📅 Last Updated: October 26, 2026 | Topic: How to prevent water damage to vinyl floors in a commercial office? | Content verified for accuracy and freshness.
References
- https://www.cdc.gov/mold/default.htm
- https://www.epa.gov/mold/preventing-mold-growth-after-water-damage
- WHO guidelines for indoor air quality: selected pollutants
- F2170 Standard Test Method for Determining Relative Humidity in Concrete Floor Slabs Using in sit…
- F710 Standard Practice for Preparing Concrete Floors to Receive Resilient Flooring
- vinyl flooring water damage – Search Results – PubMed
- resilient flooring moisture testing – Search Results – PubMed
- https://scholar.google.com/scholar?q=preventing+water+damage+vinyl+flooring+commercial+office Google Scholar
- https://scholar.google.com/scholar?q=resilient+flooring+moisture+testing+ASTM+F2170+F710+prevention Google Scholar
- https://scholar.google.com/scholar?q=standing+water+resilient+flooring+vinyl+maintenance+guidelines Google Scholar