Making hardwood floors safer in a bathroom is doable, but the winning approach depends on whether you can keep the water off the surface consistently. If you want the simplest, most reliable safety upgrade, install a properly sealed hardwood floor (with a moisture-mitigation underlayment) and add a high-traction, water-resistant runner in every wet-traffic zone. This guide answers how to reduce slip risk, resist moisture damage, and make everyday spills less likely to turn into a long-term flooring problem.




Hardwood floors are safest in a bathroom when you stop water from soaking in and reduce slip risk at the same time. Focus on a moisture-protective finish (or waterproof-capable flooring), prompt drying, and extra traction where feet land most. In this guide, you’ll get practical steps to protect the wood and make the surface feel more secure—especially around the shower, tub, and sink where bathroom risk concentrates.
If you’re dealing with existing hardwood in a bath (especially near the shower, tub, or sink) or you’re planning a safer remodel, these tips will help you think through both water damage and traction. They’re also useful if you want to reduce long-term cupping, warping, and “slick from humidity/cleaners” issues.
Water protection: the finish and floor setup that matter
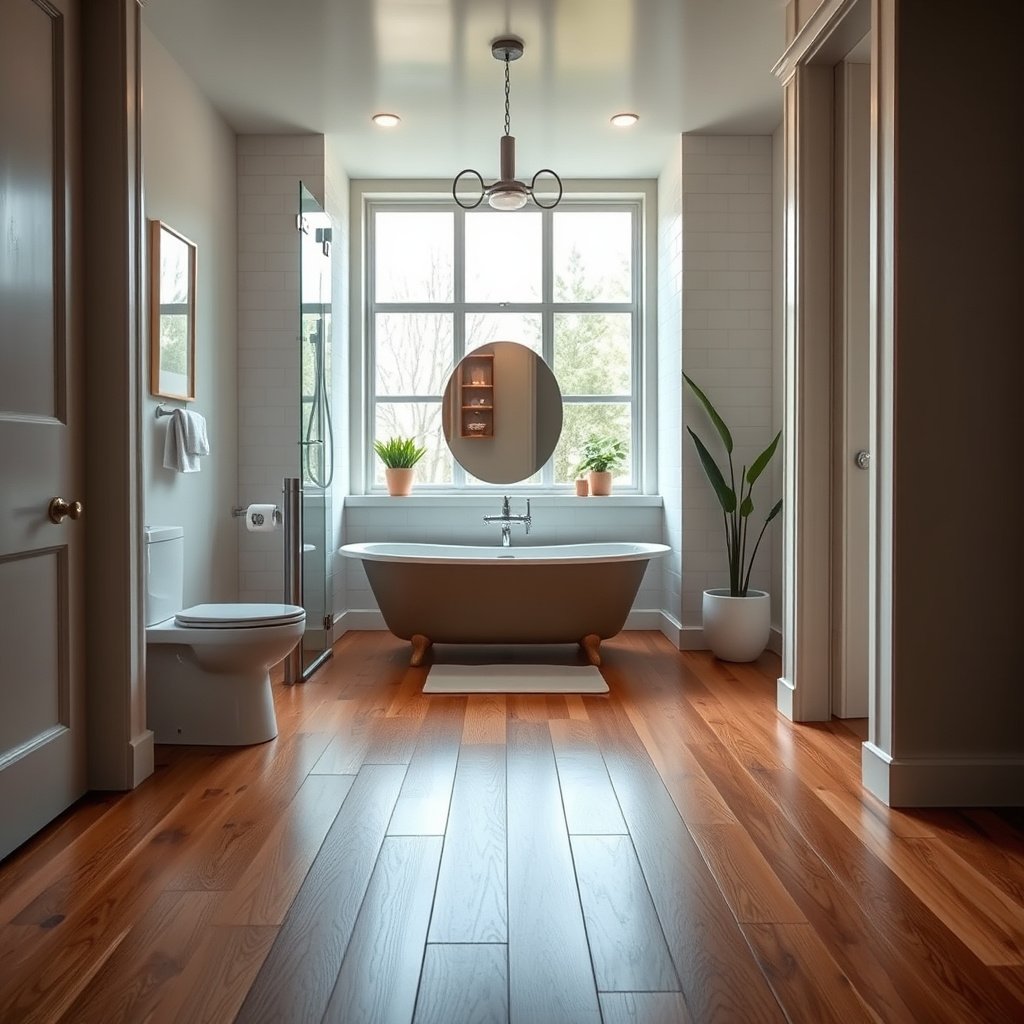
Hardwood floors are safer in a bathroom when the surface stays sealed and the room respects the floor’s cure and drying limits. The goal isn’t “never get wet”—it’s preventing water from lingering long enough to reach seams, edges, and subfloor.
A properly installed, manufacturer-approved topcoat system is what resists water on the wood surface during normal splashes and routine cleaning; it also requires full cure time before bathroom moisture exposure.
Many flooring care guides explicitly warn against “steam” or high-moisture mopping methods because they can move moisture into joints and edges faster than you can wipe it up.
When spills occur, immediate wiping reduces both swelling risk and finish softening at the surface.
Choose the right topcoat system (and give it time to cure)
The most important “water protection” decision for hardwood floors in a bathroom is the finish system. If your hardwood is prefinished, confirm what it actually is (polyurethane, aluminum oxide, penetrating oil, etc.) before you layer new coatings. For site-finished floors, a bathroom-rated polyurethane topcoat is typically the most practical route—because it forms a durable surface film designed for wear.
Two timing points matter:
1. Cure time: follow the finish manufacturer’s cure schedule before the bathroom sees steam, standing water, or heavy humidity. Even when a floor “feels dry,” many coatings continue to crosslink for days.
2. First-month risk: the first several weeks after re-finishing are when bathroom hardwood is most vulnerable to finish breakdown, especially if ventilation is inconsistent.
Set up “no standing water” habits at the source
Hardwood floors are safest in a bathroom when you treat water like it’s inevitable but harmful only if it stays. That means:
– Use a quick, dry wipe for any splash or spill.
– Keep a microfiber cloth or soft towel nearby for the sink and tub/surround areas.
– Don’t let wet bath mats “dump” water onto the floor—shake and dry the underside.
This matters because bathroom moisture doesn’t just wet the top. Over time, repeated wetting can reach the same weak points: seams between boards, perimeter gaps, and transitions under door thresholds or cabinetry.
Avoid steam cleaning methods on hardwood
Even with a “water-resistant” finish, steam can change the moisture profile across the floor. Steam cleaning applies heat and moisture in a way that can soak into seams and edges before you notice it.
– Prefer damp cleaning (minimal water) and immediate drying.
– Avoid steam mops and steam cleaners on hardwood floors in bathrooms.
– If you use cleaning products, rinse with clean water when required, then dry.
Add traction so walking feels secure (not slippery)
Hardwood floors become safer in a bathroom when traction improves at the moment feet touch down. You’re addressing two separate slip pathways: water on the surface and residue film from cleaners and soap scum.
Non-slip mats and low-pile rugs improve safety by increasing surface friction where walking and splashing actually occur.
Residue from soaps, shampoos, and some cleaners can create a slick film even on a sealed floor, so rinsing and drying are part of slip prevention.
Aggressive surface abrasion can shorten hardwood life, so traction upgrades should target high-risk zones rather than “sand the floor forever.”
Use mats correctly (traction + moisture control)
For hardwood floors in bathrooms, mats are only effective if they don’t become a moisture trap. Use:
– Low-pile, water-friendly bath mats with a non-slip backing.
– Small “zone mats” in the splash path (for example, just outside the shower and in front of the vanity).
– A replacement plan: if backing loses grip or the mat stays flattened, replace it.
From a safety standpoint, mats should be:
– Positioned where feet land after the shower or when stepping into the room.
– Kept dry underfoot (lift and dry if damp).
Clean to reduce slippery residue—not just “remove dirt”
Even a sealed hardwood floor can get slick if the bathroom routine leaves behind film. Common culprits include:
– Soap/scum buildup (especially in hard-water areas)
– Detergent residue
– “No-rinse” cleaners that leave a sheen
A safer routine for hardwood floors in bathrooms:
– Clean with a lightly damp method (damp mop, not soaking).
– Rinse with clean water when the product label calls for it.
– Dry the floor after cleaning, especially near edges and baseboards.
Add anti-slip measures without shortening hardwood lifespan
Aggressive roughening (deep texture, heavy abrasives) can improve traction but may also wear down the protective finish and expose wood to moisture. Instead:
– Target traction with mats in wet zones.
– Consider applying a manufacturer-recommended anti-slip system only if your finish type supports it (many coatings require specific compatible primers).
Control moisture day-to-day (humidity beats “spot fixes”)
Hardwood floors fail in bathrooms most often due to persistent humidity, not one dramatic flood. If you control bathroom humidity and keep cleaning water minimal, you reduce swelling, gaps, and long-term finish breakdown.
Improving bathroom ventilation reduces humidity spikes after showers, which helps slow wood expansion/contraction cycles.
Wood flooring experiences dimensional movement when indoor humidity swings, so consistent conditions are safer than repeated “high then dry” cycles.
Damp-cleaning and drying after cleaning reduces both residue and moisture exposure—two slip-and-damage drivers at once.
Ventilate on purpose (and size the fan correctly)
In a bathroom, humidity control isn’t optional for hardwood. Run the exhaust fan during and after showers until the room returns to normal moisture levels.
A practical code-based anchor for planning fan capacity is ventilation guidance such as the International Residential Code (IRC) practice of sizing bathroom exhaust based on room size and maintaining a minimum CFM. For example:
– According to the IRC ventilation requirement, bathroom exhaust fans are typically sized around 1 CFM per square foot, with a minimum of 50 CFM (code editions vary).
Maintain stable indoor environment
Hardwood floors in a bathroom move with moisture content and equilibrium conditions. Large humidity swings can open seams and increase the chance that water reaches edges.
This is why “spot fixes” are rarely enough:
– Wiping spills helps.
– But if the room stays humid for hours after showers, swelling and cupping remain likely.
Use a careful cleaning routine that doesn’t soak the wood
For hardwood floors in bathrooms:
– Damp mop only: avoid pooling water.
– Dry after cleaning: especially around fixtures, baseboards, and corners.
– Keep an eye on grout/caulk condition at interfaces—fails there can transfer moisture to hardwood.
Bathroom Exhaust Fan Sizing (IRC-style rule of thumb)
| # | Bathroom size (sq ft) | Rule: 1 CFM / sq ft | Minimum applied | Recommended fan CFM (min) |
|---|---|---|---|---|
| 1 | 25 | 25 | 50 CFM min | 50 |
| 2 | 30 | 30 | 50 CFM min | 50 |
| 3 | 50 | 50 | 50 CFM min | 50 |
| 4 | 80 | 80 | No min override | 80 |
| 5 | 100 | 100 | No min override | 100 |
| 6 | 150 | 150 | No min override | 150 |
| 7 | 200 | 200 | No min override | 200 |
Seal transitions, edges, and high-risk spots
Hardwood floors become safer when you stop water from migrating under or along edges and transitions. Even the best topcoat can’t protect what moisture reaches through perimeter gaps, seam micro-spaces, and interface points.
Perimeter gaps, transitions, and movement joints are common pathways where water can travel beyond the surface finish.
Using the sealant type recommended for wood flooring movement helps keep edges protected without preventing normal expansion and contraction.
In bathroom “splash zones,” fast drying matters as much as sealing because direct wetting reaches seams quickly.
Inspect and seal the perimeter where hardwood breathes
Pay special attention to:
– Baseboard gaps (and how caulk lines up with wood movement)
– Expansion spaces required by the flooring system
– Areas where the floor meets vanity cabinets, doorways, or thresholds
If your hardwood flooring is installed with an expansion gap, you typically want compatible sealing that doesn’t lock the floor in place. That often means using a sealant type designed for movement—commonly silicone in movement-expected locations—rather than rigid filler everywhere.
Protect the shower/tub and sink “landing points”
Water lands where splash happens. For hardwood floors in bathrooms:
– Add mats in the exact splash path rather than relying on general sweeping.
– Keep drying tools accessible (a towel you’ll actually use after showers).
– Check caulk lines at shower bases and around plumbing penetrations—failed caulk can turn a small leak into repeated wetting.
Watch for installation edge vulnerabilities
Two edge-case scenarios frequently compromise hardwood safety:
1. Unsealed transitions at remodel interfaces (new tile/vanity against old wood).
2. Loose or failing underlayment/under-space where moisture can travel.
If you notice recurring dampness after showers, treat it as a systems problem: sealing + ventilation + cleaning method, not just “add another coat.”
What can go wrong (common mistakes and edge cases)
Hardwood floors can look sealed yet still be unsafe in a bathroom because weak points concentrate water at seams and transitions. The biggest issues usually aren’t obvious until seasonal humidity or repeated cleaning starts stressing the floor.
“Sealed” does not mean “waterproof”; finishes protect surfaces, but seams, edges, and micro-gaps can still admit moisture.
Bath mats can trap dampness underneath if they stay in place while wet, increasing exposure time against the wood.
Without ventilation, bathroom humidity remains elevated and accelerates wood movement and finish wear.
Mistake 1: treating finish as a guarantee
Even with high-quality polyurethane, hardwood floors in bathrooms can still be vulnerable because:
– Boards expand and contract
– Seams can open slightly under humidity cycling
– Edges and transitions are where water can “get behind” the finish film
Mistake 2: leaving mats damp
Rugs and mats are a traction upgrade, not a moisture sink. If you leave mats down while the underside is wet, you increase contact time and can encourage swelling and finish softening.
Mistake 3: ignoring ventilation
Ventilation is the long-term safety factor for hardwood floors in bathrooms. If the fan is weak, noisy, or not used long enough, humidity lingers.
Verdict / tip (what’s worth doing—and who should skip hardwood)
The safest path for hardwood floors in a bathroom is a practical three-part system: moisture management + fast drying + targeted traction. If you can keep water off the surface quickly and maintain consistent ventilation, existing hardwood can often be made noticeably safer than “untreated hardwood in a bath.”
Here’s why this works: moisture management slows wood movement, fast drying reduces time-in-contact with water, and traction reduces slip risk from both water and cleaning residue. The tradeoff is that hardwood remains inherently more sensitive than tile or vinyl. Even with care, chronic wetting (especially steam-heavy routines or leaks) can still cause swelling, warping, or loosened boards over time.
Hardwood in a bathroom becomes safer when the system reduces both surface wetting and the time moisture sits at seams and edges.
Consistent ventilation is a key determinant of whether hardwood floors stay dimensionally stable under recurring bathroom humidity.
If leaks are chronic or drying/ventilation isn’t reliable, moisture-rated alternatives are usually the safer flooring strategy than solid hardwood.
Who should proceed
Proceed if you can honestly meet these conditions for hardwood floors in bathrooms:
– You’ll wipe up standing water immediately.
– You’ll run the exhaust fan during and after showers.
– You’ll dry the floor after cleaning.
– You’re willing to use mats correctly (low pile, non-slip backing, maintained).
Who should skip this approach
Skip (or seriously reconsider flooring choice) if you have:
– Chronic leaks (plumbing, shower pans, or recurring condensation)
– Poor ventilation or you can’t reliably run the exhaust fan
– A lifestyle that reliably forgets to wipe up wet spots
If you’re installing new flooring, consider whether moisture-rated engineered options fit your bathroom reality better than solid hardwood.
Comparison: Solid hardwood vs engineered for bathroom safety planning
| Feature | Solid hardwood | Engineered wood (moisture-rated) |
|---|---|---|
| Best for | Lower-moisture rooms; occasional splashes | Bathrooms with good ventilation and controlled wetting |
| Dimensional stability | More sensitive to humidity swings | Generally more stable due to layered construction |
| Vulnerability points | Seams, edges, and subfloor exposure | Still needs edge protection, but typically tolerates variation better |
| Finish dependence | High—finish condition is critical | Medium to high—finish matters, but build helps |
| Recommended environment | Stable indoor humidity | Stable humidity with good exhaust |
| Repair expectations | Water damage can require refinishing or board replacement | Often easier to manage with compatible repairs (varies by product) |
| Long-term risk under frequent wetting | Higher | Lower, but not “risk-free” |
| Slip safety strategy | Same approach: mats + residue control | Same approach: mats + residue control |
| Best For | If you already have it and can manage moisture precisely | If you’re remodeling and want more tolerance to bathroom conditions |
VS table: What to expect if you “optimize” existing hardwood
| Criteria | Optimized existing hardwood | Tile/vinyl alternatives |
|---|---|---|
| Moisture tolerance | Moderate—depends on finish + edges + ventilation | Higher—usually handles wetting without wood movement |
| Slip management | Can be improved with mats and residue-free cleaning | Often easier to achieve with wet-rated surfaces |
| Maintenance intensity | High—drying and routine discipline matter | Moderate—still clean, but less sensitive to small moisture events |
| Seams/edges risk | Primary concern; needs sealing and upkeep | Joints can leak too, but wood movement isn’t the same failure mode |
| Humidity-driven movement | Likely without stable humidity | Usually far less movement |
| Finish longevity in bathrooms | Can shorten due to humidity + cleaning chemistry | Less dependent on a thin surface film |
| Worst-case scenario | Swelling/warping from repeated high moisture | Generally better at withstanding repeated wetting |
| Recommended for remodeling? | Only if moisture control will truly be maintained | Often the safer baseline choice |
| Best outcome | Safer-than-baseline hardwood with defined habits | Lower slip and lower water-risk failure modes |
| Verdict | Workable with strict moisture + traction discipline | More forgiving if wetting and humidity are hard to control |
Scan-and-save checklist (plus quick FAQ)
| Area | Do this | Why it helps |
|---|---|---|
| Surface water | Wipe spills immediately; no standing water | Reduces swelling and finish breakdown |
| Ventilation | Run the fan during/after showers | Lowers humidity that moves wood |
| Cleaning | Damp clean, rinse residue, dry the floor | Prevents slippery soap film + moisture buildup |
| Rugs/mats | Use non-slip, low-pile mats; replace when worn | Improves traction where it matters |
| Edges/seams | Seal and maintain transitions per manufacturer guidance | Keeps water from traveling under edges |
FAQ
– Will a “waterproof” finish make hardwood fully bathroom-safe? Usually it improves resistance, but seams and edges can still be the weak points.
– Should I remove hardwood rugs in the bathroom? Use them, but don’t let moisture sit underneath—lift, check, and dry if they get damp.
– What’s more dangerous: shower splashes or humidity? Both—humidity drives movement over time, while direct splashes can soak seams and edges quickly.
– Can I just tighten loose boards instead of fixing moisture? Tightening helps short-term, but if the moisture/ventilation issue remains, gaps and movement often return.
Sources:
If you want hardwood floors to feel safer in a bathroom, treat the floor as a system: protect water exposure (finish + sealed transitions), control humidity (ventilation + stable conditions), and reduce slip risk (residue-free cleaning + targeted mats). When moisture control is reliable, hardwood can work—but if leaks or high humidity are persistent, choose a more moisture-tolerant flooring strategy instead.
Frequently Asked Questions
What are the safest hardwood flooring options for bathrooms?
Look for bathroom-ready hardwood flooring such as engineered hardwood with a moisture-resistant core and a high-quality finish designed for wet areas. Solid hardwood can work in some dry, well-ventilated bathrooms, but it’s generally more vulnerable to swelling and warping when exposed to standing water. Choose products with an appropriate wear layer thickness, a durable topcoat, and flooring specs that mention bathroom/kitchen suitability.
How do I waterproof hardwood floors in a bathroom?
Start with correct subfloor preparation and a stable underlayment that helps manage moisture and movement. Use a bathroom-appropriate water-resistant finish (often polyurethane or a specialty waterproof coating) and apply it evenly in multiple coats, following cure times. For extra protection, install a high-quality moisture barrier system and consider sealing joints and edges (around the perimeter and transitions) to reduce water intrusion.
How can I reduce the risk of slipping on hardwood bathroom floors?
Improve traction by using a slip-resistant finish or adding anti-slip strips near the shower, tub, and sink areas. Place water-absorbing, non-slip bath mats, and choose ones with good grip backing so they don’t slide when wet. Regularly clean with hardwood-safe cleaners and avoid leaving soap residue, which can make even finish-sealed hardwood more slippery.
Why is proper ventilation important for hardwood floors in a bathroom?
Bathrooms create repeated humidity spikes from showers, baths, and wet towels, and hardwood can expand and contract with moisture. Strong ventilation—like an appropriately sized exhaust fan that runs during and after showers—helps keep relative humidity lower and reduces cupping or gaps. Pair ventilation with quick cleanup of spills and prompt towel/steam drying to minimize prolonged moisture exposure.
Which installation and maintenance steps make hardwood floors safer in wet areas?
Use professional-grade installation practices such as maintaining proper expansion gaps, using the correct underlayment, and ensuring a level subfloor to prevent water pooling. Apply a slip-resistant, water-resistant finish and recoat or touch up high-wear zones on a regular schedule based on traffic and bathroom humidity. Maintain safety by keeping the floor dry, wiping standing water quickly, and inspecting seams, edges, and transitions for early signs of moisture damage or loosening.
📅 Last Updated: October 16, 2026 | Topic: How to make hardwood floors safer in a bathroom? | Content verified for accuracy and freshness.