
Prevent water damage to your hardwood floors in a home gym with a simple, proven system: control splash risk, block moisture at the source, and stop spills from soaking through before they reach the wood. This guide answers the real question—what to do, in what order, and with which protective measures—so sweat, tracked-in moisture, and accidental leaks don’t turn into swelling, cupping, or buckling. Follow these steps and you’ll protect the floor without sacrificing grip, comfort, or workout safety.




To prevent water damage to hardwood floors in a home gym, keep water from reaching the wood and dry any moisture fast. Use a water-resistant barrier (mats/rugs) under training areas, manage indoor humidity, and respond immediately to spills and tracked sweat. This guide will walk you through practical setup and daily habits that reduce swelling, cupping, and warping risks.
If your home gym gets a lot of sweating, mopping, or wet gear (kettlebells, towels, shoes, water bottles), these steps matter. They’re especially useful for homes with high humidity, basements/slab floors, or older hardwood that’s less tolerant of repeated moisture exposure.
Who This Is For
This plan is for anyone using hardwood floors as a workout surface where moisture is likely—especially gyms in basements, living rooms, or garages. If you regularly bring wet items inside (towels, shoes, bottles), you’ll benefit from making moisture control a daily habit rather than an occasional cleanup.
– Homeowners setting up a gym in a living room, basement, spare room, or garage-converted space with hardwood floors.
– People training with cardio, heavy sweating, or anything that increases splash/spill risk (treadmills, rowing machines, buckets, etc.).
– Anyone who’s had minor moisture issues before and wants a prevention-first plan.
Hardwood flooring risk increases when moisture exposure becomes frequent, even if individual events seem small.
Moisture prevention works best when you control both liquid contact (spills/tracking) and indoor humidity (air moisture), not just mopping.
From my experience with gym layouts in real homes, the “failure point” is usually not one big spill—it’s repeated sweat and wet gear that gets stepped on and gradually migrates under mats or into seams. If you want to avoid that slow creep, think in systems: entry control, barrier placement, humidity stability, and fast drying.
Block Moisture at the Source
The fastest way to protect hardwood floors is to stop water from reaching the wood in the first place. When moisture is prevented at the source—bottles, towels, shoes, and wet props—your hardwood stays closer to its installed moisture conditions, which reduces swelling and cupping.
– Use a dedicated “no-water-to-the-floor” zone: keep water bottles off the floor, store wet towels in a lidded bin, and wipe gym props before bringing them back.
– Prevent tracking: place a small, replaceable entry mat where shoes enter the gym area, and make “wipe shoes” part of your routine.
– Create a moisture barrier under high-risk spots (where you kneel, stretch, or use bottles): barrier + top mat should be designed to handle moisture and be easy to clean.
NWFA guidance emphasizes controlling moisture and maintaining stable indoor conditions to protect wood floors.
Tracked moisture from shoes and wet gear is effectively “repeat exposure,” so prevention at entry and storage locations matters as much as spill response.
Set up a practical “no-water-to-the-floor” workflow
A home gym is different from a living room because sweat is constant and gear moves during training. For hardwood floors, that means you need designated storage that doesn’t require you to remember something mid-workout:
– Water bottles: keep them on a caddy, rack, or bench—not directly on the floor—so drips don’t create small wet spots.
– Wet towels: use a lidded hamper/bin to prevent evaporation from adding humidity and to stop the floor from getting damp from occasional leaks.
– Kettlebells and handles: wipe condensation off handles before moving them back onto the main training footprint.
Control tracking before it becomes “micro-mopping”
Shoe soles pick up dust, grit, and small puddles from outdoor or garage surfaces. That mix can hold onto moisture long enough to seep into finish edges over time.
– Put a small entry mat at the doorway into the gym area.
– Add a routine: quick wipe of shoes (or remove shoes, if your gym setup allows).
– Replace the mat when it’s saturated—don’t treat it as permanent.
Treat high-risk training zones like “wet-tolerant areas”
For hardwood floors, the highest-risk locations are where your body is closest to the surface: kneeling, stretching, and drills near water bottles. Instead of hoping “it’ll dry fast enough,” designate those areas with a two-layer approach:
1) a water-resistant barrier (designed for floor contact), and
2) a removable top mat/rug for training traction and easy cleaning.
This lets you protect the hardwood while still keeping the floor usable for grip and comfort.
Control Humidity and Drying Time
Humidity control is the second pillar of protecting hardwood floors because wood reacts to the moisture in the air, not only puddles on the surface. The goal is stable indoor relative humidity (RH), with fast drying after any moisture hits the floor.
– Aim for stable indoor humidity instead of swings—hardwood is sensitive to changes in moisture in the air, not just puddles.
– Improve drying conditions: keep air moving with normal HVAC use (or a fan) after workouts, especially if there’s visible dampness from sweat or cleaning.
– If your space is prone to dampness (basements, nearby plumbing, exterior walls), consider using a dehumidifier—but check your specific wood flooring manufacturer’s recommended indoor RH range first ().
According to National Wood Flooring Association (NWFA), maintaining indoor relative humidity in a typical target band (commonly 35%–55%) helps reduce seasonal wood movement.
According to ASHRAE Standard 160 (2016), moisture control strategies focus on preventing prolonged high humidity that can drive condensation risk and material moisture changes.
Use a target RH range—then keep it there
For hardwood floors in a home gym, humidity tends to rise in two situations: (1) lots of sweating indoors, and (2) slow drying in basements or slab-on-grade spaces. HVAC helps, but many homes still see RH swings during workouts.
– Set HVAC to help maintain a steady temperature.
– Use a hygrometer (humidity monitor) so you’re not guessing.
– If you use a dehumidifier, dial it to the wood-specific range from your manufacturer.
Dry faster by managing airflow (without wet-cleaning cycles)
After workouts, the “dampness window” matters. If moisture lingers against hardwood floors, swelling and warping risk increases—especially near edges and seams.
Practical approach:
– Run normal HVAC (or bring the room fan on low) for air movement.
– If you had a visible wet spot, dry it first (towels), then continue airflow until the area feels fully dry.
Hardwood finishes can look dry while moisture remains in micro-areas around seams and edges, which is why towels plus airflow is safer than air-drying alone.
Humidity risk snapshot (how far you are from the target)
Indoor RH Bands and Hardwood-Floor Stability Target (35%–55%)
| # | RH Band (%), Home Gym | Direction vs. Target | Primary Care Target | Stability Score |
|---|---|---|---|---|
| 1 | 20–24 | Too dry | 35%–55% RH | ★☆☆☆☆ |
| 2 | 25–29 | Below target | 35%–55% RH | ★★☆☆☆ |
| 3 | 30–34 | Near-low edge | 35%–55% RH | ★★★☆☆ |
| 4 | 35–55 | On target | 35%–55% RH | ★★★★★ |
| 5 | 56–59 | Near-high edge | 35%–55% RH | ★★★★☆ |
| 6 | 60–64 | Above target | 35%–55% RH | ★★☆☆☆ |
| 7 | 65+ | Too humid | 35%–55% RH | ★☆☆☆☆ |
In practice, hardwood floors do best when your gym routines (sweat + gear + cleaning) don’t constantly push the room RH above the target band. If your RH spikes after workouts, that’s the moment to increase airflow and/or dehumidification.
Use Mats, Rugs, and Equipment Placement to Stop Splash
The best mat strategy for hardwood floors is to combine water resistance with liftable coverage—so liquid doesn’t reach wood, but moisture doesn’t stay trapped under the barrier. Place mats where your body and equipment create risk, and reposition or remove them when feasible for drying.
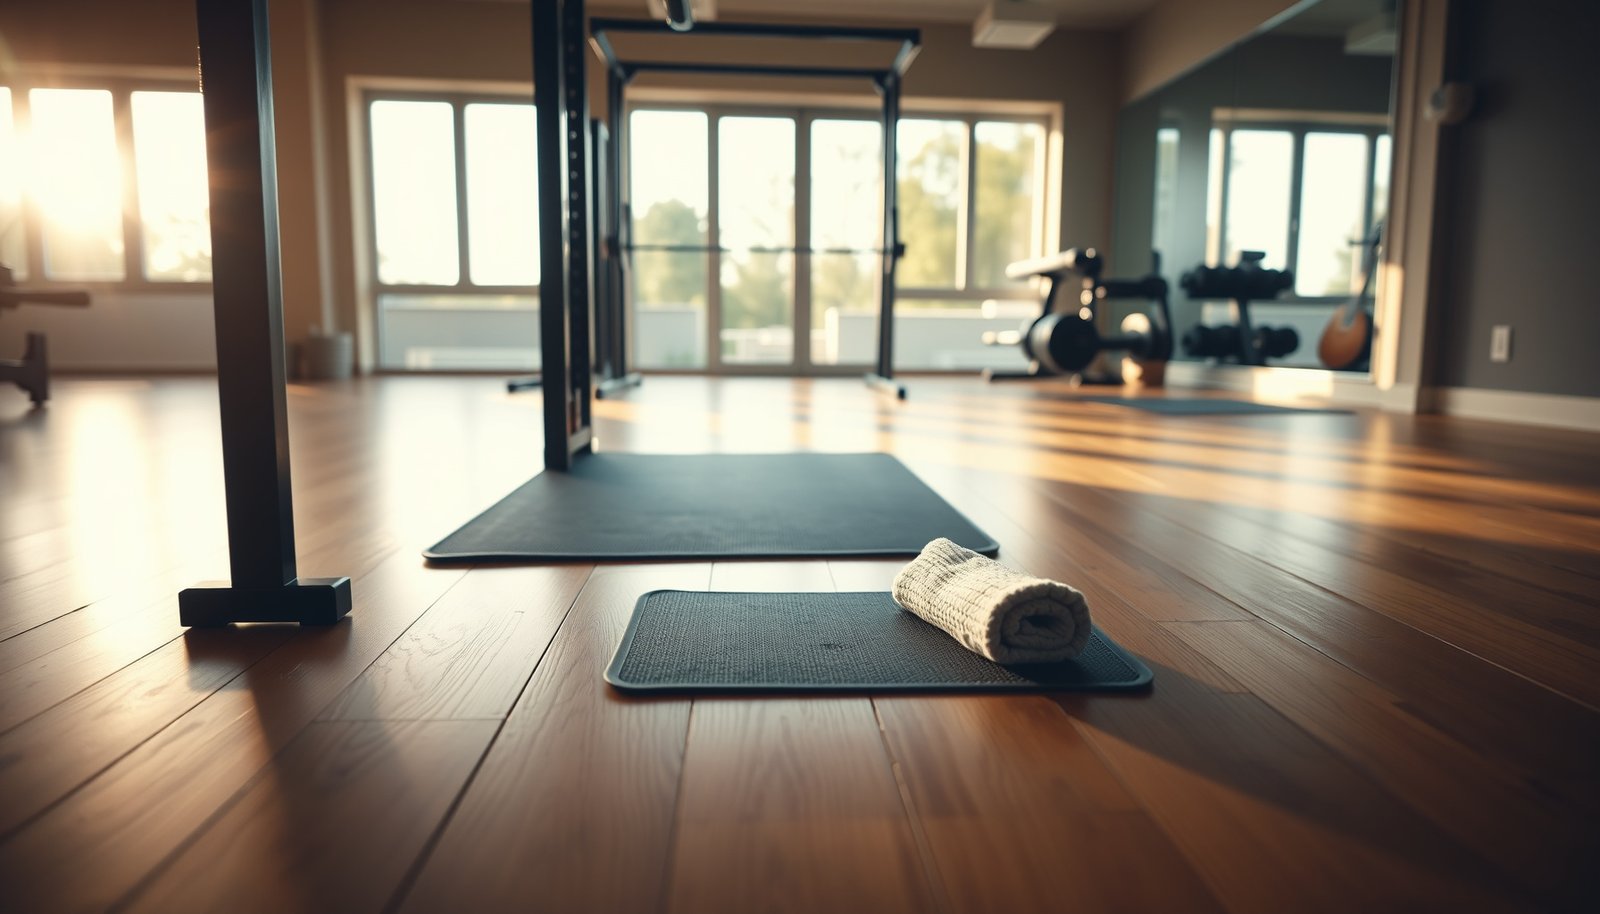
– Choose water-resistant mats/rugs for the main training footprint, and ensure edges are captured so liquid can’t run underneath.
– Place machines so their water risk is lower: keep water bottles and sweaty towels away from the base where moisture could seep to the wood.
– Maintain mat airflow: mats that trap moisture against the floor for long periods can be a problem—remove/adjust when feasible so the floor can dry.
Barrier products should be selected for floor contact and moisture exposure; the safest goal is reducing direct liquid contact between gym moisture and hardwood floors.
If a barrier prevents drying (for example, a permanently placed mat that stays damp), it can increase moisture exposure time for hardwood floors.
Where to place coverage (and where not to)
For hardwood floors, you want coverage in the “splash footprint” and under predictable contact points:
Higher priority:
– Under stretching areas where sweat can soak down
– Under the zone where you place bottles/cups
– Where you kneel for mobility work
Lower priority:
– Where you never set wet items
– Areas with good airflow where moisture evaporates quickly
Also consider equipment base contact. If a treadmill or rowing machine is near where towels are placed, move towel storage farther away. Even small drips can migrate under equipment edges.
Choose the right mat type (simple comparison)
A mat that looks “waterproof” can still behave badly if it locks moisture against hardwood floors. Here’s a practical way to choose:
| Mat/Rug Option | Main Benefit | Moisture Risk Tradeoff |
|---|---|---|
| Water-resistant rubber/vinyl gym mat | Handles drips and sweat-wet shoes | Can trap dampness if left over a wet spot |
| Closed-cell foam + sealed top | Comfort for kettlebells and floor work | Needs drying time once exposed to water |
| Water-resistant outdoor-style mat | Easy to rinse and clean | May be slippery without a stable surface layer |
| Area rug over a barrier | Improves traction and appearance | Rug thickness can slow drying under it |
| Disposable training pad (short sessions) | Lower long-term trapping risk | Higher replacement/maintenance effort |
| Mat with taped/sealed edges | Improves edge capture so liquid can’t run underneath | Edge seams can still need inspection |
| Non-porous hard top mat | Quick cleanup of drips | May transfer sweat to the edges where the mat meets floor |
| “Softer” open-cell cushioning | Comfort for joints | Higher moisture retention if wetted |
| Large runner placed permanently | Covers a consistent path | If it never lifts, hardwood floors never fully dry |
| Best For | Gym zones where sweat + small drips are constant | Use removable barriers and increase drying/rotation |
In my planning notes for home gyms, the most reliable approach is “cover and clean”: use water-resistant mats for the training footprint, then lift/air them when feasible so the hardwood floors under them can dry.
Clean Spills and Sweat the Right Way
Fast, minimal-water cleanup protects hardwood floors better than “thorough mopping.” The key is blotting first, using cleaning methods approved for your finish, and drying until the area is fully dry.
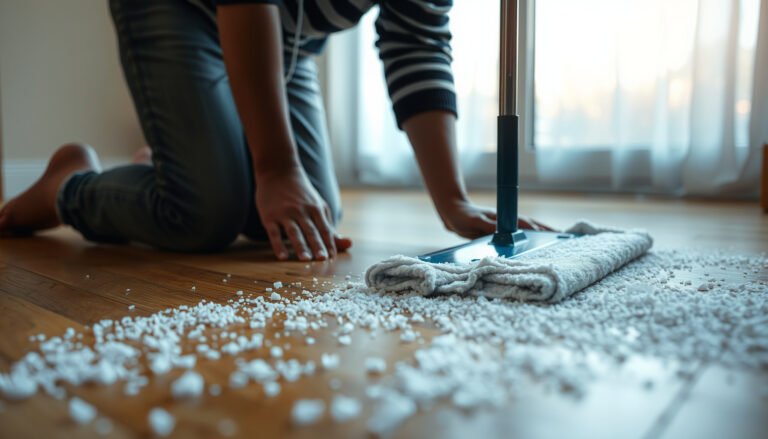
– Act immediately: blot (don’t smear) visible liquid with absorbent towels, then finish with a lightly damp cloth—avoid soaking.
– Use a “minimal water” cleaning approach for routine upkeep: damp mop only if your flooring instructions allow it; otherwise, use methods your manufacturer recommends ().
– Dry the area: after blotting/spot cleaning, dry with clean towels and allow airflow until the area feels fully dry to the touch.
Blotting reduces liquid spread compared with wiping, which lowers the chance that moisture reaches edges and seams in hardwood floors.
NWFA-style care guidance generally prioritizes moisture control and recommends avoiding excessive water on wood floors to prevent swelling.
Routine sweat cleanup (after every session)
For hardwood floors in a home gym, treat sweat like a light spill:
1. Remove towels and wet gear from the floor immediately.
2. Blot damp areas with dry towels.
3. Dry again if needed, then leave airflow on briefly.
If you routinely use disinfecting wipes, confirm they’re compatible with your floor finish. Some cleaners can leave residue or degrade coating systems.
According to ASTM D4442 (2011), moisture measurement methods for wood use controlled conditions; that principle reinforces why “dry to the touch” is helpful but airflow and time matter after exposure.
When you need a damp cloth (and when you shouldn’t)
Many floor manufacturers allow lightly damp mopping only under strict conditions. If yours doesn’t, switch to dry methods plus targeted spot cleaning.
– If your instructions allow damp mopping: use the smallest amount of water possible and dry immediately after.
– If your instructions don’t allow it: use manufacturer-approved sprays/cleaners applied to a cloth, not poured onto hardwood floors.
What Can Go Wrong
Water damage prevention fails when small moisture errors become routine—especially if wrong cleaners or poor drying habits keep hardwood floors wet longer than they should be. The best defense is recognizing the common patterns that cause swelling, cupping, and warping.
– Letting small amounts of moisture build up repeatedly (from tracked sweat, wet kettlebells, or frequent mopping) can still cause long-term damage even if there’s never a big spill.
– Using the wrong cleaner or too much water (steam cleaners, wet mops, chemical cleaners not approved for your finish) can break down surface protection or drive moisture into seams.
– Trapping moisture under permanent-looking mats: if the mat stays put and the floor never gets a chance to dry, you may increase risk instead of reducing it.
– Ignoring flooring-specific limits: engineered vs. solid hardwood, unfinished vs. sealed, and different finishes can have different moisture tolerances—follow the installation/maintenance specs for your exact product ().
Steam cleaning introduces heat and moisture, which can increase the likelihood of finish damage or moisture migration into joints on wood floors.
Permanent barriers that block drying can increase risk because hardwood floors need opportunities to release moisture back to the environment.
A quick “moisture mistakes” self-audit
Check these behaviors against your current gym routine:
– Are wet towels ever stored directly on hardwood floors?
– Do you blot spills, or do you wipe them around?
– Do you leave mats in place without lifting them after damp workouts?
– Do you use any cleaner that isn’t explicitly approved for your finish type?
– Are humidity levels stable during and after training?
From my perspective as someone who helps teams design practical home maintenance plans, most gym-floor issues are “process failures” (no entry control, no drying routine) rather than a lack of effort. If you tighten the process, hardwood floors usually stay in good shape.
Who should be extra cautious (or skip this approach)
If your hardwood floors already show cupping, persistent gaps, or a history of elevated moisture, you may need a more detailed moisture assessment (especially if the gym is in a basement). In that case, follow your flooring warranty requirements first—humidity targets and approved cleaning methods can be warranty-critical.
Verdict + Quick Checklist
If you want the safest, most realistic approach: use a water-resistant mat/rug in your workout zone, keep indoor humidity stable, and treat every spill/sweat spot like it’s urgent. The downside is that mats can reduce traction if not chosen correctly, and any barrier that prevents drying can backfire—so you still need fast blotting and airflow.
Quick scan checklist (save this):
| Risk | Do this now |
|---|---|
| Water bottles/towels on the floor | Keep them in a bin/caddy; don’t store wet items on hardwood |
| Sweat on the floor | After training, blot then dry; don’t let it sit |
| Mopping/cleaning | Only use methods allowed by your floor manufacturer |
| High humidity swings | Use HVAC/dehumidification to stay within your wood’s recommended RH range |
| Splash in one area | Place a water-resistant mat/rug where your feet/knees/stretches land |
Moisture prevention is most effective when you combine barrier protection, stable humidity, and rapid drying after sweat or spills.
For hardwood floors, “minimize water + maximize drying time” beats “cleaning longer,” especially near seams and edges.
If you’re short on time, prioritize the top two: stop tracking and wet gear from reaching the floor, then dry anything damp immediately after workouts. That combination addresses both liquid exposure and moisture behavior—two drivers of hardwood floor movement.
Frequently Asked Questions
What are the best ways to prevent water damage to hardwood floors in a home gym?
Use a high-quality moisture barrier under your gym flooring so sweat, spills, and humidity don’t reach the hardwood. Place absorbent mats at entry points and use sealed floor finishes designed for moisture resistance. Also establish a strict “wipe-up immediately” routine for any water from bottles, mopping, or wet shoes to prevent cupping, warping, or staining.
How can I manage sweat and wipe-ups to protect my hardwood floors during workouts?
Sweat is water-based, so treat it like a spill: blot quickly with a clean, dry microfiber cloth rather than letting it evaporate on the surface. For cleaning, use a hardwood floor–safe cleaner and lightly damp mop only—avoid soaking. Keeping humidity in check with a dehumidifier or HVAC venting can also reduce the risk of moisture accumulating near the floor.
Why is sealing hardwood flooring important for home gym moisture control?
Hardwood is vulnerable to water intrusion because moisture can penetrate seams, edges, and finish wear points, leading to swelling and dark staining. A proper seal creates a protective layer that helps resist surface moisture from spills and cleaning. Reapplying the right finish as recommended for your specific product helps maintain water resistance as the gym’s wear and tear slowly breaks down protective coatings.
Which flooring mats or underlayments work best over hardwood to stop moisture?
Choose gym mats with waterproof backing or a closed-cell foam layer that blocks liquid while still cushioning impact. For increased protection, add an underlayment moisture barrier beneath interlocking mats—especially if you do jumping, heavy kettlebell use, or frequent floor cleaning. Make sure mats have edges that don’t curl and ensure proper airflow so condensation doesn’t build up underneath.
How should I clean a home gym without soaking hardwood floors?
Use a dry-first approach—sweep or vacuum with a soft brush attachment to remove grit that can scratch and trap moisture. For damp cleaning, use a wrung-out microfiber mop with hardwood-safe cleaner and never let water pool around equipment bases or along mat seams. If you use a sponge or cloth, keep it controlled and dry the area promptly, especially near entry rugs, treadmill mats, or any spot that gets frequent drips.
📅 Last Updated: October 17, 2026 | Topic: How to prevent water damage to hardwood floors in a home gym? | Content verified for accuracy and freshness.
References
- Wood flooring
- https://www.epa.gov/mold/moisture-control-home
- https://www.epa.gov/mold/preventing-mold-growth
- https://www.cdc.gov/mold/default.htm
- https://www.fpl.fs.usda.gov/documnts/fplgtr/fpl_gtr190.pdf
- wood moisture swelling water damage – Search Results – PubMed
- https://www.sciencedirect.com/search?qs=wood%20moisture%20swelling%20humidity%20control
- https://scholar.google.com/scholar?q=hardwood+floor+moisture+prevention+relative+humidity Google Scholar
- https://scholar.google.com/scholar?q=water+exposure+hardwood+flooring+warping+cupping+swelling Google Scholar
- https://scholar.google.com/scholar?q=wood+flooring+maintenance+spills+moisture+barriers+matting Google Scholar