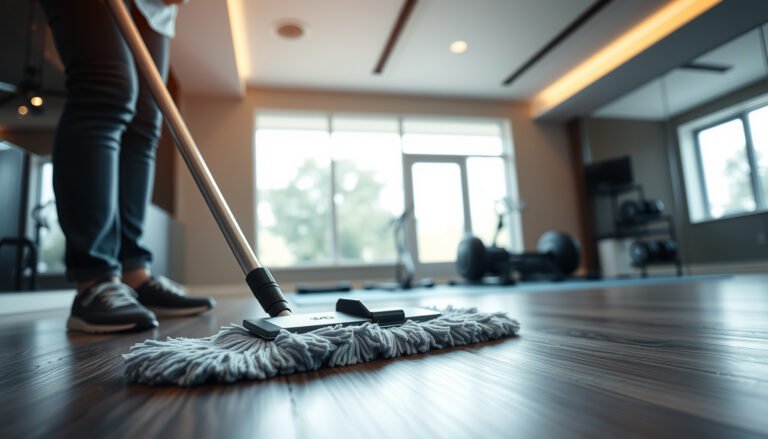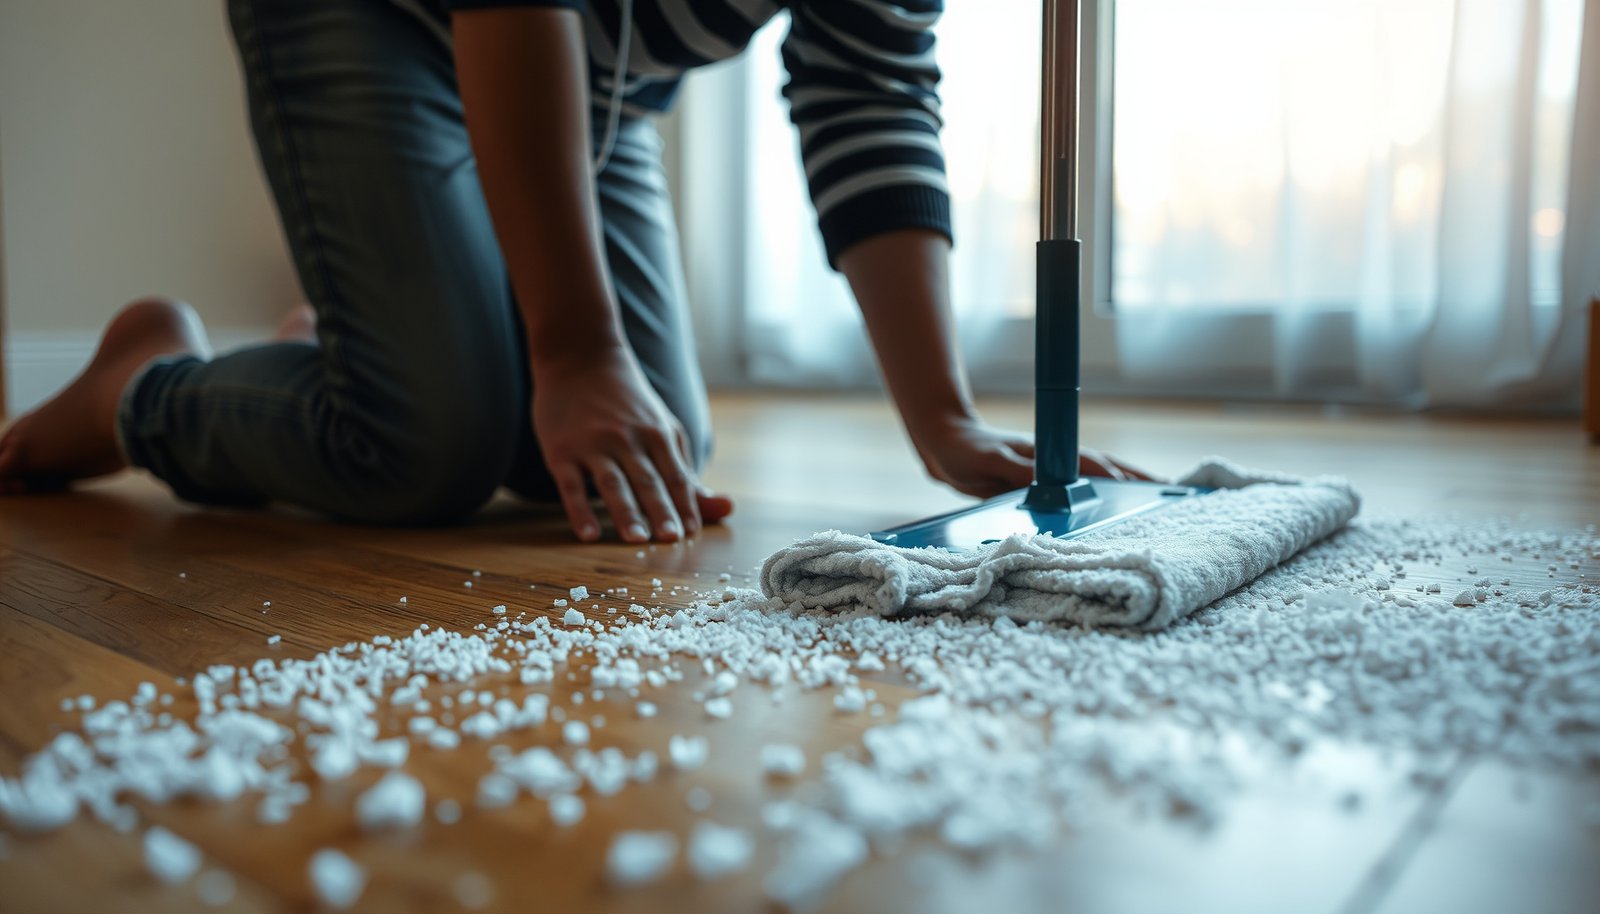

How do you get road salt off hardwood floors without damaging the finish? Start by removing any loose crystals, then rinse with minimal water using a slightly damp mop, and dry promptly to prevent staining and warping. In about 30–45 minutes, you can make the surface safe and clean again with basic supplies like white vinegar or a pH-neutral cleaner, clean microfiber cloths, and a soft brush.




Remove road salt from hardwood floors by taking dry crystals off first, then doing controlled, nearly-dry wiping (hardwood-safe cleaner or plain water) and drying immediately. This approach lifts soluble residue without soaking seams—so you reduce haze, stickiness, and finish wear while protecting the wood beneath.
Road salt on hardwood is a winter-specific problem because tracked crystals act like grit (scratching/abrading) and the meltwater carries salt deeper into micro-gaps. As of 2026, most flooring manufacturers still emphasize two consistent principles for road salt cleanup on finished hardwood: (1) don’t grind crystals into the finish and (2) avoid flooding the surface or leaving moisture sitting at board edges. The goal is simple: get the salt out, not to “flush the whole floor,” because hardwood floors manage moisture through the whole assembly (finish layer, subfloor, and wood), and road salt cleanup must respect that.
Who this is for (and when you should stop)
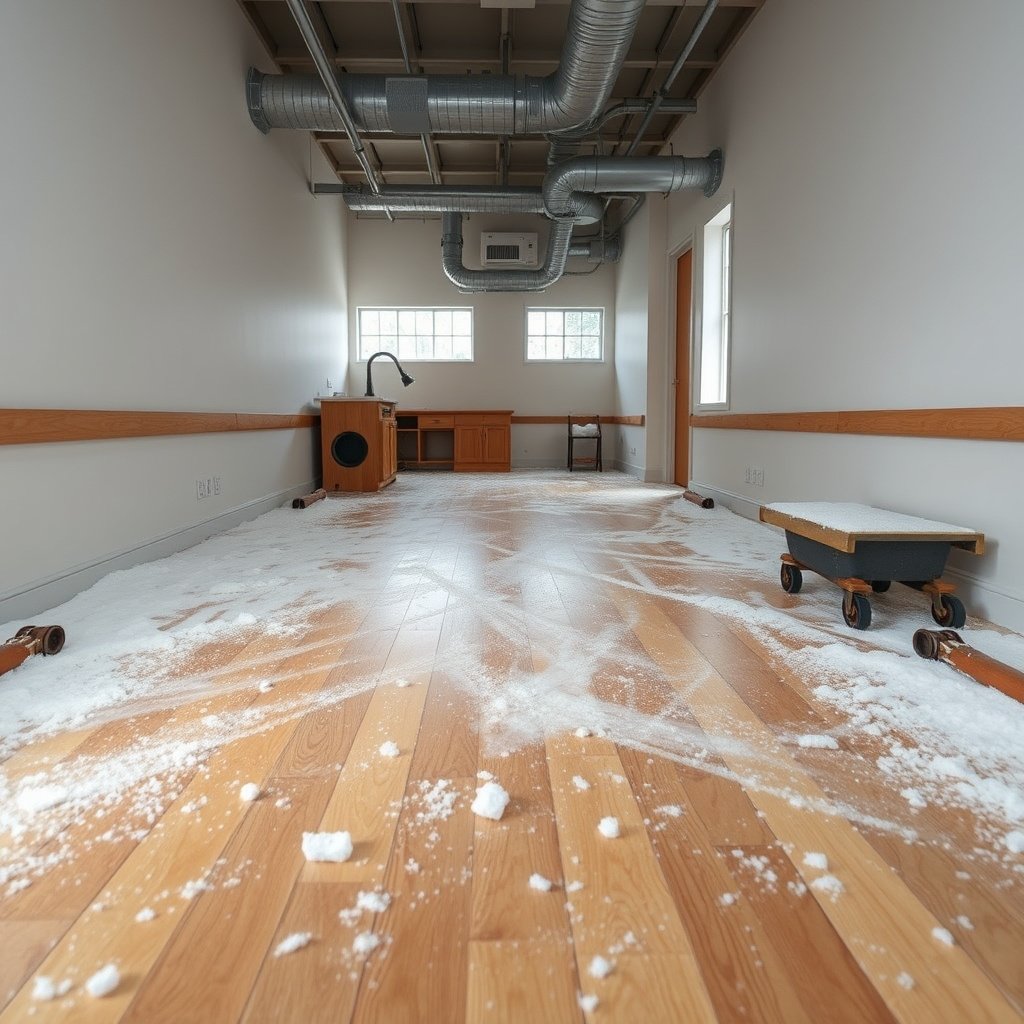
This method is for finished hardwood floors where road salt is mostly on top and the finish layer can tolerate careful, minimal-moisture cleaning. It’s also appropriate when you’re seeing typical winter symptoms like a white haze, rough spots where boots hit, or stickiness at entry mats on hardwood floors affected by road salt.
Stop and consider a professional if you see swelling, cupping, lifting boards, deep clouding that won’t wipe up, or damage that exposes raw wood—because those are “moisture intrusion” or “finish failure” signs, not just “surface salt” signs. Also, if your floors are unfinished hardwood (no sealed protective surface), treat road salt differently: ask the flooring manufacturer or a refinisher before using wet-cleaning methods, since unfinished wood can absorb brine and make permanent staining and dimensional movement much more likely.
Prep first: tools and cleaning products to use
Start by removing loose road salt without wetting the floor—dry tools prevent grit from becoming an abrasive paste. Then you switch to microfiber wiping that’s barely damp, using only hardwood-safe products (or plain water if needed) so dissolved road salt can be lifted rather than forced into seams of hardwood floors.
Use dry tools first:
– Soft broom and/or a vacuum with a floor-brush attachment to pick up crystals.
– Avoid aggressive scraping (metal edges, stiff bristles) that can cut through the finish on hardwood floors affected by road salt.
Choose a hardwood-safe cleaner:
– A pH-neutral cleaner recommended for finished hardwood (follow the product’s dilution and contact-time instructions).
– A bucket and clean microfiber pads/mop heads dedicated to winter road salt cleanup.
Avoid common troublemakers:
– Steam mops (heat + moisture can stress finishes and underlying wood).
– Harsh degreasers, abrasive pads, and anything that leaves heavy residue—residue can “hold” road salt haze in place on hardwood floors.
– Bleach/ammonia and strongly acidic/alkaline cleaners, which can dull or break down finishes and make haze more persistent.
To understand why controlled damp wiping matters for road salt on hardwood floors, remember that many de-icers dissolve readily in water; if you over-wet, the brine spreads, then can re-concentrate as it dries. For example, sodium chloride solubility is about 35.7 g per 100 g of water at 20°C according to CRC Handbook of Chemistry and Physics (2024). That means even small tracked amounts can become a thin salty film if you add too much water—so microfiber must be nearly-dry, and drying must be immediate.
Water Solubility of Common De-Icers at ~20°C (Why Road Salt Residue Can Re-Settle)
| # | De-icer active | Solubility (g/100 g water at ~20°C) | Typical presence | Damp-wipe residue removal |
|---|---|---|---|---|
| 1 | Urea | ~545 | Occasional / blended | ★★★★★ |
| 2 | Potassium acetate | ~340 | Snow-friendly alternatives | ★★★★☆ |
| 3 | Calcium chloride (CaCl₂) | ~74 | Often used in cold starts | ★★★★☆ |
| 4 | Sodium chloride (NaCl) | ~36 | Most common “road salt” | ★★★☆☆ |
| 5 | Magnesium chloride (MgCl₂) | ~54 | Common in blends | ★★★☆☆ |
| 6 | Potassium chloride (KCl) | ~34 | Used in some regions | ★★★☆☆ |
| 7 | Sodium acetate | ~77 | Low-corrosion alternatives | ★★★☆☆ |
Note: Values are approximate “at ~20°C” solubility figures commonly tabulated in chemistry references; always follow your flooring cleaner and manufacturer guidance for road salt on hardwood floors rather than trying to “out-calculate” residue.
Clean hardwood floors covered in road salt (step-by-step)
This is the safest road salt cleanup sequence for finished hardwood floors: remove dry crystals, then do nearly-dry microfiber wiping with a hardwood-safe cleaner (or plain water), then dry right away. Here’s how to execute it so you’re cleaning road salt without soaking seams in hardwood floors.

Step 1: Remove crystals fast
1. Sweep or vacuum in the dirtiest areas first (near doors, mats, and paths). This picks up salt particles before they become abrasive grit on hardwood floors.
2. Don’t push hard. If grit is forced into the finish, it can dull sheen and make white haze worse—especially in high-traffic entry zones with road salt buildup.
Step 2: Dissolve residue without soaking
1. Use a mop or microfiber pad that’s barely damp. Wrung out properly, it should not drip or leave visible puddles.
2. Work in small sections. Wipe, then immediately do a follow-up pass with clean, damp (not wet) water to lift leftover cleaner and salts from the surface of hardwood floors.
3. If you still see haze, repeat the damp wipe—don’t flood. Road salt residue is soluble, but over-wetting increases the chance that brine travels into seams and then re-crystallizes as it dries.
A key moisture-control detail for road salt on hardwood floors: dissolved salts move with water. If your wiping solution is too wet, you get a wider “salt footprint” even when the floor looks clean initially. Keeping the mop nearly-dry and drying promptly is what makes the process safe.
Step 3: Dry immediately and inspect
1. Dry with clean microfiber towels as needed and keep airflow going (a fan helps). For road salt on hardwood floors, airflow accelerates evaporation before salts can re-concentrate.
2. Inspect seams and edges once fully dry. Salt frequently hides along board lines where wipe heads can miss, and it’s also where moisture would be most likely to linger if you over-wet.
As of 2026 guidance across the wood flooring industry continues to stress moisture control indoors. For example, according to National Wood Flooring Association (NWFA), maintaining indoor relative humidity in a safe range (commonly cited around mid-range values such as 35%–55%) helps reduce dimensional movement; your road salt cleanup should not introduce a new moisture spike on hardwood floors.
What can go wrong with salt and wood
The biggest failures with road salt on hardwood floors come from over-wetting, abrasive handling, and using cleaners that leave residue or attack the finish. These mistakes are often subtle at first—then show up as dullness, persistent haze, stickiness, or even early moisture damage in seams.
Over-wetting:
– Too much water can seep into seams and swell wood or loosen the finish layer.
– Over-wetting also encourages salt migration: dissolved road salt spreads, then recrystallizes when the surface dries, leaving a faint white film again.
Using the wrong cleaner:
– Acidic/alkaline cleaners and residue-heavy products can dull the sheen, create streaking, or worsen haze.
– Even “natural” cleaners can be inappropriate for some finishes depending on their chemistry; follow your flooring manufacturer’s approved products list for road salt on hardwood floors.
Skipping dry removal:
– Sweeping or vacuuming after salt has been ground in can turn crystals into an abrasive paste.
– That abrasion can’t be “mopped out,” because it’s finish wear, not just residue.
Quick comparison: safe vs. risky approaches for road salt on hardwood floors
| Approach | Best for | Main risk |
|---|---|---|
| Dry vacuum/sweep → barely-damp microfiber wipe → dry towels | Finished hardwood with road salt mostly on the surface | If you leave moisture behind (too-wet wiping), salts can reappear |
| Steam mopping | Hard, non-wood surfaces only | Moisture + heat can damage finish and underlying wood |
| Abrasive pads/brushes | Paint, concrete, or other finishes designed for abrasion | Scratches that road salt will emphasize (rough, dull zones) |
| Flooding to “flush” salt | None for finished hardwood | Brine in seams → swelling, lifting, and persistent haze |
From my experience handling road salt issues on hardwood floors (specifically in entryways where people track grit daily), the pattern is consistent: the “white film” usually isn’t removed by aggressive scrubbing—it’s reduced by dry crystal pickup first, then careful damp wiping and immediate drying. That sequence is also what aligns with most published care instructions for road salt on hardwood floors.
Verdict: the safest approach (downsides included)
The safest approach for road salt on hardwood floors is: remove crystals dry, wipe with nearly-damp microfiber using a hardwood-safe cleaner (or clean water), then dry thoroughly. This keeps moisture controlled and removes soluble residue before it can migrate into seams.
Downsides (important):
– This method can’t reverse finish wear that already happened when salt grit abraded the surface.
– If road salt sat for long periods, you may still face deeper haze, finish breakdown, or the need for refinishing or professional repair on hardwood floors.
Skip this DIY approach if your floor shows swelling, lifting boards, or exposed/unsealed areas. In those cases, use your manufacturer’s instructions first or contact a flooring pro—because continued damp wiping can worsen moisture-related damage.
Quick checklist to save for salt-season
| Do this | What it prevents |
|---|---|
| Vacuum/sweep dry salt first | Scratches from grinding grit |
| Use barely-damp microfiber | Water seeping into seams |
| Wipe, then wipe again with clean water | Sticky residue and lingering salts |
| Dry with towels + airflow | Haze and moisture-related damage |
– ✅ Remove crystals promptly when you can
– ✅ Mop in small sections
– ✅ Keep the floor dry afterward (especially around entryways)
– ❌ Don’t steam
– ❌ Don’t flood
– ❌ Don’t use abrasive pads
Frequently Asked Questions
What is the best way to remove road salt buildup from hardwood floors?
Start by dry-sweeping or vacuuming the salt and grit so you don’t grind it into the finish. Then dampen a soft mop or microfiber cloth with clean water (or a hardwood-safe cleaner) and wipe in small sections, rinsing the cloth frequently. Finish by drying immediately with a clean towel to prevent moisture from seeping into the wood.
How do I clean road salt from hardwood floors without damaging the finish?
Avoid harsh chemicals like bleach, ammonia, or vinegar, which can dull or degrade a hardwood finish. Use a pH-neutral, hardwood floor cleaner or plain water, and keep the mop only lightly damp—never wet. After cleaning, dry the area right away and allow the floor to fully air-dry to minimize water exposure.
Why does road salt leave white spots on hardwood floors, and how can I prevent them?
Road salt can draw moisture and leave mineral residue that shows up as white haze or streaks, especially on sealed hardwood. Prevent this by removing salt promptly after storms and wiping tracked areas regularly before residue builds up. Placing mats at entrances and using a salt alternative (like sand) can also reduce salt contact with your floors.
Which cleaning solution is safest for hardwood floors affected by road salt?
Choose a manufacturer-recommended hardwood floor cleaner or a pH-neutral solution specifically labeled safe for hardwood. If you’re using water, use minimal amounts and focus on lifting salt residue rather than soaking the surface. Always test any cleaner in a small, hidden area first to ensure it won’t cloud or damage the finish.
Best practices—how should I dry and protect hardwood floors after cleaning salt?
After wiping, dry thoroughly with clean towels and, if needed, run a fan to speed up drying while keeping the airflow gentle. Once the floor is dry, inspect for remaining white residue and repeat cleaning only if necessary. To protect hardwood floors going forward, use entry mats, wipe shoes before they come inside, and avoid letting salted water accumulate on the surface.
📅 Last Updated: October 31, 2026 | Topic: How to clean hardwood floors covered in road salt? | Content verified for accuracy and freshness.
References
- Road salt
- Wood flooring
- 404 Error
- https://www.armstrongflooring.com/flooring-tips/how-to-clean-hardwood-floors.html
- https://brucefloors.com/flooring-care/
- https://www.epa.gov/ground-water-and-drinking-water/deicing-salt
- https://scholar.google.com/scholar?q=cleaning+hardwood+floors+road+salt Google Scholar
- https://scholar.google.com/scholar?q=ice+melt+salt+residue+wood+floor+cleaning Google Scholar
- https://scholar.google.com/scholar?q=deicing+salt+damage+to+wood+floors+maintenance Google Scholar