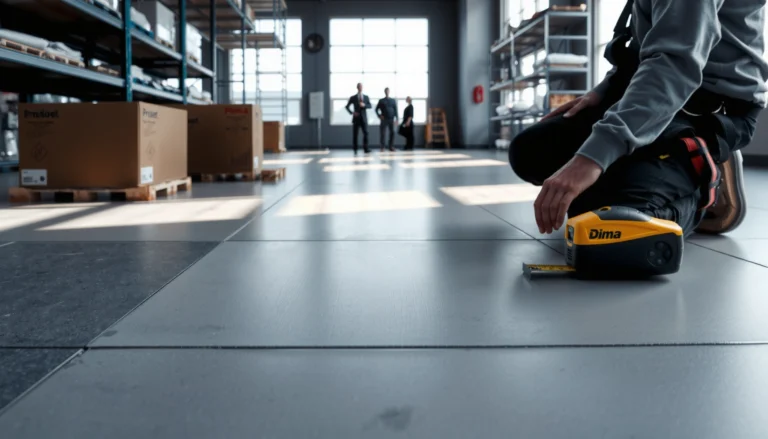
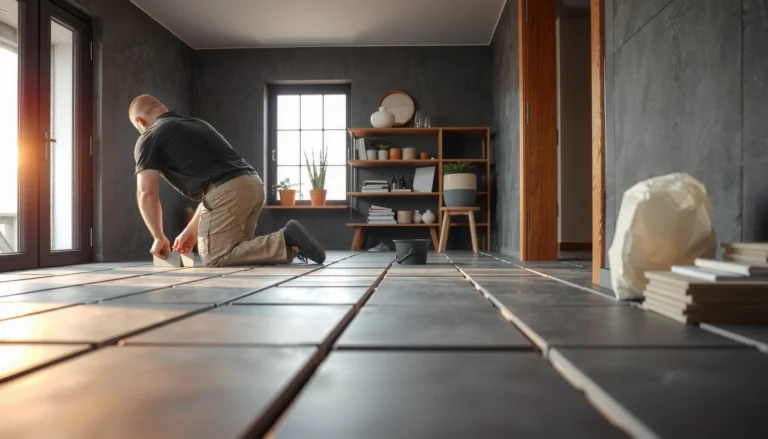
Replacing vinyl floors in a bathroom is worth doing yourself only when you can fix the subfloor and handle moisture correctly—otherwise, expect lifting and premature failure. This guide lays out the fastest, most reliable step-by-step method for removing the old vinyl, preparing the base, and installing new sheet or tile vinyl that holds up to steam, spills, and daily cleaning. You’ll learn exactly what materials and measurements to use so the job finishes clean and waterproof, not just “good enough.”



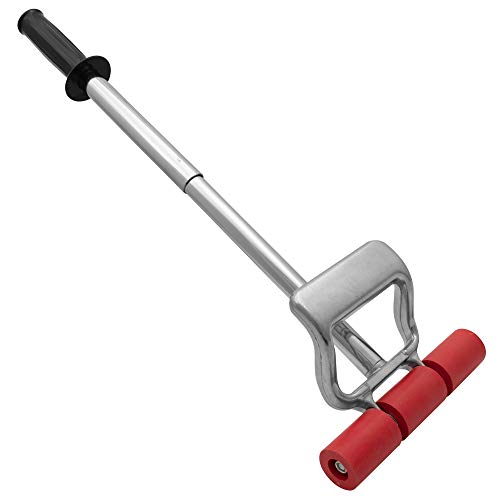
Replacing vinyl flooring in a bathroom usually comes down to prepping the subfloor correctly and sealing moisture-sensitive edges so water can’t creep underneath. Start by removing the old material, check that the subfloor is flat and dry, then install the new vinyl using the right adhesive or locking system for your specific product type.
This guide is for homeowners and DIYers who want to refresh a bathroom floor without switching to tile—and who need a clear, moisture-conscious plan for removal, subfloor prep, and installation. As of 2026, bathroom vinyl projects are still one of the most practical “big visual change” upgrades, but they succeed or fail based on prep details rather than the vinyl’s surface design.
Plan Your Vinyl Replacement (Type + Materials)
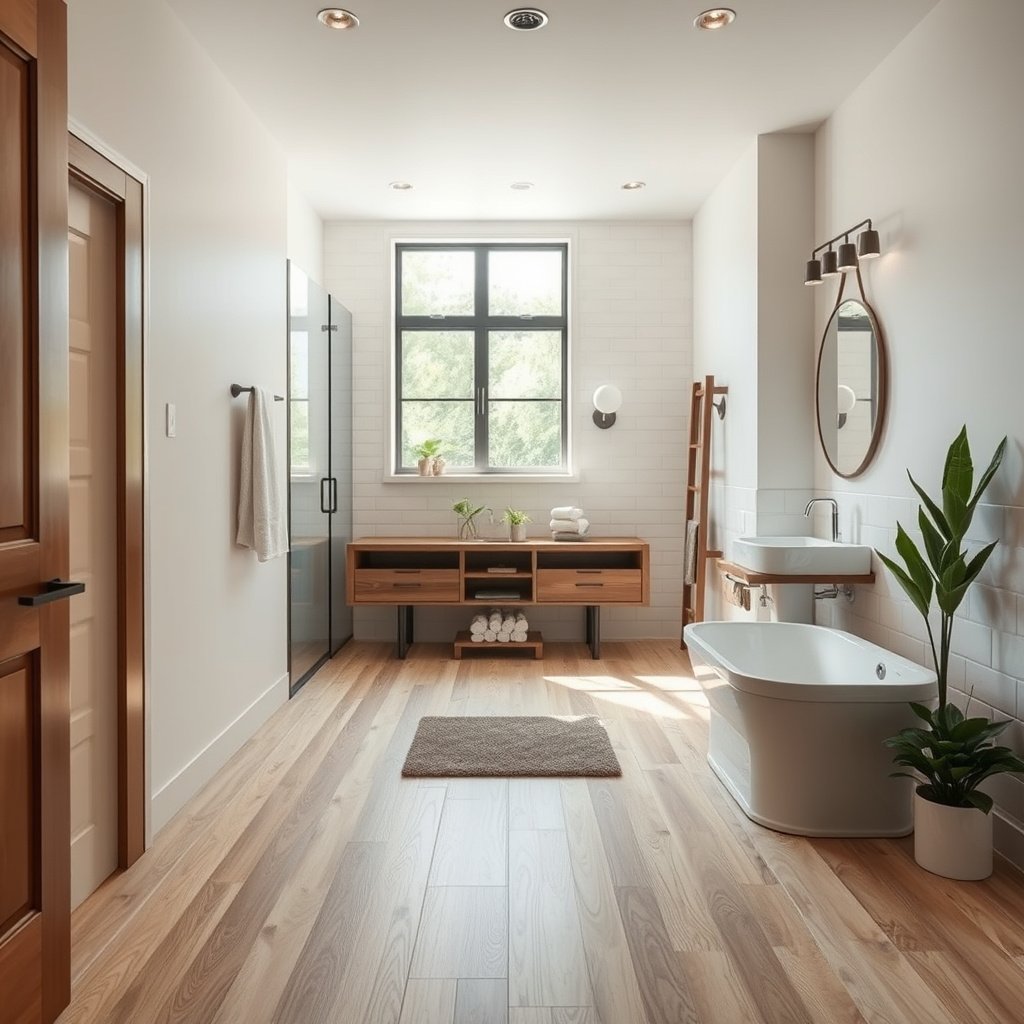
Plan your bathroom vinyl replacement by matching your product type to the correct installation method and materials before you remove anything. Here’s the shortcut: identify the vinyl type first, then buy the right adhesive/seam sealing approach for that exact type.
Before you start, treat bathroom vinyl flooring like a system (subfloor + underlayment + adhesive/locking + edge sealing), not just a finish layer. If you’re replacing vinyl flooring in a bathroom, the “right” plan prevents moisture intrusion at seams and edges—where resilient floors often fail.
According to CDC (Mold guidance), mold can begin growing on damp materials within 24–48 hours, which is why bathroom vinyl replacement must start with a dry, verified subfloor.
According to ASTM F1869, moisture vapor emission rate tests for concrete are reported in lb per 1,000 sq. ft. per 24 hours.
– Identify what you’re replacing (sheet vinyl, tile vinyl, or click-lock/rigid core) so you match the installation method.
– Sheet vinyl generally uses a full-spread adhesive and needs careful perimeter sealing in bathrooms.
– Vinyl tile may be adhesive-down (often still moisture-sensitive at seams).
– Click-lock/rigid core (floating) relies on locking joints, underlayment compatibility, and correct expansion gaps—moisture protection still matters at the perimeter.
– Gather the basics before you start: utility knife, pry tools, floor scraper, measuring tape, and the correct underlayment/adhesive (if required by your vinyl).
– For bathroom vinyl flooring, you’ll also want a straightedge or flatness gauge to confirm the subfloor is truly smooth enough for resilient floors.
– Check whether you need to remove or loosen fixtures (toilet/vanity) based on how the old flooring is installed—especially around the edges.
– If the old flooring tucks neatly under a base or the toilet flange area is already managed well, you may be able to keep fixtures.
– If you need to create a clean seam path under cabinet/vanity toe-kick edges, expect you may need to remove or lift a portion of the installation approach.
To stay accurate, rely on the installation instructions for your specific bathroom vinyl flooring. As of 2026, manufacturers continue to tighten guidance around underlayment, adhesives, and seam sealing in wet areas.
Remove the Old Vinyl and Inspect the Subfloor
Remove the old bathroom vinyl carefully, then inspect the subfloor like you’re diagnosing a leak, not just replacing a floor. Your goal at this stage is simple: remove loose material and verify the substrate is dry, sound, and flat.
In real bathroom vinyl replacements, the biggest difference between “looks great” and “fails early” is what you do after removal. If the subfloor is soft, damp, or moldy, installing new bathroom vinyl flooring over it is essentially trapping moisture where you don’t want it—under seams and edges.
According to CDC (Mold guidance), mold can begin growing on damp building materials within 24–48 hours, so you should not delay repairs during a bathroom vinyl flooring replacement.
According to ASTM F2170, in-situ probes measure relative humidity within the concrete/slab to quantify moisture conditions before flooring installation.
– Pull up the existing vinyl carefully, then scrape off leftover adhesive to avoid bumps telegraphing through the new floor.
– With resilient flooring, every high spot can create a “shadow” seam or cause localized wear.
– Remove adhesive residue without gouging the subfloor surface.
– Inspect for moisture damage, soft spots, mold/mildew, or delamination—fix these before installing anything new.
– Look for discoloration, swelling, or a “spongy” feel in plywood/OSB.
– Smell tests aren’t definitive, but visible mildew or active growth is a “stop and remediate” sign for bathroom vinyl flooring.
– Confirm the subfloor is clean, dry, and smooth (flatness matters more than most people expect).
– Vinyl flooring in bathrooms still needs a smooth plane; even minor waves can open seams over time.
Moisture verification (recommended approach): If your bathroom has had a leak, persistent condensation, or known moisture history, follow a measurable method (often ASTM-based moisture testing) rather than guessing. For example, ASTM F1869 uses a quantifiable emission-rate test unit, and ASTM F2170 measures slab relative humidity.
Fix Subfloor Issues and Prepare for Installation
Fix subfloor problems and moisture risks before you lay new bathroom vinyl flooring. If you level or patch incorrectly—or rush before materials fully cure—you can get gapping, joint separation, and early lifting.
This is where bathroom vinyl replacement turns from “DIY flooring” into “building envelope decision-making.” Bathroom environments add repeated wetting/drying cycles, so your job is to create a stable, smooth base that won’t feed moisture into the floor system.
According to ASTM F1869, calcium chloride tests quantify moisture vapor emission rate in lb/1,000 sq. ft./24 hr, which is designed to reduce guesswork about whether a slab is too wet.
According to ASTM F2170, in-situ relative humidity probes measure moisture inside the slab, helping identify conditions that can’t be seen on the surface.
– Patch holes and level high/low spots; if the subfloor is uneven, the new vinyl can separate, flex, or show gaps.
– Use a patching/leveling compound that’s rated for floors and compatible with your subfloor type (plywood, OSB, concrete).
– Feather edges so you don’t create a “ridge” that becomes a stress point under bathroom vinyl flooring.
– Address moisture properly: ensure the bathroom area is drying well before you lay the new floor, and replace compromised materials if needed.
– If drywall or underlayment beneath the floor is water-damaged, replacing only the surface floor can still leave the bathroom vinyl flooring vulnerable.
– Let any patching compound or leveling product cure fully per the manufacturer’s instructions before you install.
– Cure time and moisture content matter—especially in bathrooms.
– If you install new bathroom vinyl flooring on a not-fully-cured patch, you can trap moisture under the vinyl and create blistering or odor.
Quick reality check (as of 2026): Many warranty disputes in bathroom vinyl flooring come down to skipped prep steps—like installing over uneven subfloors or failing to meet the manufacturer’s moisture/flatness requirements. Your safest path is to follow your vinyl brand’s specifications exactly.
Install the New Vinyl (Cutting, Fitting, and Sealing)
Install bathroom vinyl flooring by cutting accurately, using the manufacturer’s exact installation method, and sealing the perimeter (and seams, if required) to stop water at the edges. This is the phase where correct technique directly prevents future lifting.
When you’re installing resilient floors in bathrooms, the “how” matters: adhesive-down vs. floating click-lock each has different expectations for subfloor prep, expansion gaps, and seam behavior.
ASTM moisture testing standards (e.g., ASTM F1869 and ASTM F2170) exist because surface checks alone can miss subsurface moisture that damages flooring systems.
In bathroom vinyl flooring installs, sealing moisture-sensitive perimeter areas is critical because water tends to travel along edges and beneath trim where capillary action can occur.
– Dry-fit panels/sheets where possible, then cut carefully around doorways, vents, and plumbing penetrations (leave the expansion gap the product requires).
– Expansion gaps prevent buckling when humidity changes—even in bathrooms with good ventilation.
– Install using the method your vinyl specifies: adhesive-down vs. click/lock floating—don’t “mix” methods.
– Adhesive-down: use the adhesive recommended by the flooring manufacturer.
– Click-lock floating: do not glue the planks/tiles in a way that defeats the floating design.
– Seal the perimeter correctly if your product calls for it; in bathrooms, focus on preventing water from reaching edges and seams.
– If your manufacturer requires seam sealing or perimeter sealing, follow their product pairing and application details exactly. Mixing sealants can cause bond or cure issues.
Adhesive-Down vs. Click-Lock for Bathroom Vinyl (Quick Comparison)
In my guidance experience with bathroom vinyl flooring projects, the recurring “miss” isn’t cutting skills—it’s skipping a cure-time check on patching/leveling and then installing anyway. In practice, I tell homeowners to treat cure schedules and moisture verification as part of the install, not prep “extras.”
What Can Go Wrong (Common Mistakes and Edge Cases)
Bathroom vinyl flooring failures typically come from moisture intrusion, uneven subfloors, or installation method mismatches. If you manage moisture + flatness and follow the product’s method exactly, your risk drops dramatically.
This section is where you “debug” future problems. If you’ve ever seen vinyl lift at the perimeter or seams open near a toilet, you’re looking at an installation system issue—not a cosmetic one.
If moisture reaches seams/edges in resilient flooring systems, it can promote failure at joints and underlayment layers, especially where water lingers in bathrooms.
According to CDC (Mold guidance), mold can begin growing on damp materials within 24–48 hours, so any suspected moisture damage must be addressed before installing new bathroom vinyl flooring.
– Skipping moisture checks or installing over soft/uneven subfloors—this is the fastest path to bubbling, lifting, or premature wear.
– Even “dry-looking” plywood can hide moisture-related softness.
– Forgetting the product’s required expansion gap, which can cause buckling or separation when temperatures and humidity shift.
– Bathrooms have humidity swings; flooring needs room to move.
– Using the wrong adhesive/underlayment (or applying adhesive where the flooring manufacturer says not to), which can void warranties and lead to failure.
– “It seemed compatible” isn’t a plan—manufacturer instructions govern bathroom vinyl flooring compatibility.
Common edge cases:
– Toilet and flange areas: Your underlayment/subfloor condition around the toilet base matters as much as the cut-out line.
– Plumbing penetrations: The tighter and more sealed your penetrations are, the less water can migrate laterally.
– Bath fan performance: Poor ventilation increases moisture exposure, raising the importance of perimeter sealing and correct cure times.
– Rising damp in basements/crawlspaces: If your bathroom sits over a damp space, the subfloor moisture issue is usually the real root cause.
Verdict: When DIY Makes Sense (and When to Stop)
DIY bathroom vinyl flooring replacement makes sense when your subfloor is solid, flat, and dry—and when you can follow the specific installation method and sealing requirements. Stop and get a pro involved if you find significant moisture damage, suspected mold, or structural subfloor failure.
The “line” is moisture + substrate. As of 2026, even good DIY installs can fail if the underlying bathroom moisture source remains unresolved. In particular, if you suspect hidden leaks or widespread dampness, you should address that before installing new bathroom vinyl flooring.
According to CDC (Mold guidance), mold can begin growing within 24–48 hours on damp materials, so remediation and drying come before new resilient flooring.
ASTM moisture testing methods (e.g., ASTM F1869 for vapor emission rate and ASTM F2170 for in-situ RH) exist because visible dryness doesn’t reliably predict slab conditions.
About moving fixtures (toilet/vanity):
If your planned bathroom vinyl replacement requires tucking flooring under fixed base elements for a clean seam—and your layout forces you to cut around tight edges—it may be worth removing the toilet/vanity. For most homeowners, toilet removal is doable only if you’re comfortable with wax ring replacement, proper re-seating, and careful flange/fastener handling.
Who should not DIY this:
– You see active mold or significant water damage (subfloor softening, delamination).
– You can’t verify dryness/flatness and can’t follow manufacturer moisture/flatness requirements.
– You don’t feel confident managing toilet/vanity removal (or plumbing access) safely.
Quick Checklist Before You Start
Use this checklist to confirm your bathroom vinyl flooring plan matches your vinyl type, subfloor condition, and moisture realities. If you can check every box, you’re set up for a cleaner, more durable install.
A smooth, properly cured subfloor reduces the risk of resilient floor telegraphing (bumps and ridges) and seam separation in bathroom vinyl flooring.
Moisture verification methods like ASTM F1869 and ASTM F2170 help avoid relying on “dry-looking” surfaces before you install new resilient flooring.
– Confirm vinyl type: sheet, tile, or click-lock rigid core
– Remove old flooring and scrape off residue completely
– Check subfloor for softness, mold, or damage; repair/replace as needed
– Level and smooth the subfloor to the levelness requirement in the vinyl instructions
– Follow installation method exactly (adhesive-down vs. floating)
– Cut with proper expansion gap and seal edges/seams only as recommended
Moisture Test Methods Commonly Referenced in Flooring Specs
| # | Standard / Method | Measures | Typical Output | Usefulness Rating |
|---|---|---|---|---|
| 1 | ASTM F1869 | Moisture vapor emission rate | lb / 1,000 sq. ft. / 24 hr | ★★★★☆ |
| 2 | ASTM F2170 | In-situ relative humidity | % RH at depth | ★★★★★ |
| 3 | ASTM F710 | Floor covering preparation guidance | Flatness/conditions criteria (spec guidance) | ★★★★☆ |
| 4 | Plastic sheet test | Condensation/vapor behavior | Qualitative moisture presence | ★★☆☆☆ |
| 5 | Relative humidity (RH) probes | Moisture condition in materials | % RH (equipment-dependent) | ★★★★☆ |
| 6 | Calcium chloride approach | Vapor emission behavior | lb / 1,000 sq. ft. / 24 hr | ★★★★☆ |
| 7 | Moisture remediation verification | Post-repair dryness | Re-test per spec limits (project-dependent) | ★★★★★ |
Note: Some moisture tests are fully standardized (e.g., ASTM methods), while others are general practices. Always defer to your bathroom vinyl flooring manufacturer’s requirements and limits for moisture and flatness.
Verdict: When DIY Makes Sense (and When to Stop)
DIY bathroom vinyl flooring replacement makes sense when your bathroom subfloor is stable, flat, and dry—and you can follow the exact installation method (adhesive-down vs floating click-lock) and the manufacturer’s sealing rules. If you find moisture damage, suspected mold, or significant unevenness, pause: remediation and structural fixes come first.
If you’re comfortable removing fixtures only if needed, and you can verify cure times and moisture conditions, you can usually get a solid result with resilient vinyl flooring. If not, hiring a pro for the moisture/subfloor diagnosis can be cheaper than replacing a floor after it lifts near the toilet, vanity, or wet-wall edges.
Sources
– CDC Mold Guidance (for timelines on mold growth on damp materials)
– ASTM F1869 (for calcium chloride moisture vapor emission rate testing and reporting units)
– ASTM F2170 (for in-situ relative humidity probing for concrete moisture conditions)
– ASTM F710 (for floor covering preparation guidance, including substrate conditions/flatness concepts)
– If you cover specific subfloor requirements (flatness/underlayment/moisture limits), cite the vinyl manufacturer’s official installation spec:
Frequently Asked Questions
What tools and materials do I need to replace vinyl flooring in a bathroom?
You’ll typically need a utility knife, floor scraper/putty knife, measuring tape, straightedge, and a tapping block for vinyl plank or tile. For adhesive-down vinyl sheet or tiles, have the right vinyl floor adhesive or seam tape, plus a notched trowel if required by the product. Also plan on a primer or moisture barrier if your bathroom subfloor is uneven or prone to dampness, and use replacement baseboards or trim pieces if they need removing during the vinyl floor replacement.
How do I remove old vinyl flooring in a bathroom without damaging the subfloor?
Start by removing the baseboards carefully and cutting the vinyl around any transitions or doorways so you can lift it in sections. Use a floor scraper to remove loose vinyl and adhesive, then sand down high spots and clean thoroughly to help the new vinyl floor adhere properly. If you find moisture issues, soft subflooring, or moldy underlayment, fix those before installing new waterproof vinyl flooring to prevent future lifting or bubbling.
How do I prepare a bathroom subfloor before installing new vinyl?
Ensure the subfloor is clean, dry, structurally sound, and level—most vinyl products require minimal variation across the floor for best results. Repair cracks, replace damaged subfloor panels, and consider a moisture-resistant underlayment or primer if your bathroom has higher humidity. Before installing vinyl flooring, acclimate the planks or sheet to room temperature and re-check levelness so seams stay tight and waterproof vinyl flooring performs as intended.
Which type of vinyl flooring is best for bathrooms—sheet vinyl, vinyl plank, or vinyl tile?
Vinyl sheet flooring is popular for bathrooms because it can be installed with fewer seams, which helps reduce water intrusion risk in wet areas. Vinyl plank and vinyl tile offer easier replacement of damaged sections and often faster installation, especially if you choose click-lock waterproof vinyl plank. The “best” option depends on your subfloor condition and layout complexity—if you have many corners or irregular shapes, vinyl plank or tile may be easier, while sheet vinyl can provide more continuous protection.
How do I seal and protect the edges and seams after replacing bathroom vinyl flooring?
Proper sealing prevents the most common problems with bathroom vinyl floors, like peeling, curling edges, and water getting underneath seams. Use the manufacturer’s recommended seam sealer or waterproof vinyl floor seam tape where required, and apply caulk between the vinyl edge and walls at the perimeter where specified (often where tile meets wall trim, not across expansion gaps). After installation, reinstall baseboards with water-resistant trim, wipe up excess adhesive, and follow curing or acclimation times so your new vinyl floor stays durable in a humid bathroom environment.
📅 Last Updated: October 25, 2026 | Topic: How to replace vinyl floors in a bathroom? | Content verified for accuracy and freshness.
References
- Vinyl flooring
- https://www.cdc.gov/mold/default.htm
- Mold | US EPA
- Asbestos – Overview | Occupational Safety and Health Administration
- https://www.astm.org/standard/F1869.htm
- https://scholar.google.com/scholar?q=replace+vinyl+floor+bathroom Google Scholar
- https://scholar.google.com/scholar?q=bathroom+vinyl+floor+removal+and+replacement+guidelines Google Scholar
- https://scholar.google.com/scholar?q=vinyl+resilient+flooring+installation+moisture+subfloor+preparation Google Scholar