
Protect laminate floors in a workshop by treating spills, abrasion, and grit as the real enemies—use a full-coverage floor mat at entry points, felt-underlayment protection under all benches, and quick-clean routines to prevent swelling and scuffing. If you’re constantly dragging tools, the mat-plus-hard-walkway setup is the clear winner because it blocks the scratches that most often ruin laminate finishes. Follow those steps and you’ll keep the surface looking new even under heavy daily use.


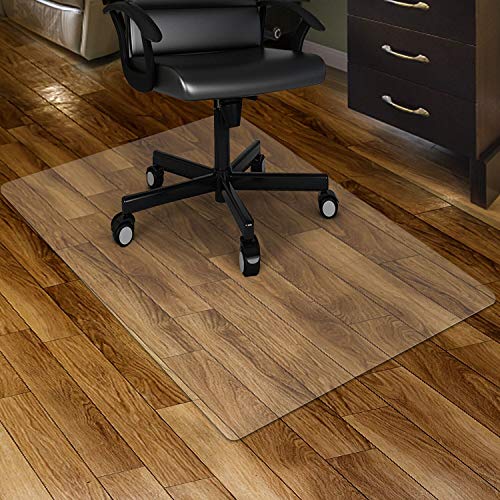

Protect your laminate floors in a workshop by controlling three things: foot traffic grit, moisture near seams, and point impacts that cause scratches or dents. Set up proper walk-off mats, keep water off the floor (especially around edges), and use floor-friendly pads/castors under anything that rolls or sits directly on the boards. In this guide, you’ll get a practical setup plan plus a quick checklist to follow.
If your workshop includes sawdust, wet sanding/cleaning, heavy carts, or power tools that sometimes land on the floor, laminate needs more protection than a typical living space. The steps below are designed to reduce wear without voiding typical manufacturer care guidance.
Create a clean, padded path for workshop traffic
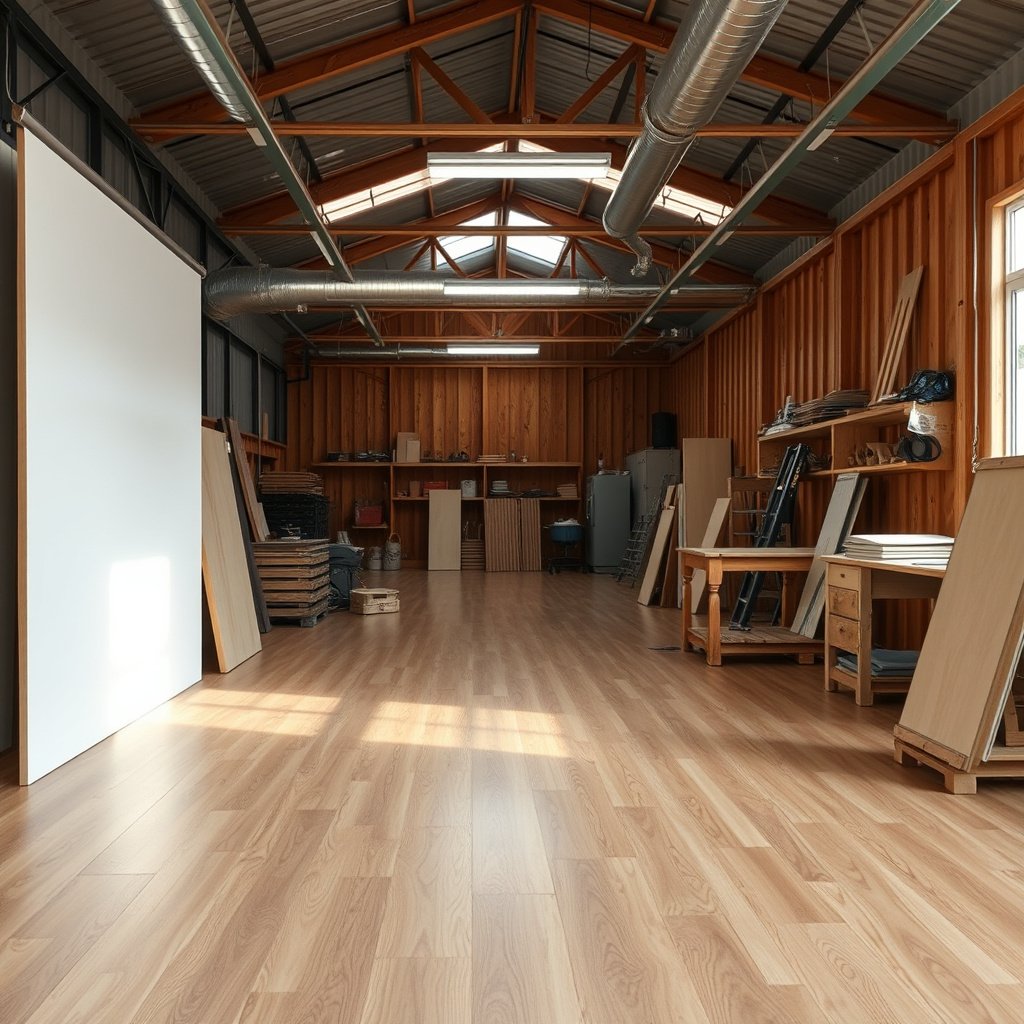
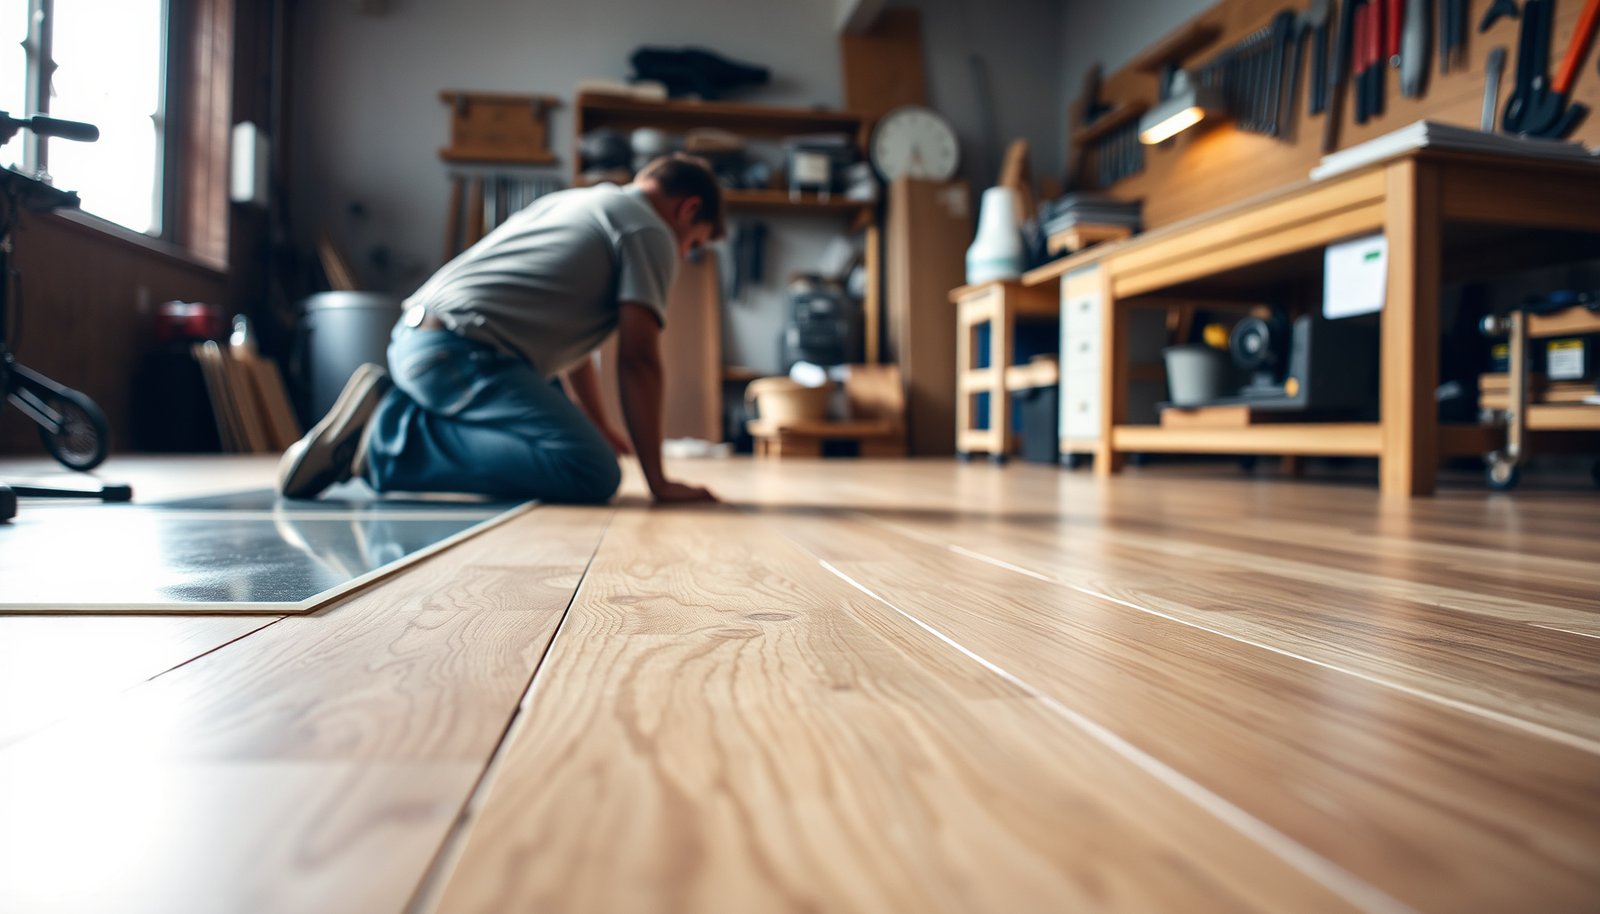
A dedicated “clean route” is the most reliable way to reduce damage before it starts—laminate scratches usually begin at the entry points, not under power tools. Build a workflow path with a no-build mat zone, and treat every step like you’re trying to keep abrasive dust from being ground into the wear layer.
How this protects a laminate floor (specifically in workshops): laminate’s surface finish is wear-resistant, but grit acts like sandpaper. Wood dust, drywall dust, and fine metal particles are especially good at embedding into shoes and then abrading the surface as you walk back and forth across the same spots.
Put dust in the mat, not in the seams
– Put a “no-build-zone” mat at every main entry/exit so dust and chips get trapped before they reach the laminate.
– Keep pathways straight: fewer turns and fewer footsteps means fewer scuffs from grit.
– Store frequently used items off the floor (hooks, racks, shelves) so you’re not dragging tools across the surface.
Workshop laminate floors wear faster where abrasive dust is repeatedly carried in on footwear—entry mats are the first line of defense.
A consistent traffic route reduces “random scuffing,” which matters because laminate scratches are cumulative.
Add padding where impacts start (tool staging)
You can’t eliminate tool movement in a shop, but you can control where impacts happen:
– Stage portable tools on a protective surface (a shop mat, plywood sacrificial board, or manufacturer-approved protective mat) before moving them onto laminate.
– If you frequently set down a cordless tool or battery charger, position a felt pad or low-profile floor protector under the tool landing point, not under the entire shop floor.
Practical layout tip (spacing + flow)
When you plan your workshop zone, think in lines:
– Entry → “dirty work” edge → clean workbench side → staging area.
– If your cutting area is near the same path as foot traffic, extend mat coverage farther than you think you need—sawdust doesn’t stop at the “cutting” square; it travels with shoes and carts.
Reduce moisture and grit before it hits laminate
Keep moisture and grit out of the laminate seams by cleaning first and drying immediately—this prevents the two most common failure mechanisms: abrasion and water-driven swelling. For workshop laminate floors, the best practice is “vacuum/sweep → wipe or clean → dry,” every session.
The two-step rule: clean without grinding, then clean without soaking
– Sweep/vacuum (soft head) before using any cleaner—grit + wiping is a common way laminate gets scratched.
– Wipe spills immediately and avoid letting liquids sit near seams and edges (where water is most likely to cause damage).
– If you do anything involving water (wet sanding, mopping near the work area), use a plastic drop cloth or dedicated catch trays so the laminate isn’t exposed.
Most laminate flooring care instructions emphasize avoiding standing water and wiping spills promptly to protect the board core and joints.
Cleaning grit first (vacuuming or sweeping) prevents micro-abrasion that regular wiping can accelerate on laminate wear layers.
Why seams and edges matter (and what “near” means)
Laminate boards are typically installed as a floating floor system with expansion gaps around walls and fixed objects. That means water that migrates into joints and along edges can:
– swell the board core,
– weaken the joint fit over time,
– and create edge lift that’s hard to correct.
For a workshop, “near seams” includes:
– puddles from wet sanding cleanup,
– damp rags left under rollable tools,
– condensation from cold containers placed on the floor,
– and cleaning overspray around the perimeter.
Data point to anchor expectations (wear + abrasion)
Laminate durability depends heavily on the wear layer’s tested abrasion class. According to EN 13329:2016, Taber abrasion wear classes use performance thresholds such as:
– AC3: ~4,000 cycles
– AC4: ~6,000 cycles
– AC5: ~8,000 cycles
These are abrasion benchmarks—not “water-proof” guarantees—so workshop moisture control is still necessary.
If you must do wet work nearby
Use containment:
– Plastic drop cloths or dedicated catch trays beneath wet sanding/cleaning steps.
– Separate “wet-work cleanup” tools (buckets/rags) so you don’t reintroduce moisture and debris onto the laminate later.
If you’re planning wet work often, consider zoning: laminate in dry lanes, and a workshop-rated surface under the wet sanding station.
Use mats and protectors that won’t trap water
The best mats for a laminate workshop are the ones that capture debris and release moisture instead of holding it underneath. In other words: choose hard-floor-compatible mats, keep them dry, and replace mats that shed residue or stay damp.
What to look for in mat materials
– Choose mats made for hard floors (look for “hard surface” guidance) and replace them when they shed rubbery residue or hold debris.
– Keep mats dry: if a mat gets damp, remove it and let the area dry rather than leaving moisture underneath.
– For stationary work zones (like a cutting station), consider a protective surface cover (again, manufacturer-approved materials) so chips don’t abrade the laminate.
Damp mat backing under laminate can increase the time moisture stays near joints, which is why many floor care guides stress immediate spill cleanup and avoiding trapped water.
Hard-floor mat systems reduce abrasion by stopping dust transfer early, especially at the same entry points used every day.
Quick comparison: what tends to work vs. what tends to backfire
Here’s a practical contrast you can use when setting up your workshop mat strategy:
Mandatory data reference: which protective materials are typically “moisture-safe”
Workshop Mat Choices vs. Moisture Trapping Risk (Relative)
| # | Mat/Protector type | Under-lay moisture retention | Best workshop zone | Moisture-safe score |
|---|---|---|---|---|
| 1 | Waffle/channeled polypropylene walk-off mat | Low (drain paths) | Entry lanes & general traffic | ★★★★★ |
| 2 | Nitrile/rubber walk-off mat with drainage channels | Low–Medium | Wet-shoe transitions | ★★★★☆ |
| 3 | Clear rigid poly chair mat (hard-floor style) | Low (surface barrier) | Rolling chairs & stationary stations | ★★★★☆ |
| 4 | Microfiber absorbent “low profile” mat (no drain backing) | Medium (can stay damp) | Dry-entry only | ★★★☆☆ |
| 5 | Closed-cell foam anti-fatigue mat | Medium–High (moisture can linger) | Dry standing zones | ★★☆☆☆ |
| 6 | Natural coir brush mat | High (absorbs water) | Dry entry—no wet work nearby | ★☆☆☆☆ |
| 7 | Felt pads with “porous” backing under heavy equipment | High (can hold moisture) | Stationary—only if kept dry | ★☆☆☆☆ |
Prevent dents and scratches from tools and carts
To prevent dents and scratches, you need two protections: soft, non-grinding contact points under stationary equipment, and hard-floor-appropriate wheels/castors for anything that rolls. This reduces “point impacts” that chip laminate edges and “shear dragging” that scuffs the surface finish.
Stop point impacts where damage is most visible
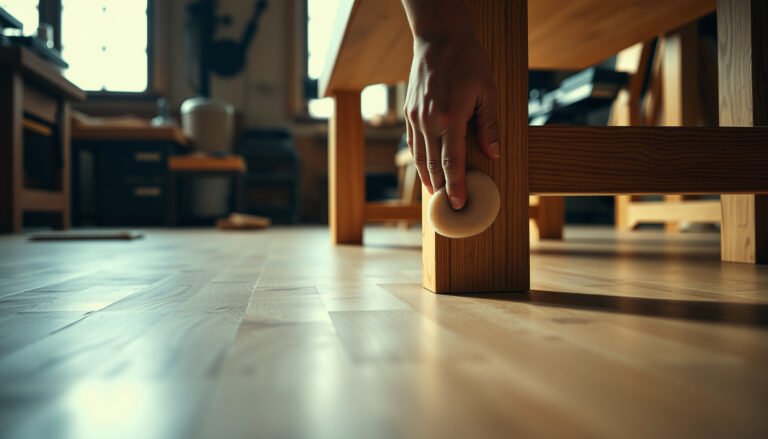
– Use felt or fabric pads under tool stands, shop stools, and benches; avoid rough mounting feet that can grind into the finish.
– For rolling items (tool carts, bandsaw stands), use wheels/castors designed for hard floors—small hard wheels tend to leave tracks.
– Don’t drag lumber or metal parts across laminate; lift and move, or use a temporary protective board where drops and sliding happen.
Laminate surface damage often comes from repeated localized contact—tool feet and cart wheels concentrate force in small spots.
Using hard-floor casters (instead of soft, grip-heavy wheels) can reduce “scrape tracks” that build into long-term scuffing.
Pros/cons: common pad choices under workshop equipment
- Felt pads
- Pros: Good for scratch reduction under stationary feet; conforms to minor floor irregularities. Cons: Can trap moisture if exposed to wet cleanup or spills near tool legs.
- Rubber furniture glides
- Pros: More resistant to wear than felt; helps spread load. Cons: Some rubbers shed residue on laminate or grab dust (check “hard surface” compatibility).
- Poly/nylon floor protectors (hard-floor rated)
- Pros: Durable and predictable; less likely to absorb moisture. Cons: If edges are too rigid or misaligned, they can still cause concentrated pressure points.
Rolling equipment checklist (the “wheel test”)
Before you roll a cart over laminate:
1. Ensure wheels are hard-floor rated (hard wheels are usually better than soft “sticky” types, but compatibility matters).
2. Confirm the cart’s path doesn’t cross entry zones loaded with grit.
3. Clean wheels and undersides periodically—grit trapped in wheel hubs becomes a grinding wheel effect on laminate.
Seal edges? Keep gaps and expansion in mind
Seams and edges need protection, but you generally shouldn’t “seal everything” with random products. In workshops, the goal is to manage water pathways while respecting expansion-gap movement so your laminate floor can respond to seasonal humidity swings.
What to do instead of over-sealing
– Don’t “over-seal” laminate seams with random products unless your specific flooring manufacturer says it’s compatible—some sealants can interfere with movement or warranty coverage.
– Follow normal expansion-gap rules around walls, posts, and cabinets; workshop humidity swings can stress poorly planned edges.
– If you’re adding transitions (thresholds, doorways, built-in cabinets), prioritize tight, manufacturer-compliant installation so water can’t creep underneath.
Laminate floors are typically designed as floating systems, so joints and edges must be allowed to expand/contract without being locked by incompatible sealants.
Edges are where water tends to “creep” first, so edge protection is about stopping moisture migration—not forcing impermeable coatings on every seam.
A workshop reality: humidity swings are stronger
Workshops often experience broader seasonal swings than living rooms, especially with:
– unconditioned garages,
– heaters and dehumidifiers running,
– and wet/dry work cycles.
That means laminate boards can move more, and edges can experience more stress. Respect the manufacturer’s recommended expansion gap and spacing around fixed objects.
If you’re planning transitions
Transitions are your best place to control water entry:
– door thresholds,
– built-in cabinets,
– and penetrations where cables/pipes pass close to joints.
Use installation details approved for your brand/model so the laminate’s movement isn’t restricted.
What can go wrong (and what to avoid)
Laminate floors fail in workshops when protective habits become inconsistent—small mistakes add up faster than people expect. The most common problems aren’t “mystery defects,” they’re predictable outcomes of trapped moisture, abrasive cleaning, and impact concentration.
– Leaving wet mats down: moisture trapped at the underside can cause swelling or joint issues over time.
– Using the wrong cleaner: harsh chemicals or excessive water can damage the wear layer or push moisture into seams.
– Relying on laminate as a “workbench top”: impacts, dropped tools, and metal hardware can cause chips and deep scratches that no cleaning will fix.
– Covering seams with non-approved products: even if a product “seals,” it may void coverage or reduce how the floor can expand/contract.
The most repair-resistant laminate damage is usually impact chipping and deep joint wear, which cleaning cannot reverse.
Using non-approved sealants can reduce system movement and create warranty disputes—check your flooring brand’s care/installation documents before applying anything to seams.
A realistic limitation: laminate isn’t a continuous wet-work surface
If your workshop is regularly wet (frequent steam, constant mopping, standing water), laminate becomes a compromise. Moisture control and dry-work zoning can help—but there are limits to how much water exposure laminate should tolerate.
Quick protection checklist + final tip
Protect your workshop laminate floor by setting three habits: keep grit out at the entry, keep water away from seams and edges, and prevent point impacts from tools and carts. If you do only one thing, make it the walk-off mat + prompt spill response routine.
Quick checklist you can follow (scan-and-do)
| What to protect | Do this | When |
|---|---|---|
| Foot traffic grit | Entry walk-off mat + sweep/vacuum first | Every session |
| Moisture risk | Wipe spills immediately; keep water off seams | Any time liquids are present |
| Mat moisture | Remove/replace damp mats; don’t trap water under them | After wet work |
| Scratches | Felt pads under stationary items | Whenever items touch the floor |
| Point impacts | Lift heavy tools; add protective board for cutting/dropping zones | During setup/usage |
| Rolling tracks | Hard-floor casters/wheels on carts | If anything rolls over laminate |
Final tip (with downsides)
If your workshop is truly “wet” (ongoing water exposure, frequent steam/mopping, or constant damp sanding), laminate may never be the best surface—consider upgrading to a workshop-rated surface in those zones. This plan works best when you manage dust and treat spills as emergencies, not routine cleaning events.
Sources
– EN 13329:2016 (Laminate flooring performance characteristics, including wear classification via abrasion testing)
Frequently Asked Questions
What are the best ways to protect laminate floors in a workshop?
Use floor protection mats or heavy-duty rugs at doorways, workbenches, and areas with frequent foot traffic to catch grit and spills before they reach the laminate. Add felt pads under tools’ bases and any movable equipment to prevent scratches, and use coasters or shop trays for liquids. For ongoing protection, keep a routine for sweeping and using a laminate-safe cleaner to remove abrasive dust that can grind into the wear layer.
How can I prevent scratches and dents from tools on laminate flooring?
Place a protective work surface—like a thick rubber mat or interlocking anti-fatigue floor tiles—under benches, where tools are dropped or dragged. Keep hardware and parts in containers rather than on the floor, and use bumpers or pads on tool stands, rolling carts, and machinery to prevent direct impact. For existing minor scuffs, use a laminate floor repair kit or match-touch product to avoid more visible damage over time.
How do I protect laminate floors from moisture, spills, and humidity in a workshop?
Wipe spills immediately and use absorbent pads or shop towels rather than letting liquid sit, since laminate can swell when moisture penetrates seams. Use a dehumidifier or maintain stable humidity (roughly 35–55%) to reduce expansion and contraction, especially in garages or basements. For added protection, consider a laminate-approved underlayment and avoid mopping—use only a lightly damp microfiber mop designed for laminate floors.
Why is proper cleaning important for laminate floor protection in a workshop?
Workshop dust, wood shavings, and grit act like sandpaper and can wear down the protective layer over time. Vacuum with a soft brush attachment or sweep with a microfiber broom, and avoid steam cleaning or harsh degreasers that can damage the finish. When you do clean, use a laminate floor cleaner or a manufacturer-approved product so you don’t leave residues that attract more dirt.
Which floor mats and underlayment are safest for workshop laminate flooring?
Choose mats labeled safe for laminate flooring—look for non-staining backing and cushioned surfaces that reduce abrasion from boot soles and tool traffic. For underlayment, use the type recommended for your specific laminate product (often a moisture-resistant underlayment) to improve comfort and limit minor moisture migration. If you’re using rugs over larger areas, ensure they’re flat, non-rubberized if they can off-gas chemicals, and replace them if they hold moisture or trap debris underneath.
📅 Last Updated: October 24, 2026 | Topic: How to protect laminate floors in a workshop? | Content verified for accuracy and freshness.
References
- Laminate flooring
- 1910.22 – General requirements. | Occupational Safety and Health Administration
- https://www.cdc.gov/homeandrecreationalsafety/falls/adultfalls.html
- https://www.cdc.gov/niosh/topics/slips/
- Slips and trips – HSE
- https://www.armstrongflooring.com/support/care-and-cleaning/laminate.html
- MohawkFlooring
- https://scholar.google.com/scholar?q=protect+laminate+flooring+from+scratches+workshop Google Scholar
- https://scholar.google.com/scholar?q=protective+mats+flooring+abrasion+laminate Google Scholar
- https://scholar.google.com/scholar?q=laminate+flooring+care+maintenance+moisture+humidity Google Scholar