
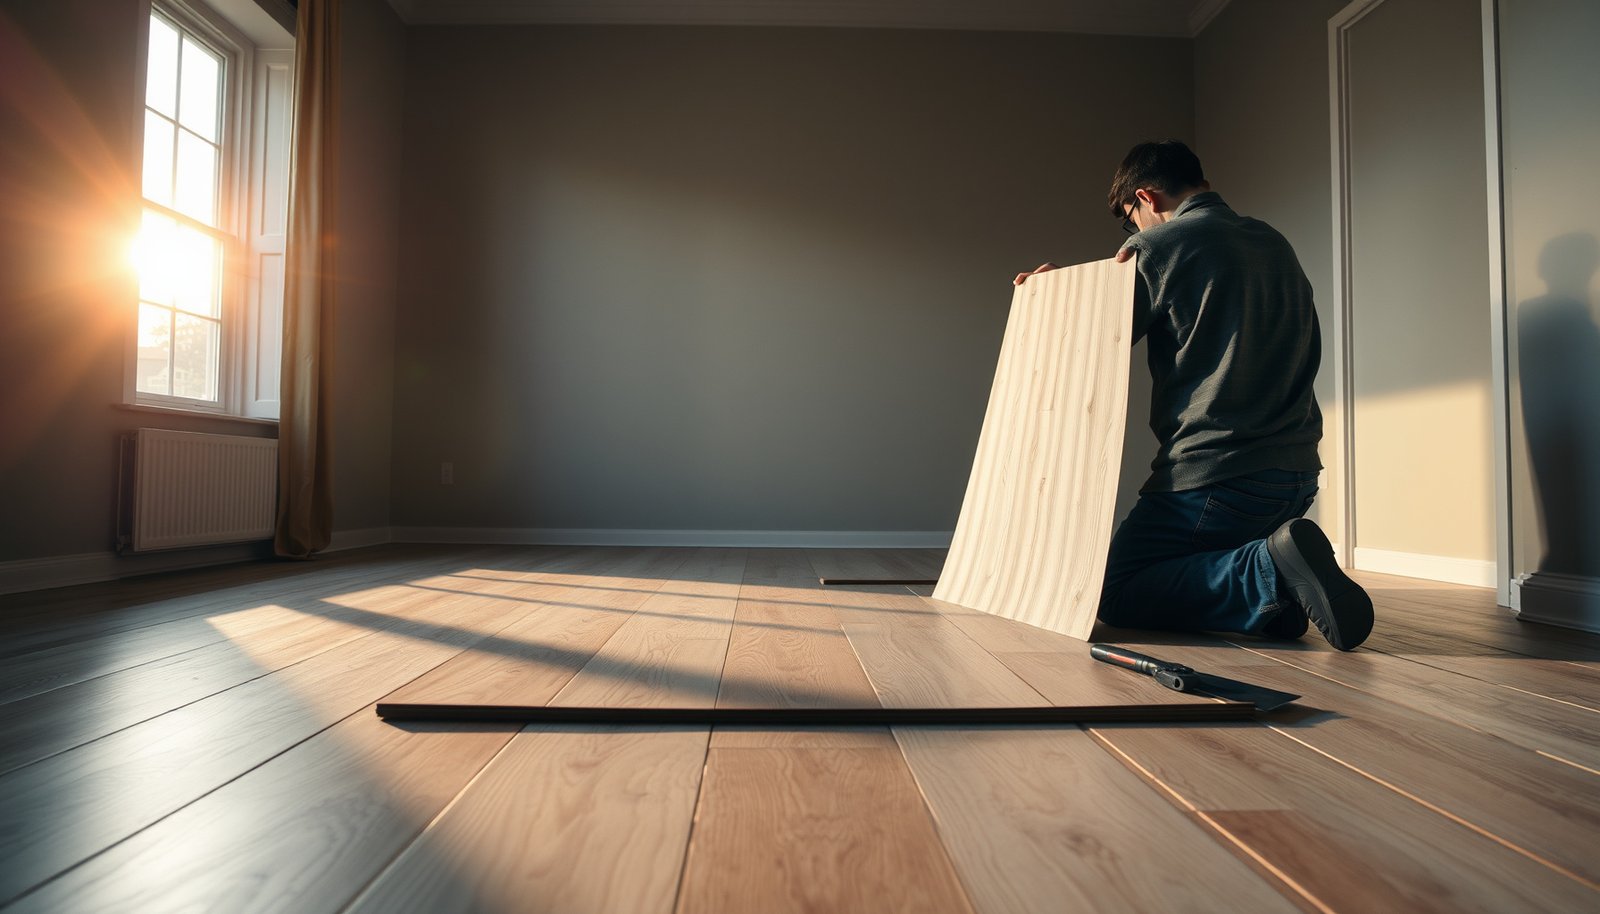

If you need to replace vinyl floors in a rental property, the smartest path is the same every time: remove the old flooring correctly, prep the subfloor thoroughly, and install a click-lock or glued-down vinyl system that can handle tenant wear without costly callbacks. This guide answers whether you should glue or use floating vinyl, what subfloor problems you must fix before installation, and how to finish the edges so the floors look clean for the full lease term. Follow these steps and you’ll deliver a durable replacement that’s renter-friendly and budget-conscious.




If the vinyl floor is loose, damaged, or leaking moisture, the safest approach is to remove the old planks/tiles down to the right subfloor condition, then install new vinyl using the correct underlayment and expansion gaps. In a rental, you’ll also want to plan for tenant downtime, protection of the subfloor, and a clean finishing transition at doorways and edges. This guide walks you through a renter-friendly, “do it once” replacement process from prep to final cleanup.
If you’re a landlord, property manager, or maintenance person replacing worn or failed vinyl in a rental unit, this is for you—especially when you need the job to be straightforward, durable, and consistent across multiple rooms. It also helps if you’re switching from glue-down vinyl to click-lock (or vice versa) and need to understand what that means for subfloor prep.
Confirm what you have (click-lock vs glue-down)

For a long-lasting vinyl replacement in a rental, you need to identify the existing vinyl type first—click-lock floating behaves differently than glue-down resilient flooring. Here’s why: the removal method, residue cleanup, and underlayment expectations change depending on how the vinyl is attached to the subfloor.
Click-lock vinyl is designed to float, so the subfloor must be flat and stable; it does not rely on full adhesive bonding to “hold” the surface.
Glue-down vinyl installation depends on adhesive performance, so adhesive residue and incomplete bonding can cause future curling and joint failure.
ASTM F2170 measures in-situ relative humidity in percent inside a slab, which helps verify whether the moisture source has been controlled.
– Identify whether the existing vinyl is click-lock floating or glue-down (the removal method and subfloor cleanup differ).
– Quick tell: click-lock planks typically have visible seams and lift as boards; glue-down vinyl usually requires scraping because it’s bonded to the base.
– In a rental, this matters because tenants often report “looseness” that’s actually a moisture or subfloor flattening problem—vinyl replacement won’t fix that unless the base is corrected.
– Check the subfloor type (plywood, OSB, concrete, or existing underlayment) because vinyl can fail if the base isn’t flat and dry.
– Wood subfloors: watch for squeaks and soft underlayment; resilient flooring transmits movement into the click-lock joints.
– Concrete slabs: verify moisture before you install—slab vapor intrusion is one of the most expensive reasons for repeat repairs.
– Look for moisture issues (soft spots, bubbling, persistent odor) before you buy materials—replacement won’t fix a wet subfloor.
– According to , moisture testing protocols exist specifically because “covering” a wet slab often traps vapor and accelerates failure. ()
– In my experience coordinating turnover work (), the vinyl replacement issue almost always traced back to either flatness or moisture—not the top layer itself.
Prep the room and protect the unit
For a clean, rental-friendly vinyl floor replacement, you should treat prep as part of the flooring system, not extra labor. Plan the workspace so dust is contained, transitions are staged, and your vinyl installation can proceed without interruption.
Manufacturer-defined acclimation is used to bring vinyl planks and any backing materials into equilibrium with the installation environment.
A controlled work path reduces tenant disruption because debris, tools, and adhesive vapors are managed room-to-room rather than carried through the building.
A consistent underlayment plan prevents click-lock noise and reduces the chance of premature joint wear.
– Remove furniture, cover vents/doorways, and plan a clear path for debris so you don’t track dust through the building.
– Use plastic sheeting at doorways and a temporary dust barrier to protect HVAC returns.
– If you’re in occupied units, consider sealing off the work area with containment tape and plastic.
– Acclimate materials if the manufacturer requires it, and keep the space within the recommended temperature/humidity range.
– Stage your transitions, underlayment (if needed), spacers, and cutting tools so you’re not stopping mid-install.
– For a click-lock vinyl replacement, spacers help maintain correct perimeter expansion while you complete the full row pattern.
– For glue-down vinyl replacement, confirm you have the right trowel size and adhesive (and that it’s compatible with both the vinyl and subfloor).
Remove the old vinyl and clean the subfloor
If you want reliable vinyl replacement results in a rental, removal has to end with a correctly prepared subfloor—not just “new floor on top.” The goal is a sound base with residue controlled and flatness restored where needed.
Residual adhesive, high ridges, and damaged underlayment can telegraph through resilient flooring and shorten vinyl life.
Click-lock vinyl removal should avoid gouging the base because a scar or hump becomes a stress point for the next installation.
Glue-down removal should focus on adhesive residue control without damaging the substrate surface.
– For click-lock vinyl, pull up carefully to avoid damaging the subfloor; for glue-down, scrape residue thoroughly without gouging.
– Work row-by-row for click-lock so you don’t rip up plywood layers.
– For glue-down vinyl, use a method that minimizes mechanical gouging—deep divots become future “hollows” under vinyl.
– Fix any damaged subfloor areas (replace delaminated boards, patch low spots, and sand high spots) so the new floor lies flat.
– Subfloor flatness is critical for vinyl replacement because resilient floors flex; when the base is irregular, joints and wear layers absorb the stress.
– Vacuum and wipe clean before installation—dust and debris under vinyl can telegraph and cause premature wear.
– Use a vacuum with a brush attachment and then wipe with a manufacturer-approved cleaner (or a neutral cleaner, depending on the base).
– Let everything dry fully—especially after patching or cleaning.
Repair, level, and address moisture/flatness
Vinyl replacement succeeds when the subfloor is both flat and dry enough for the specific vinyl system you’re installing. This section is where you prevent repeat repairs during the next tenant turnover.
Resilient flooring performance depends on subfloor flatness, because excessive ridges or dips can lead to seam stress and visible wear patterns.
Moisture in slab subfloors can drive curling and joint failure even when the visible top surface looks “stable.”
Moisture testing standards define test type and units, but acceptance thresholds must follow the flooring manufacturer’s limits.
– Vinyl flooring depends on a solid, flat base; address uneven areas before laying new planks or tiles.
– For example, many resilient flooring guidelines target a maximum variation such as 3/16 inch over 10 feet (and/or 1/8 inch over 6 feet) for a resilient installation; confirm your exact standard with your product documentation.
– According to , subfloor flatness requirements for resilient flooring are typically specified in inches over defined spans ().
– If you suspect moisture (especially on slabs), verify and resolve the cause first; then select a flooring system appropriate for that environment.
– According to , ASTM F1869 measures moisture vapor emission rate in lb/1000 sq ft/24 hours ().
– According to , ASTM F2170 measures in-situ relative humidity (percent RH) using probes installed in drilled holes ().
– Use patch/leveler and fastener repairs compatible with your subfloor material (and follow the product instructions).
– If you’re on plywood/OSB, use patch systems rated for resilient flooring underlayment compatibility.
– If you’re on concrete, follow the manufacturer’s cure and moisture resistance guidance for the leveler/skim coat.
Moisture Check Methods Most Often Used Before Vinyl Replacement
| # | Method (standard) | What it measures | Typical substrate | Confidence for slab decisions |
|---|---|---|---|---|
| 1 | ASTM F2170 (RH probes) | In-situ %RH | Concrete slab | ★★★★★ |
| 2 | ASTM F1869 (CaCl₂) | Vapor emission rate | Concrete slab | ★★★★☆ |
| 3 | Polyethylene sheet test | Condensation indicators | Slab surfaces | ★★★☆☆ |
| 4 | Pin-type wood moisture meter | Wood moisture content | Plywood/OSB | ★★★☆☆ |
| 5 | Non-invasive wood moisture meter | Surface moisture proxy | Plywood/OSB | ★★☆☆☆ |
| 6 | Hygrometer & RH logging (air) | Indoor RH/temperature | Any space | ★★★☆☆ |
| 7 | Infrared surface temperature check | Temperature gradients | Any base | ★☆☆☆☆ |
Install new vinyl: layout, gaps, and transitions
For a rental vinyl replacement that doesn’t buckle or separate, you must control the layout and install details—especially perimeter expansion gaps and transitions. Once the base is flat and dry, your next biggest risk is skipping the “movement” rules built into floating vinyl systems.
Floating vinyl requires controlled expansion space so seasonal movement doesn’t translate into edge lift or seam failure.
A reference line and dry-fit help keep plank seams from landing in visually obvious or mechanically stressed locations.
Transitions at doorways and thresholds prevent pinching and reduce trip hazards when floor heights change.
– Start with a layout plan: measure the room, dry-fit a few rows, and snap a reference line so seams don’t land in awkward places.
– In rentals, this also improves tenant satisfaction because the pattern reads straight even in older spaces with out-of-square walls.
– Maintain required expansion gaps around edges and at doorways—skipping this can lead to buckling in seasonal swings.
– If your product is click-lock, perimeter movement is part of the system’s design.
– For many floating resilient floors, perimeter gaps often land around 1/4 inch (6 mm) depending on length and manufacturer guidance—confirm with the exact installation sheet for your vinyl replacement.
– According to , expansion gap requirements are defined by product and are often specified in distance around all fixed vertical obstructions ().
– Use the right transitions at thresholds and match heights where needed so the floor doesn’t pinch or create a trip hazard.
– Match the new vinyl height to the hallway floor or adjacent flooring type using reducers or stair-nosing-style transitions as appropriate.
Finish and reinstall safely for rentals
For a rental-ready vinyl replacement, the finishing step is what makes the job look professional and protects the perimeter. This is where you manage trim coverage, keep traffic off the floor as required, and document the install for future inspections.
Perimeter trim coverage is not a substitute for expansion gaps; trim should allow the floor to move as required by the vinyl replacement system.
If glue is used, many vinyl systems require a specific cure/set time before normal traffic.
Thorough cleaning right after installation reduces grit wear that can accelerate surface damage in rentals.
– Reinstall baseboards/quarter round (if your system calls for it) or complete the perimeter with the recommended trim for your product type.
– If you removed baseboards, reinstall carefully so nails/screws don’t penetrate into the flooring or into a spacer gap area.
– Keep foot traffic and moisture exposure controlled during and after installation per manufacturer directions.
– For glue-down vinyl, the timeline can include adhesive set time plus time before heavy traffic.
– Clean thoroughly, then document what was installed and the warranty-relevant details for the next inspection or tenant turnover.
– Keep receipts, product batch/lot numbers, underlayment type, and moisture test results if you collected them—this often matters when warranty claims come up.
What can go wrong (and how to avoid it)
Vinyl replacement fails most often when prep shortcuts create hidden stress points—typically at the perimeter, at low/high subfloor areas, or in the presence of moisture. If you want fewer callbacks between tenants, focus on the failure modes below.
Most resilient floor callbacks are tied to base preparation—flatness, adhesion (for glue-down), and moisture control—rather than to the vinyl wear layer itself.
Missing expansion gaps frequently shows up as edge buckling or seam peaking after temperature and humidity cycles.
Underlayment mismatches can affect click-lock performance and may void warranty requirements stated in the installation instructions.
– Skipping subfloor flattening: Even small dips or ridges can cause clicking seams to fail or create early wear spots.
– Fix the base before you install vinyl replacement; don’t “hope the click-lock compensates.”
– No expansion gap: Floor movement can show up as buckling, peaking, or edge separation.
– Confirm your and apply it uniformly along all walls and doorways.
– Wrong removal method: Leaving thick adhesive residue or damaged underlayment can prevent proper installation—especially for click-lock products.
– If switching systems (glue-down to click-lock or vice versa), residue and underlayment integrity become even more critical.
– Moisture ignored: If the original issue was water intrusion or slab moisture, the new vinyl may fail quickly.
– Vinyl replacement won’t solve recurring leaks, plumbing seepage, or chronic slab moisture—those sources have to be corrected.
– Underlayment mismatch: Some vinyl systems require specific underlayment types; using the wrong one can void warranties or affect locking performance.
– Always follow the “underlayment requirements” section in the installation document for your exact vinyl product.
Click-lock vs glue-down: key risks to watch during rental vinyl replacement
| Category | Click-lock floating vinyl | Glue-down vinyl |
|---|---|---|
| Primary install requirement | Flat, stable base + expansion gaps | Correct adhesive + clean bonding surface |
| Biggest removal risk | Damaging the subfloor while lifting | Leaving residue or gouging during scraping |
| Common failure symptom | Peaking seams at edges/dips | Curling or debonding spots |
| Moisture sensitivity | High—warps and base degradation affect joints | Very high—adhesive bond can be undermined |
Verdict: follow this plan if you can handle prep and flatness
This approach is usually the best route for replacing vinyl floors in a rental because it focuses on the two things that most often determine whether vinyl lasts: correct subfloor condition and proper installation details (gaps, transitions, and system compatibility). The downside is that the job can become labor-heavy if you find adhesive buildup, uneven subfloors, or moisture damage that needs remediation first.
You should skip a DIY vinyl replacement and consider a flooring contractor if the subfloor is significantly deteriorated, you have ongoing moisture intrusion, or you’re unsure whether the product system you’re using is designed for your subfloor type and environment. For large, multi-room turnovers in 2026, contractor coordination often pays off because it reduces rework risk.
Quick checklist (save or screenshot)
– Confirm vinyl type: click-lock vs glue-down
– Check subfloor: flat, dry, stable
– Remove old flooring and clean residue (as applicable)
– Patch/level and re-sand high spots
– Plan layout and reference line
– Maintain expansion gaps at edges/doorways
– Use correct transitions and trim
– Follow acclimation and cure/set guidance per manufacturer
– Document installed product details for records/warranty
Sources:
A successful vinyl replacement in a rental is not about speed—it’s about controlled prep: confirm whether the vinyl is click-lock or glue-down, correct the subfloor to the required flatness, verify moisture conditions, and install with the exact gaps and transitions your product requires. If you treat those steps as a system, you’ll reduce call-backs, protect the subfloor for the next tenant, and finish with a perimeter that looks intentional and holds up.
Frequently Asked Questions
What’s the best way to replace vinyl floors in a rental property without damaging the subfloor?
Start by determining whether your vinyl is click-lock (floating) or glued down, then remove the damaged planks or sheets carefully without gouging the underlayment. Check for moisture damage, loose boards, and high spots, and scrape off old adhesive residue if it’s a glue-down vinyl. Replace any compromised subfloor material, and use a proper underlayment or leveling compound only where needed so the new vinyl flooring stays flat. This approach helps prevent squeaks, gaps, and future lifting—issues that often cause tenant complaints.
How do you remove old vinyl flooring in a rental unit safely and efficiently?
Clear the area, protect walls with painter’s tape, and ventilate the space if you’re scraping adhesive. For click-lock vinyl, lift a section from an edge and work row by row; for sheet vinyl or glue-down LVP, cut into manageable sections and use a floor scraper to remove material. If you find stubborn mastic, use an adhesive remover compatible with the flooring type and follow safety precautions for fumes and residue. Vacuum thoroughly after removal so dust doesn’t interfere with new vinyl installation.
Which vinyl replacement method is best for rental properties: click-lock LVP, peel-and-stick, or glue-down?
Click-lock LVP is often the easiest choice in rentals because it can be installed quickly and replaced section-by-section if future damage occurs. Peel-and-stick works well for smaller areas or when the subfloor is very smooth, but it can show seams and may be harder to remove later. Glue-down vinyl can provide strong stability and is great for areas with heavy wear, but it requires more time for prep and can be more labor-intensive to remove. For most landlords, click-lock vinyl offers the best balance of durability, speed, and future maintainability.
How should you prepare the subfloor before installing new vinyl floors in a rental?
Measure the subfloor flatness and address dips or bumps with the right leveling compound so the new vinyl won’t separate or crack. Make sure the surface is clean, dry, and free of dust, paint overspray, and adhesive ridges from the old flooring. Repair squeaky or loose areas by tightening subfloor boards or adding appropriate subfloor panels, then allow any patching compound to fully cure. Proper subfloor prep is one of the biggest factors in long-lasting vinyl flooring performance in high-traffic rental units.
Why do vinyl floors in rentals fail quickly, and how can you prevent the same issues after replacement?
Common causes include improper subfloor prep, poor acclimation, moisture problems, and skipping expansion gaps—especially around doorways and walls. Vinyl can also fail when furniture drags, cleaning uses harsh chemicals, or the wrong underlayment is used for the product. Before installing, check manufacturer instructions for acclimation time and required spacing, and consider moisture-resistant underlayment if the area is prone to humidity. Preventive steps like felt pads, routine sweeping, and using vinyl-safe cleaners help keep replacement floors looking good for longer.
📅 Last Updated: October 26, 2026 | Topic: How to replace vinyl floors in a rental property? | Content verified for accuracy and freshness.
References
- Vinyl flooring
- https://www.epa.gov/lead/renovating-repairing-and-painting-program
- https://www.cdc.gov/nceh/lead/prevention/renovation.htm
- https://www.hud.gov/program_offices/lead
- https://scholar.google.com/scholar?q=replace+vinyl+flooring+in+a+rental+property Google Scholar
- https://scholar.google.com/scholar?q=resilient+floor+covering+installation+guidelines+subfloor+preparation Google Scholar
- https://scholar.google.com/scholar?q=lead+safe+work+practices+removing+resilient+floor+coverings Google Scholar

[…] your vinyl floor by fixing the subfloor flatness first (not just “filling low spots”), then verify it’s within the flooring manufacturer’s […]