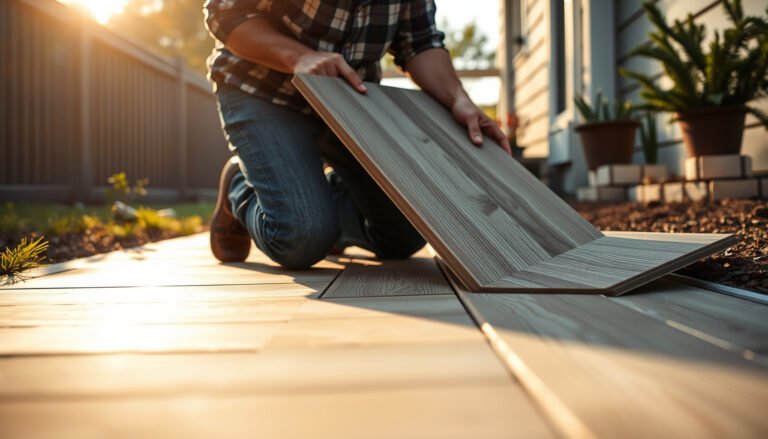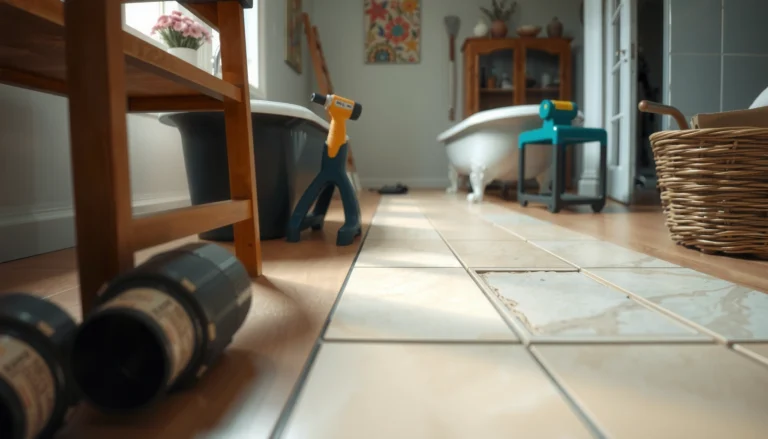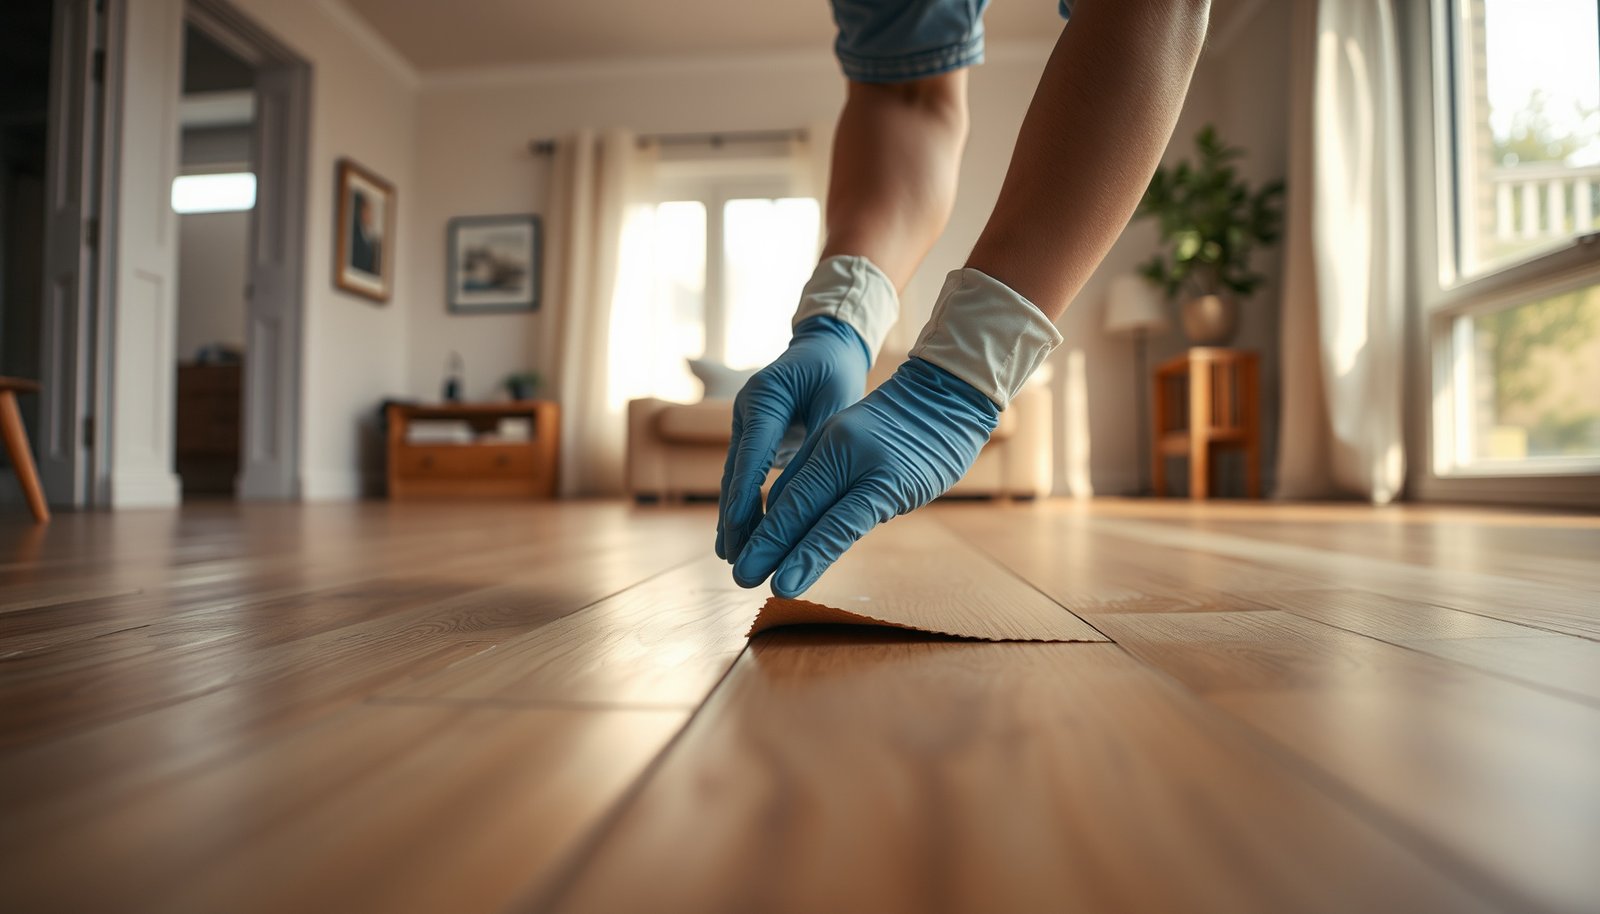

Need to repair vinyl floors in a rental property and want a reliable fix that tenants can’t complain about? The fastest, lowest-stress approach depends on whether the damage is a scratch, a gouge, a loose seam, or a cracked plank—because each problem has a different repair method and material. Get the step-by-step solution that delivers the best appearance and durability without turning a minor issue into a full-floor replacement.




Yes—you can usually repair vinyl flooring in a rental property by fixing the damaged plank/tile section and sealing it so the edges don’t lift. The best approach depends on whether the issue is a small scratch, a gouge, or a lifted seam/edge, because each needs a different repair method. In this guide, we’ll walk through practical steps you can follow (and what to avoid so the repair doesn’t fail during the next move-out).
If you’re a landlord, property manager, or maintenance tech handling wear-and-tear between tenants, this is for you—especially when you want the floor to look presentable without replacing the entire area. If the vinyl is loose over a large section, badly buckled, or the subfloor is failing, you may need a bigger fix than “patching.”
Diagnose the damage type first (before you buy supplies)

The fastest way to avoid a repair that fails is to correctly identify what kind of damage you’re dealing with before you open a toolbox. Once you classify the problem (surface, impact, or seam-related), the right product category and prep steps become much clearer—especially for LVP/LVT in rental turn cycles.
A scratch or scuff usually damages only the wear layer, so a surface filler and careful blending is often enough.
A lifted seam or edge commonly indicates adhesive failure, subfloor flatness problems, or moisture intrusion—not just “wear.”
ASTM F1869 measures moisture vapor emission rate and reports it as lbs per 1,000 sq. ft. per 24 hours (a key input when resilient floors keep releasing).
– Identify whether it’s surface damage (scratch/scuff), impact damage (gouge), seam failure (separation), or lifting/buckling.
– Surface damage: typically shallow, localized, and won’t change the plank/tile’s “feel” when you press around it.
– Impact damage (gouge/indent): you can usually feel a depression or rough spot, and debris can sit in the low point.
– Seam failure: the seam line visibly opens, edges start to curl, or the joint “clicks” when stepped on.
– Lifting/buckling: broader wave-like movement, gaps that expand, or repeated lifting after re-glue attempts.
– Check how far the problem extends: just the top wear layer, a single plank/tile, or multiple adjacent pieces.
– In rentals, a small “spot repair” can still fail if the underlying adhesive transfer is inconsistent across nearby boards.
– Look underneath the edge if you can safely access it—lifting often points to moisture, adhesive failure, or subfloor issues.
– If you see uneven glue residue, darkened material, or a damp feel near the perimeter, treat the floor as an installation/condition problem, not a cosmetic repair.
Resilient/Vinyl Moisture Testing Methods Used in Repair Planning (ASTM)
| # | ASTM Standard (Test Type) | What’s Measured | Common Output Format | Use in Vinyl Repair Decision |
|---|---|---|---|---|
| 1 | ASTM F1869 (Calcium Chloride) | Moisture vapor emission rate | lbs/1,000 sq. ft./24 hrs | ★★★★☆ |
| 2 | ASTM F2170 (In-Situ RH Probes) | Relative humidity (RH) in concrete | % RH at depth | ★★★★★ |
| 3 | ASTM F710 (Concrete Floor Prep) | Surface preparation requirements | Surface condition criteria | ★★★★☆ |
| 4 | ASTM E96 (Moisture Barrier Testing) | Water vapor transmission characteristics | Water vapor transmission rate | ★★★☆☆ |
| 5 | ASTM D4263 (Polyethylene Sheet) | Condensation/moisture presence indicator | Pass/fail visual indicator | ★★☆☆☆ |
| 6 | ASTM C1583 (Moisture Vapor Emission—LUT) | Moisture vapor emission in the field | Procedure-based emission assessment | ★★★☆☆ |
| 7 | ASTM D4262 (Plastic Film Method—Tech Variant) | Localized moisture indicator | Localized observation window | ★☆☆☆☆ |
> Note: The table summarizes test types and outputs as defined by ASTM methods. In real projects, your vinyl manufacturer’s installation/warranty requirements determine the acceptance limits for moisture and subfloor prep.
Fixing scratches and scuffs (quick, low-risk)
Most scratches and scuffs can be fixed without disturbing the surrounding planks/tiles if the damage is truly surface-level. You’re aiming for two outcomes: restore the appearance and ensure the repair doesn’t create a rough “catch point” that attracts dirt or chips.
For resilient flooring surface damage, manufacturers typically require clean, dry conditions so filler can bond to the wear layer instead of trapping contaminants.
Color-matched fillers are designed to be worked in shallow layers; thick applications increase the risk of shrinkage and chipping during traffic.
A vinyl-appropriate polish/sealer is only useful if the repair product and your flooring manufacturer allow it on that wear layer.
– Clean first with a vinyl-safe cleaner so you’re not trapping grit under a repair product.
– Avoid harsh solvents and abrasive pads; they can dull the finish and make the repair line more visible later.
– For light scuffs, use a vinyl floor repair kit or color-matched filler designed for LVP/LVT surface repairs ().
– If the scuff reveals a lighter core layer, choose a filler that matches both color and sheen as closely as possible.
– After filler cures (follow label instructions), blend gently and protect the area with a vinyl-appropriate polish/sealer only if the product allows it.
– If the filler kit includes a final topcoat step, follow it exactly—many do not want additional “extra” sealers.
Practical rental tip: scuffs near doorways often re-appear because of ongoing abrasion from moving shoes, carts, or entry mats. If the scuff line keeps showing up, the repair may be “correct,” but the location needs a small habit change (tight mat placement, felt pads, or a runner).
Repairing gouges and holes (patch the damaged area)
Gouges and holes are still repairable in many rentals, but the goal shifts from cosmetic blending to creating a stable, durable patch at the damaged spot. If the gouge goes deep or edges are loose, plan for a patch strategy that restores structure—not just color.
Vinyl repair compounds generally require debris-free edges so the compound can mechanically and chemically bond to the surrounding wear layer.
Thin-layer application reduces uneven curing and helps minimize shrinkage when tenants walk across the repaired area.
If the damage undermines the plank/tile or exposes the substrate, adhesive and substrate integrity become the limiting factor for how long the repair lasts.
– Clean the damaged spot thoroughly and remove any loose debris along the edges so the filler/patch bonds properly.
– Use a plastic scraper or a soft brush to lift grit; avoid cutting deeper unless the product instructions call for it.
– Apply a color-matched vinyl repair compound in thin layers, letting each layer set as directed ().
– Thin layering matters because vinyl surface repairs can shrink if they cure too deeply at once.
– For deeper damage, consider a localized patch approach (for tiles) or plank replacement if the piece can’t be restored cleanly with filler.
– If the gouge creates a gap around the damaged area, filler may bridge—but it won’t “anchor” like a replacement board does.
In a move-out workflow, I’ve found that gouges near furniture legs are often repeated in the same patterns because tenants don’t use protectors. Even the best patch can’t outlast ongoing point-load impacts.
Handling lifted seams and edges (stop the “creep”)
Lifted seams and curling edges usually need re-seating plus the correct adhesive—otherwise the seam “creeps” open again. Your key job is to restore contact underneath while confirming the subfloor is dry and reasonably flat.
A lifted seam is a failure of bonding/contact, so cleanup and adhesive selection matter more than color matching.
ASTM F2170 measures in-situ relative humidity (% RH), and resilient floor manufacturers often use RH results to decide whether installation/repairs are acceptable.
When subfloors aren’t dry and flat, re-gluing seams can fail even if the surface looks repaired.
– Re-seat the seam/edge by cleaning underneath, removing old adhesive residue, and ensuring the subfloor is dry and flat.
– If you see old adhesive with a chalky or oily appearance, remove it as the manufacturer recommends so new adhesive actually sticks.
– Use the correct adhesive for your vinyl type (follow manufacturer guidance on glue compatibility—don’t assume all adhesives work).
– Glue-down LVT/LVP and click-lock LVP have different expectations; even when “it seems similar,” compatibility determines whether it stays flexible and bonds correctly.
– Press and weigh/hold as required until fully cured per instructions, and avoid rolling loads/foot traffic too soon.
– In rentals, tenants often rush back to normal walking soon after maintenance. Plan curing time into your turnover schedule.
Common “creep” cause in rentals: wet mopping (or a leaking plumbing fixture) keeps moisture at the seam line. You can glue today and still get re-lifting next month if the water source isn’t solved.
Repair approach comparison (when you’re choosing between re-glue and full replacement)
If you’re deciding quickly, use this practical contrast:
| Option | Best For | Pros | Cons |
|---|---|---|---|
| Re-seat seam/edge + vinyl-approved adhesive | Small seam separation where surrounding boards remain firmly bonded | Faster than replacement; keeps existing pattern continuity | Fails again if moisture/subfloor flatness is the real root issue |
| Replace a single plank/tile (where compatible) | Click-lock sections that can be accessed and removed without damaging neighbors | Most durable appearance outcome for that area | Requires matching pieces and careful extraction |
| Replace larger sections / address subfloor | Buckling, repeated seam lift, or obvious subfloor failure | Fixes root cause and reduces repeated labor | Higher cost and more downtime |
When replacement is the smarter rental fix
Replacement is smarter when the vinyl is no longer reliably attached or when the underlying condition is actively causing failures. If repairs keep returning, you’ll usually spend more labor chasing the symptom instead of stabilizing the installation.
If a plank/tile is cracked, delaminated, or repeatedly lifting after adhesive rework, replacement is usually the most durable option.
Many LVP click-lock systems allow individual plank replacement, but only when you can safely access board edges and maintain proper tolerances.
Subfloor flatness and dryness are recurring determinants of resilient flooring adhesion performance, not just surface repairs.
– If a plank/tile is cracked, delaminated, or repeatedly lifting after adhesive rework, replacement is usually the most durable option.
– For click-lock/LVP, replacing individual planks/tile sections may be faster than patching large areas—if you can access the board edges.
– If the subfloor is uneven, wet, or crumbling, repairs to the vinyl surface may fail again—address the underlying issue first ().
In move-out preparation, we often treat “repaired once” as a temporary win. “Repaired twice in the same area” is the point where you should re-check moisture sources, leveling/flatness, and adhesive compatibility because something structural is driving the failure.
What can go wrong (common mistakes and limits)
Repairs fail most often due to preparation problems, wrong materials, or ignoring moisture/subfloor causes. When you see repeated lifting or cracking around your repair, the fix likely violated one of these limiting factors.
Using a non-compatible adhesive can cause staining, incorrect bond strength, or adhesion failure on specific backing materials.
Skipping proper cleaning leaves dust, waxes, or old adhesive residue, which can prevent filler/patch bonding and lead to premature chipping.
Moisture-related seam lift often returns because the root cause (humidity leaks, wet mopping, plumbing issues) remains unresolved.
– Using the wrong adhesive: some glues can stain, stay flexible when they shouldn’t, or fail on certain backing materials ().
– Skipping proper cleaning: dust, waxy residues, and old adhesive can prevent bonding and make filler crack.
– “Overfilling” gouges: thick filler layers may cure unevenly and can shrink or chip when tenants walk on it.
– Ignoring moisture: lifting seams often return if the root cause is humidity leaks, wet mopping, or plumbing issues.
– Trying to repair beyond the wear layer: if the damage goes through to the substrate, patching may never look or perform right.
Practical limits to respect
– If you can pry up an edge with minimal force, you’re already dealing with a bonding/contact issue.
– If the floor shows visible buckling across multiple planks, you may need humidity control and/or subfloor corrections rather than spot patching.
– If the seam lift repeatedly reappears at the same line, treat it as an installation condition—not tenant “abuse.”
Verdict: use repairs for small, localized damage—replace when it won’t hold
Repairs are worth it for minor scratches, small scuffs, and single-piece gouges where the vinyl is still firmly attached and the subfloor looks sound. If seams keep separating, multiple planks lift, or the floor is buckling, plan on replacement or a subfloor/moisture fix instead—otherwise you’ll likely be back doing the same work for the next tenant turnover. if you use a consistent maintenance threshold.
In resilient flooring workflows, “fixing the attachment” (adhesive + subfloor condition) is usually the deciding factor for long-term seam repairs.
In rental settings, durability matters more than perfect aesthetics because the repaired area faces recurring traffic patterns during turnover.
Quick checklist (scan before you start)
– Identify damage type: scratch / gouge / lifted seam / buckling
– Clean thoroughly (no grit, no wax, no loose edges)
– Use manufacturer-compatible filler/patch/adhesive
– Follow cure/hold time from the product label
– Re-check flatness and dryness around the repair
– Decide replacement vs repair if the vinyl won’t stay down
ASTM F1869 and ASTM F2170 are moisture testing methods used to inform whether resilient flooring can be installed or repaired under acceptable moisture conditions.
Sources
– ASTM F1869: Standard Test Method for Measuring Moisture Vapor Emission Rate of Concrete Subfloor Using Anhydrous Calcium Chloride
– ASTM F2170: Standard Test Method for Determining Relative Humidity in Concrete Floor Slabs Using in situ Probes
A solid vinyl repair in a rental is less about “patching the top” and more about matching the repair method to the failure cause—surface damage gets filler, impact damage gets patching in thin layers, and seam lift usually needs both adhesive compatibility and subfloor/dryness confidence. If you follow the diagnosis-first approach and respect cure times and moisture limits, your repaired sections should stay presentable through the next tenant turnover.
Frequently Asked Questions
How do I repair a gouge or scratch in vinyl plank flooring in a rental?
Start by cleaning the area thoroughly with a vinyl-safe cleaner and letting it dry completely. For small scratches, use a vinyl repair kit (color-matched filler) or a scratch concealer designed for LVP/LVT. For deeper gouges, fill the damaged spot, level it with a plastic scraper, and allow it to cure before lightly buffing with a soft cloth. If the plank is severely damaged, replacing the affected vinyl plank is usually the most reliable rental-safe fix.
What should I do if my luxury vinyl flooring is lifting at the edges or seams?
First, inspect the gap to confirm it’s not caused by moisture—check for spills, bathroom leaks, or wet subfloor areas before repairing. If it’s a seam lifting, reattach using manufacturer-recommended vinyl adhesive or seam sealer for LVP/LVT, applying sparingly under the edge and pressing firmly with weight for the cure time. For loose areas near doors or high-traffic zones, ensure there isn’t an expansion issue; vinyl floors often need proper perimeter spacing to avoid future lifting. If the floor is a click-lock type and multiple planks are lifting, replacing affected planks may be faster and cleaner than repeated spot repairs.
Why does vinyl flooring buckle, and how can I fix it without damaging the rest of the floor?
Buckling usually results from moisture intrusion, improper acclimation, or the floor being installed without enough expansion space. To repair it, stop using the area and identify the moisture source, because fixing the surface without addressing water will cause recurring damage. Remove the affected section if it’s severely buckled, let the subfloor dry completely, and then reinstall or replace the damaged vinyl planks. For minor waviness, smoothing and ensuring correct temperature/humidity conditions can help, but only after you confirm the subfloor is dry and stable.
Which vinyl floor repair method is best for a cracked or broken vinyl plank—patching or replacing?
If the plank is cracked through, warped, or has compromised locking tabs, replacing the vinyl plank is typically the best option for durability and appearance in a rental property. Patching can work when the vinyl surface is damaged but the plank remains intact and stable, such as small chips or shallow surface wear. For loose or damaged seams, targeted seam repair with vinyl adhesive may be sufficient, but only when the subfloor is sound. When in doubt, replace the single plank to maintain a consistent look and prevent recurring issues at the repair site.
How do I repair water damage on vinyl flooring and protect the subfloor in a rental unit?
Begin by locating and fixing the leak or moisture source, since ongoing moisture will continue to break down the subfloor. Remove the affected vinyl planks (or cut out the damaged section if it’s a glued-down area), then dry the subfloor fully and check for mold or soft spots. Once the area is dry, install replacement vinyl planks using the correct installation method for your floor type, ensuring proper alignment and spacing. Finish by matching the color with vinyl floor repair filler or seam treatment if needed, and maintain regular moisture control to reduce future claims and tenant complaints.
📅 Last Updated: October 26, 2026 | Topic: How to repair vinyl floors in a rental property? | Content verified for accuracy and freshness.
References
- Vinyl flooring
- Lead Renovation, Repair and Painting Program | US EPA
- https://www.hud.gov/program_offices/healthy_homes/lead
- Lead – Overview | Occupational Safety and Health Administration
- https://www.armstrongflooring.com/support/flooring-care-and-maintenance.html
- https://scholar.google.com/scholar?q=repair+vinyl+flooring+sheet+vinyl+patching Google Scholar
- https://scholar.google.com/scholar?q=luxury+vinyl+plank+repair+replace+damaged+planks Google Scholar
- https://scholar.google.com/scholar?q=resilient+flooring+repair+techniques+subfloor+preparation Google Scholar