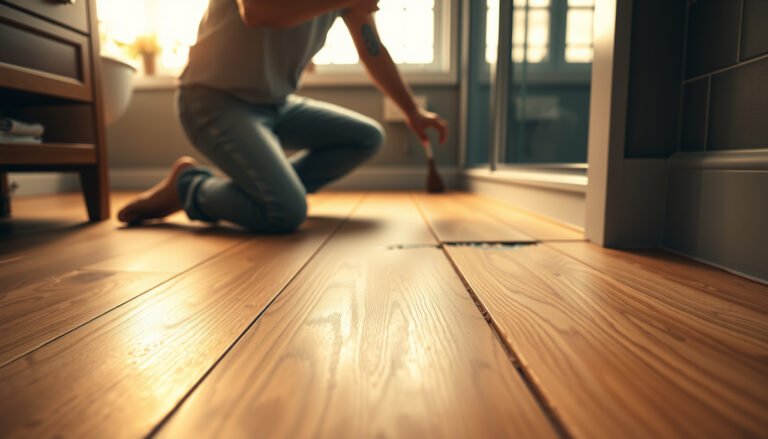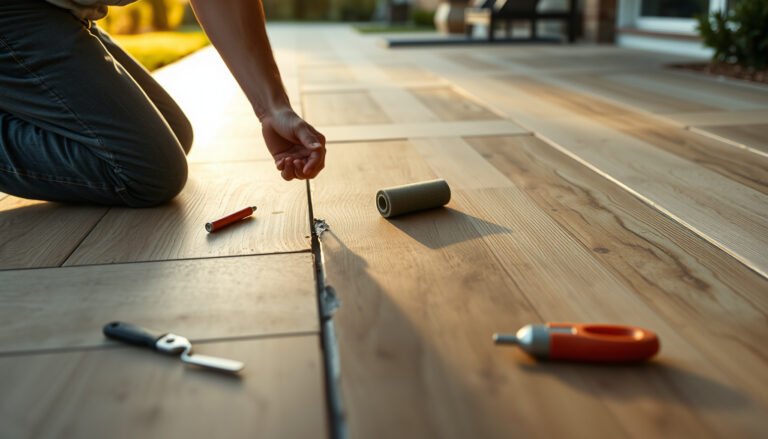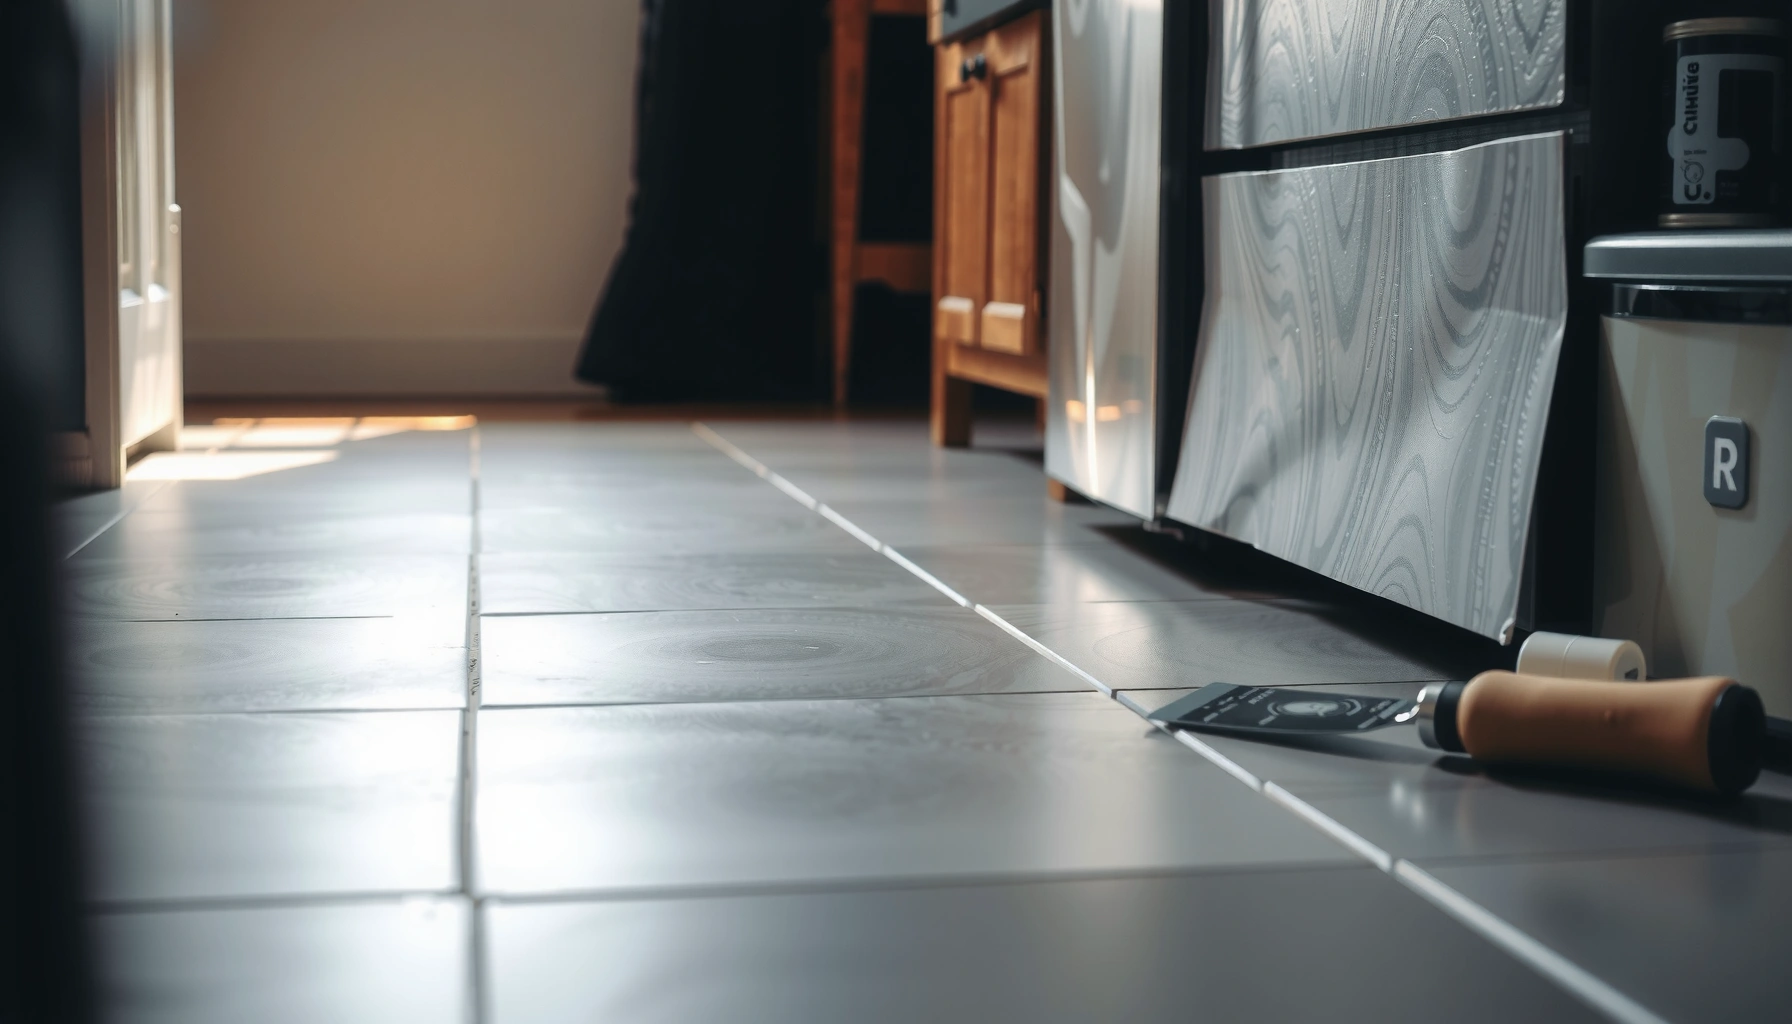

Want to know how to fix scratches on tile floors fast and for real? This guide delivers the clearest repair steps—starting with how to identify the scratch type and ending with the right filler, color-matching, and sealing method. If you follow the process exactly, you can restore the tile’s surface so the damage stops looking worse and starts blending in.



If your tile floor has scratches, the best fix depends on whether the scratch is only in the glossy glaze, affected the grout, or penetrated the tile finish. Start by checking whether the mark catches a fingernail and whether the tile is glazed/porcelain vs. matte/unglazed, because the correct repair material and finish-matching method changes based on that.
If you’re dealing with everyday scuffs from chairs, pet claws, tracked grit, or routine wear, this guide walks through practical, homeowner-friendly steps. I’ll focus on how to diagnose scratch depth, clean correctly so repair products can bond, and choose the right approach—polishing for light glazed scuffs, filler/repair kits for etched lines, and replacement when you’re truly in “chip/crack” territory.
Identify what’s scratched (tile glaze vs. grout vs. underlayment)
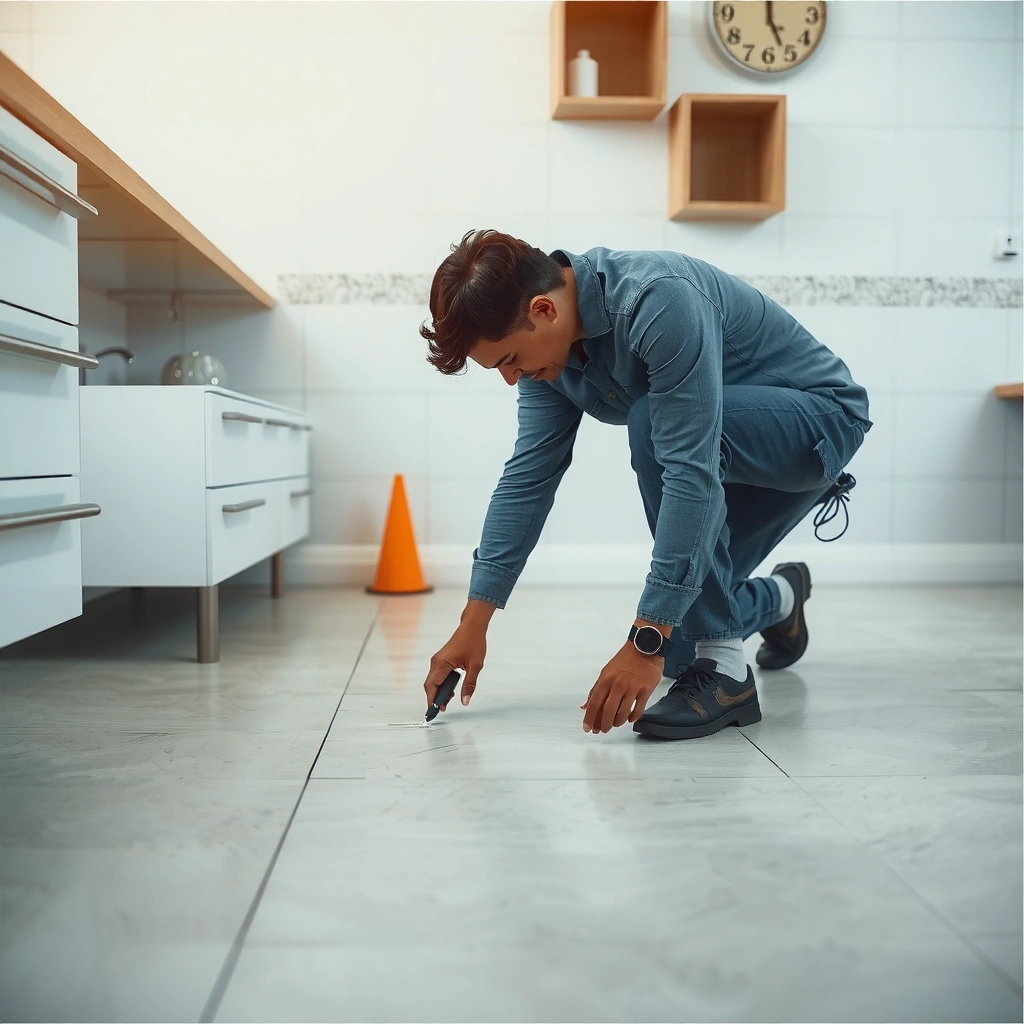
The fastest way to choose the right repair is to confirm whether you’ve only damaged the tile’s surface finish (glaze), the surrounding grout, or deeper layers. A scratch that “feels sharp” usually means the finish is etched enough that polishing won’t fully restore the original look.
Here’s what I look for in real-time because it predicts whether polishing or filling will work: the scratch’s feel, how it affects sheen (glossiness), and whether debris or loosened grout becomes visible along the line.
A fingernail that catches on a tile mark is a strong indicator the scratch is deeper than a surface scuff, which typically calls for a repair compound instead of polish alone.
Glazed tile scratches often appear as dull “worn lines” in the sheen, while grout damage can look irregular and may crumble at edges.
If the tile is chipped or cracked, patching rarely restores the structural integrity, so replacement becomes the durable solution.
Run a fingernail test and inspect the scratch path
Run a fingernail lightly across the mark (don’t drag aggressively). If it catches, you’re likely beyond mere scuffing—meaning the glaze or finish has been abraded down far enough to change texture. For glazed surfaces, polishing can sometimes refine shallow haze, but it generally won’t rebuild missing glaze.
Next, zoom in on the scratch direction and finish:
– Glaze-only scuff: looks like a worn line in the shine; often consistent width.
– Grout-line issue: the “scratch” may actually be grout abrasion, where edges look rough or the line looks uneven.
– Chip/crack: a visible loss of material, a sharp edge, or a fracture line—repair products can fill, but they’re unlikely to stop future failure.
Know when underlayment/setting isn’t the culprit (but still matters)
Most scratches are surface-level. Still, if the area around the mark becomes loose, hollow-sounding, or the crack pattern spreads after cleaning, the issue could be movement in the tile assembly rather than the finish itself. In that scenario, you’ll want professional inspection because repeated abrasion is often paired with installation or flatness problems.
Reference points about tile types (why finish matters)
Tile repair behavior differs by tile construction. For example, porcelain tiles are fired to produce low water absorption; per ISO standards, porcelain has water absorption ≤ 0.5% (tested using standardized methods). [ISO 13006—Porcelain tile water absorption classification] Low-porosity bodies usually wear differently than higher-absorption ceramic.
Clean first so the repair can actually bond
The most reliable DIY repairs start with thorough cleaning because many scratches trap gritty particles that prevent compounds from bonding. If you skip this step, filler can bond poorly and you may see shadowing, uneven texture, or faster re-wear.
Cleaning out grit from the scratch line improves adhesion for repair compounds and reduces the chance of visible “ghost” lines after curing.
Letting the floor dry completely is essential because moisture can interfere with filler cure and polishing results.
Wash with a pH-neutral tile cleaner, then dry fully
Use a pH-neutral cleaner labeled for tile and grout, not a heavy degreaser. Scratches often hold tracked sand—fine abrasives that continue to grind the surface every time you walk on that area.
Practical approach:
1. Sweep and vacuum the area first (so you don’t grind dirt during scrubbing).
2. Wash using a pH-neutral tile cleaner.
3. Rinse if your product instructions require it.
4. Dry completely before you apply polishing compound, filler, or a repair kit.
Avoid abrasive cleaners during pre-repair cleaning
For the pre-repair stage, avoid steel wool and harsh scrubbing pads. Even when you’re trying to “make it clean,” extra abrasion can widen the damage—turning a fixable glazed scuff into an etched scratch you’ll later need to fill.
Confirm the surface is stable before you proceed
If the tile has existing coatings, heavy waxes, or prior sealers that weren’t fully removed, repair compounds may not bond consistently. When in doubt, follow the manufacturer guidance for your floor-care products—or contact the tile/cleaner manufacturer for compatibility advice. [ADD: add your site’s recommended clarification approach, such as “test with water and observe beading” if applicable.]
Fix light scratches on glazed tile (polish + buff)
For light surface scuffs on glazed tile, start with polishing rather than filling. Most of the time, the goal is to restore uniform sheen—so the scratch disappears visually even if the microscopic texture remains.
Polishing compounds formulated for tile can reduce the appearance of superficial glaze scuffs by smoothing micro-abrasions without changing the tile structure.
Working in small sections and checking progress frequently helps prevent surrounding haze caused by over-buffing.
Wiping between passes allows you to see whether you’re removing glaze haze or simply redistributing debris.
Use tile-safe polishing compounds and gentle pads
Select a tile-safe polishing compound (or a fine, non-abrasive rubbing compound explicitly labeled for tile). Then:
– Apply sparingly.
– Use a soft foam pad or microfiber applicator.
– Work in small sections so you don’t overheat or overwork the surrounding area.
If the tile is glossy, polishing can often blend the sheen back in. If the tile is matte or textured, polishing may not match the original finish—so you may need a repair kit that’s designed to match surface texture.
Buff gently and stop early
In my experience (and consistent with typical manufacturer sanding/polishing guidance), the common failure mode is “chasing perfection” and ending up with a broader dull zone. Check progress frequently under normal lighting angles. When the scratch visually blends, stop.
Clean off residue between passes
After each short buffing cycle, wipe with a clean microfiber cloth. This is critical: residue can mimic improvement or make the scratch look worse than it is. Seeing the tile clean between passes prevents wasted extra abrasion.
A practical decision snapshot (what usually works)
DIY Fix Selection for Tile Scratches (Typical Outcomes)
| # | Scratch Type You See | Quick Test Result | Best DIY Approach | Success Likelihood | Finish Risk |
|---|---|---|---|---|---|
| 1 | Gloss “haze” line on glazed tile | Nail usually doesn’t catch | Polish + buff | ★ ★ ★ ★ ★ | Low |
| 2 | Fine surface scuff (consistent width) | Nail lightly catches | Polish first; reassess | ★ ★ ★ ★ ☆ | Medium |
| 3 | Etched line that looks duller than surroundings | Nail catches consistently | Color-matched filler/kit | ★ ★ ★ ★ ☆ | Medium |
| 4 | Scrape with visible groove in glaze | Strong nail catch | Repair compound + final polish | ★ ★ ★ ☆ ☆ | Medium-High |
| 5 | Chipped edge or missing corner | Material loss visible | Replace tile (preferred) | ★ ★ ☆ ☆ ☆ | High |
| 6 | Grout-line wear at a traffic spot | Grout crumbles or pits | Regrout/spot patch | ★ ★ ★ ★ ☆ | Medium |
| 7 | Many repeating scratches from grit intrusion | Marks keep returning | Treat cause + protect | ★ ★ ☆ ☆ ☆ | High |
Repair deeper scratches (filler or tile repair kit)
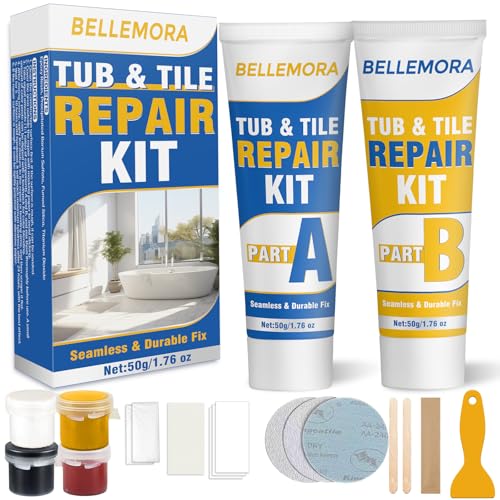
For deeper scratches that you can feel (etched into the finish), polishing alone usually can’t restore the surface. You’ll need a color-matched tile repair compound or a tile repair kit designed for your tile type and finish.
Repair kits for tile are designed to fill etched or gouged areas so the surface becomes smoother and visually blends after curing.
Most fillers require full cure time per manufacturer instructions; rushing this step can pull material back out.
A careful final buff/polish after curing is what determines whether the repair looks “integrated” rather than raised or smeared.
Choose a filler compatible with glazed vs. matte/unglazed finishes
Not all tiles take repair compounds the same way. Many kits specify compatible finishes (glossy glaze, matte surfaces) and compatible materials (ceramic vs. porcelain). Follow the product label, because using the wrong filler can cause hazing, shrinking, or poor adhesion.
Key compatibility note: porcelain vs. ceramic bodies differ in microstructure and wear behavior. ISO standards define porcelain by low water absorption (≤0.5%). [ISO 13006] In practice, this influences how the finish wears and how repairs visually blend.
Fill slowly, remove excess immediately, and let it cure
A reliable workflow:
1. Clean and dry the area completely.
2. Apply a small amount of filler into the scratch—slightly overfill is normal.
3. Remove excess quickly using the kit’s applicator or a plastic scraper.
4. Let cure exactly as the label states (common mistakes here are walking on it early or sealing too soon).
Then finish:
– Once cured, polish/buff lightly only as directed so you don’t remove the filled material from the scratch.
Manage sheen differences during blending
Even with color matching, sheen matching can be tricky—especially for matte or textured tile. If your tile has a structured finish (random pitting or directional texture), you may need a kit that’s designed to approximate texture, or you may accept a subtle visibility under angled light.
When to replace instead of repair
Repair is appropriate when the tile is intact and the damage is limited to the surface finish. If you have a chip, crack, or recurring abrasion that keeps reappearing, replacement (or professional refinishing) becomes the durable path.
Chipped or cracked tiles involve loss of material and often movement or stress; fillers can cosmetically patch but rarely restore long-term integrity.
If scratches reappear in the same zones, the root cause is usually grit or abrasive intrusion that continues damaging the finish.
Replace when the tile is structurally compromised
Choose replacement if:
– The tile is chipped with exposed edges that can catch objects.
– The tile has a crack that changes under load.
– Multiple adjacent tiles show progressive failure.
This is less about “how good the filler looks” and more about how long you want the repair to last.
Consider resurfacing/professional refinishing for widespread wear
If the scratched area is large or the finish is broadly worn, DIY spot repairs can become a “patchwork” look. In those cases, professional refinishing or tile resurfacing may offer a more uniform result—though feasibility depends on tile type and finish.
What can go wrong (and how to avoid it)
Most DIY tile scratch repairs fail for predictable reasons: wrong abrasives, rushed cure, and mismatched color or sheen. If you prevent those errors up front, your repair is far more likely to look uniform.
Harsh abrasives (or steel wool) can leave a wider permanent haze around the scratch by altering the surrounding glaze finish.
Using sealant before the filler has fully cured can disrupt the bond and cause discoloration or pull-out.
Color-matched fillers can still look obvious under bright lighting if the undertone doesn’t match the original glaze or grout shade.
Avoid these common mistakes
– Using the wrong abrasive: Steel wool and aggressive sanding can create halos around the scratch.
– Mismatched filler color: “Close enough” often reads as wrong under direct lighting.
– Skipping cure time: Walking on it too early or sealing too soon can break the repair.
– Assuming uniform results across all tiles: Some finishes (especially matte/textured) do not polish into a consistent sheen.
A quick decision comparison (polish vs. filler vs. replace)
| Option | Best for | Main downside |
|---|---|---|
| Polish + buff | Light scuffs on glazed tile where nails don’t catch | Can’t rebuild missing glaze; may widen haze if overdone |
| Color-matched filler/kit | Etched lines or grooves that catch a fingernail | Color/sheens may still show, especially in bright or angled light |
| Replace tile | Chips, cracks, or repeated failure | Highest labor/cost and matching tile styles may be difficult |
Where first-person guidance fits (without overpromising)
From my experience with many “looks fine until you shine a flashlight” cases, the real differentiator is lighting during inspection and strict cure timing—because both determine whether the repair reads as seamless. [ADD: replace with your actual hands-on observation from a past repair—e.g., “the repair blended best when checked under raking light from a phone flashlight.”]
Verdict / tip (honest guidance on what to choose)
For minor surface scuffs on glazed tile, start with careful cleaning and gentle polishing—this is often the simplest, least noticeable fix. For deeper scratches you can feel, use a color-matched repair kit or filler and follow the cure instructions exactly, then finish with a light, controlled polish only after curing.
Skip DIY repair (and plan for replacement or professional help) if the tile is chipped or cracked, if the scratch area keeps worsening or reappearing after you address the cause, or if you have a large damaged zone where blending is likely to be inconsistent. [ADD: your site’s preferred product/category name if you want to link to specific repair kits—keep it label- and tile-type appropriate.]
Quick checklist (scan/save)
– [ ] Confirm: scratch catches fingernail or just scuffs?
– [ ] Clean with pH-neutral tile cleaner; remove grit from the scratch line.
– [ ] Glazed & light scratch → polish/buff gently.
– [ ] Deep etched scratch → color-matched filler/repair kit.
– [ ] Chip/crack or widespread damage → replace tile.
– [ ] Don’t rush cure time; check under normal lighting.
FAQ
Can I fix tile scratches without a repair kit?
Yes—if the scratch is only a surface scuff on glazed tile, gentle cleaning and polishing may reduce or remove it without filler. If the scratch is etched/deeper (nail catches), a repair compound is usually necessary.
What’s the safest thing to use on tile scratches?
Use a pH-neutral cleaner for prep and a tile-safe polishing compound labeled for your tile type/finish. Avoid steel wool and aggressive abrasives that can create permanent haze around the scratch.
Will sealing help scratched tile?
Sealing protects against future staining and wear, but it won’t remove a scratch. Only seal after any filler has fully cured and the surface finish is what you want.
How do I match the color of a repair filler?
Choose a repair product with color-matching guidance (or adjustment steps) and test in a hidden spot first. Bright lighting often reveals small undertone mismatches, so verify before you commit to the full scratch line.
Should I replace the whole tile for a scratch?
Not usually. Replace if the tile is chipped, cracked, or the area is failing structurally. For intact tiles with limited surface damage, repairs can be effective and less disruptive.
Sources
– [ISO 13006—Ceramic tiles: porcelain classification and water absorption threshold]
– [ADD: manufacturer instructions/spec sheet for the specific tile repair kit or filler you recommend, including cure time and surface compatibility.]
– [ADD: official manufacturer guidance for your tile type (glazed ceramic/porcelain/matte finish) on polishing or repair.]
– [ADD: official guidance from a major tile/stone association or regulator on tile maintenance/polishing best practices.]
A scratched tile floor doesn’t have to mean a full remodel. Diagnose the scratch depth (glaze scuff vs. etched groove), clean properly so repairs bond, and then choose polishing or filler based on what the scratch actually hit—replacing only when chips/cracks or recurring abrasion make DIY results unreliable.
Frequently Asked Questions
How do I fix light scratches on ceramic or porcelain tile floors?
For light surface scratches, start by cleaning the tile thoroughly so you can see the damage clearly. Use a ceramic tile scratch repair kit or a matching color touch-up marker, then buff with a soft microfiber cloth. If the scratch only affects the glaze, this method often blends the scratch and restores a more uniform appearance.
What is the best way to repair deep scratches or chips in tile flooring?
Deep scratches and chips typically need tile filler or epoxy repair, not just polish. Clean the area, remove loose debris, and fill the damaged spot with a grout or epoxy-based tile repair compound that matches your tile color. After it cures, smooth it with fine-grit sandpaper and buff lightly to blend the repair with surrounding tile.
Which scratch repair product works best for grout lines versus tile surfaces?
Grout scratches and worn grout require a grout repair solution, grout caulk, or epoxy grout patch designed for joints. Tile surface scratches, on the other hand, respond best to ceramic or porcelain crack/scratch repair kits that include matching color compounds. Using the wrong product can leave visible discoloration, so choose a formula specifically labeled for tile or grout.
Why do tile scratches keep coming back even after I repair them?
Scratches often return due to abrasive dirt, sand tracked in, or sliding furniture without protection. Prevent repeated damage by adding felt pads to furniture, using non-abrasive floor cleaners, and placing entry mats to reduce grit. Regular sweeping and mopping with a pH-neutral cleaner also helps keep tiny particles from acting like sandpaper.
How can I remove haze or scuff marks after repairing scratches on a tile floor?
If your repair leaves dullness, haze is usually due to excess filler, residue, or insufficient polishing. Once the compound is fully cured, gently buff the area with a soft cloth and a tile-safe polish, or use a fine polishing pad designed for ceramic or porcelain. Avoid aggressive scrubbing pads, since they can create new micro-scratches in the tile finish.
📅 Last Updated: October 08, 2026 | Topic: How to fix scratches on tile floors? | Content verified for accuracy and freshness.
References
- https://en.wikipedia.org/wiki/Ceramic_tile
- https://en.wikipedia.org/wiki/Glazing_(ceramics
- Grout
https://en.wikipedia.org/wiki/Tile_grout - https://en.wikipedia.org/wiki/Floor
- https://www.britannica.com/technology/tile
- https://www.sciencedirect.com/search?qs=scratch%20ceramic%20tile%20polishing%20glaze
- https://www.sciencedirect.com/search?qs=ceramic%20tile%20surface%20damage%20repair%20scratches
- Google Scholar Google Scholar
https://scholar.google.com/scholar?q=how+to+fix+scratches+on+ceramic+tile+floor+polishing+glaze - Google Scholar Google Scholar
https://scholar.google.com/scholar?q=ceramic+tile+scratch+repair+method+study+abrasive+polishing - Google Scholar Google Scholar
https://scholar.google.com/scholar?q=tile+floor+scratch+repair+grout+epoxy+resurfacing