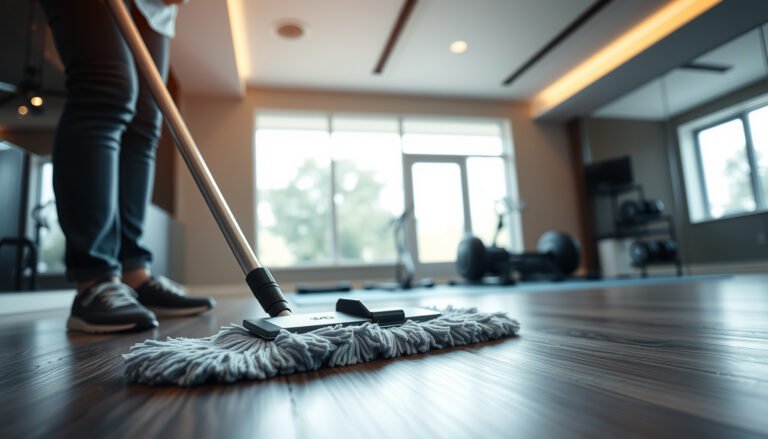
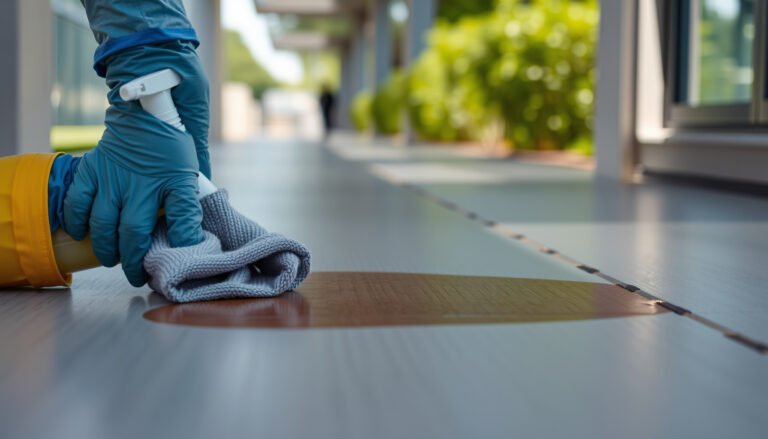
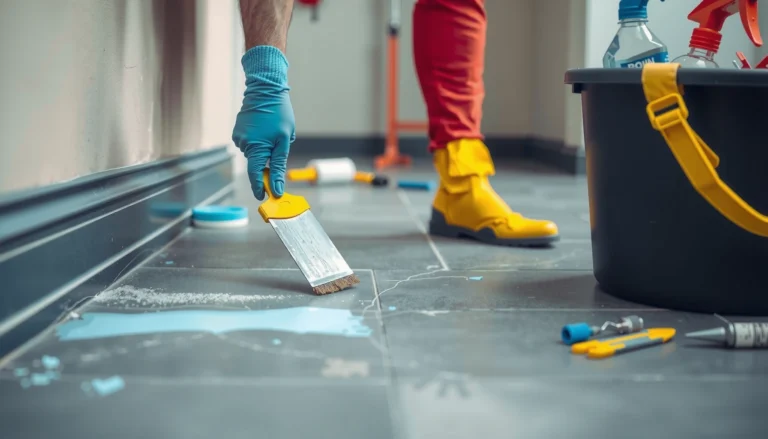
Grit on hardwood floors isn’t just ugly—it’s a common cause of scratched, dull finish, and you need the right approach to remove it safely. This guide tells you the exact step-by-step method that lifts grit without grinding it into the wood. You’ll learn what to use, what to avoid, and how to finish the job so your floors stay clean and protected.




Remove grit using dry methods first, then finish with a minimal-moisture wipe—never soak or scrub aggressively. This prevents abrasive particles from acting like sandpaper and helps protect your hardwood finish from dulling, haze, or damage around seams—especially important as floors see more outdoor grit in 2025–2026.
If grit is grinding into your hardwood, the safest approach is to remove it dry first (vacuum or microfiber dusting) and then do a minimal-moisture clean. Avoid soaking the floor or scrubbing hard—excess water and abrasives can dull the finish and work debris deeper into the wood. This guide walks you through a grit-safe routine, what to use, and what to skip.
If your floors have sand-like debris from shoes, patio dirt, or high-traffic grit, these steps are built for that situation. It’s especially relevant for sealed vs. unfinished hardwood, where the right level of moisture matters a lot.
Start With Dry Removal (No Scrubbing Yet)
Dry removal is the safest first step because grit embedded on the surface can scratch and dull the finish the moment you add friction. The goal is to lift particles out, not spread them wider.
In practice, grit acts like an abrasive—so the inverted-pyramid approach is simple: remove what you can while it’s dry, then lightly clean what remains. This matters even more in 2025–2026 when footwear and outdoor traffic bring in finer particles that cling to micro-texture in floor coatings.
A key prevention method for wood floors is to avoid grinding particles into the finish; starting with dry pickup reduces abrasion risk before any liquid is introduced.
Wood-dimensional change is moisture-dependent; when moisture conditions shift, floors can expand/contract and seams can become more vulnerable—another reason to limit how long the floor stays damp.
According to the USDA Forest Service Wood Handbook, shrinkage occurs as moisture content drops below the fiber saturation point (about 25–30% moisture content). [Wood Handbook, USDA Forest Service (2010)]
– Sweep or vacuum gently to pick up loose grit before any liquid touches the floor.
– Use a soft brush attachment or a microfiber dust mop to capture particles instead of pushing them around.
– Empty the vacuum canister or swap the bag when it gets full, so grit doesn’t get redistributed.
What “gently” means for vacuuming (so you don’t re-sand the floor): keep the nozzle flat, avoid aggressive edge scrapes, and use a suction setting that still lifts debris without grinding. When grit is concentrated near entryways, do two passes: one broad pass to catch most material, then a slower “perpendicular” pass (moving across board seams rather than along them) to catch trapped particles.
Note on mopping order: if you see a gritty film (not just scattered specks), you’ll often need dry removal in layers—vacuum/dust mop, then a second dust mop pass—before any microfiber wipe.
Choose the Right Tools for Grit (and the Finish)
The right tools reduce abrasion and keep grit from becoming “sandpaper” during cleanup. Match your approach to your hardwood finish: sealed floors can tolerate controlled dampness; unfinished/oiled floors require stricter adherence to the manufacturer’s guidance.
When you choose tools, you’re choosing how much friction and whether particles get trapped vs. carried. Microfiber is effective because it physically lifts and holds fine debris in its fibers—while stiff pads, scrubbers, and steel wool increase scratch risk even if the floor “looks tough.”
Microfiber is designed to trap fine particles in the fabric rather than smear them; this helps reduce the chance of grit acting as an abrasive during cleaning.
Steel wool and abrasive pads can scratch protective coatings; once a finish is abraded, it can dull or become more vulnerable to staining.
In 2025–2026, flooring manufacturers continue to recommend avoiding harsh abrasives on finished hardwood surfaces to preserve gloss and film integrity.
– Prefer microfiber cloths/dust mop heads; they lift grit without turning it into sandpaper.
– If grit remains in seams or corners, use a barely-damp microfiber rather than a scrub pad.
– Avoid steel wool and abrasive scrubbers; they can scratch the finish even if the floor looks “tough.”
A practical grit-to-tool mental model
Not all grit is “equal.” Particle size affects how easily it gets embedded and how likely it is to scratch. Below is a quick, data-based reference you can use to decide how aggressive your dry removal needs to be.
Particle Size Classes Most Common in “Home Grit” and Best Dry Pickup Match
| # | Grit class | Typical size (mm) | Common source | Best dry pickup | Match rating |
|---|---|---|---|---|---|
| 1 | Gravel | > 2.0 | Construction dust tracked in | Vacuum + soft brush | ★★★★★ |
| 2 | Coarse sand | 1.0 – 2.0 | Patio grit, driveway residue | Vacuum (no beater bar) | ★★★★★ |
| 3 | Medium sand | 0.5 – 1.0 | Shoe wear on rough outdoor paths | Dust mop (microfiber) | ★★★★☆ |
| 4 | Fine sand | 0.25 – 0.5 | Gravel walkways, garden paths | Vacuum + follow-up cloth wipe | ★★★★☆ |
| 5 | Very fine sand | 0.0625 – 0.25 | “Dusty sand” tracked indoors | Microfiber dusting first | ★★★☆☆ |
| 6 | Silt | 0.004 – 0.0625 | Dry soil, patio dust | Microfiber (light pressure) | ★★☆☆☆ |
| 7 | Clay | < 0.004 | Mud that dries into powder | Dry dusting + minimal damp follow-up | ★☆☆☆☆ |
Size class ranges align with the Udden–Wentworth sediment grading commonly summarized by the U.S. Geological Survey; always prefer dry pickup first because finer particles can still abrade under pressure.
Use a Minimal-Moisture Cleaning Method
Minimal-moisture cleaning removes remaining grit residue without creating “mud paste” that can grind into the finish. Use a hardwood-appropriate cleaner and apply it to the cloth or mop—never as a wet pour.
This step is where many people get into trouble: if you add water before you’ve lifted the grit, you turn loose particles into a slurry that spreads and increases friction. In 2025–2026, that’s even more common when floors are cleaned quickly during busy office or retail schedules.
Applying cleaner to the cloth/mop rather than directly onto the floor helps prevent pooling, which reduces the risk of finish haze and seam issues.
For wood floors, maintaining stable indoor humidity reduces movement; NWFA guidelines commonly cite indoor relative humidity in the mid-range rather than wide swings.
According to the USDA Forest Service Wood Handbook (2010), moisture content changes drive dimensional movement in wood, which is why cleaning should avoid prolonged dampness. [Wood Handbook, USDA Forest Service (2010)]
– Clean with a hardwood-appropriate cleaner that’s meant for your finish type (follow the label directions for dilution and use).
– Apply cleaner to the cloth/mop, not directly onto the floor, to prevent pooling.
– Work in small sections and dry promptly with a clean, dry microfiber if the product instructions indicate drying is needed.
How to do “barely damp” the right way
A “barely damp” microfiber should feel cool and slightly moist, not wet. If you can squeeze drops from the pad or cloth, it’s too wet for grit cleanup. Work one board-width (or one to two dozen square feet—) at a time, then re-check with your eyes or a flashlight angle.
Pros/cons: what actually changes with method
Here’s a parseable comparison you can use to choose your cleanup intensity:
| Criteria | Wet mopping / soaking approach | Damp microfiber + hardwood cleaner approach |
|---|---|---|
| Grit abrasion risk | High (particles turn into slurry) | Lower (particles lifted, not ground) |
| Finish dulling/haze risk | Higher (pooling and wet scrubbing) | Lower (controlled moisture) |
| Seam swelling risk | Higher | Lower |
| Control over liquid amount | Poor | High |
| Effect on stubborn seams | Can smear grit deeper | Better for targeted corner/seam passes |
| Time to “settle” (dry time) | Longer | Shorter |
| Best for sealed floors | Sometimes, but risky if sloppy | Yes—typically the safer default |
| Best for unfinished/oiled floors | Often too risky | Only if manufacturer allows that method |
| Skill requirement | Low, but failure modes are common | Moderate—requires restraint |
| Overall safety | Not recommended for grit cleanup | Recommended for routine grit removal |
| Best For (summary) | None for gritty floors | Most home and workplace grit situations |
Protect Against Finish Damage After Cleaning
Protection starts the moment you finish wiping: drying time and tracking prevention determine whether grit returns. Let the floor fully dry before walking on it, and treat entryways as the “filter.”
If you clean grit but allow foot traffic to reintroduce it immediately, you’re effectively undoing your progress. This is why mats and shoes-off rules matter as much as your cleaning technique.
Waiting for complete drying before foot traffic reduces the chance of redistributing residual particles and pushing them into seams.
Entry matting is a widely recommended abrasion-control strategy because it removes grit before it reaches the interior finish surface.
Finer particulates (silt and fine sand) can still abrade coatings under pressure, so “mostly clean” isn’t the same as “finished.”
– Let the floor fully dry before walking on it; use socks/clean shoes to avoid reintroducing grit immediately.
– Put entry mats at doors and a “no-shoes” rule during peak gritty seasons (rain, snow, construction dust).
– Recheck high-traffic paths first—those areas re-collect grit fastest.
Fast re-check technique: after cleaning, use a flashlight held low to the floor. This catches remaining grit stuck near seams and highlights dulling or streaks from uneven dampness.
If the floor is in an office, retail, or rental property, consider scheduling: dry pickup + minimal damp wipe, followed by a short buffer window before normal traffic resumes (exact timing: ).
What Can Go Wrong (Common Mistakes and Edge Cases)
The most common failure is skipping dry removal, then using liquid and friction that grind grit into the finish. The second is using too much water (or the wrong cleaner) so residue and moisture issues appear later.
These mistakes can be subtle: you might not see scratches immediately, but you can see dulling, hazy sheen, or grime reappearing faster because finish integrity is compromised.
If grit remains and you scrub with a wet mop, abrasive particles can become trapped in the finish surface and increase long-term dulling.
Too much water increases risk because wood movement is moisture-driven and prolonged dampness can affect seams and edges. [Wood Handbook, USDA Forest Service (2010)]
Using a cleaner not matched to the floor’s finish can leave residue or strip gloss, which then attracts dirt and grit faster.
– Scrubbing first: If you start with a wet mop while grit is still present, you can grind particles into the finish.
– Too much water: Hardwood expands/contracts with moisture; prolonged dampness can lead to dulling or damage around seams.
– Wrong cleaner for the finish: Some cleaners can strip shine or leave residue—always match the product to the floor’s finish type.
– Unfinished or oiled floors: These can react differently to water and detergents; if the wood isn’t sealed, use only methods consistent with the manufacturer’s guidance for that finish.
Edge cases where you should slow down
– Sharp debris (tiny gravel): even after dry vacuuming, sharp particles can remain. If you suspect gravel-sized bits, do a careful pass with a seam tool (soft bristle or crevice attachment) before any moisture.
– Rough-sawn or textured surfaces: they can trap grit in pores more than smooth boards. Expect repeated gentle passes rather than one “heavy” cleaning session.
– Unknown finish status: treat it as higher risk. When in doubt, use the manufacturer’s documented method for moisture limits or call a professional.
Verdict: A Safe Grit-Cleaning Routine (With Tradeoffs)
A grit-safe routine is: dry vacuum or dust mop first, then a lightly damp microfiber wipe using a hardwood-approved cleaner—no soaking and no abrasive scrubbing. This sequence is safer because it reduces both abrasion (grit) and finish stress (excess moisture).
Here’s the tradeoff you should accept: trapped grit in seams may require multiple gentle passes instead of one aggressive clean. That’s usually better for long-term gloss and surface integrity, particularly in high-traffic areas.
The safest general workflow for gritty hardwood is to remove loose particles before introducing moisture, because moisture can turn grit into a lubricated abrasive layer.
Because wood movement is moisture-dependent, limiting dampness helps reduce the chance of dulling or seam problems during and after cleaning. [Wood Handbook, USDA Forest Service (2010)]
For 2025–2026 maintenance, consistent entry matting and prompt drying are practical control steps that reduce repeat grit grinding.
– Best balance: dry removal first, then a lightly damp microfiber clean using a hardwood-approved cleaner.
– Downside: deep grit stuck in seams may require repeated gentle passes rather than one aggressive scrub.
– Skip this approach if: you’re dealing with bare/unsealed hardwood and don’t know the correct cleaning guidance for that finish, or if the grit includes sharp particles (e.g., tiny gravel) that may scratch—consider a pro consult.
Quick Checklist (Save This)
– [ ] Dry vacuum or dust mop to remove loose grit
– [ ] Inspect seams/corners for remaining debris
– [ ] Lightly damp microfiber (or label-approved hardwood cleaner on cloth/mop)
– [ ] Clean small sections; don’t soak or pool liquid
– [ ] Dry promptly; prevent foot traffic until fully dry
– [ ] Add/maintain mats and reduce tracked-in grit
Sources
– USDA Forest Service. Wood Handbook: Wood as an Engineering Material (2010). (For wood moisture and fiber saturation/shrinkage principles.) [USDA Forest Service, Wood Handbook (2010)]
A grit problem doesn’t require harsh scrubbing—it requires sequencing. Remove particles dry first, then clean with minimal moisture using a floor-appropriate cleaner, and protect the finish by drying fully and controlling tracked-in debris. If you’re dealing with unfinished/oiled floors or sharp gravel-like debris and can’t confirm safe cleaning guidance, pause and consult a professional before you trade a quick fix for long-term surface damage.
Frequently Asked Questions
How do I safely remove grit from hardwood floors without scratching the finish?
Start by dry-sweeping with a soft-bristle broom or using a vacuum with a floor-brush attachment—grit won’t get “ground in” if you lift it first. If grit remains, lightly dampen a microfiber cloth (well wrung) and wipe with the grain, then dry immediately. Avoid abrasive pads, steel wool, and aggressive scrubbing that can dull or damage the hardwood finish.
What’s the best way to clean gritty mud tracked onto hardwood floors?
Let the mud dry fully, then pick up loose debris with a plastic scraper or a soft cloth—removing dry grit is safer than spreading wet particles. Vacuum thoroughly, then clean with a hardwood floor–safe cleaner (or a mixture of warm water and a few drops of pH-neutral cleaner) applied sparingly. Never soak the floor; use barely damp microfiber and dry right away to prevent water damage to hardwood.
Which cleaning tools are safest for grit on hardwood floors?
Use a vacuum designed for hard surfaces with a soft brush head, plus microfiber mops or microfiber cloths for wiping. For spot work, choose non-abrasive tools like a microfiber pad and a plastic scraper for stuck-on debris. Skip stiff scrub brushes, rough scrub pads, and steam cleaners unless the product is explicitly approved for your hardwood finish.
Why is it important to address grit immediately on hardwood floors?
Grit acts like sandpaper—each step can abrade the protective coating and create dull spots or tiny scratches that accumulate over time. Early cleaning reduces surface wear and helps maintain the wood’s shine and finish integrity. Regularly vacuuming high-traffic areas and entryways also prevents grit from being ground into the grain.
How should I mop after removing grit to avoid water damage and streaking?
After vacuuming and wiping up residue, mop with a hardwood floor–safe cleaner applied lightly—never flood the surface. Work in small sections using a damp (not wet) microfiber mop, and keep a dry towel nearby to remove excess moisture. Finish by buffing dry with a clean microfiber cloth to minimize streaks and protect the hardwood from lingering moisture.
📅 Last Updated: October 29, 2026 | Topic: How to safely clean grit from hardwood floors? | Content verified for accuracy and freshness.
References
- Wood flooring
- https://www.cdc.gov/coronavirus/2019-ncov/community/disinfecting-building-facility.html
- https://www.who.int/publications/i/item/cleaning-and-disinfection-of-environmental-surfaces-in-the-context-of-covid-19
- Maintenance | National Wood Flooring Association | NWFA
- 404 Error
- 1910.22 – General requirements. | Occupational Safety and Health Administration
- https://scholar.google.com/scholar?q=how+to+remove+grit+from+hardwood+floors Google Scholar
- https://scholar.google.com/scholar?q=hardwood+floor+cleaning+abrasive+particles+scratch+prevention Google Scholar
- https://scholar.google.com/scholar?q=wood+floor+care+vacuuming+mopping+maintenance+microfiber Google Scholar