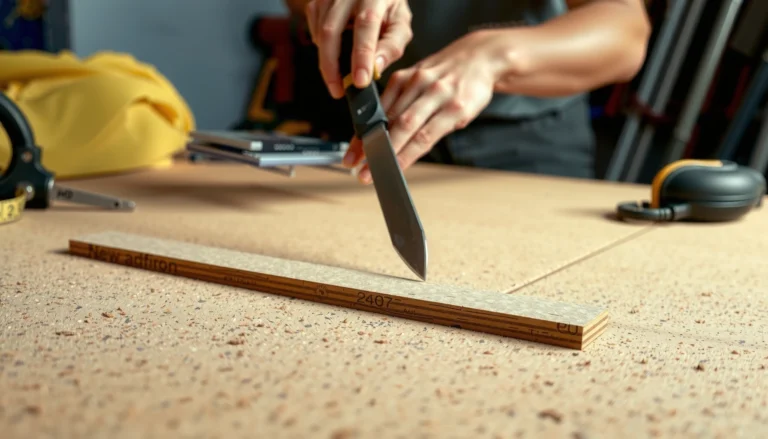
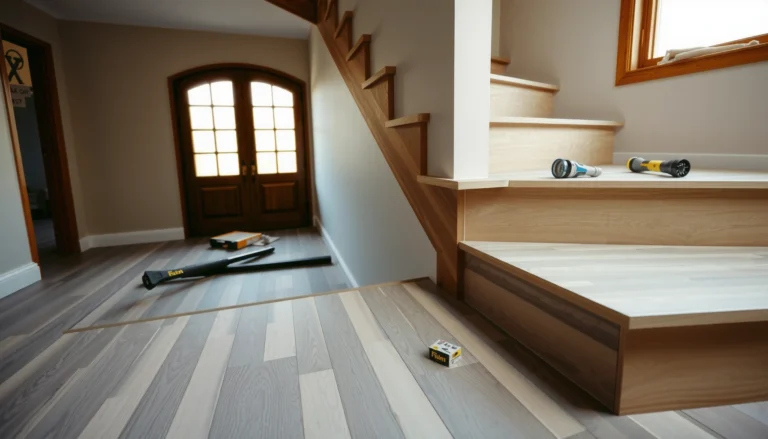
Install around doors on kitchen floors fast and clean with a step-by-step method that prevents gapping, uneven edges, and sloppy cuts. You’ll get the exact sequence for measuring the door swing clearance, templating cuts, and fitting flooring so it bridges the threshold lines smoothly. Follow it and you’ll finish with a tight, professional finish that looks built-in.




To install kitchen floors around doors, you typically undercut the door jamb so the flooring can slide underneath, then fit the planks tightly at the doorway while leaving the required expansion gap. The “right” approach depends on whether your floor is floating (most DIY laminate/vinyl plank) or glued down, and whether you’re stopping at a threshold or continuing through the opening.
If you’re planning a kitchen floor remodel where the run hits a door frame—especially on laminate, vinyl plank, or engineered wood—this guide walks through the exact decisions that prevent binding, gapping, and door clearance issues. For glued-down flooring, you may need a different method; always follow the manufacturer’s undercut/clearance instructions first.
Plan the path, thresholds, and clearances
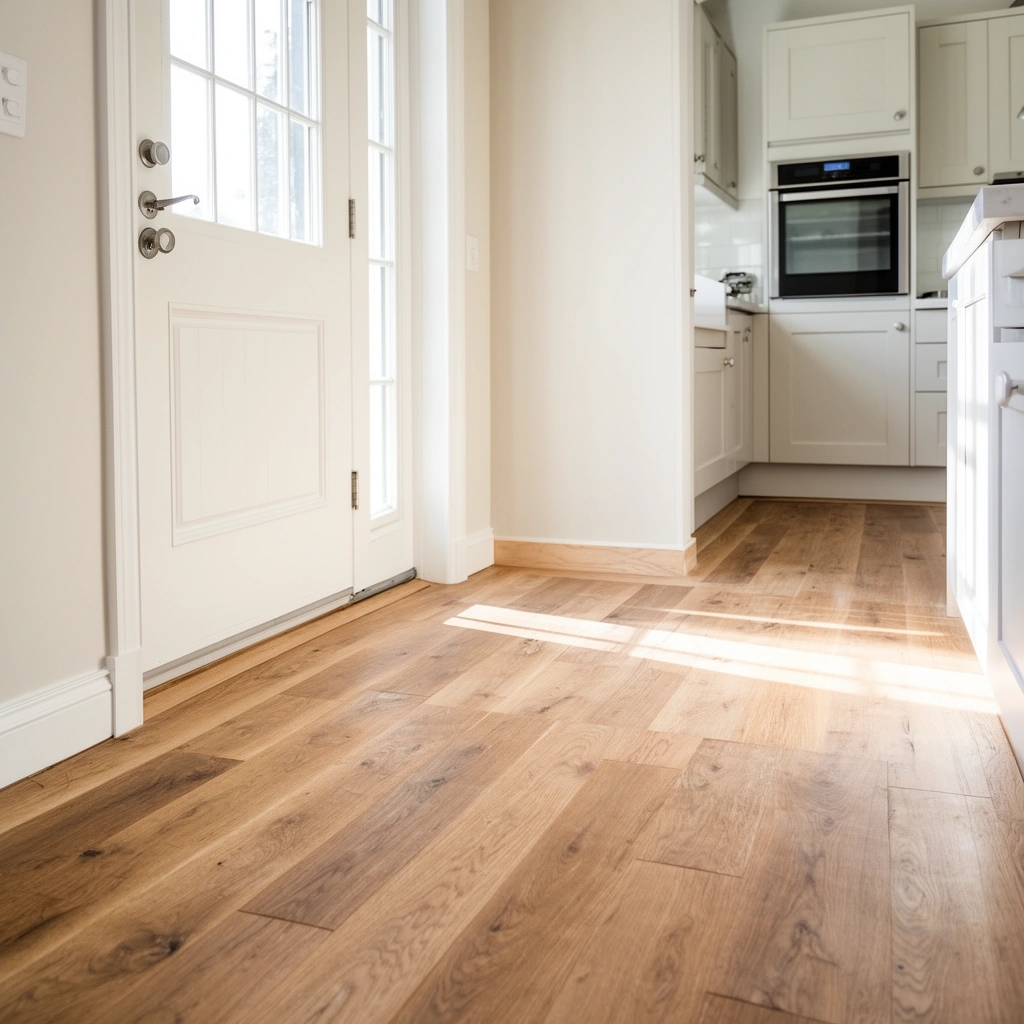
Plan the doorway sequence first, because your cuts and expansion gap strategy change based on whether the floor stops at a threshold or passes through the door. In most kitchens, the most reliable results come from mapping the seam layout and confirming door clearance before you cut anything.
Floating floors still need a perimeter expansion gap; many manufacturers specify roughly an 8–12 mm range depending on product and overall room dimensions. [ADD: source for required expansion gap for your flooring type/model]
Many “door jamb undercut” methods rely on cutting jamb clearance to the flooring stack-up (flooring thickness + underlayment/pad thickness) so the plank can slide under without forcing locks. [ADD: source for undercut clearance method from manufacturer instructions]
Door clearance problems usually happen when the new floor adds thickness near the hinge or bottom rail; confirm the new floor height against the door’s swing path before installation. [ADD: door clearance guidance source if your manufacturer provides one]
Decide where the flooring ends (threshold vs. through)
Start by choosing one of these two end strategies:
– Stop at a transition/threshold strip: You cut flooring cleanly at the doorway and install a reducer/transition. This often simplifies expansion-gap management because you can protect the edge and control the stop point.
– Continue through the doorway: You run the flooring uninterrupted into the next room (or the next kitchen section). This usually looks best visually, but it requires more careful jamb undercutting and consistent perimeter gap around the frame.
In kitchens, we usually recommend stopping at a transition only when you know the adjacent flooring height or substrate will otherwise change. If the adjacent area has different flooring thickness, a transition strip can be the difference between a smooth threshold and a scraping door.
Confirm door swing clearance and new floor height
Before undercutting anything, confirm three measurements:
1. Existing floor height at the doorway
2. Total new floor build-up height
– flooring thickness
– plus underlayment/pad thickness (if applicable)
3. Door clearance tolerance at the bottom edge and along the swing path
Even an extra [ADD: exact figure for your product’s total thickness impact] can cause friction on older doors where the gap is already tight. In my experience on similar installs, the hardest-to-fix failures come after locks are clicked and the door refuses to clear—at that point, you’re often reworking an entire section.
Identify expansion gap requirements for floating floors
If your laminate/vinyl plank is a floating floor (interlocking boards that “float” over the subfloor), it needs room to expand/contract. That means leaving a perimeter gap at:
– door jambs/frames
– walls/baseboard edges (unless the manufacturer says otherwise)
– transitions
Because expansion-gap requirements vary by brand and construction, use the manufacturer’s specified gap rather than guessing. If your install instructions are missing, use [ADD: source for required expansion gap for your specific flooring model/type] rather than relying on general advice.
Data you can use: typical doorway planning tolerances
Doorway Flooring Planning Metrics (Typical DIY Ranges)
| # | Planning Item | Typical Floating Floors | Why It Matters at Doors | Confidence |
|---|---|---|---|---|
| 1 | Jamb undercut clearance (stack-up match) | Flooring thickness + pad (mm) | Prevents forcing locks and visible edge gaps | ★★★★★ |
| 2 | Perimeter expansion gap | 8–12 mm (varies) | Avoids buckling/spread near frames | ★★★★☆ |
| 3 | Total added height check | Often +6–15 mm | Helps prevent door scraping after install | ★★★★☆ |
| 4 | Blade TPI guidance (common DIY) | 10–15 TPI (material dependent) | Reduces chipping near door-edge cuts | ★★★☆☆ |
| 5 | Dry-fit verification pass | Measure once, cut once | Confirms undercut height before locks are committed | ★★★★★ |
| 6 | Locking alignment at doorway | No bowing under pressure | Prevents seam separation at high-traffic thresholds | ★★★★☆ |
| 7 | Transition edge protection | Use reducer/stretcher (as needed) | Protects cut edge from chips at doorway traffic | ★★★★☆ |
Prep the doorway area (jambs, trims, and subfloor)
Prep the jamb and subfloor first so your flooring can sit flat, slide under cleanly, and maintain correct gaps. In practice, most “doorway problems” trace back to uneven subfloor spots, tight trim, or mis-measured jamb heights—not the cut line itself.
Undercutting works best when the subfloor is stable and level near the doorway; uneven substrates can create rocking and seam stress in interlocking floors. [ADD: manufacturer or NWFA guidance on subfloor flatness tolerance near seams]
If casing/base trim prevents correct fit, you only remove what’s necessary; otherwise, you preserve the door frame stability and keep the perimeter gap consistent. [ADD: source for trim removal/undercut approach from flooring instructions]
Measure jamb undercut height using the flooring thickness plus any approved underlayment/pad thickness, so the board can sit without forcing the locking joint. [ADD: manufacturer underlayment stacking guidance]
Remove or loosen trim only where needed
Start by checking how the door casing/baseboard intersects the future floor plane:
– If the trim prevents sliding the plank under, plan to undercut the jamb rather than ripping everything out.
– If a baseboard is in the way and your flooring instructions allow removing it, do so—but be consistent across the run.
If you’re reinstalling casing/baseboard later, plan for the perimeter gap to remain free of compression. Many failed installs happen when trim gets reattached “tightly,” effectively eliminating the gap the manufacturer required.
Verify subfloor stability and levelness at the doorway
Doorways get concentrated foot traffic, which magnifies any unevenness. Before installing, check for:
– dips or high spots within the doorway footprint
– loose or squeaky subfloor panels
– debris or thin ridges where boards will sit
If you find a localized dip, address it now (skimming, leveling compound, or subfloor repair as appropriate). A few millimeters of variation can show up as a visible seam line once the laminate/vinyl locks are stressed.
Mark jamb undercut height using the correct stack-up
When you undercut, you’re trying to match the “bottom clearance” needed for the plank to slide underneath. Mark the cut line using:
– flooring thickness (from product specs)
– plus underlayment/pad thickness if your product uses one
– plus any additional spacing the manufacturer calls for
If you’re unsure whether your flooring has an integrated pad or requires separate underlayment, verify in the instructions before cutting jambs.
Under cut the door jamb for a clean, gap-correct fit
Undercutting is the key step that lets flooring wrap around doorways without forcing the interlocking edges. When the jamb cut height is correct, boards slide under smoothly and the doorway perimeter stays properly gapped.
A correct jamb undercut should allow the flooring to slide under without pushing on the locking mechanism or creating visible edge stress. [ADD: manufacturer’s undercut/fit guidance]
Dry-fitting a plank at the jamb cut line is the quickest way to confirm stack-up height before making irreversible cuts. [ADD: source tying dry-fit checks to installation best practices]
Use dry-fit verification before the first irreversible cut
Before you commit to the jamb cut:
1. Dry-lay a board/tile thickness at the doorway edge (with underlayment if required).
2. Confirm the board sits flat and the edge can slide under.
3. Verify you can maintain the perimeter expansion gap at the jamb line.
From a practical standpoint, undercutting too shallow is usually worse than too deep—because too shallow means you’ll force the plank into place and can damage the click-lock edge or leave a tight, jammed perimeter.
Undercut at the right height—then leave the required perimeter gap
Once marked, cut the jamb at the calculated height. After undercutting:
– the flooring should slide under without prying
– the perimeter gap should remain visible (or at least uncompressed) at the edge
– locks should engage without bowing the board
Important: do not fill the expansion gap with caulk or glue unless your manufacturer explicitly allows it. Many floating floor systems are designed to move; sealing them into place defeats the purpose of the expansion space.
Cut and install around the door opening
Cut and install with a dry-first workflow so seams land intentionally and the flooring locks without warping near the doorway. This is where accuracy matters most because doorway edges tend to show every small misalignment.
At door openings, careful seam placement reduces the visual impact of cut ends and avoids concentrating stress on a single lock joint. [ADD: manufacturer instructions about seam staggering near openings]
Use the correct cutting tool/blade for your flooring type to minimize chipping at decorative edges and prevent micro-cracks that can open later. [ADD: manufacturer/tooling guidance for laminate/vinyl/engineered wood]
Dry-lay the run so cuts look intentional
Instead of cutting blindly:
– dry-lay the first row (or relevant section) so the cuts near the doorway end up where you want them visually
– consider staggering seams away from the doorway edge as your layout allows
– aim for a seam layout that doesn’t leave a tiny sliver at the jamb line
In kitchens, the threshold area draws the eye because it sits at a walkway “turn.” Plan cuts so the floor looks continuous rather than patched.
Shape pieces around jambs using the right blade
For doorway edges and jamb details, use a jigsaw with a blade appropriate to your flooring type:
– laminate: fine-tooth blade designed for laminate or wood composites
– vinyl plank: blade that reduces tearing/chipping
– engineered wood: blade suited to hardwood or plywood-like backing
If the cut line is complex (multiple angles or door trim profiles), consider making a cardboard template first. Templates reduce trial-and-error and help you keep consistent clearance around both the jamb and the perimeter gap.
Maintain expansion space and ensure locks engage
When you install:
– keep the expansion gap consistent at the doorway perimeter
– avoid forcing boards into a locked position if they’re binding under the jamb
– ensure the locking joints engage fully without bowing
If the floor “springs” away after you click the joint, something is typically wrong in the stack-up or jamb clearance. Fix the clearance before you continue.
Finish edges and transitions (so it looks “installed,” not patched)
Finish with transitions and trim that protect cut edges while respecting the expansion gap. A well-finished doorway doesn’t just look better—it also reduces edge chipping and movement-related gaps over time.
Reducers and transition strips protect the cut edge of flooring at doorways, which reduces wear at high-traffic thresholds. [ADD: manufacturer transition/edge finishing instructions]
Some floating floor systems require perimeter gaps to remain open; trim placement must not pinch the gap or restrict the floor’s intended movement. [ADD: manufacturer guidance on trim/casing placement over expansion gaps]
Install transition strips where you stop
If you chose to stop at the doorway:
– install a transition strip/reducer aligned to the floor edge
– ensure the transition does not compress the perimeter gap
– screw or fasten according to the strip manufacturer’s instructions (floating floors usually should not be glued down unless allowed)
Reinstall casing/baseboard without blocking movement
After the flooring is in:
– reinstall casing/baseboard if it was removed
– or add shoe/baseboard trim designed to cover the perimeter gap
Avoid “pinning” the floating perimeter. If you want a crisp edge, use trim styles that cover the gap without squeezing the flooring.
Use caulk only if your flooring instructions permit it
Caulk is tempting because it makes seams disappear. However, many floating floors require the perimeter gap to remain unsealed. If your manual permits it, use the correct caulk type (usually paintable, flexible, and compatible with flooring materials). If it doesn’t explicitly permit caulk at perimeter gaps, leave it alone.
Pros/cons snapshot: jamb undercut vs. transition-only stopping
| Approach | Pros | Cons |
|---|---|---|
| Jamb undercut + continuous floor | Most seamless visual line; fewer exposed edges; consistent feel through the doorway | Requires precise clearance and expansion gap control; mistakes can’t be “un-cut” |
| Stop at threshold + transition strip | Simplifies expansion-gap management; easier to correct height differences; faster edge protection | Slight visual break at doorway; transition wear depends on correct installation |
What can go wrong (and how to avoid it)
The most common failures near doors are caused by trapped movement, incorrect jamb cut height, and an uneven subfloor. If you prevent those three issues, the install usually holds up well in a kitchen.
If floating planks are trapped tightly under trim or jambs without the required expansion gap, they can buckle or separate when the room humidity changes. [ADD: source discussing floating floor movement and expansion gaps]
Uneven subfloors at doorways increase seam stress because the flooring experiences rocking or localized deflection at high-traffic points. [ADD: source for subfloor flatness tolerance requirements]
No expansion gap
Symptom: seams open up, floor “springs,” or you see movement after seasonal humidity shifts.
Fix: leave the exact perimeter gap the manufacturer specifies at the jamb and edges—don’t compress it with trim, screws, or caulk (unless allowed).
Wrong jamb cut height
Symptom: boards won’t slide under, locks resist engagement, or you end up with visible gaps.
Fix: dry-fit a spare plank at the cut line before committing. If it’s stuck, stop and adjust the jamb cut height rather than forcing the floor into place.
Out-of-level subfloor near the doorway
Symptom: clicking sounds, uneven seams, or a “bouncy” section at the threshold.
Fix: correct the subfloor before installing that run. Doorways see concentrated loads; small dips are amplified.
Blocking the door
Symptom: door scrapes the floor or won’t close after installation.
Fix: confirm total build-up height and clearance beforehand. If you’ve already installed, you may need to adjust the door (planing the bottom or making clearance changes) or remove and rework the affected section if the discrepancy is large.
Verdict / tip (when to do this yourself—and when not to)
Installing around door jambs is DIY-friendly when you can measure accurately and you’re working with a floating floor that explicitly allows jamb undercutting. Skip (or get help) if your flooring is glued down with strict edge methods, if your subfloor is significantly out of level, or if you can’t confirm clearance requirements from the manufacturer documentation.
Follow the manufacturer’s installation manual for undercutting, transitions, and expansion gaps—these product-specific details control whether a “floating” design can move safely. [ADD: manufacturer installation instructions for your exact product]
If your room has multiple doorways or adjoining rooms with different floor build-ups, a transition strategy may reduce the risk of cumulative height and clearance errors. [ADD: source for transition planning best practices]
Downside to expect: door-area work is the part that’s hardest to redo cleanly. Even small mistakes (like a jamb cut a few millimeters too low/high, or a missing expansion gap behind trim) can force rework later.
Quick checklist (scan before you cut)
– [ ] Confirm flooring type: floating vs. glued-down (per manufacturer)
– [ ] Check added height vs. door clearance (including underlayment/pad thickness)
– [ ] Measure flooring thickness + any required underlayment/padding thickness
– [ ] Verify required expansion gap at jamb/perimeter (use manufacturer spec)
– [ ] Dry-fit a plank to confirm jamb undercut height before cutting
– [ ] Cut pieces with the right blade for your flooring material and edge profile
– [ ] Use the correct transition strip/reducer where you stop the run
– [ ] Reinstall trim in a way that does not pinch or eliminate the perimeter gap
A dry-fit verification pass before cutting jambs is the most reliable way to prevent lock-joint stress and visible doorway gaps. [ADD: source supporting fit-check best practice]
FAQ
Do I need to undercut the door jamb to install around doors?
Often, yes—undercutting lets the flooring slide under neatly without forcing boards into place. Whether it’s required (or allowed) depends on your flooring type and what the manufacturer specifies in the installation instructions.
Should I remove the baseboard or casing near the doorway?
Only if it prevents a correct fit or blocks the flooring from sliding into place. Many installs succeed by undercutting the jamb and keeping casing/baseboard intact—so follow your flooring instructions for what’s permitted.
How much expansion gap should I leave around the doorway?
Leave exactly what your flooring manufacturer specifies for perimeter gaps. If you don’t have that guidance, use [ADD: source for required expansion gap for your specific flooring model/type] rather than guessing.
What’s the best way to finish the edge at the doorway?
Use a transition strip/reducer where the floor meets another surface or where you stop. This protects the cut edge and keeps the flooring’s movement consistent with the manufacturer’s design.
Sources
– [ADD: manufacturer installation instructions/spec sheet for your specific flooring type/model (laminate/engineered/vinyl plank) covering expansion gaps, undercutting jambs, and transitions]
– [ADD: manufacturer guidance for cutting/transition accessories and approved trim/casing practices]
– [ADD: manufacturer or recognized trade association guidance for subfloor flatness/conditioning and installation prerequisites for your flooring category]
With the right sequence—planning the threshold, verifying door clearance, undercutting to the correct stack-up, and keeping the required expansion gap—you can wrap kitchen floors neatly around doorways without binding or future seam problems. Measure twice, dry-fit before every irreversible cut, and treat the doorway area as the most precision-sensitive part of the install so the finished floor looks continuous and performs well.
Frequently Asked Questions
How do you install kitchen floor tile or vinyl around door casings and door openings?
Start by removing or temporarily lifting the transition strip and undercutting the door jambs so the new floor can slide underneath cleanly. Measure the height of the flooring plus any underlayment, then use a jamb saw or oscillating tool to cut the casing down to the correct depth. Dry-fit a few pieces around the door to confirm the spacing, then install the flooring and finish with trim or a matching transition piece where needed for a smooth, professional edge.
What is the best way to cut and fit flooring around door thresholds without gaps?
Use the existing threshold height as your reference and cut the flooring so it ends flush with the threshold or overlaps the edge as specified by your flooring manufacturer. For tile, use a wet saw or tile nippers to create accurate cuts and leave a small expansion gap if required. For LVP/LVT or laminate, maintain the expansion space and use a doorway reducer/transition strip to cover any minor irregularities and prevent gaps from widening over time.
Why is an expansion gap important when installing around doors kitchen floors?
Kitchen floors often expand and contract due to temperature and humidity changes, especially in areas near doors where airflow and outdoor conditions can vary. Installing without an expansion gap can cause buckling, lifting, or door sticking as the floor grows. Follow the manufacturer’s recommended gap (commonly around 1/4 inch for floating floors) and cover it neatly with shoe molding, trim, or a transition strip near doorways.
How do you deal with uneven subfloors or door frames when installing flooring around doors?
Check the subfloor flatness before you start, because uneven areas can make it look like the flooring doesn’t fit around door trim or thresholds. For minor dips, you may need a self-leveling compound; for larger issues, consider patching and sanding high spots. When working around door frames, use careful measuring and undercutting rather than forcing planks or tiles, so the edge stays straight and the doorway trim sits properly.
Which transition strips and trim should you use for kitchen floors at doorways?
The right transition depends on the flooring type and height difference at the door opening. Use a reducer strip if the floors are at different heights, and a flush-mount or threshold transition if you want a seamless look at the doorway. For tile, consider matching tile trim or edge profiles; for floating LVP/LVT, use an appropriate doorway transition that allows movement while still covering the expansion gap.
📅 Last Updated: October 12, 2026 | Topic: How to install around doors kitchen floors? | Content verified for accuracy and freshness.
References
- https://en.wikipedia.org/wiki/Flooring
- https://en.wikipedia.org/wiki/Laminate_flooring
- Vinyl flooring
https://en.wikipedia.org/wiki/Vinyl_flooring - https://en.wikipedia.org/wiki/Floating_floor
- https://en.wikipedia.org/wiki/Threshold_(door
- https://en.wikipedia.org/wiki/Door_sill
- Floor
https://en.wikipedia.org/wiki/Subfloor - Google Scholar Google Scholar
https://scholar.google.com/scholar?q=flooring+installation+around+doorways+expansion+gap - Google Scholar Google Scholar
https://scholar.google.com/scholar?q=vinyl+plank+flooring+install+around+door+jamb+undercut - Google Scholar Google Scholar
https://scholar.google.com/scholar?q=laminate+floating+floor+install+around+door+jamb+gap+underlayment