
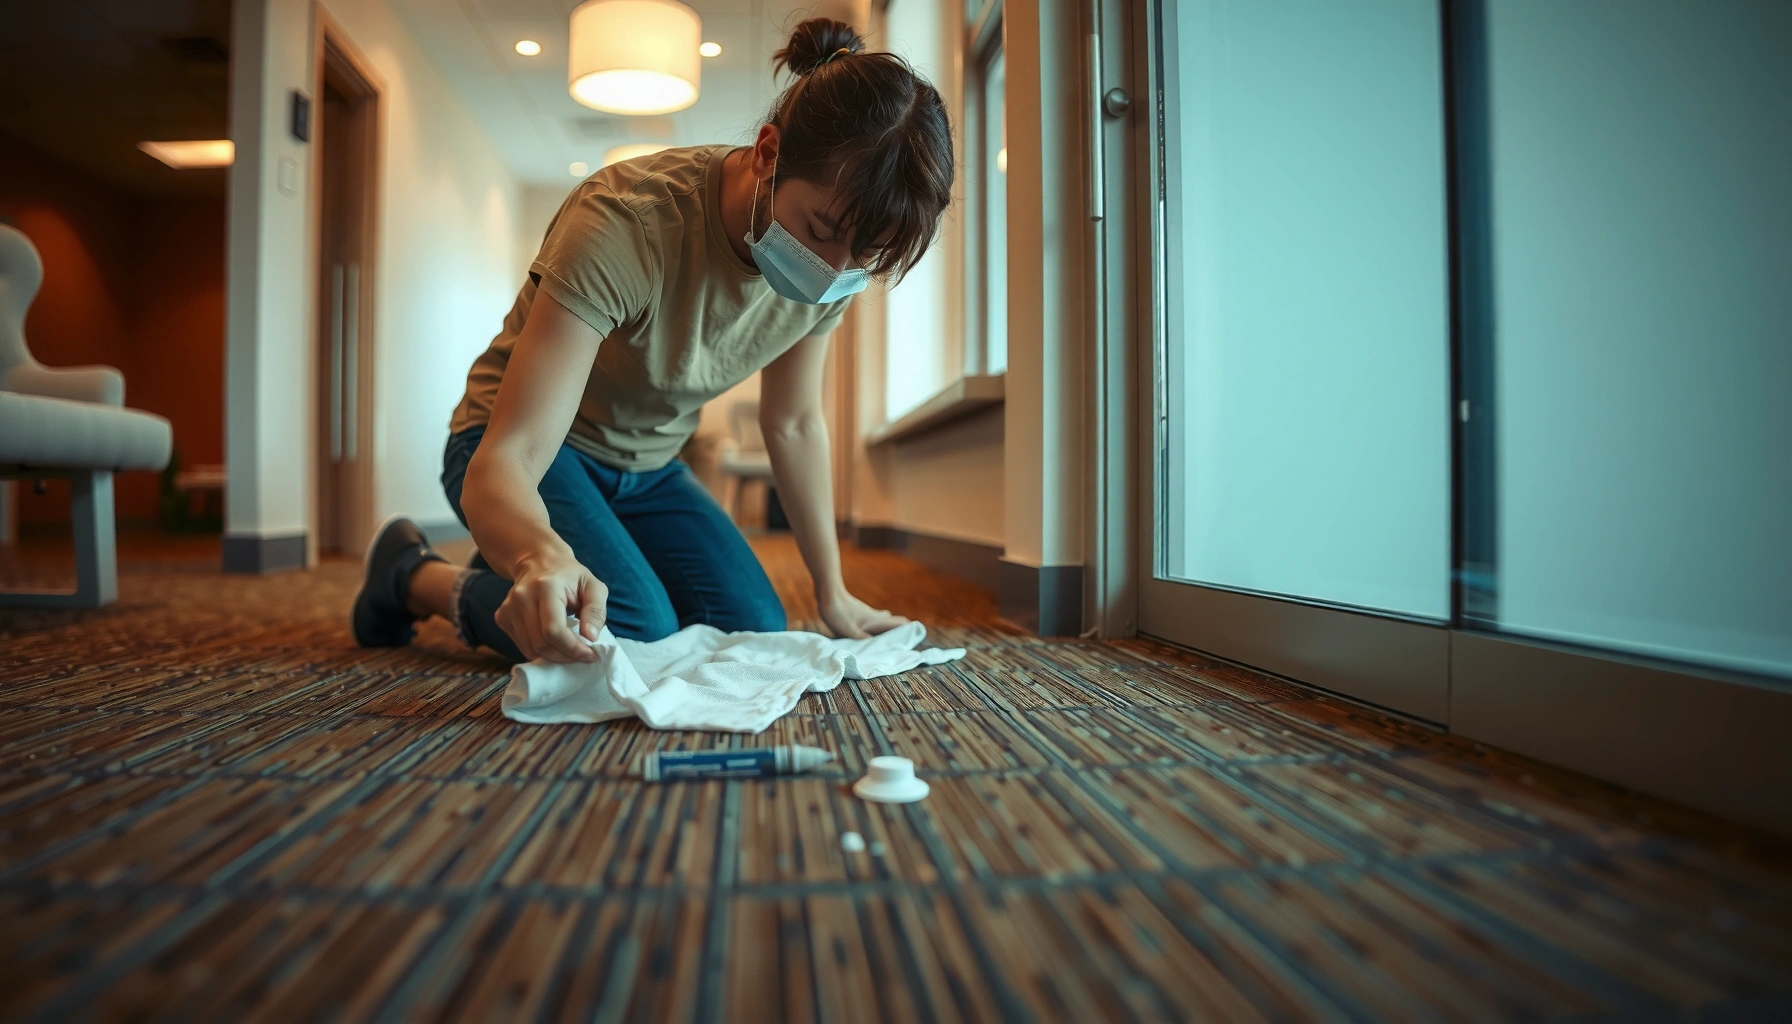

Stop water damage to carpet tiles with the right prevention plan: act fast, control moisture, and seal the floor system before spills become stains and growth. This guide answers exactly how to prevent water damage to carpet tiles with practical steps like quick extraction, airflow and dehumidification, and protecting seams and backing. Follow the checklist and you’ll reduce both immediate delamination and long-term odors.




Carpet tiles won’t stay dry by accident—prevent water damage by stopping leaks/condensation at the source, removing wet tiles quickly, and controlling moisture so it never soaks through the backing. When you combine fast extraction with a repeatable facilities routine, you reduce warping, odor, and mold risk in office, retail, and other high-traffic spaces—especially in 2026 when slip-and-spill incidents keep growing in frequency.
If you manage carpet tiles in an office, retail space, or any area prone to spills, tracked-in rain, or occasional plumbing leaks, this guide gives you a repeatable process for caretakers, facilities teams, and anyone assigned to incident response.
If you’ve ever seen tiles “look dry” on top but develop odor days later, you already know the real problem: water migrates into seams, edges, backing, and the subfloor. The goal isn’t only to clean—it’s to interrupt moisture pathways early and fully.
Identify and fix the water source first
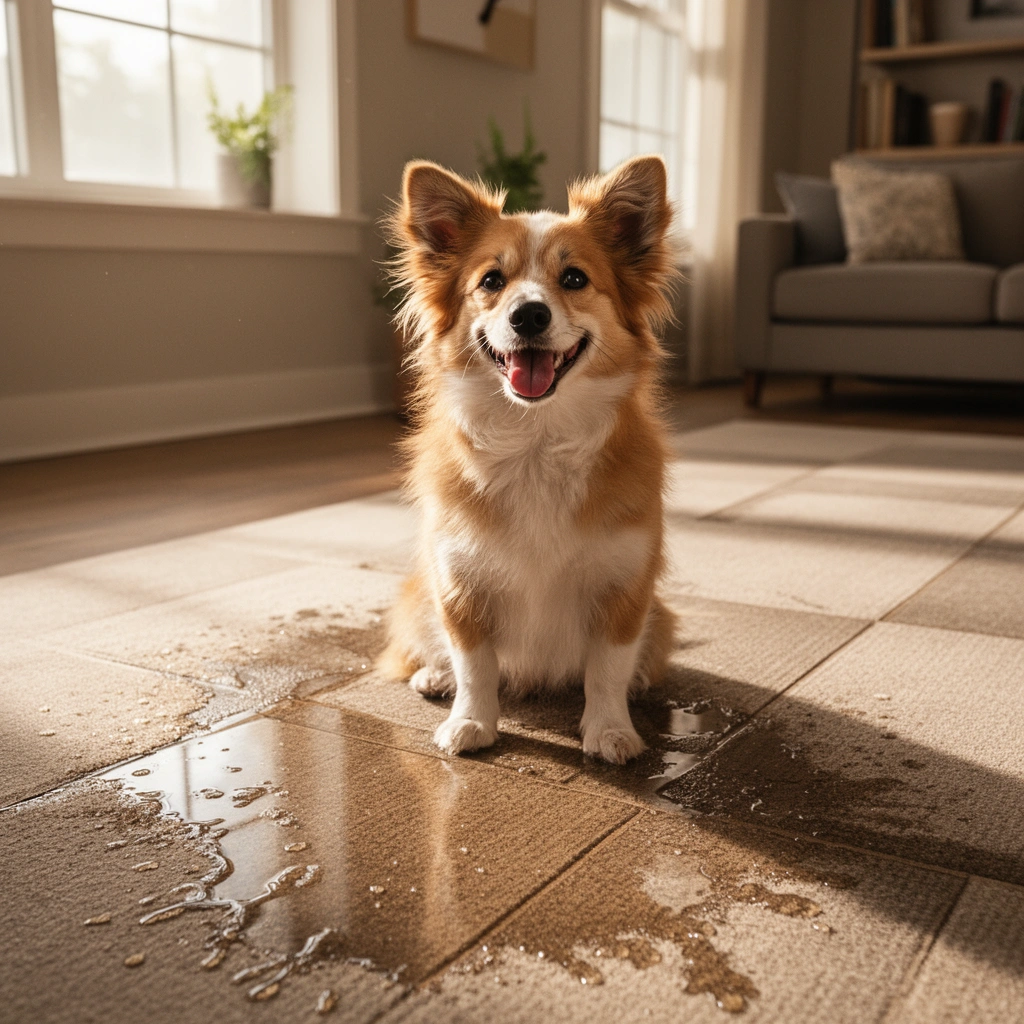
Fixing the water source is the fastest way to prevent recurring water damage to carpet tiles. If water keeps arriving—through HVAC condensation, plumbing leaks, wet mopping, or exterior door infiltration—your drying efforts will only be temporary.
– Check for repeat causes like HVAC condensation, leaking fixtures, wet mopping, or exterior doors letting rain in.
– Look for patterns: water damage near vents, sink areas, loading docks, or along a specific traffic path often points to the source.
Start your investigation with “where water would logically travel.” Carpet tile assemblies wick moisture along edges, under transitions, and through any seam lift—so damage often concentrates along those routes rather than directly above the leak.
Common sources we see in commercial environments (and how to check them quickly):
1. HVAC condensation and duct sweating: Inspect around air returns, supply grilles, and cold surfaces after the HVAC cycles. Condensation is especially likely when indoor humidity is high and the air handler surfaces run cooler than the dew point.
2. Plumbing leaks and fixture overflow: Look for consistent dampness near sinks, break rooms, restroom supply lines, and toilets—especially if incidents happen after a specific event (cleaning, peak usage, or maintenance).
3. Wet mopping and improper cleaning: A “clean-looking” floor can still be over-wet if cleaning methods flood seams and edges. Replace “wet mop” habits with controlled, damp techniques.
4. Exterior doors and tracked-in rain: If tiles get wet only along entry paths, focus on entrance design (mats) and door weather-stripping quality rather than deeper tile changes.
For moisture control baselines, the goal is to keep indoor conditions from staying in the mold-friendly range. According to the U.S. Environmental Protection Agency (EPA), mold can begin to grow on damp surfaces in as little as 24–48 hours. https://www.epa.gov/mold (EPA Mold guidance)
EPA notes that mold can start growing on damp surfaces within as little as 24–48 hours after moisture exposure.
If water consistently appears in the same location, the cause is typically recurring moisture entry—not a one-time cleanup failure.
Carpet tiles are vulnerable to water migration at edges and seams, so source control reduces both visible wetting and hidden backing saturation.
Use spill control and daily “moisture habits”
Preventing water damage means you handle daily liquids differently from incidents. The best approach is fast blotting, controlled damp cleaning, and entrance systems that stop moisture before it reaches tile seams.– Keep absorbent mats at entrances and use controlled, damp (not wet) cleaning methods for routine floors.
– Train staff to blot spills immediately instead of spreading them with a mop—pressure and friction drive moisture deeper.
Spills aren’t just “surface events.” When a spill sits, the fibers absorb and the backing becomes a moisture reservoir. When someone drags a mop over it, they mechanically push liquid toward seams—making the spill problem bigger while it still looks small.
Practical daily habits that reduce recurring moisture exposure:
1. Entry mat strategy (keep it real and measurable)
Use absorbent mats at every public entrance and ensure they’re long enough to capture moisture before it reaches the tile field. Replace mats when they stop absorbing.
2. Blotting over spreading
Train staff to use a blot-and-lift method: place absorbent material on the spill, apply gentle pressure, then lift and replace material as it saturates. Avoid scrubbing motions that force liquid downward.
3. Damp-only routine cleaning
For routine maintenance, adopt methods that do not flood seams—microfiber systems or controlled damp mopping are safer than “wet mopping.” If you use extraction equipment, follow the tile manufacturer’s guidance so you’re not leaving excessive moisture behind.
4. Staff checklists and cues
Put a simple “spill response” card at cleaning stations: what to do first, what tools to use, and who to call if moisture reaches seams.
A key operational point: your “normal” floor cleaning can be a hidden moisture source. If tiles repeatedly show dampness after scheduled cleaning, the cleaning method itself is the leak.
The EPA emphasizes that moisture control is essential because mold risk rises quickly once surfaces remain damp.
Mopping with excessive water can drive moisture into carpet tile seams and backing, increasing drying time and odor risk.
Entrance matting reduces water transfer to flooring and is a primary line of defense against tracked-in rain and street moisture.
Quick reference: moisture-risk priorities for facilities
Use this table to align daily habits with the specific moisture pathways that commonly damage carpet tiles.
Moisture Sources vs. Where Damage Shows Up in Carpet Tile Floors
| # | Moisture source (facility pattern) | Where you’ll usually see it first | Most likely tile failure mode | Priority to address |
|---|---|---|---|---|
| 1 | HVAC condensation (cold supply/return areas) | Near vents, grilles, and return paths | Backing stays damp → odor risk | High |
| 2 | Exterior door rain infiltration | Along entry traffic lanes | Edge wicking → lifted seams | High |
| 3 | Wet mopping or over-wetting during cleaning | Broad zones after routine cleaning | Slow drying → mildew odor | High |
| 4 | Localized spill events (kitchen/break room) | Cabinet/under-shelf edges and chair paths | Warping + persistent staining | Medium-High |
| 5 | Restroom fixture leaks (supply lines, valves) | Between fixture toe-kicks and doorway transitions | Cupping + seam lift | High |
| 6 | Loading dock splash or hose rinse overspray | Doorway threshold and adjacent lanes | Backing saturation under transitions | Medium |
| 7 | High indoor humidity (seasonal HVAC behavior) | Wider areas where air is stagnant | Odor + microbial growth risk | Medium-High |
Protect seams and edges where water travels
Carpet tile failures often start at seams and transitions, not in the middle of a tile. Protecting these “wicking paths” prevents liquid from migrating under the surface where it becomes hard to remove.
– Treat transitions (between rooms, under door swings, around baseboards) as high-risk zones for wicking.
– Use proper underlayment and ensure seams sit flat—raised edges and gaps let liquid migrate under tiles.
Edges matter because water doesn’t need a lot of entry point—it needs a path. If tiles are slightly lifted or an underlayment layer is compromised, water can travel laterally beneath the carpet field and return later as odor.
How to reduce seam and edge risk:
1. Inspect for seam lift and gaps
Walk the floor and check if any tile corners feel raised with a fingertip. Even small edge elevation can accelerate wicking during spills.
2. Pay attention to transitions
Door thresholds, transitions to hard flooring, and areas near baseboards should get the most careful installation review. These zones are constantly stressed and are also where air movement can keep moisture in place.
3. Ensure correct underlayment and flatness
Proper underlayment helps keep tiles stable. If the subfloor isn’t flat or is damp-prone, tiles can loosen and seams can open—creating a moisture highway.
Moisture control is not only about water events; it’s also about humidity levels staying in a safe range. According to the EPA, controlling indoor humidity helps prevent mold growth. https://www.epa.gov/mold
EPA guidance stresses that controlling moisture and indoor humidity reduces the likelihood of mold growth.
Raised tile edges and installation gaps can become wicking pathways that move liquid beneath the carpet tile surface.
Transitions near door swings and baseboards are high-risk because they concentrate mechanical stress and liquid migration.
Respond fast when water gets through (best practice order)
If water gets through, the best outcome depends on speed and order—not just drying. The correct response is to remove wet tiles immediately, dry the subfloor thoroughly, then allow the area to normalize before reinstalling.
– Remove the wet tiles as soon as you safely can; the goal is to prevent saturation and microbial growth in the backing.
– Dry the remaining subfloor thoroughly (fans/dehumidification help), then let the area normalize before reinstalling or replacing pieces.
Think in terms of “what can still dry” versus “what will trap moisture.” Carpet tile backings and subfloors can stay damp longer than you expect, particularly in commercial spaces with variable air circulation.
Best-practice response order (use this as your internal runbook):
1. Stop additional water
– If a leak is active, isolate it first (turn off a valve, address a drip source, stop the rinse).
2. Remove wet tiles promptly
– Pull affected pieces so backing and edges stop absorbing further moisture. Bag them to prevent secondary contamination and speed disposal.
3. Dry subfloor with airflow and dehumidification
– Fans support evaporation; dehumidification reduces the ambient moisture that slows drying. Monitor progress rather than assuming “time equals dryness.”
4. Reassess before reinstalling
– Only reinstall when the subfloor and tile backing are dry to prevent odor recurrence and deformation.
A second reason to be fast: microbial growth can start quickly once surfaces are damp. EPA states mold can begin growing on damp materials in as little as 24–48 hours after moisture exposure. https://www.epa.gov/mold
According to EPA, mold can begin growing within 24–48 hours after moisture exposure.
Drying only the carpet surface leaves backing/subfloor moisture in place, which can later reactivate odor or staining.
Airflow plus dehumidification shortens drying time and reduces conditions that support microbial growth.
What can go wrong (common mistakes and edge cases)
Preventive systems reduce risk, but they don’t eliminate it—so you also need to avoid the mistakes that turn “manageable water” into ongoing damage. The biggest problems come from slow response, hidden moisture, and incorrect assumptions about “dry to the touch.”
– “Air-drying” wet carpet tiles too slowly can trap moisture in the backing—odor and mold risk rises fast in damp conditions.
– Cleaning the top surface while leaving wet backing/subfloor behind leads to hidden damage that returns when humidity changes.
– Using excessive water during maintenance (or rinsing too aggressively) can turn normal cleaning into long-term moisture exposure.
– If tiles are installed on a concrete slab with moisture vapor issues, prevention may require addressing the slab condition first—carpet tiles alone won’t solve that.
Here’s a quick comparison that helps teams decide when “drying and reuse” is realistic versus when replacement is safer.
| Scenario | What you often see | Likely outcome if you reuse | More reliable action |
|---|---|---|---|
| Top looks dry, but odor appears later | Backing/subfloor stayed damp | Odor returns with humidity | Dry with airflow/dehumidification; verify dryness before reinstall |
| Tiles sat wet overnight | Possible microbial growth risk | Persistent musty smell | Remove affected tiles promptly; assess replacement needs |
| Concrete slab moisture/vapor issue | Wetness returns even after extraction | Recurring damp backing | Address slab moisture/vapor control before assuming tile maintenance fixes it |
Edge cases to treat seriously:
– Slab moisture vapor: If the building has known vapor issues, carpet tiles can still absorb moisture from below even when spills are rare. In that case, prevention needs assembly-level fixes.
– Recurring “mystery wet spots”: If the same area stays wet after cleaning, investigate HVAC cycling, airflow patterns, and concealed leaks.
– Humidity not just water: Even with controlled spill response, sustained high indoor humidity can keep drying slow and raise microbial risk. EPA emphasizes moisture control as the core intervention. https://www.epa.gov/mold
Slow “air-drying” can allow moisture to remain in backing and subfloor, increasing odor and microbial risk.
When moisture comes from a concrete slab moisture/vapor issue, carpet tiles alone cannot reliably prevent recurring dampness.
Hidden wetness can reappear after humidity changes, even if the surface looks dry initially.
Verdict: what to do consistently (and what to skip)
If you want the best balance of effort and impact, focus on: (1) fixing the water source, (2) using damp-only cleaning and fast blotting, and (3) removing/drying tiles quickly when incidents happen. Skip DIY patch attempts when the subfloor is visibly wet, smells musty, or stains reappear after drying—those signs usually mean moisture remains beyond the tile surface.
[ADD: If you want, we can tailor this to your setup (tile brand, backing type, and whether you’re on slab/underlayment) after you share a few details.]
As of 2026, the most effective programs look less like “one-off emergency cleanup” and more like operational control: consistent entry protection, staff training, and a runbook that prioritizes drying the right layers.
To make this actionable, treat your process like a prevention system with a trigger. If there’s visible wetness—or if tiles feel cool/damp at the edges—your response should switch immediately from routine cleaning to incident response.
A reliable moisture-control plan prevents recurrence by addressing source entry, not only surface cleaning after spills.
Don’t trust “dry to the touch” when tile backing and subfloor may remain damp longer than the surface.
Skipping replacement or proper drying when odor persists often results in repeat damage after humidity shifts.
Quick scan checklist (save this)
– [ ] Fix leaks/condensation sources (HVAC, plumbing, entrances)
– [ ] Use entrance mats and control spill response (blot, don’t spread)
– [ ] Damp-clean only; avoid over-wetting during mopping
– [ ] Keep edges/seams flat and properly installed
– [ ] On incident: remove wet tiles promptly
– [ ] Dry subfloor fully with airflow/dehumidification as needed
– [ ] Replace tiles if they stay wet, smell, or show persistent staining
FAQ
How quickly should we remove wet carpet tiles?
As a general rule, the sooner the better—aim to get wet tiles off and the area dried before moisture penetrates the backing and subfloor. [ADD: exact time guidance from your tile manufacturer/specs if you know the brand.]
Can we just dry the surface and reuse the tiles?
Sometimes, but not reliably. If the backing or subfloor remains damp, odor and microbial growth can develop even after the top looks dry—when in doubt, dry thoroughly or replace affected tiles.
What’s the safest way to clean carpet tiles to avoid water damage?
Use damp-only cleaning practices, avoid soaking, and make sure mopping doesn’t flood seams or edges. Follow your manufacturer’s cleaning instructions rather than generic wet-mopping habits. [ADD: your tile manufacturer’s cleaning method link or wording from their manual.]
What if the damage keeps happening in the same spot?
That usually points to a recurring water source—often HVAC condensation, an entryway leak, or a failing seal/fixture. Repeated localized wetting needs source investigation, not just faster cleanup.
Sources
– [ADD: Carpet tile manufacturer installation/maintenance instructions for water exposure, cleaning methods, and emergency spill response—use your exact tile brand/manual.]
– [ADD: Flooring contractor/industry guidance on moisture control and subfloor drying (e.g., guidance from a recognized carpet/FC flooring trade association).]
– If you’re dealing with HVAC condensation or slab moisture, use the applicable manufacturer guidance for those systems/assemblies (e.g., HVAC condensate drainage instructions, and any slab moisture/vapor documentation): [ADD: exact source for your building type].
– https://www.epa.gov/mold (EPA guidance on moisture control and mold growth following dampness)
Carpet tile water damage is preventable when your response matches how the moisture actually moves: through seams, edges, backing, and subfloor—not just across the top surface. Fix recurring sources, train staff on blotting and damp-only cleaning, protect transitions, and run a fast, ordered extraction/drying process when water gets through. If you keep that system consistent in 2026, you substantially reduce warping, odor, and mold risk—and you avoid the expensive cycle of “cleanup today, recurrence tomorrow.”
Frequently Asked Questions
How can I prevent water damage to carpet tiles in high-traffic areas?
Use a moisture-management approach by adding doormats and walk-off zones to reduce how much water and dirt reach the carpet tiles. Promptly blot spills and avoid soaking, since trapped moisture can seep into seams and backing. Regularly inspect tile edges and transitions, because water often shows up first around seams and in high-flow paths.
What’s the best way to protect carpet tiles from spills and leaks?
Treat carpet tiles like a system: use spill barriers where possible (like mats near sinks, entries, and break rooms) and keep a wet/dry cleanup kit on hand. Blot immediately with absorbent towels, then dry the area quickly with fans to prevent mold growth. For recurring risks, consider using protective underlayment designed for moisture resistance beneath modular carpet.
Which cleaning methods help reduce the risk of water damage to carpet tiles?
Choose low-water or controlled-extraction methods, and avoid over-wetting with steam or heavy spray cleaning unless the tiles are specifically rated for it. Use minimal detergent, extract thoroughly, and allow full drying before foot traffic resumes. After cleaning, check for dampness along grout lines and carpet tile seams, since water can linger below the surface and cause odor.
Why do carpet tiles sometimes swell or develop odor after minor water exposure?
Even small amounts of water can penetrate the backing, migrate into seams, and stay trapped if drying is delayed. If tiles remain damp longer than 24–48 hours, microbial growth can lead to musty odors and permanent texture changes. Swelling typically occurs when moisture redistributes through the tile structure and underlayment, so quick drying and airflow are critical.
How do I respond to water damage quickly to limit impact on carpet tiles?
Act immediately by removing standing water, blotting thoroughly, and pulling affected tiles if they’re soaked through. Increase airflow with fans and, if needed, use a dehumidifier to dry the area and underlayment. Once dry, inspect backing and subfloor for moisture—if the subfloor is wet or stained, replacing tiles alone may not fully prevent recurring water damage.
📅 Last Updated: October 11, 2026 | Topic: How to prevent water damage to carpet tiles? | Content verified for accuracy and freshness.
References
- Google Scholar Google Scholar
https://scholar.google.com/scholar?q=prevent+water+damage+carpet+tiles+drying+water+intrusion - Google Scholar Google Scholar
https://scholar.google.com/scholar?q=carpet+tile+flood+response+mold+prevention+moisture+control - https://scholar.google.com/scholar?q=carpet+water+damage+remediation+drying+time+humidity+ventilation Google Scholar
- Mold | US EPA
https://www.epa.gov/mold - https://www.cdc.gov/mold/default.htm
- https://www.fema.gov/fact-sheet/mold-after-disaster
- https://www.hud.gov/program_offices/healthy_homes/mold
- https://en.wikipedia.org/wiki/Water_damage
- Mold
https://en.wikipedia.org/wiki/Mold - https://pubmed.ncbi.nlm.nih.gov/?term=mold+prevention+moisture+control+dampness+indoor+environment


