
Want to estimate the cost of polyaspartic floors accurately before you call a contractor? This guide shows the exact pricing inputs that drive your total cost—surface prep requirements, coating system build, thickness, color/finish, and labor rates—so you can produce a realistic budget fast. You’ll also get practical ranges for typical project sizes, helping you spot quotes that are overpriced or missing key line items.
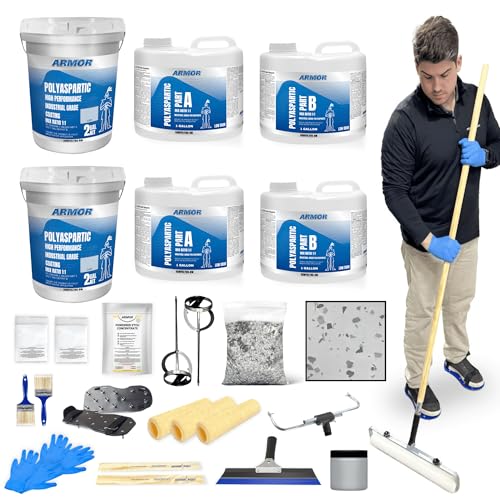



Polyaspartic floor pricing comes down to (1) surface prep, (2) total square footage, and (3) the complete material + labor scope (primer, coats, topcoat/clear, and any decorative steps). Start by measuring accurately and defining your performance target (decorative appearance vs. chemical resistance vs. thickness), then estimate materials using coverage rates and add labor for grinding/patching and application time—so you can compare contractor quotes apples-to-apples.
If you’re planning a garage, warehouse, showroom, or commercial space and want to understand why one polyaspartic quote is higher than another, this is for you. It’s most useful when you’re either (a) budgeting before contractors visit or (b) reviewing proposals and want to spot what’s missing.
Understand what’s included in a polyaspartic floor quote
A polyaspartic quote should read like a complete “system,” not a single coating line item. The fastest way to de-risk your estimate is to confirm whether the proposal includes prep, primer/base, polyaspartic coating, and any topcoat/clear—plus any decorative or moisture-mitigation steps.
A complete polyaspartic scope typically includes surface preparation, primer/basecoat, polyaspartic coating(s), and—depending on the end use—a clear topcoat or performance finish.
If a quote only lists “polyaspartic coating per ft²” and omits primer, repairs, or topcoat, the contractor may be assuming an unusually good substrate condition.
Decorative systems (flakes, metallics, or broadcast textures) usually increase both material usage and application labor due to additional steps and recoat windows.
What to look for in the line items
Most differences between “cheap” and “premium” proposals come from scope completeness. As you review paperwork, confirm these items are explicitly covered:
– Surface prep method: grinding, shot blasting, or milling (and to what standard)
– Repairs: crack repair, spall/void patching, joint treatment
– Primer/base coat: whether it’s included and which type (bonding vs. sealing)
– Polyaspartic coating plan: number of coats and whether it’s solid color vs. clear
– Topcoat system: clear urethane/polyaspartic topcoat for UV stability and wear resistance (often essential outdoors or near skylights)
– Broadcast/decorative steps: flakes/broadcast aggregates and whether they’re locked in with a clear
– Moisture mitigation: whether the slab is treated (and what test method or criteria is referenced)
Comparison: “Scope-light” vs “Scope-complete” proposals
When quotes don’t match, the numbers won’t match—even if they use the same square-foot price.
| Quote style | Common inclusions | Common omissions | Budget impact |
|---|---|---|---|
| Scope-light | Coating per ft² | Prep standard, primer, repairs, topcoat, recoat timing, moisture plan | Lower initial price, higher change orders |
| Scope-complete | Prep method, repairs, primer, coat schedule, topcoat, decorative steps (if any) | — | Higher transparency, fewer surprises |
Measure your floor area correctly (and plan for waste)
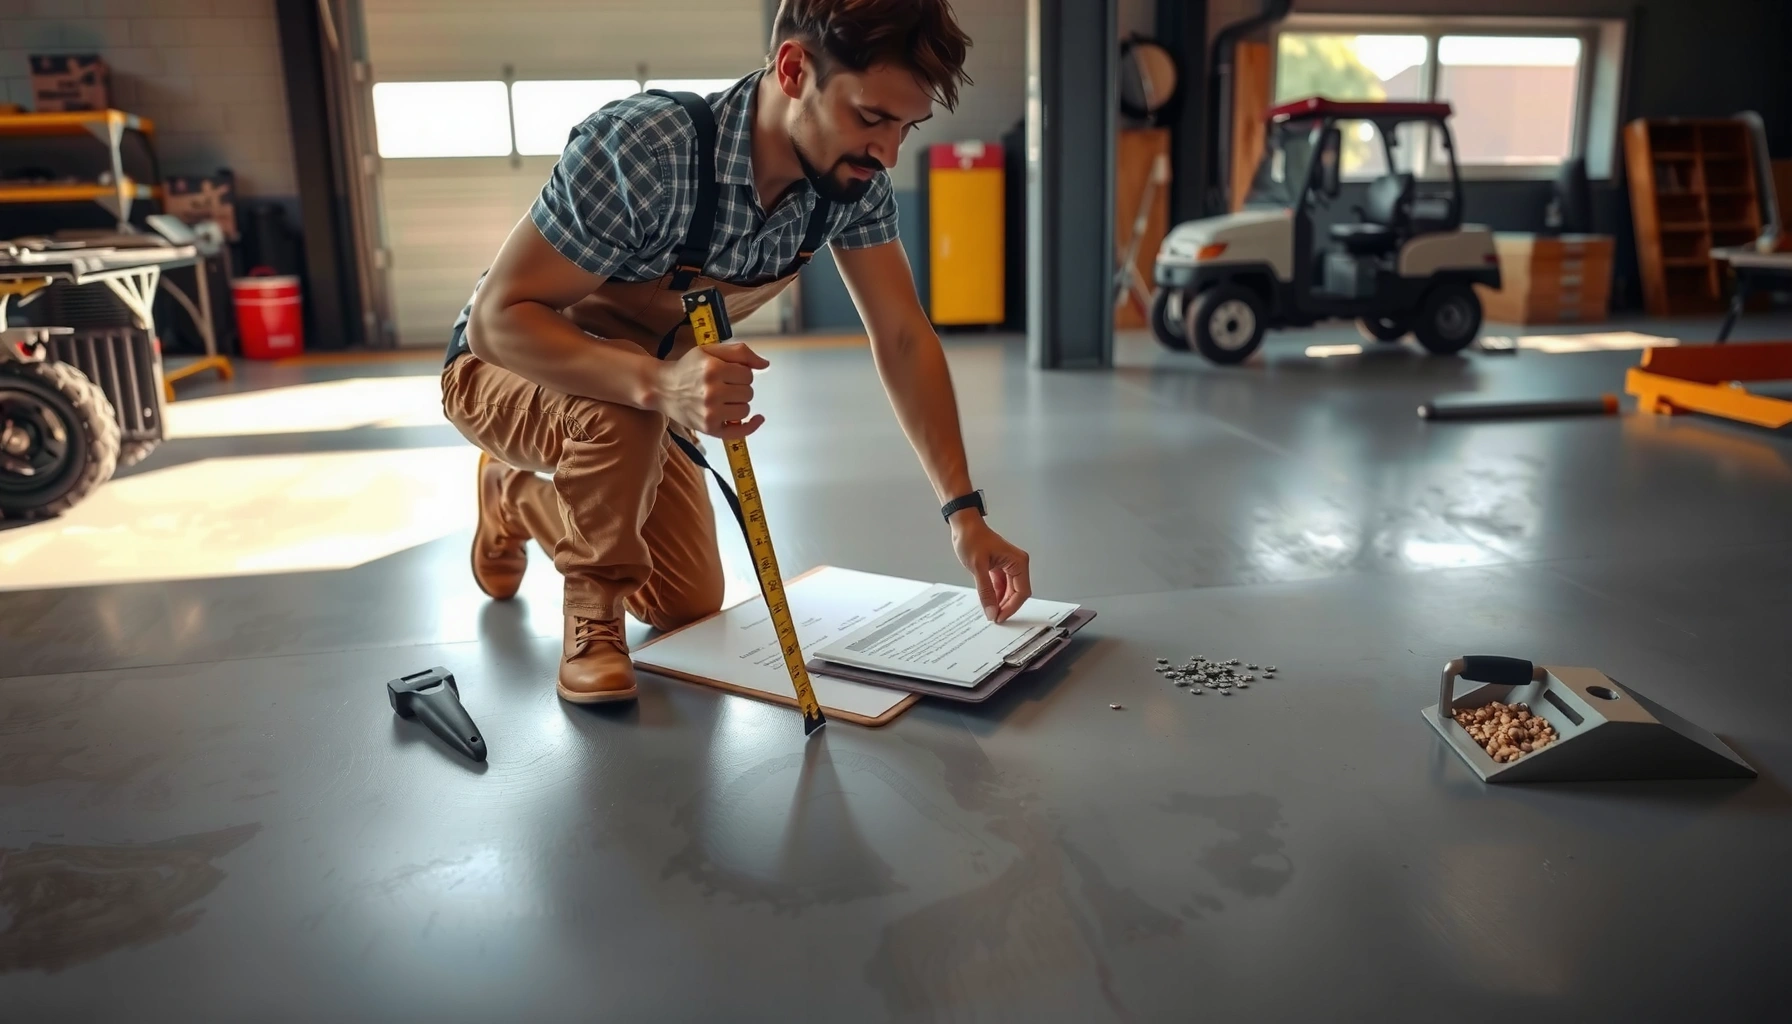
A correct measurement is the foundation of every cost estimate. Use usable square footage (what the coating will actually cover), then add a waste/cutting allowance—especially for broadcast or decorative systems where irregular geometry increases material losses.
Polyaspartic pricing is usually stated per ft² (or m²), but the “area basis” may be total room area or measured coating coverage—confirm which one the contractor uses.
Decorative broadcast materials (such as flakes) generally require extra overage because application rate depends on coverage method and visual density targets.
If pricing is quoted as “per system kit,” ask whether the kit assumes a specific surface profile and application method—both affect real coverage.
The measurement workflow that avoids underbudgeting
Use a simple measurement method:
1. Measure length × width for each coated section.
2. Subtract uncoated zones (drains, permanent base cabinets, control panels).
3. Add allowance for:
– edges and terminations
– ramps/offsets
– irregular joints and cut-outs
Confirm how the quote calculates area
Different proposals use different area logic, so insist on clarity:
– Per ft²/m² of slab area (most common)
– Per “complete system” (kit-based)
– Separate line items: prep labor per hour + coating materials per ft²
If one contractor is quoting a system expecting “X ft² per kit,” and another quotes materials with explicit coverage, they may still be equivalent—but you need their assumptions aligned.
Estimate prep and repairs (often the biggest swing factor)
Prep and repairs often create the widest gap between “low” and “high” quotes. If your slab is dusty, weak, cracked, spalled, or contaminated, grinding intensity and patch scope can increase labor and materials faster than the coating itself.
For coatings, the substrate is the performance system: weak or contaminated concrete can drive adhesion failure even when coating chemistry is correct.
Crack repair and patching scope is highly variable—quotes that don’t include a documented repair allowance usually understate real labor.
Moisture-related work (surface sealing, mitigation coatings, or additional preparation) can change both material line items and schedule due to curing/recoat requirements.
What “good prep” usually includes
A typical prep-to-coat workflow includes:
– Surface cleaning: removing oils/curing compounds and ensuring adhesion
– Mechanical profiling: grinding or shot blasting to create an anchor pattern
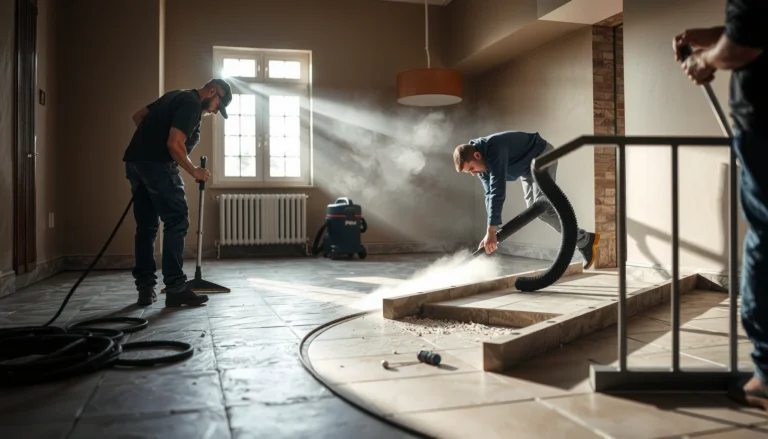
– Dust control: effective vacuuming and cleanup between steps
– Crack/void repair: routing (if needed), patching, and leveling
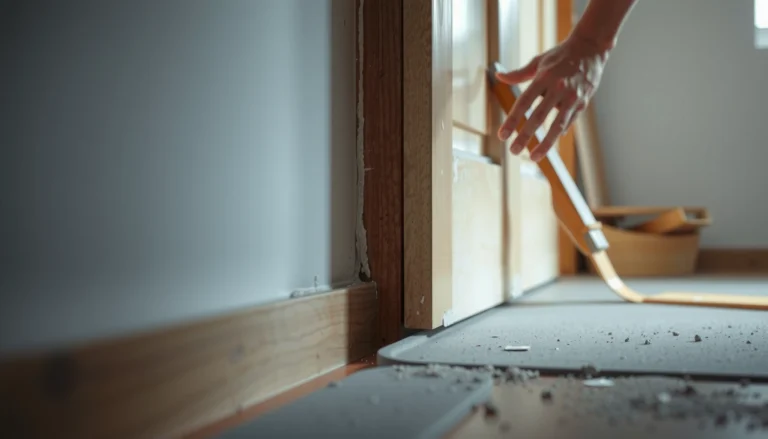
– Edge and transition preparation: cleaning and shaping termination points
Include moisture risk in your scope definition
Even if a contractor can’t confirm moisture risk without testing, they should state what’s included. If moisture mitigation is not in the quote, the contractor should be clear whether they’re excluding it.
According to ASTM methods commonly used for moisture evaluation, slab moisture is typically assessed using standardized test approaches (ASTM F2170 and related ASTM guidance). The *pass/fail* threshold still depends on the specific coating system and manufacturer requirements, so treat moisture testing as a scope alignment step rather than a universal cut-off.
Size the material quantity and system thickness
Polyaspartic floor cost rises or falls based on the exact system build: thickness targets, number of coats, and whether the system includes a clear topcoat or broadcast lock-in. To estimate accurately, use the coverage rate from the specified manufacturer/product—not just the “kit price.”
Coverage rate is not “one number for all slabs”: surface profile, porosity, and application method affect how many square feet each gallon truly covers.
System thickness (and number of coats) must match your performance goal—industrial chemical resistance often requires a more substantial build than a light-duty garage finish.
If a contractor quotes thickness but doesn’t state coat count and material type per layer, you can’t reliably compare it to another proposal.
How to estimate materials per ft²/㎡
Use this estimation structure:
1. Choose the system (clear vs. solid color, flakes vs. solid broadcast, topcoat yes/no).
2. Write down the build plan:
– primer/base: yes/no
– polyaspartic coat count: 1 coat vs. 2 coats (or more)
– topcoat/clear: yes/no
3. For each layer:
– Layer thickness requirement (as specified by the system)
– Manufacturer coverage rate (ft²/gal or m²/L)
Then compute:
– Materials needed = (target coverage area) ÷ (coverage rate) per layer
– Add waste for cut-in edges and broadcast materials
> [ADD: manufacturer name + exact coverage rate (ft²/gal or m²/L) once you select the product/system]
A realistic “cost driver” view
In most real-world projects, prep and repairs can outweigh the coating material cost, especially when slabs are older or uneven.
Typical Installed Cost Mix for Polyaspartic Systems (U.S. Commercial/Industrial, by Scope Complexity)
| # | Project profile | Prep & repairs | Materials (all layers) | Labor (application) | Quote volatility |
|---|---|---|---|---|---|
| 1 | New slab / minimal defects | 25% | 45% | 30% | ★★★☆☆ |
| 2 | Minor spalls / patching | 35% | 40% | 25% | ★★★★☆ |
| 3 | Cracks + leveling (moderate repairs) | 45% | 35% | 20% | ★★★★☆ |
| 4 | Moisture mitigation + repairs | 50% | 30% | 20% | ★★★★★ |
| 5 | Decorative flakes (broadcast density target) | 40% | 38% | 22% | ★★★★☆ |
| 6 | Chemical exposure (higher build + topcoat) | 30% | 50% | 20% | ★★★★☆ |
| 7 | Uneven slab / tight access (extra grinding + handling) | 55% | 32% | 13% | ★★☆☆☆ |
Note: This table is meant as a budgeting model for how cost shifts with scope complexity; for an actual project, your contractor’s exact coating system and substrate condition will control the outcome.
Include labor, scheduling, and application constraints
The coating material is only half the story; polyaspartic labor depends on prep intensity, coat sequence, and recoat timing. Even though polyaspartic systems often cure fast, contractors still need adequate windows for mixing, application, and safe progression between steps.
Fast recoat potential doesn’t eliminate labor time—it shifts it toward prep, batch planning, and strict adherence to manufacturer recoat windows.
Application conditions (temperature, humidity, and substrate temperature) can affect cure rate, so quotes should state the assumed operating range.
A schedule impact is common when decorative broadcasts or multi-coat builds require multiple staged curing intervals.
Labor estimating basics you can apply to any quote
To estimate labor without guessing, separate time into buckets:
– Prep labor: grinding, vacuuming, patching, edge work
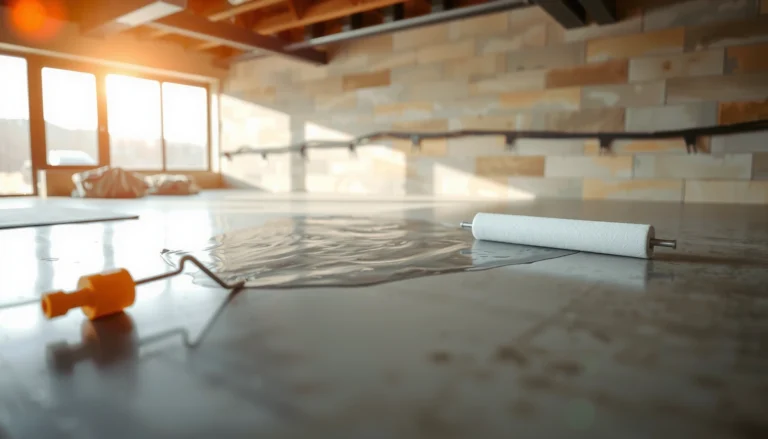
– Coating application labor: mixing, rolling/squeegee work, back-rolling, tool cleaning
– Decorative labor (if any): broadcast/flakes placement and lock-in
– Cure/recoat handling: waiting time that affects crew sequencing
Application constraints to verify in the proposal
– Temperature/humidity assumptions
– Substrate temperature limits
– Maximum moisture tolerance (if moisture mitigation is included)
– Recoat windows between primer/coats/topcoat
> [ADD: source for recommended application conditions from the chosen manufacturer’s technical data]
What can go wrong when estimating (common mistakes)
Most cost-estimation errors come from comparing incomplete scopes or ignoring substrate realities. If you want budgeting accuracy, treat every quote like a checklist: match every layer, every prep step, and every conditional risk item.
A quote can look reasonable on paper while still be expensive overall if it omits grinding level, repair allowance, or the required primer/topcoat system.
Comparing different decorative systems (clear vs. flake/broadcast) is not apples-to-apples because material density targets change both coverage and labor.
Common mistakes (and how to prevent them)
– Only estimating coating: Overlook grinding, dust control, patching, and edge prep.
– Matching the wrong “system thickness”: One contractor may be quoting fewer coats or a different topcoat type.
– Ignoring moisture risk: If moisture mitigation is necessary and not included, you may face replacement or additional layers later.
– Overlooking access and geometry: Ramps, pits, expansion joints, tight corners, and frequent terminations often raise prep labor.
Edge cases that often change the scope
– Uneven slabs requiring additional leveling/spot grinding
– Expansion joints and control joints needing special treatment
– High-chemical exposure requiring enhanced build and stricter topcoat selection
– Difficult access (staging/containment increases labor hours)
Verdict: how to estimate reliably (and when to skip DIY-style budgeting)
Use a line-item estimate approach: (1) area, (2) prep/repair scope, (3) chosen system layers and thickness, and (4) labor/apply conditions. This method produces a realistic budget range and helps you validate contractor quotes before money is committed.
That said, skip a “DIY-only” estimate and schedule a site assessment if the slab is failing (spalling/delamination), has significant cracking, shows moisture concerns, or you’re targeting a demanding performance spec (chemical/impact). In those cases, the wrong coating system can fail early—even if your square footage and material math were correct.
For high-performance requirements, the safest budget tool is a documented system spec (coats, thickness, coverage, recoat windows) matched to the substrate condition.
Quick estimate checklist (scan/save)
– [ ] Confirm floor area (usable sq ft/㎡) and measure around fixtures/offsets
– [ ] Decide the desired finish (clear, solid color, flakes, decorative broadcast)
– [ ] Identify prep scope (grind level, shot blasting, patch/crack repair)
– [ ] Match system layers to the quote (primer + coats + topcoat, if any)
– [ ] Use manufacturer coverage rates to estimate material quantity
– [ ] Ask what conditions are assumed (temperature/humidity) and whether moisture risk is addressed
– [ ] Compare labor items separately (prep labor vs coating application labor)
– [ ] Ensure recoat timing and curing constraints are included in the schedule
– [ ] Request line-item breakdown so apples-to-apples comparison is possible
FAQ
How much of the total polyaspartic cost is usually preparation?
Prep and repairs often drive the total more than the coating itself, especially on older or damaged slabs. The exact split depends on substrate condition, but prep should be treated as a major line item—ask for it explicitly.
What should I ask a contractor to ensure quotes are comparable?
Request a line-item list covering primer/coats/topcoat, decorative elements (if any), prep method (grinding/shot blasting), repair scope, moisture mitigation (if included), and the stated coverage rate or product specification used.
Does polyaspartic pricing change for different decorative finishes?
Yes. Flake/broadcast systems, metallic effects, or multi-step decorative approaches require extra materials and process steps, which typically increases cost compared to a simpler solid or clear system.
Do I need moisture testing before estimating polyaspartic floors?
If moisture risk is possible (older slabs, damp environments, known water intrusion), you should request moisture evaluation as part of planning. Whether it’s tested or mitigated depends on the slab and what the manufacturer specifies—ask what the contractor includes and what documentation they rely on.
Is it better to buy “kits” or price by material + labor?
Either can be fine, but “kit” pricing can hide prep differences or assume coverage that won’t match your substrate profile. For budgeting, line-item transparency usually helps you understand what you’re paying for.
Sources
– Polyaspartic flooring performance and application details should come from the selected manufacturer’s product data sheet and technical application guide. [ADD: name of the polyaspartic manufacturer/product + link to the official data sheet and coverage rate document]
– Substrate prep and application temperature/humidity limits should follow the manufacturer’s technical documentation for the specific system. [ADD: cite the exact technical bulletin or application guide used for recommendations]
– Moisture-related requirements (if applicable) should be taken from the same manufacturer documentation and any referenced test method guidance. [ADD: cite manufacturer guidance for moisture testing/limits and mitigation approach]
– Moisture test method references commonly used in flooring projects (method standards): ASTM F2170 and related ASTM moisture evaluation guidance. [ADD: any coating-specific manufacturer moisture documentation once you choose a system]
A strong polyaspartic budget comes from treating the quote like a system—prep, primer, coating layers, topcoat/decorative steps, and the labor/time constraints that make the system work in your real environment. Measure correctly, document what’s included, and insist on line-item clarity so you can compare proposals fairly instead of chasing the lowest per-square-foot number.
Frequently Asked Questions
What factors affect the cost of polyaspartic floor coatings?
The biggest cost drivers are slab condition, surface preparation requirements, coating thickness, and the complexity of the system (e.g., primer + polyaspartic base + color flakes or topcoat). Pricing also depends on whether you need repairs like crack filling, leveling, moisture mitigation, or shot blasting to achieve the right profile. Labor, project size, access constraints, and local rates for installation can significantly change the total polyaspartic floor cost.
How do I estimate the square-foot cost of polyaspartic floors for my project?
Start by measuring total square footage and then add a realistic allowance for waste and touch-ups (often a small percentage on coatings and accessories). Request a breakdown from installers that includes primer coverage, polyaspartic application rates, and any decorative elements (broadcast flakes, metallics, or slip-resistant additives). Because polyaspartic coatings typically price per system rather than a single product, you should estimate the complete floor system cost per square foot—not just the topcoat.
How do preparation and substrate condition impact polyaspartic flooring pricing?
Polyaspartic systems rely on proper surface prep, so poor concrete condition can increase costs quickly. If the slab has cracks, spalling, laitance, or moisture issues, you may need additional prep steps like grinding, mechanical profiling, patching/leveling compounds, and moisture testing before coating. Choosing an installer who specifies the prep method (e.g., diamond grinding or shot blasting) helps you estimate true polyaspartic floor coating cost more accurately.
Which polyaspartic floor system is best for cost versus durability?
For many residential and commercial uses, a standard epoxy primer (or approved primer) plus a clear or colored polyaspartic topcoat offers a strong balance of price and performance. If you need higher chemical resistance, UV stability, or better appearance, adding decorative broadcasts and a UV-stable topcoat can increase cost but may reduce long-term maintenance. “Best” depends on traffic level, sun exposure, and whether you need slip resistance, so compare total installed system specifications rather than only per-bucket material pricing.
Why do quotes for polyaspartic floors vary so much between contractors?
Differences often come from system thickness, the inclusion (or exclusion) of moisture mitigation, and how extensively they prepare the concrete. Some contractors may quote only materials or a simplified scope, while others price the complete polyaspartic floor system cost including repairs, primers, topcoats, decorative options, and clear coverage targets. To compare quotes fairly, ask for a line-item breakdown per square foot and confirm the application rates, substrate requirements, and any warranties included.
📅 Last Updated: October 11, 2026 | Topic: How to estimate the cost of polyaspartic floors? | Content verified for accuracy and freshness.
References
- Google Scholar Google Scholar
https://scholar.google.com/scholar?q=polyaspartic+floor+coating+coverage+cost+estimate - Google Scholar Google Scholar
https://scholar.google.com/scholar?q=polyaspartic+coating+life+cycle+cost+flooring - Google Scholar Google Scholar
https://scholar.google.com/scholar?q=epoxy+floor+coating+cost+estimation+labor+materials+thickness+coverage - Cost estimate
https://en.wikipedia.org/wiki/Cost_estimation - https://en.wikipedia.org/wiki/Construction_cost
- Epoxy
https://en.wikipedia.org/wiki/Epoxy - Polyurethane
https://en.wikipedia.org/wiki/Polyurethane - Polymer
https://en.wikipedia.org/wiki/Polymer - Volatile Organic Compounds’ Impact on Indoor Air Quality | US EPA
https://www.epa.gov/indoor-air-quality-iaq/volatile-organic-compounds-impact-indoor-air-quality - https://www.osha.gov/construction-costs-and-bidding-safety