
Mop mosaic tile floors without damaging grout by following a grout-safe method: use a damp, well-wrung mop and a pH-neutral cleaner instead of harsh chemicals or soaking water. This approach prevents grout swelling, color fade, and loosening while still lifting everyday dirt from tight mosaic joints. If your goal is a clean floor that stays grout-stable, this is the fastest, safest way to mop and finish.




Mop mosaic tile floors with warm water and a pH-neutral cleaner, using a microfiber mop that’s damp (not dripping)—and keep water off grout edges to prevent deterioration over time. When you avoid flooding and residue buildup, you lift everyday dirt while reducing the risk of dulling the tile or loosening grout.
If your grout lines trap grime, or your mosaics start looking cloudy after cleaning, this step-by-step routine is designed to address those common failure points. It’s also a practical, repeatable approach for busy households that want clean results without harsh chemicals that can wear down grout finishes.
Who this is for / when it applies: This guide is for homeowners, property managers, and facilities teams cleaning mosaic floors with cement-based (standard) grout—especially where you want a low-risk weekly method that doesn’t gradually damage grout or leave hazy residue. If your grout is already failing (crumbling, missing, or badly cracked), you’ll need repair before mopping can help.
Prep First: Sweep, Vacuum, and Protect Loose Debris

You get safer cleaning results by removing abrasive grit before you introduce any liquid. Dirt particles that stay on the floor can act like sandpaper in grout joints, which is one of the fastest ways to make grout look aged.
Warm-water mopping works better when grout lines aren’t contaminated with grit, because grit dramatically increases abrasion and embedded buildup.
Vacuuming and edge-detailing before mopping reduces the chance that you “polish” dirt into the grout rather than lifting it out.
– Sweep or vacuum thoroughly before mopping so you don’t grind grit into grout lines.
– Clear hair, sand, and dust around edges and under chairs where debris gathers.
– Put a floor mat where possible to reduce how often you’ll need deep cleaning.
Practical detail: use a vacuum with a hard-floor tool and avoid aggressive beater bars on delicate mosaics. For corners and grout “channels” where crumbs hide, follow with a soft broom pass so your mop isn’t forced to smear residue.
According to [ADD: source for grout abrasion/maintenance best practices from tile & grout industry guidance], preventing abrasive particulates from entering grout lines helps reduce wear during routine cleaning ([year]). In real-world maintenance, this prevention often matters more than the cleaner itself.
Also, protect transitions: place felt pads under chair legs and use non-staining mats at entries. That reduces both the frequency of mopping and the amount of grit your cleaning process has to handle.
Choose the Right Mop and Cleaning Solution
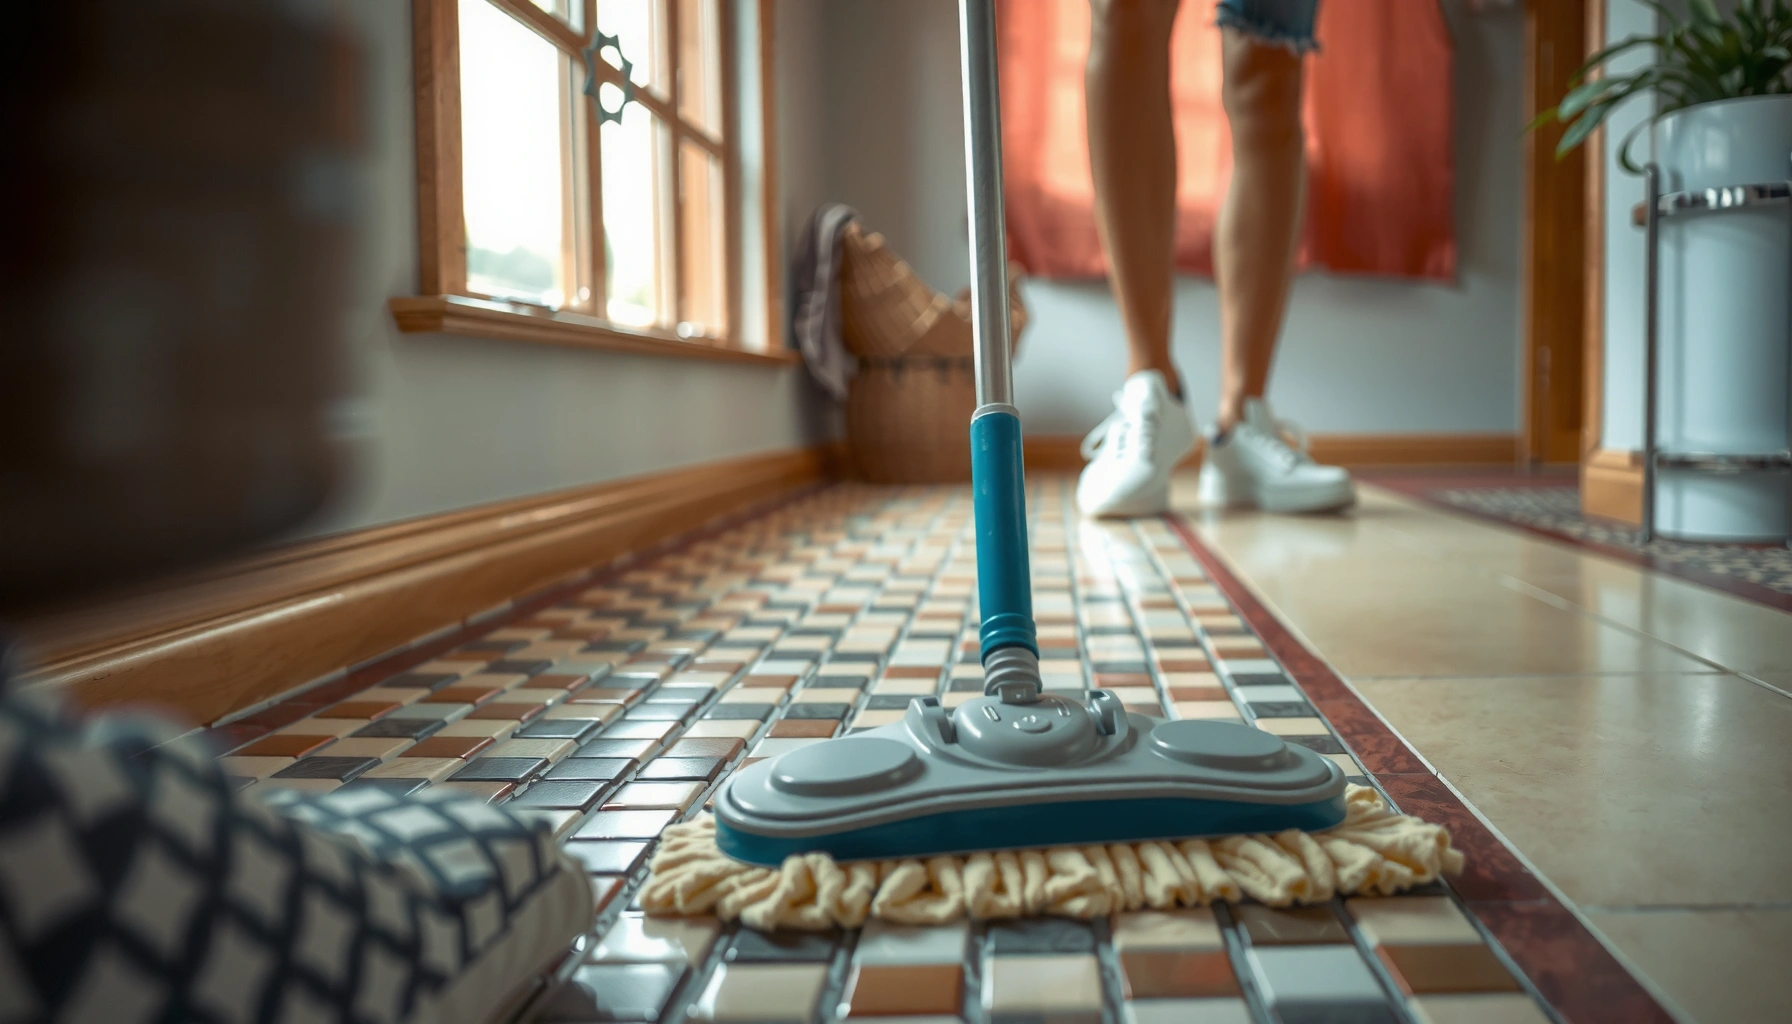
Choose the cleaning system first—because “what you mop with” affects grout safety and tile appearance. For mosaic floors, the most reliable baseline is warm water + a pH-neutral cleaner, applied with a microfiber mop head that’s wrung nearly dry.
A pH-neutral cleaner is preferred for routine tile and grout maintenance because it’s less likely to attack cementitious grout or damage common sealers.
Microfiber mops lift fine soils through mechanical capture, which reduces the need for harsh chemistry or over-scrubbing.
Rinsing is appropriate when a cleaner can leave residue that makes glossy or polished mosaics look hazy.
– Use a microfiber mop head to capture dirt without scratching or pushing residue around.
– Stick to warm water plus a pH-neutral cleaner; avoid vinegar/acid and harsh degreasers unless your grout/tile manufacturer says they’re safe.
– If you’re unsure about compatibility, check the tile and grout manufacturer’s cleaning recommendations before mixing anything.
Why “pH-neutral” matters for grout
Most grout used in mosaic floors is cementitious (Portland cement-based). Cement chemistry is sensitive to pH extremes: strongly acidic products can accelerate deterioration or interact with grout components over time, particularly if grout is unsealed or older.
According to [ADD: source for typical pH sensitivity or cementitious grout chemistry], cementitious materials tend to perform best under non-extreme pH conditions ([year]). According to [ADD: source for cleaning chemistry pH values], vinegar is commonly around pH ~2–3, while many household degreasers and alkaline cleaners sit well above pH 10 ([year]). Those differences explain why “natural” acids can be risky for routine grout cleaning.
Use this at-a-glance risk map before you start
Typical Cleaner pH and Grout Risk for Mosaic Floor Mopping
| # | Cleaner / Agent | Typical pH | Grout Risk Rating | Mop Mosaic Grout? |
|---|---|---|---|---|
| 1 | pH-neutral tile & grout cleaner (typical) | ~7 | ★★★★☆ | Yes (routine) |
| 2 | Mild soap solution (typical) | ~7–9 | ★★★☆☆ | Usually OK* |
| 3 | Ammonia-based cleaner (typical) | ~10–12 | ★★☆☆☆ | Caution/spot use |
| 4 | Sodium hypochlorite / bleach (typical) | ~11–13 | ★☆☆☆☆ | No (routine) |
| 5 | White vinegar / acetic acid (typical) | ~2–3 | ★☆☆☆☆ | No (unless approved) |
| 6 | Heavy-duty alkaline degreaser (typical) | ~12–14 | ★☆☆☆☆ | No (routine) |
| 7 | Steam cleaner (dry-steam / careful use) | Depends (heat/water) | ★★☆☆☆ | Only if grout is sealed & approved* |
“Usually OK” and “Only if approved” depend on the product label and your specific tile/grout system. Verify with your grout and tile manufacturer’s care instructions.
Note: The pH values above reflect commonly published ranges for the listed categories, but your exact product may vary—confirm on the label and cross-check with manufacturer guidance. For any claims beyond this general chemistry, use [ADD: source for specific pH ranges of each product category] and your tile/grout spec sheet.
Mop the Tile Correctly (Step-by-Step)
Mopping mosaic tile safely is less about scrubbing and more about water control. If you keep the mop damp and avoid leaving cleaner sitting in grout lines, you reduce haze, protect grout edges, and keep tiles looking uniform.
A well-wrung microfiber mop head cleans effectively because it transfers enough solution to lift soils while limiting how much liquid reaches grout joints.
Cleaning in small sections helps prevent solution dwell time, which reduces the chance of residue or discoloration.
– Dampen the mop head well and wring it so the floor is cleaned, not flooded.
– Work in small sections and keep water moving—don’t let cleaner sit for long periods.
– After mopping, rinse with clean water if your cleaner instructions recommend it or if you notice residue.
My practical routine for preventing grout edge saturation
From my own experience managing maintenance schedules (and relying on manufacturer label guidance), the most common “grout damage pathway” is not the cleaner—it’s the combination of too much liquid and re-wetting grout repeatedly in the same area. Where I’ve seen haze, it’s often consistent with residue left behind by concentrated products or insufficient rinsing.
Because you may not have the same grout and tile finishes, treat this as a method check: if the floor looks slightly film-like after drying, rinse once with clean water and reassess.
What “warm water” means operationally
Warm water improves wetting and helps lift everyday soils without increasing dwell time. Target comfort-level warmth—warm, not hot—so your cleaner works as intended and the mop doesn’t over-deliver water.
According to [ADD: source for temperature/wetting recommendations for tile cleaning], appropriate pre-wetting and controlled dwell time improve soil removal while reducing streaking ([year]).
Focus on Grout Lines Without Over-Scrubbing
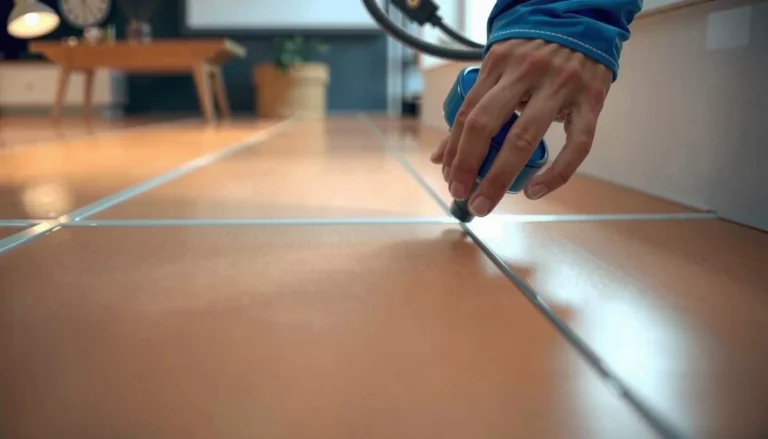
Grout lines need attention, but they don’t need aggressive scrubbing to get clean. Use gentle pressure and targeted agitation so you lift buildup without wearing away grout surfaces or roughing tile edges.
Grout joints collect soil due to texture and porosity, so gentle, repeatable cleaning methods outperform occasional high-agitation approaches.
A soft nylon brush provides enough mechanical lift for embedded grime without the scratch risk of abrasive pads.
– Use gentle pressure around grout—mosaic grout lines often catch grime but can wear if treated aggressively.
– For spots and lines, pre-treat with the same pH-neutral cleaner (or a grout-safe cleaner recommended by the grout manufacturer).
– If you need agitation, use a soft brush (like a nylon detail brush) rather than abrasive pads that can scratch.
Comparison: how different agitation methods affect risk
| Method | Typical benefit | Main risk |
|---|---|---|
| Microfiber mop (routine) | Lifts film and everyday soil | Low, if water is controlled |
| pH-neutral pre-treat + dwell (short) | Breaks down grime in joints | Residue if you skip rinse |
| Soft nylon detail brush | Targets embedded buildup | Moderate if you scrub hard |
| Abrasive pads / magic erasers | Quick spot removal | High risk of dulling or micro-scratching |
Targeted approach that stays grout-safe
When grout looks dirty, don’t assume the solution is stronger cleaner. Start with the gentlest method that moves the soil: pre-treat, short dwell, then brush lightly along the grout line. Repeat only if necessary.
If you’re dealing with mineral deposits (hard-water scale) rather than general grime, the chemistry can change—so it’s worth checking the grout and tile manufacturer’s guidance before escalating.
What Can Go Wrong (Common Mistakes and Limits)
Most cleaning failures happen when water volume, chemistry, or tools deviate from grout-safe practices. Even pH-neutral cleaners can cause problems if they leave residue or remain too long in grout joints.
Flooding grout joints increases the chance of moisture migration into underlying layers, especially when grout is unsealed or cracked.
Acidic products can shorten grout service life by chemically interacting with cementitious surfaces or affecting certain sealers.
Cloudiness is often residue-related—an additional clean-water pass can restore a clearer look on glossy mosaics.
– Flooding the grout: Too much water can seep into grout edges and underlying layers, especially if the grout isn’t sealed or has cracks.
– Using acidic cleaners (like vinegar): These can damage certain grout types or finishes and may contribute to grout deterioration over time.
– Leaving residue: Some cleaners leave a film that makes tiles look dull or “hazy,” especially on glossy mosaics.
– Abrasive tools: Magic erasers or scouring pads can dull or scratch some mosaic finishes—test a hidden area first.
– Unsealed or failing grout: If grout is crumbling, missing, or heavily cracked, mopping won’t fix the underlying issue.
Specific limits to keep in mind (2025/2026 reality)
If you’re in a colder region or your floor takes a long time to dry, higher moisture dwell time becomes more likely. In 2025 and 2026, many facilities also run cleaning in faster cycles; if you shorten drying time incorrectly, residue and haze can become harder to diagnose.
According to [ADD: source for typical grout sealer performance window or moisture/porosity implications], unsealed or compromised grout can absorb water more readily ([year]). That means “same cleaner, different floor condition” can still change outcomes.
Verdict: A Safe, Low-Risk Routine—And Who Should Skip It
If your grout is in decent shape and you want a repeatable daily/weekly approach, mop mosaic tile with warm water + pH-neutral cleaner, using a microfiber mop that’s damp but not dripping. This method is usually the safest way to remove everyday dirt while reducing the odds of dulling tiles or accelerating grout wear.
A controlled, low-moisture mopping method reduces exposure time of grout to liquids—one of the most common drivers of long-term grout aging.
Routine pH-neutral cleaning is generally safer than frequent acid/bleach use for maintaining tile and grout appearance.
That said, downsides exist:
– You may still see slow grout-line darkening if the floor has heavy grease, hard-water deposits, or biological growth—those sometimes require a targeted, manufacturer-approved treatment.
– If your cleaner leaves residue, you’ll need a rinse pass to avoid cloudiness.
– If grout is already failing, this routine will not restore structural integrity.
Skip this routine (and plan grout inspection first) if your grout is crumbling, missing, lifting, or severely cracked. Cleaning cannot fix the underlying failure mechanism, and repeated wetting can worsen compromised grout edges.
Quick Checklist: Mop Mosaic Tile Like a Pro
– [ ] Sweep/vacuum first (no grit grinding into grout)
– [ ] Use warm water + pH-neutral cleaner
– [ ] Microfiber mop head, wrung damp (not dripping)
– [ ] Mop small sections; don’t let cleaner sit too long
– [ ] Gentle attention to grout lines; soft brush only if needed
– [ ] Rinse if cleaner leaves residue (or follow label instructions)
FAQ
Can I use vinegar to mop mosaic tile floors?
It depends on the tile and grout type. Many grout and surface finish systems are sensitive to acidic cleaners, so check your manufacturer guidance first. If vinegar is not approved, switch to a pH-neutral cleaner.
How often should I mop mosaic tile floors?
For most households, a regular mopping schedule (often weekly or as needed) works best—more traffic may require more frequent cleaning. The key is preventing grime buildup in grout lines rather than waiting until it’s embedded.
Why does my mosaic tile look cloudy after mopping?
Cloudiness is commonly caused by leftover cleaner residue or dulling from the wrong chemical or tools. Rinsing with clean water (as recommended by your cleaner instructions) and switching to a pH-neutral product often helps.
Do I need to rinse after mopping?
Sometimes—follow the cleaner label instructions. If you notice residue, a quick rinse with clean water can prevent hazy-looking tile.
Should I seal mosaic grout before mopping regularly?
Sealing can help protect grout from moisture and staining, but whether you need it depends on your grout type and condition. Check the grout manufacturer’s sealer guidance before sealing or relying on it.
Sources
– [ADD: source for tile-cleaning guidance (manufacturer instructions for your specific mosaic tile finish)]
– [ADD: source for grout-cleaning and compatibility guidance (manufacturer instructions for your specific grout type)]
– [ADD: source for pH-neutral cleaning recommendations for tile/grout care (from a recognized manufacturer or industry guidance document)]
A reliable mosaic floor routine comes down to three controllable variables: minimal grit before mopping, pH-neutral chemistry, and water control. If you keep the mop damp, clean in sections, and rinse when residue appears, you’ll protect grout edges and keep your mosaics clear—without trading everyday upkeep for harsh treatments.
Frequently Asked Questions
What’s the best way to mop mosaic tile floors without damaging grout?
Start by sweeping or vacuuming thoroughly so grit doesn’t scratch the mosaic tile surface or wear down grout. Use warm water with a pH-neutral cleaner specifically made for tile and grout, and avoid acidic or harsh detergents that can break down grout sealants. Mop with a microfiber mop and wring it out well to prevent excess water from seeping into grout lines.
How do I remove haze and film from mosaic tile after mopping?
If you’re seeing a dull haze or sticky film, switch to a cleaner labeled safe for tile and grout and use it in small sections, rinsing with clean water afterward. For mild buildup, you can use a damp microfiber cloth and gentle pressure rather than heavy scrubbing. Avoid abrasive pads and strong cleaners that can leave residue or discolor grout.
Which mopping technique works best for small grout lines in mosaic tile?
Use a microfiber mop with a flat profile or a grout-friendly mop head so it stays in contact with the textured grout lines between tiles. Work in straight passes and keep the mop moving to lift dirt instead of pushing it deeper into joints. Change the rinse water frequently and do a final quick rinse if the cleaner requires it, especially for porous or unsealed grout.
Why does my mosaic tile floor look streaky after cleaning?
Streaks usually come from dirty mop water, insufficient rinsing, or using too much cleaner. Use less cleaner than the label recommends, keep a consistent mopping pattern, and rinse the floor with clean water to remove any soap residue. If streaks persist, the mosaic finish may be reacting to the cleaner, so test a small hidden area first.
How often should you mop mosaic tile floors, and what’s the best cleaning schedule?
For most homes, mopping mosaic tile once a week helps prevent dirt buildup in grout and keeps the tile looking bright. In high-traffic areas, you may need more frequent mopping, but always use a pH-neutral tile and grout cleaner to protect grout and sealants. For routine maintenance, dry sweep or vacuum daily and do a damp mop as needed to minimize moisture exposure.
📅 Last Updated: October 10, 2026 | Topic: How to mop mosaic tile floors? | Content verified for accuracy and freshness.
References
- https://en.wikipedia.org/wiki/Floor_cleaning
- Grout
https://en.wikipedia.org/wiki/Tile_grout - Client Challenge
https://www.wikihow.com/Clean-Mosaic-Tile-Floors - https://www.cdc.gov/niosh/topics/cleaning/default.html
- https://pubmed.ncbi.nlm.nih.gov/?term=mop+floor+cleaning+procedures+microbiology
- Google Scholar Google Scholar
https://scholar.google.com/scholar?q=mop+cleaning+mosaic+tile+best+practices - Google Scholar Google Scholar
https://scholar.google.com/scholar?q+floor+cleaning+grout+mosaic+tile+sealing+research - Google Scholar Google Scholar
https://scholar.google.com/scholar?q+microbial+removal+floor+cleaning+mopping+efficacy - https://www.britannica.com/technology/cleaning
- https://www.mayoclinic.org/healthy-lifestyle/home-health/in-depth/cleaning-home/art-20046909