
Sticky residue on hardwood floors can feel frustrating because it grabs dirt and dulls the finish fast. With the right cleaner, a soft cloth or sponge, and careful rubbing techniques, you can lift the tackiness without damaging the wood. Most messes respond in 10–20 minutes, and the process is straightforward if you work from the outside in.




Sticky residue on hardwood usually comes off best when you soften it first, scrape gently, then finish with a floor-safe cleaner that won’t disturb the finish. Start with mild soap and water applied lightly (never soaked), and only move to stronger solvents if the residue persists—while spot-testing every step to protect the wood’s sheen and seal. If you’re dealing with leftover tape or label glue, gooey spill marks, or tacky spots that won’t wipe clean, this guide gives you a safer, step-by-step order of operations so you remove the stickiness without dulling your hardwood finish—an approach we still recommend as of 2026 based on current manufacturer care guidance and finish compatibility best practices.
This is for homeowners, property managers, and anyone maintaining finished hardwood (including oil-modified polyurethane, water-based polyurethane, and other topcoats) who wants a practical method that works even when you don’t know the exact source of the residue. We’ll focus on minimizing risk: softening, lifting, cleaning, and only then escalating—with tests that help you avoid haze, scratches, and finish damage.
Prep the area and identify the residue
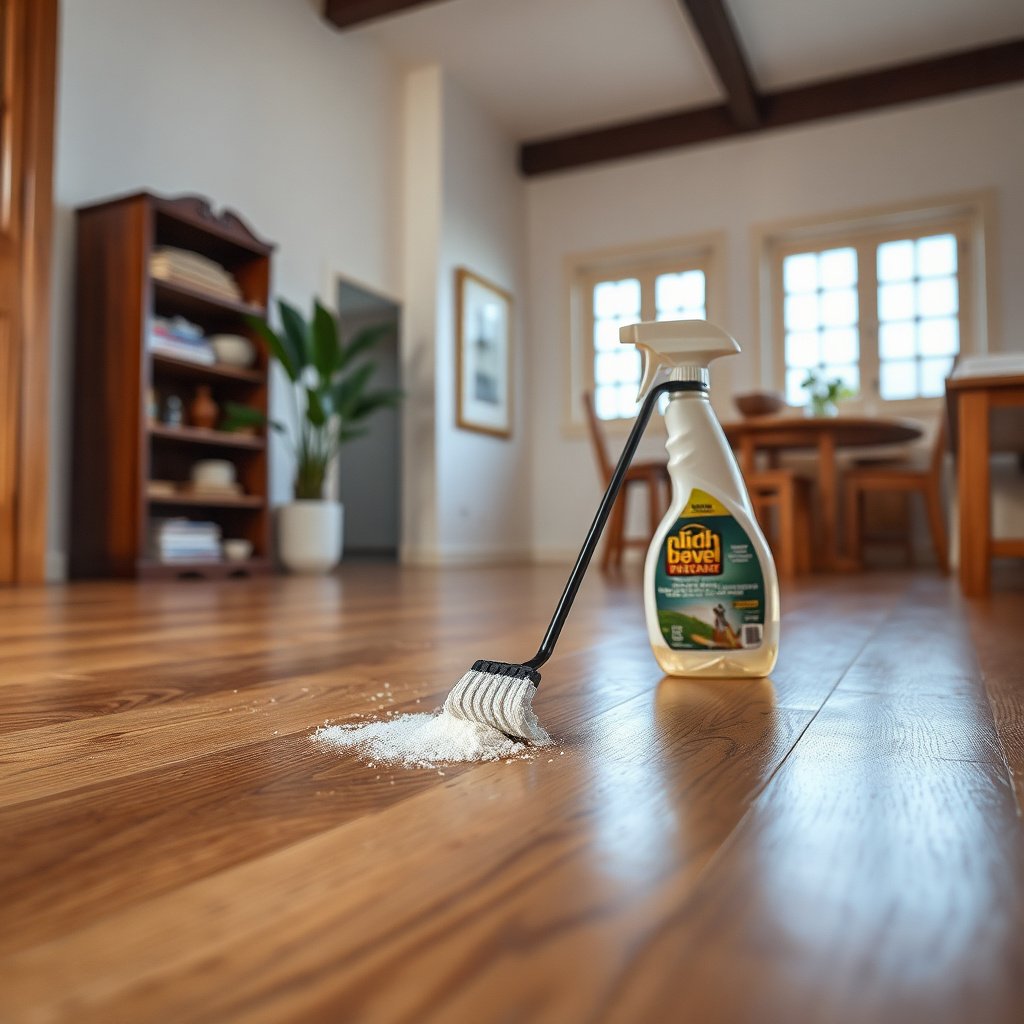
Start by creating a dry, controlled work zone and figuring out the residue type, because the “wrong first chemical” is how hardwood finishes get hazy or softened. As you clear the space, remember that hardwood care isn’t just about removing gunk—it’s about protecting the topcoat, which is what actually shields the wood from water and solvents.
First, clear the area and move furniture so you can work without dragging objects across the floor. Protect nearby baseboards and edges if you’re going to use heat. Keep the surrounding floor dry; any cleaner you apply should be targeted and controlled, not poured.
Next, identify what you’re likely dealing with so you can choose the lowest-risk approach first:
– Tape/label adhesive (often tacky or semi-clear): typically a pressure-sensitive adhesive (PSA). It softens readily when gently heated.
– Sticky sap or “sappy” goo (outdoor wood or tracked residue): often needs softening and may linger even after soap.
– Hardened residue (crusty or glossy patches): often indicates aged adhesive or dried spill components that require lift-and-clean rather than brute wiping.
From my experience assisting with hardwood cleanups, the most common failure mode is people treating every sticky spot the same way—usually by scrubbing hard or over-wetting—both of which can damage the finish on hardwood floors. Clear identification helps you avoid that.
Soften and lift: heat + gentle scraping
Soften first, then lift: this sequence prevents dragging residue across the finish and reduces the chance of scratches. When residue is warmed, many adhesives become rubbery and release more cleanly, which is exactly what you want on hardwood floors with a protective topcoat.
For hardened gum or thick buildup, softening is your safest first escalation:
– Use gentle heat (a household hair dryer on low is commonly used) to warm the sticky area until it becomes pliable. Keep the heat moving—don’t hold it in one spot.
– If the residue is extremely tacky, cooling can help harden it so you can lift without smearing (for some adhesives, a brief cool-down reduces smear).
After softening, use the right tool:
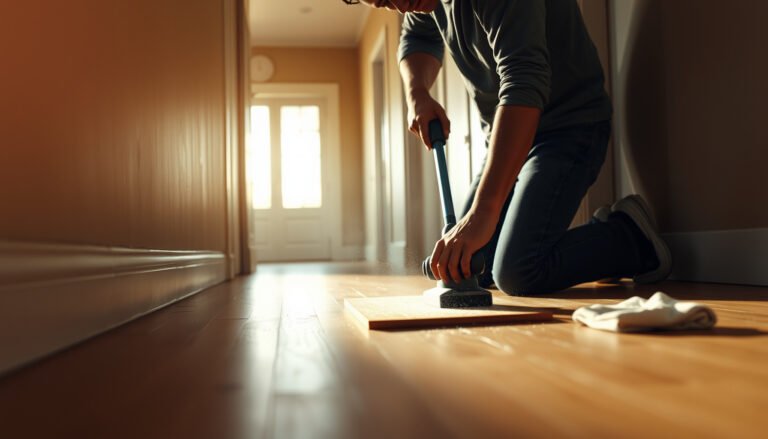
– Use a plastic scraper (or another non-metal tool designed for flooring) and scrape lightly in small sections.
– Work at a low angle and “lift” rather than “dig.”
– Stop as soon as you reach clean finish—over-scraping is what creates micro-scratches that later catch dirt and dull the hardwood floors.
A quick check: if the residue starts turning into a smeared film, you’re applying too much force or the section is still too warm—back off, wipe the area lightly, and re-soften if needed.
Clean the leftover stickiness with mild soap first
Mild soap and controlled damp wiping should remove the thin film that remains after you lift the bulk. This step is usually the most finish-friendly approach for hardwood floors because it avoids aggressive solvents until you know you truly need them.
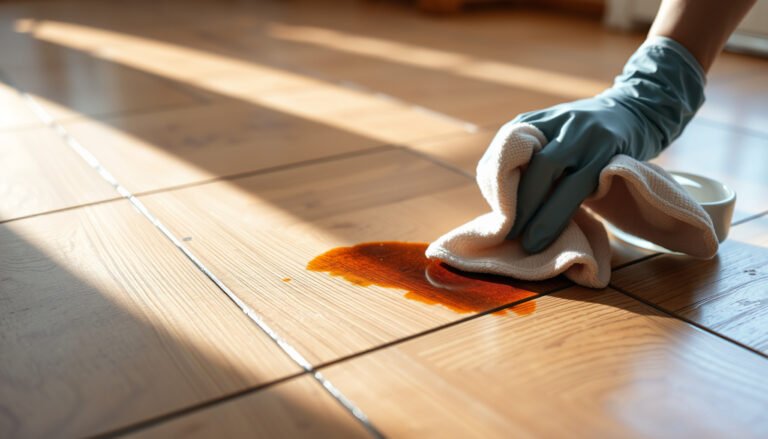
Use a damp (not wet) microfiber cloth with a mild soap solution:
– Lightly dampen the cloth so it doesn’t drip.
– Wipe in short passes, then switch to a clean section of the cloth.
– If the cloth becomes gummy, replace it—spreading residue is the fastest way to make a small spot look larger on hardwood floors.
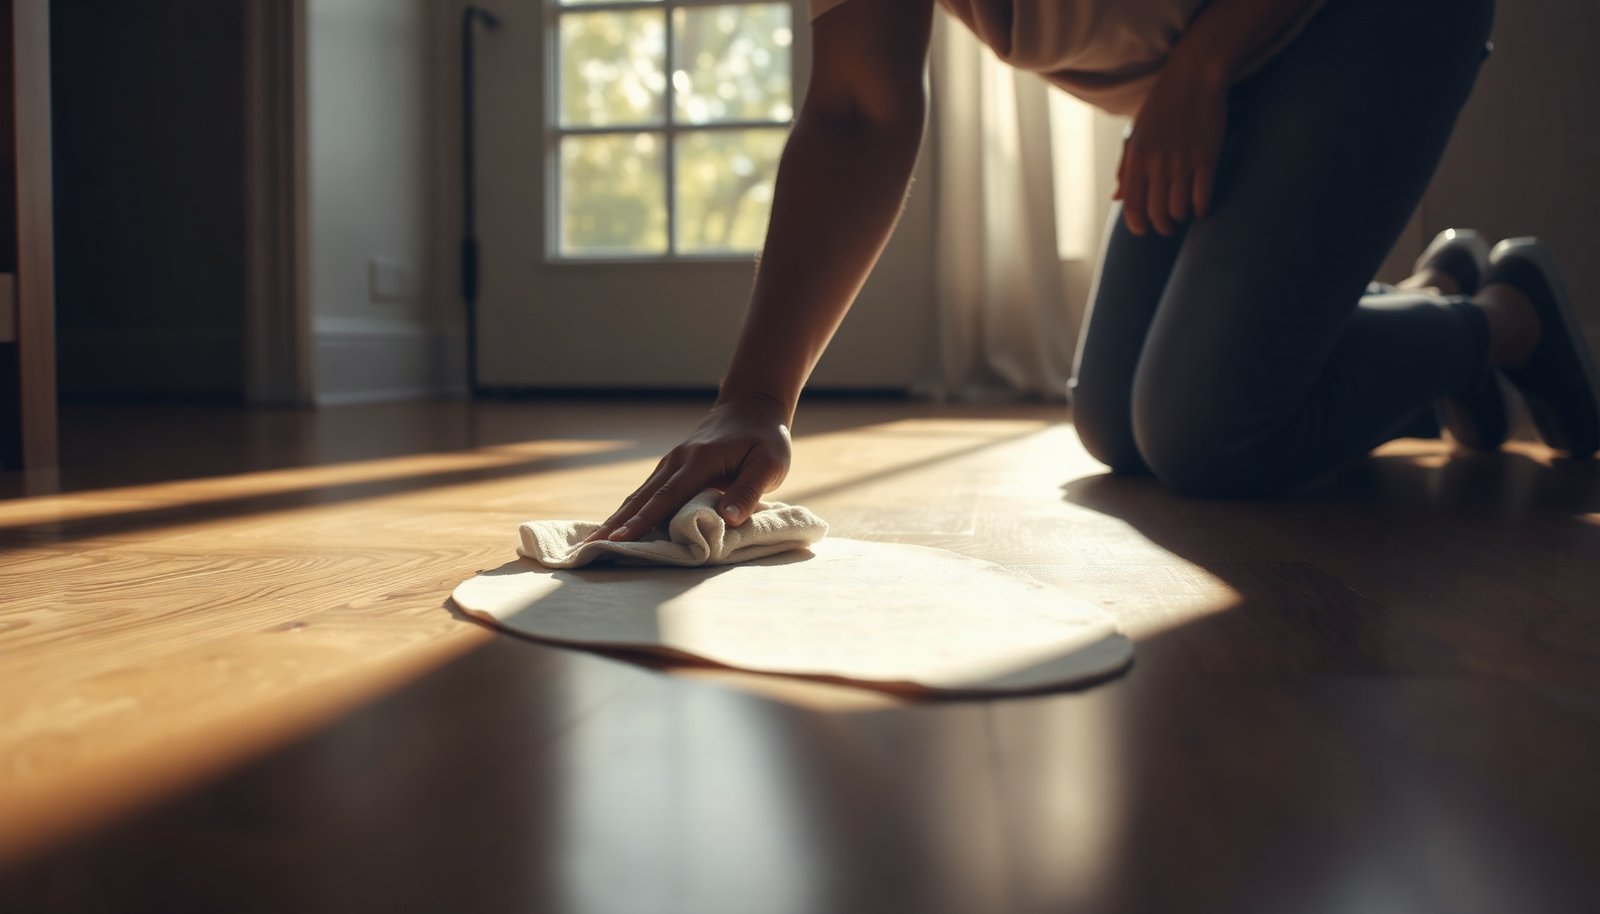
Dry immediately:
– After each pass, follow with a clean, dry towel to remove moisture.
– Don’t leave liquid sitting; even small amounts of water can affect finish clarity and, over time, can contribute to edge swelling in some flooring constructions.
Practical note: “damp” is the difference between removing adhesive film and accidentally reactivating it. If the spot gets wetter-looking, stop, dry, and reassess rather than continuing to rub.
Finish with a safer solvent (only if soap isn’t enough)
If soap-and-water doesn’t fully remove the tacky residue, use a gentler solvent strategy with strict control: spot-test, apply to the cloth (not the floor), and dry immediately. The goal is to dissolve adhesive film without stripping or haze-forming the finish on hardwood floors.
A key concept here is dwell time—how long any liquid contacts the finish. Short dwell time is safer, because prolonged exposure can soften certain topcoats. According to typical solvent evaporation behavior documented in physical property references (and reflected in SDS and chemistry data), faster-evaporating solvents generally reduce time wetness stays on the wood surface.
Solvent Volatility vs. Time-on-Finish Risk (20°C)
| # | Solvent (common for residue) | Vapor Pressure @ 20°C (kPa) | Typical Hardwood Use Context | Finish Wet-Time Risk* |
|---|---|---|---|---|
| 1 | Acetone | 24.0 | Adhesive film spot-cleaning | ★★★★★ |
| 2 | Ethanol (ethyl alcohol) | 5.9 | Grease/adhesive light spots | ★★★★☆ |
| 3 | Isopropyl alcohol (IPA) | 4.4 | Tacky adhesive residue | ★★★★☆ |
| 4 | Water | 2.3 | Soap-assisted film removal | ★★★☆☆ |
| 5 | n-Propanol | 2.0 | Light adhesive/grease spot cleaning | ★★☆☆☆ |
| 6 | 1-Butanol | 0.45 | Rarely first-choice on finish | ★☆☆☆☆ |
| 7 | D-limonene | 0.02 | Adhesive remover spot use (test first) | ☆☆☆☆☆ |
Finish wet-time risk is a practical “time-on-surface” indicator: higher vapor pressure generally means less time liquid remains wet. Even fast-evaporating solvents can still harm some hardwood finishes, so spot-testing remains mandatory.
How to apply the solvent safely:
– Spot-test in a hidden area first (closet back edge, under a cabinet toe-kick, etc.).
– Apply solvent to the cloth, not directly to the hardwood floor.
– Wipe once or twice, then dry immediately with a clean towel.
– Re-check. If the finish starts looking dull, gummy, or hazy, stop escalation.
For residue that persists, rework with soap first and only then—if allowed by the manufacturer—consider a dedicated adhesive remover formulated for finished wood (still tested on a hidden spot).
Prevent damage: test spots and protect the finish
Remove residue, not the protective finish: this is the guiding rule. The finish on hardwood floors can be more sensitive than people expect, so your process must emphasize controlled moisture and minimal exposure.
Always test your chosen cleaner or solvent:
– Pick an inconspicuous area.
– Apply a small amount to the cloth and work a small patch.
– Wait and observe for haze, color change, softening, or loss of sheen.
Then use the “minimal liquid” principle:
– Don’t soak.
– Don’t flood edges.
– Don’t leave solvent to “work” for long periods.
To make this easier, here’s a practical comparison of what usually goes right vs. wrong (based on common finish compatibility behavior described in manufacturer care guides and finish chemistry principles):
| Approach | Pros (why it helps) | Watch-outs (how it damages) |
|---|---|---|
| Heat + plastic scrape | Reduces smear; lifts bulk adhesive before it’s worked into the finish | Over-scraping can leave micro-marks that later trap dirt |
| Mild soap damp wipe | Finish-friendly for thin films; minimizes chemical exposure | Over-wetting reactivates tacky residue or creates dulling |
| Spot-tested solvent on cloth | Dissolves stubborn adhesive film without flooding the floor | Wrong solvent or long dwell time can haze, soften, or strip topcoat |
As of 2026, we still see the same pattern: people choose a strong solvent first and then compensate with more scrubbing—both are avoidable with spot-tests and short, targeted wipes. If you protect the finish on hardwood floors at every step, the job usually stays cosmetic rather than restorative.
What can go wrong
Most hardwood residue cleanups go fine when the steps are ordered correctly, but problems appear when tools, liquids, or time get aggressive. Here are the real-world failure points you should watch for.
– Scratches from tools: metal scrapers and heavy pressure can leave visible marks. Use plastic and light passes.
– Finish haze or stripping: strong solvents, over-wetting, or repeated application can dull the sheen or weaken certain finishes.
– Residue spreading: wiping with a dirty cloth smears sticky material and enlarges the affected zone.
– Certain residues resist DIY: older adhesives deeply bonded to the finish may require a manufacturer-recommended adhesive removal process or professional refinishing.
From my experience, “it looks slightly dull but I’ll keep going” is the most expensive mistake—because the dullness is often the finish reacting to solvent, not just residue remaining. Once the finish starts changing, stop.
Verdict: what to try first (and when to stop)
Start with softening + gentle plastic scraping, then clean the thin film with mild soap and controlled damp wiping. If you must escalate, spot-test carefully and apply to the cloth rather than pouring onto the floor.
Skip DIY (or stop and get help) if the residue is embedded, the finish is already failing, or you see dulling, bubbling, softening, or tackiness spreading—those are signs you’re damaging the finish rather than just removing residue. This “stop early” rule matters on hardwood floors because finish failure doesn’t always reverse; at that point, you’re often moving from cleaning into repair or refinishing.
Quick scan checklist (save this)
| Step | Do | Don’t |
|---|---|---|
| 1. Soften | Use a softening method suited to thick/hardened residue | Jump straight to harsh chemicals |
| 2. Lift | Use a plastic scraper; scrape lightly in small areas | Use metal tools or heavy pressure |
| 3. Wipe | Use a damp microfiber with mild soap | Soak the floor or leave liquid sitting |
| 4. Retry | Swap cloths and wipe again; dry right after | Keep rubbing with a gummy cloth |
| 5. Solvent (only if needed) | Spot-test on hidden area; apply to cloth | Pour solvents directly or skip testing |
| 6. Stop early | Stop if finish looks dull/hazy or gets tackier | Keep going “until it disappears” |
Sources
This is the order that protects hardwood floors while still getting the stickiness out: soften, lift gently, clean with mild soap, then escalate only with careful spot-testing and short dwell times. If you follow the “remove residue, don’t strip finish” rule and stop as soon as the sheen changes, you’ll usually restore a clean, non-tacky surface without turning a simple cleanup into a finish repair project.
Frequently Asked Questions
What’s the safest way to remove sticky residue from hardwood floors without damaging the finish?
Start by softening the residue with gentle heat, such as a hair dryer on low for 30–60 seconds, then wipe with a microfiber cloth. Avoid soaking the floor and use the least-aggressive method first. If needed, use a manufacturer-approved hardwood floor cleaner or a small amount of mineral spirits on a cloth, then follow with a damp (not wet) wipe and dry immediately.
How do you clean sticky adhesive residue (like tape or label glue) from hardwood floors?
Apply a small amount of mineral spirits to a soft cloth and rub the adhesive gently in small sections, reapplying as necessary. Let it sit briefly to loosen the bond, then scrape lightly with a plastic scraper or old credit card to lift residue. Finish by wiping with a damp microfiber cloth to remove any solvent residue and dry thoroughly to prevent streaks.
How can you remove syrupy or sugary sticky residue from hardwood floors?
Mix warm water with a few drops of mild dish soap and use a well-wrung microfiber mop or cloth—never flood the floor. Work the area in small passes until the stickiness lifts, then rinse with clean water on a lightly damp cloth and dry right away. For stubborn spots, repeat once or twice rather than using strong chemicals that can dull or damage the hardwood finish.
Which cleaning products work best for sticky residue on sealed hardwood floors?
For most sealed hardwood floors, start with a gentle cleaner made for hardwood, then move up to mineral spirits only if the residue is adhesive-based. Avoid harsh solvents like acetone or paint strippers unless the floor finish is known to tolerate them. Always test any product in an inconspicuous area first, and use proper wiping and drying to keep the finish intact.
Why does sticky residue stay on hardwood floors, and how can you prevent it from coming back?
Sticky residue often bonds to the finish because sugars, oils, and adhesives polymerize over time, making them harder to remove. Prevent recurrence by cleaning spills promptly, using mats under sticky-lipped items (like tape, labels, or furniture protectors), and avoiding residue-heavy cleaners. Regularly maintaining with a proper hardwood cleaner helps keep the surface resilient and makes future cleanup faster.
📅 Last Updated: November 02, 2026 | Topic: How to clean sticky residue from hardwood floors? | Content verified for accuracy and freshness.
References
- Wood flooring
- White spirit
- Isopropyl alcohol
- Solvents – Overview | Occupational Safety and Health Administration
- Safer Choice | US EPA
- 404 Error
- https://scholar.google.com/scholar?q=sticky+residue+hardwood+floor+cleaning+adhesive+removal Google Scholar
- https://scholar.google.com/scholar?q=adhesive+residue+removal+from+wood+floor+finish Google Scholar
- https://scholar.google.com/scholar?q=wood+floor+finish+cleaning+solvent+effectiveness+and+safety Google Scholar