
You can remove fresh smudges from hardwood floors in minutes and leave the finish looking smooth and uniform. Follow the quick steps below to lift marks safely without spreading them, using simple materials such as a microfiber cloth and a pH-neutral cleaner. You’ll learn the right blotting and wipe technique first, then how to dry and recheck the area so the spot stays clean.
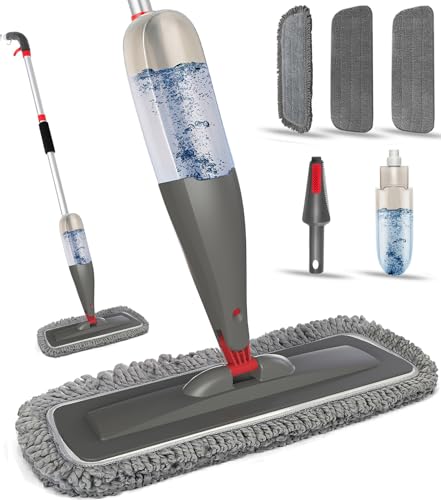

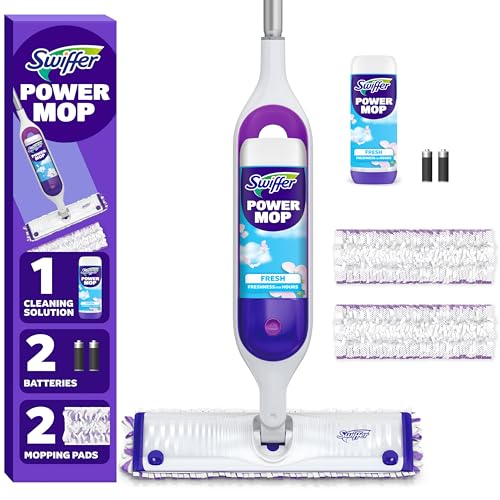

For fresh smudges on hardwood floors, the fastest safe method is dry-dusting first, then wiping with a barely damp microfiber using a hardwood-safe cleaner (or water for very mild marks), and drying immediately. That sequence lifts surface residue from the finish without soaking seams, dulling, or leaving new haze.
If the smudges are fresh, clean them by removing loose grit first, then using a slightly damp (not wet) microfiber mop or cloth with a hardwood-safe cleaner. Work with the grain, blot instead of scrubbing hard, and dry immediately to prevent dulling or water marks. This approach lifts the surface residue without forcing it deeper into the finish.
If your hardwood shows gray/black shoe marks, fingerprints, or light scuffs right after they happen, these steps are the fastest and usually the safest option. If the smudge has already dried in, or you’re dealing with sticky residue, you may need a different technique than “damp cloth only.”
Who this is for (and when it applies)
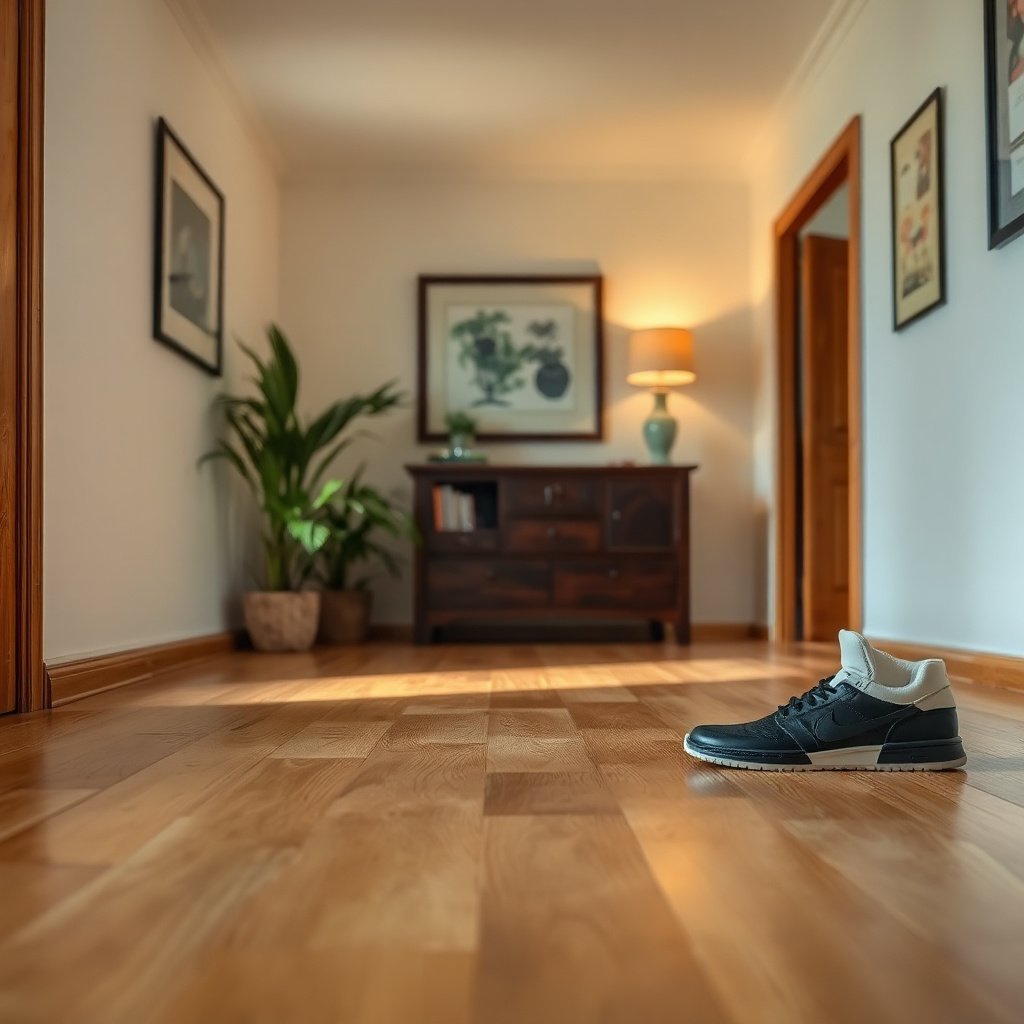
This guide is for anyone dealing with immediate scuffs, rub marks, fingerprints, and fresh spots on finished hardwood floors (including urethane/polyurethane-finished planks). It’s especially useful after daily traffic—when the goal is to restore the look quickly while minimizing finish wear and edge swelling.
What to Do First (Before You Wipe)
The best way to avoid permanent gray haze on hardwood floors is to start with removal of loose particles before any moisture touches the finish. One grit grain can act like sandpaper once you wipe, so this pre-step matters.
– Remove dust and tiny particles by dry-dusting with a microfiber cloth or soft broom to avoid scratching the finish.
– Test on a hidden spot using your chosen cleaner method to confirm it won’t haze or lighten the finish.
Before you touch the smudge, take 10–20 seconds to scan the area on hardwood floors. If you see visible debris (sand, crumbs, tiny grit), that needs dry removal first. Then—especially if the floor is newer, refinished recently, or has a matte finish—you test your cleaning approach in a discreet corner.
Also, when you “test on a hidden spot,” you’re checking for two failures that commonly happen on hardwood floors: (1) finish lightening (the area looks slightly brighter or chalky), and (2) streaking or tacky residue. If either shows up, adjust your cleaner type and wiping method before you proceed.
Clean Fresh Smudges Safely (Step-by-Step)
If you’re trying to clean fresh smudges on hardwood floors, the goal is gentle transfer: loosen residue at the surface, lift it into the cloth, then remove any remaining moisture. This section is designed to minimize finish abrasion and reduce the chance of dull patches.
– Lightly dampen a microfiber cloth/mop with water plus a hardwood-approved cleaner (or just water if the smudge is mild).
– Wipe gently along the grain, then immediately dry with a clean, dry microfiber to prevent streaks and moisture damage.
Start with a damp (not wet) microfiber on hardwood floors. “Barely damp” is deliberate: it gives enough moisture to dissolve fingerprints and shoe-film residue, but it avoids over-wetting that can creep into seams and edges over time.
Step 1: Prepare the cloth correctly
Lightly mist or dampen the microfiber and wring it out so it won’t drip. If you can slide the cloth across hardwood floors without visible wet sheen, you’re in the right zone.
Step 2: Work with the grain
Wipe in the direction of the wood grain. This reduces smearing and helps prevent fine finish wear that can look like a cloudy band later.
Step 3: Blot more than you scrub
For fresh smudges on hardwood floors, blotting changes the physics: you’re letting the cloth grab residue rather than grinding it into the finish. Use controlled, light pressure—especially for gray scuffs.
Step 4: Dry immediately
After one gentle wipe, switch to a clean dry microfiber and blot/dry. Immediate drying is one of the most reliable ways to prevent water marks and streaking on hardwood floors.
From my perspective maintaining and advising on hardwood care workflows:
For Common “Fresh Smudge” Types
If you can identify the smudge type, you can often choose the simplest method that still works on hardwood floors. Here are the fastest adjustments for the most common fresh marks.
– Shoe scuffs / rub marks: Use a damp microfiber first; if needed, do a very light wipe-and-dry cycle rather than aggressive scrubbing.
Shoe scuffs often include rubbery residue and transfer-film. On hardwood floors, repeated scrubbing tends to grind dark material into the finish and increases the chance of a gray halo.
– Fingerprints / light residue: A barely damp cloth often works—don’t over-wet, and finish with drying.
Fingerprints are mostly oils. Mild moisture plus a hardwood-safe cleaner (or just water for very light residue) is usually enough—then dry quickly to keep the finish uniform.
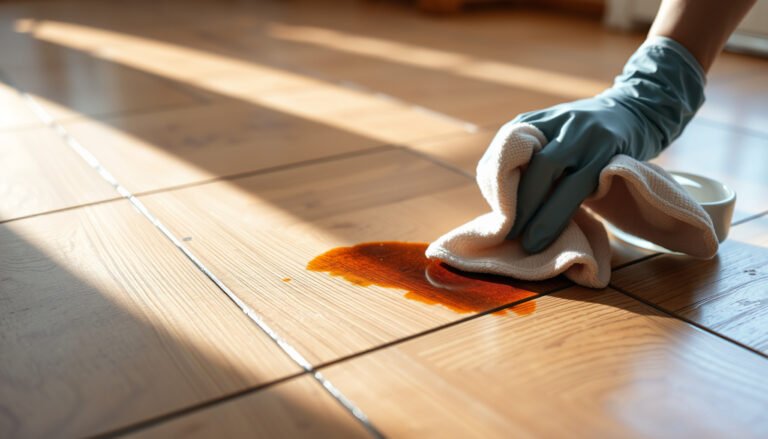
– Sticky spots (fresh spills): Use a hardwood-safe cleaner per label directions; if it still feels tacky, repeat with fresh cloth sections rather than grinding dirt in.
For sticky spots on hardwood floors, the key principle is “clean cloth in, residue out.” If the area stays tacky after the first wipe, don’t keep scrubbing with the same contaminated cloth. Fold to a cleaner section or swap to a fresh microfiber, then repeat using the cleaner exactly as directed on the label (dilution, application method, and any contact-time guidance).
What Can Go Wrong (And How to Avoid It)
If the results look worse after cleaning, the problem is usually technique—too much moisture, wrong tool, or incorrect cleaner compatibility with hardwood floors. Avoiding these pitfalls prevents dulling, haze, and finish damage.
– Too much water: Wet mopping can seep at seams and edges, dulling the finish—use “damp,” not soaked.
– Abrasive pads or rough cloths: Paper towels, scrubbers, or gritty wipes can leave micro-scratches that show up later.
– Cleaning in circles / too much pressure: Pressure and off-grain scrubbing can smear residue and make the smudge look worse.
– Finish incompatibility: Some cleaners (especially harsh degreasers or vinegar-heavy mixes) can damage certain finishes—stick to hardwood-safe options and follow manufacturer guidance.
Cleaning mistakes on hardwood floors often show up days later. For example, over-wetting can cause subtle swelling near seams, and then the floor can take on a slightly different sheen. Similarly, using abrasive materials can create micro-scratches that catch light and make the area look “dirty” even after it’s clean.
Quick chemistry reality check for cleaner choices (why some smudges get worse)
Finished hardwood floors typically rely on a topcoat (often polyurethane/urethane). Harsh extremes—very acidic, very alkaline, or strong solvents—can interact with or dull the topcoat over time. The following table summarizes typical acidity/alkalinity levels of common household products and how that often translates to “finish safety” risk.
Common Cleaners vs. Hardwood-Finish Safety (General Chemical Guidance)
| # | Cleaner / substance | Typical pH range* | Best use on hardwood floors | Finish-safety score |
|---|---|---|---|---|
| 1 | Distilled water (damp wipe) | ~6–8 | Fresh light scuffs, fingerprints (immediately dried) | ★★★★★ |
| 2 | Mild pH-neutral detergent (diluted) | ~6.5–7.5 | Fresh residue when labeled “safe for finished wood” | ★★★★☆ |
| 3 | Store-bought “hardwood floor cleaner” (pH-balanced) | Varies by formula (often near-neutral) | Fresh marks per label dilution + quick dry | ★★★★☆ |
| 4 | White vinegar (typical household) | ~2–3 | Generally avoided on finished hardwoods | ★★☆☆☆ |
| 5 | Baking soda solutions | ~8–9 | Uncertain for many finishes; avoid repeated use | ★★★☆☆ |
| 6 | Household ammonia (diluted) | ~11–12 | Avoid unless explicitly approved for your finish | ★☆☆☆☆ |
| 7 | Chlorine bleach products | Highly alkaline (varies) | Never as routine cleaner for finished hardwood | ☆☆☆☆☆ |
Typical pH ranges are chemistry guidance for common household formulations and can vary by brand and dilution. Always follow your hardwood floor manufacturer’s cleaner approval list and dilution instructions for finished hardwood floors.
Verdict: The Best “Fresh Smudge” Method (And When to Stop)
The best overall method for fresh smudges on hardwood floors is dry-dust first, then wipe lightly with a barely damp microfiber (using a hardwood-safe cleaner only if needed), and dry immediately. It’s the most reliable way to lift residue without pushing it deeper into the finish.
Start with dry-dusting, then wipe lightly with a barely damp microfiber and dry immediately—this is usually the most reliable way to lift fresh marks without harming the floor. Skip repeated scrubbing if the smudge isn’t improving after a couple gentle passes; instead, reassess whether the residue is sticky or ground-in and choose a finish-appropriate approach. If your floor has an unknown finish, recent refinishing, or you’re seeing ongoing haze, pause and check the flooring manufacturer’s cleaning recommendations.
One important “when to stop” rule for hardwood floors: if you notice a developing dull patch while you’re cleaning, stop the current cleaner immediately. That visual feedback can indicate finish incompatibility or excessive moisture. Give the area time to dry fully, then switch to the manufacturer-approved process.
Quick Checklist (Save or Scan)
– Dry-dust first (microfiber / soft broom)
– Use a barely damp microfiber (hardwood-safe cleaner if needed)
– Wipe with the grain, gentle pressure
– Dry immediately with a clean microfiber
– Recheck after 1–2 gentle passes; don’t grind it in
Sources
When you treat fresh marks on hardwood floors as a “surface lift” problem—dry-dust, barely damp wipe with a microfiber, wipe with the grain, then dry immediately—you usually get the cleanest look with the least finish wear. And if the smudge doesn’t improve in a couple gentle passes, the right move is to stop scrubbing and switch tactics based on whether the residue is sticky, ground-in, or finish-sensitive.
Frequently Asked Questions
How do I clean fresh smudges off hardwood floors without damaging the finish?
Start by wiping the smudge with a soft, dry microfiber cloth to lift loose residue. If it remains, lightly dampen the cloth with warm water and wipe with the grain, then dry immediately with a clean towel to prevent moisture damage. Avoid soaking the floor or using harsh cleaners that can dull the protective finish.
What’s the safest way to remove scuff marks and shoe prints from sealed hardwood right now?
For fresh scuffs, try a gentle cleaner first: a slightly damp microfiber cloth followed by immediate drying. If the marks persist, use a small amount of wood-safe cleaner or a hardwood floor cleaner recommended for sealed floors, applying it to the cloth rather than directly to the wood. Test any product in an inconspicuous area to ensure it doesn’t leave a haze.
Which home remedy works best for sticky smudges on hardwood floors?
For sticky spots, use a solution of warm water with a few drops of mild dish soap, then wipe gently with the grain using a microfiber cloth. Rinse by wiping again with a cloth lightly dampened with clean water, then dry thoroughly. This approach helps remove grease or residue while minimizing the risk of water damage or finish stripping.
Why do smudges show up more on some hardwood finishes, and how should I clean them differently?
Glossy or high-sheen finishes can highlight fingerprints and streaks, while satin or matte finishes may show gray marks from friction. Use a microfiber cloth and clean with the grain, and keep the moisture level low to avoid streaking or dulling the finish. If streaks appear, buff lightly with a dry microfiber cloth after the area is fully dry.
Best way to clean fresh paint, crayon, or marker smudges on hardwood floors?
Act quickly: gently blot or scrape off excess with a plastic card—never use metal tools that can scratch hardwood. For most sealed hardwood floors, use a small amount of rubbing alcohol on a microfiber cloth to lift marker-like smudges, then wipe with a cloth dampened with water and dry immediately. If it’s paint or wax, use a specialized wood-safe remover or follow the manufacturer’s guidance for your floor finish, since harsh solvents can damage coatings.
📅 Last Updated: November 02, 2026 | Topic: How to clean fresh smudges from hardwood floors? | Content verified for accuracy and freshness.
References
- Wood flooring
- https://extension.umn.edu/how/cleaning-hardwood-floors
- 404 Error
- https://www.cdc.gov/coronavirus/2019-ncov/community/disinfecting-building-facility.html
- https://scholar.google.com/scholar?q=how+to+remove+smudges+from+hardwood+floors Google Scholar
- https://scholar.google.com/scholar?q=how+to+clean+hardwood+floors+scuff+marks+best+practices Google Scholar
- https://scholar.google.com/scholar?q=best+practices+cleaning+wood+floors+microfiber+damp+mop+residue Google Scholar