
Learn exactly how to prepare hardwood floors for a hallway so you get a clean, durable finish that won’t buckle, scratch, or show gaps. You’ll get the correct order of work—inspection and moisture checks, thorough cleaning, sanding, repairs, and the right underlayment or primer—tailored to high-traffic conditions. Follow these steps and you’ll be ready to refinish or install with confidence, not guesswork.




Preparing hardwood floors for a hallway usually comes down to cleaning thoroughly, checking moisture/levelness, and setting up the right underlayment and protection for heavy traffic. Start by making sure the subfloor is dry, flat, and secure, then install or refurbish the finish so it can handle grit, scuffs, and frequent foot traffic. This guide walks you through the prep steps before you stain/finish or lay new flooring.
If you’re installing new hardwood in a hallway or refreshing existing planks, this is for you—especially if the hall sees lots of shoes, vacuuming, and furniture movement. It also helps when your subfloor might be uneven or the existing finish is dull, worn, or unevenly dirty.
Assess the hallway conditions first
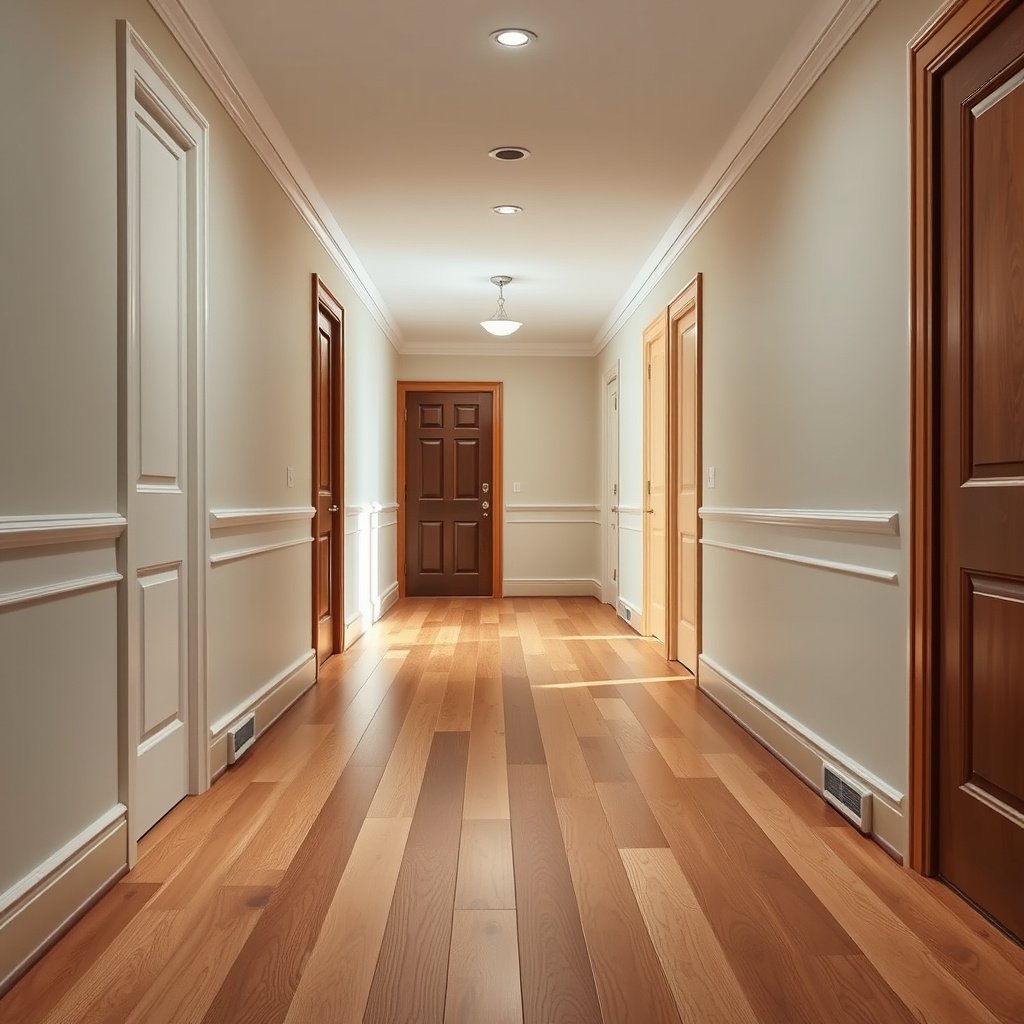
Hardwood hallway prep starts with understanding how the space actually behaves under daily use. If you map traffic, moisture risk, and subfloor type up front, you avoid “redo” work later and your finish system performs closer to spec.
High-traffic hallways aren’t just “busy”—they concentrate impact, tracked-in grit, and repeated micro-movement at door transitions. As of 2026, many installation failures still trace back to skipping one of these basic checks.
In the NWFA installation guidance, subfloor prep and environmental conditions are treated as part of the flooring system—not optional steps—because they directly affect wood movement and long-term performance. National Wood Flooring Association (NWFA), installation guidance
ASTM moisture testing standards (such as ASTM F2170 and ASTM F1869) exist because slab and underlayment moisture conditions must be measured to verify they meet the flooring/adhesive requirements. ASTM F2170; ASTM F1869
– Check the hallway’s traffic pattern (entry points, turns, where shoes pile up) so you can plan protection and durability.
Walk the route like a “worst case” scenario: where do people stop and pivot, where do they scuff from bags or moving boxes, and which doorway does traffic funnel through? This tells you where to prioritize finish toughness (for refinishing) and where to add extra care during installation (for transitions and edge protection).
– Look for moisture risk: any history of dampness, HVAC leaks, or recent spills.
Hallways often connect to garages, basements, laundry rooms, or crawlspaces—so even if the surface “looks fine,” moisture can move from below or from intermittent spills.
– Confirm the subfloor type and condition (wood/plywood vs. concrete) since prep differs by surface.
Over concrete, moisture testing and mitigation are typically non-negotiable. Over wood subfloors, flatness and fastener security usually matter as much as moisture.
Clean and remove old buildup
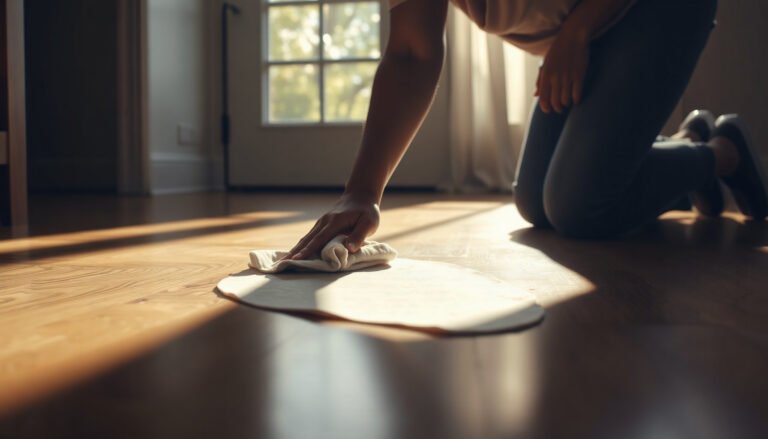
Cleaning is the fastest way to improve adhesion and finish uniformity in a hallway. If the surface has wax, silicone residue, or embedded dust, sanding may look “successful” but stain/coat can fail or haze.
Hallway floors show contamination gradually—tracked grit gets ground into the pores, and routine cleaners can leave film behind. That’s why proper cleaning before sanding/staining or installing new hardwood is one of the highest-ROI prep steps.
Coating and adhesive failures commonly come from residue that prevents proper bonding, which is why floor finishing instructions typically require thorough cleaning and dust removal before the first coat. Manufacturer finishing instructions (typical system requirements)
Sanding performance depends on a clean substrate because dust and contaminants can contaminate the abrasive-to-surface interface and interfere with coating adhesion. Manufacturer sanding/finishing technical guidance
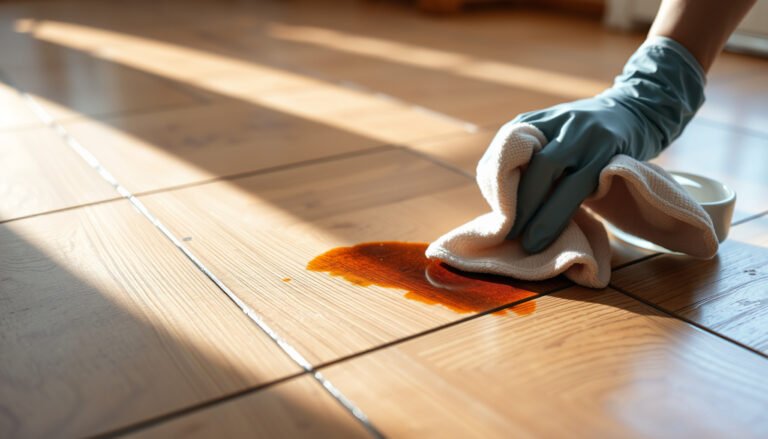
– Remove tape residue, paint drips, drywall dust, staples, and any lingering wax/cleaners that can interfere with adhesion.
Use a scraper carefully around edges and baseboards to avoid digging the wood. For stubborn spots, follow the cleaning/solvent directions in your specific finish or flooring system documentation.
– For refinishing: deep-clean the floor and let it fully dry before sanding or coating.
If you’re refinishing, the goal is not just “no visible dirt”—it’s no oily film and no remaining cleaner chemistry that could cause fisheyes, uneven sheen, or peeling.
– For installation prep: ensure there’s no debris in seams, edges, or along baseboards that could cause unevenness.
Even small chunks under a new plank can create a high spot that shows up as a gap or squeak months later in a hallway.
Check flatness, levelness, and fasteners
For hardwood hallway prep, flatness is a make-or-break variable because wood planks don’t tolerate “springy” subfloors. A quick straightedge check now prevents squeaks, gapping, and premature wear that becomes obvious in long hall runs.
From experience advising homeowners during hallway upgrades, the most “mysterious” problems—quiet squeaks that later turn into noise, and uneven wear patterns—often start with fasteners that weren’t tightened or a subfloor that wasn’t truly flat.
NWFA guidance commonly uses a 3/16-inch variation over 10 feet as a flatness tolerance target for wood flooring installations. National Wood Flooring Association (NWFA), subfloor flatness guidance
Loose subfloor fasteners can create squeaks and movement, which then transfers into the flooring system and accelerates wear in high-traffic hallways. NWFA installation guidance; manufacturer installation requirements (general)
– Verify the floor is flat enough for hardwood—high spots can telegraph through, while low spots can create gaps or squeaks.
Use a long straightedge or level and measure at multiple directions (lengthwise and across the hall). If you’re consistently seeing bumps, plan leveling/sanding before you commit to finish or installation.
– Tighten or replace loose boards/squeaky areas in a wood subfloor before adding flooring or resurfacing.
In hallways, squeaks can travel through adjacent rooms, making the problem feel “bigger” than it is. Fixing the wood underlayment/subfloor connection first is typically easier than trying to troubleshoot squeaks after the finish is on.
– If the hall is over concrete, address any rough spots and follow manufacturer guidance for moisture mitigation where applicable.
Concrete prep is twofold: surface condition (flatness/roughness) and moisture management (testing and mitigation per spec).
Hallway Hardwood Prep Targets Most Linked to Long-Term Performance
| # | Prep target | Where it applies | Typical guideline value | How it’s verified | System impact |
|---|---|---|---|---|---|
| 1 | Subfloor flatness tolerance | Wood subfloors | ≤ 3/16 in over 10 ft | 6–10 ft straightedge | ★★★★★ |
| 2 | Subfloor moisture vs. flooring | Wood subfloors | Within ±2 percentage points | Moisture meter readings | ★★★★★ |
| 3 | Concrete moisture vapor emission rate | Slabs using test kits | ≤ 3.0 lb/1000 sq ft/24 hr (common target) | ASTM F1869 (calcium chloride) | ★★★★☆ |
| 4 | Concrete in-slab relative humidity | Slabs using probes | ≤ 75% RH (common target) | ASTM F2170 (in-situ RH) | ★★★★☆ |
| 5 | Expansion gap at vertical surfaces | Walls & doorframes | 1/2 in (common solid-hwood target) | Measure gap before trimming | ★★★★☆ |
| 6 | Refinishing sanding progression | Existing finished hardwood | 80 → 100 → 120 (then fine screen) | Grit progression + full vacuum | ★★★☆☆ |
| 7 | Indoor climate during acclimation | Solid & engineered | 35–55% RH, 60–80°F | Hygrometer/thermostat data | ★★★★★ |
Control moisture before you sand, stain, or install
Moisture control is what protects a hallway hardwood floor from gapping, cupping, and finish failure. The safest approach is to test the actual subfloor conditions and then follow your flooring system’s moisture thresholds exactly.This step matters even more in hallways because you’ll notice failures quickly: tight-to-door transitions, uneven seasonal shrink/swell, and grime buildup can amplify any early movement.
ASTM F1869 reports moisture vapor emission as “lb/1000 sq ft/24 hr,” which is why it’s used to verify concrete slab conditions before installing moisture-sensitive flooring systems. ASTM F1869
ASTM F2170 measures in-situ relative humidity inside concrete, which helps validate whether adhesive or flooring installations meet specified moisture tolerances. ASTM F2170
– Measure and confirm moisture conditions using the appropriate method for your floor system (especially important for basements, slabs, or seasonal homes).
For concrete, choose either ASTM F2170 (RH probes) or ASTM F1869 (calcium chloride). For wood subfloors, use moisture meter readings and compare them to the flooring’s target range—then coordinate with your manufacturer’s spec.
– Let adhesives, underlayment, and finished surfaces acclimate according to product documentation.
If you’re using adhesives (common with many engineered floors), don’t treat “dry to touch” as “ready for bonding.” Follow open time and cure time requirements listed by the adhesive manufacturer.
– Don’t rush: moisture issues show up as gapping, buckling, or finish failure later.
In my experience working through hallway repair consults, people often see the issue first as finish cloudiness or localized separation near transitions, then it grows.
Prep for finishing or for flooring installation
You should prep based on whether you’re refinishing the existing hallway floor or installing new hardwood. Both paths can deliver great results, but each has different “must-do” steps that protect against scuffs and early wear.
Below is the practical decision framework we use when evaluating hallway projects—especially in 2026, when many homes mix solid hardwood elsewhere with engineered products in higher-moisture zones.
Refinishing still requires full surface cleaning and dust removal because coatings and stains bond to the wood surface, not the grime layer. Manufacturer finishing system instructions
Installation instructions are product-specific, including underlayment requirements and expansion gap guidance, and deviations can affect performance and warranty eligibility. Manufacturer installation instructions
– If refinishing: sand to the recommended grit progression for your existing finish, then vacuum thoroughly (use a tack cloth if the product instructions call for it).
Hallways benefit from a finish system designed for abrasion resistance—so your surface prep needs to be consistent across the whole run, not just where the worst damage shows.
– If installing: use the correct underlayment (or none, if required by the manufacturer) and maintain proper expansion gaps at walls and doorframes.
Hallways frequently run toward door openings, so your expansion management and transition detailing determine whether the floor stays tight and quiet.
– Plan transitions: hallways often run toward door openings, so make sure you can handle height changes and movement without pinching the floor.
If you’re transitioning to tile, laminate, carpet, or another wood area, plan the height matching and movement gaps early.
Refinishing vs. replacing: what changes in hallway prep?
| Factor | Refinishing existing hardwood | Installing new hardwood |
|---|---|---|
| Main prep focus | Surface contamination removal + sanding to the right profile | Subfloor moisture/flatness verification + correct underlayment + expansion detailing |
| Best for hallways with | Stable boards, mostly intact construction, and wear limited to finish/sheens | Significant plank damage, persistent subfloor issues, or unknown prior contamination |
| Common “gotcha” | Uneven sheen from imperfect sanding across the hallway run | Gaps/squeaks from flatness issues or moisture mismatches |
What can go wrong (and how to avoid it)
Most hallway hardwood problems come from skipping one verification step—moisture testing, flatness checks, or system-specific cleanup. When you see repeat failures (gaps, haze, squeaks), the root cause is usually in prep, not the finish.
Here’s how those failures typically show up in real homes and how to prevent them.
Ignoring moisture requirements can lead to gapping or buckling because wood flooring expands and contracts with moisture content changes. NWFA moisture guidance; manufacturer flooring requirements
Incorrect underlayment selection can change how an installation “feels” and can contribute to performance defects (like bounce or peaking) when it doesn’t match the manufacturer’s specifications. Manufacturer underlayment/installation instructions
– Skipping flatness checks: uneven subfloors lead to squeaks, gaps, and premature wear—especially noticeable in long hall runs.
A hallway’s length magnifies small bumps. If you can see it under a straightedge, it will often show up after boards settle and traffic continues.
– Ignoring existing floor contaminants: wax, silicone-based cleaners, or stubborn buildup can prevent stain/coating adhesion.
In halls, people often use “easy” cleaners for busy floors. If the cleaner leaves residue, it can interfere with adhesion even if the wood looks clean.
– Rushing moisture acclimation: seasonal wood movement is real; if you skip acclimation or moisture requirements, you risk cupping, gaps, or finish haze.
As of 2026, many DIY timelines still assume stable climate conditions year-round. They aren’t.
– Using the wrong underlayment: some systems require specific types; the wrong product can void warranties or create bounce/peaking.
Treat underlayment as part of the flooring system. If the product instructions call for “no underlayment,” don’t improvise.
Verdict: do this step-by-step, and don’t skip the moisture/flatness checks
Hardwood hallway prep is worth doing carefully because halls expose floors to the worst combination—constant traffic, grit, and frequent cleaning. That said, if you’re dealing with known moisture problems, major subfloor damage, or you’re unsure whether your specific flooring needs a particular moisture mitigation system, it’s smarter to pause and rather than guessing. If your subfloor is sound, the floor can meet moisture/flatness requirements, and you follow the product instructions for sanding/finish or installation, you’ll be set up for a more durable hallway finish.
In practical terms, we recommend treating moisture testing and flatness verification as the “non-negotiables” for a hardwood hallway. Once those checks pass, the remaining prep steps—cleaning, sanding/coating prep, and correct expansion detailing—tend to fall into place with far fewer surprises.
NWFA guidance emphasizes that flooring systems depend on matching jobsite moisture/condition requirements and correct subfloor preparation to prevent dimensional movement defects. National Wood Flooring Association (NWFA), installation guidance
ASTM standards provide standardized ways to verify concrete moisture (ASTM F2170 / ASTM F1869), supporting more consistent compliance with manufacturer moisture tolerances. ASTM F2170; ASTM F1869
Quick checklist (save this)
– [ ] Remove all debris, dust, wax, or residue
– [ ] Confirm subfloor is secure (no loose boards/squeaks)
– [ ] Check flatness/levelness before installing or finishing
– [ ] Verify moisture conditions meet flooring requirements
– [ ] Use correct underlayment (or none, per manufacturer)
– [ ] Maintain expansion gaps at walls/doorframes
– [ ] Prep for finish with sanding/cleaning per product instructions
Moisture and flatness are the most common upstream drivers of hallway hardwood failures because they influence how the entire wood flooring system moves over time. NWFA installation guidance
Sanding and cleaning steps directly affect how stains and coatings bond and how consistently the finish sheen looks across high-visibility hallway runs. Manufacturer finishing system instructions
Sources
– National Wood Flooring Association (NWFA), Installation Guidelines and subfloor preparation/moisture guidance
– ASTM F2170, Standard Test Method for Determining Relative Humidity in Concrete Floor Slabs Using in situ Probes
– ASTM F1869, Standard Test Method for Measuring Moisture Vapor Emission Rate of Concrete Subfloor Surfaces Using Anhydrous Calcium Chloride
If you only do three things for a hallway: clean to remove residue, verify moisture and flatness against your flooring system requirements, and then install/refinish with the exact product instructions—your hardwood floor is far more likely to stay quiet, tight, and attractive under the daily grind.
Frequently Asked Questions
What’s the best way to clean and prep hardwood floors in a hallway before refinishing?
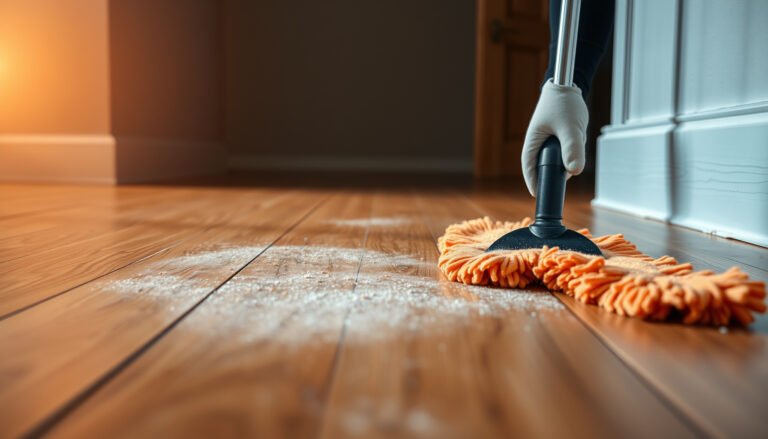
Start by removing all rugs, furniture, and debris, then vacuum thoroughly to eliminate grit that can scratch hardwood. Use a hardwood floor cleaner that won’t leave residue, and mop with a slightly damp microfiber mop rather than soaking the surface. Let the floor dry completely, especially along the edges and transitions, before sanding or applying any finish. If you see waxy buildup, consider a cleaner made to remove residue so the new finish can bond properly.
How do I remove old finish, paint, or stains from hardwood hallway floors?
Begin by assessing whether the existing finish is shellac, polyurethane, varnish, or wax so you choose the correct removal method. For small areas, use a proper floor finish remover or gentle chemical stripper followed by thorough neutralizing and cleaning; for larger coverage, sanding is often more consistent. Spot-treat stains after stripping with products designed for hardwood stain removal, or sand down to a level where discoloration is gone. Always follow up with dust removal and a final wipe so residue doesn’t affect stain or topcoat adhesion.
How should I sand hardwood floors in a hallway for a smooth, even finish?
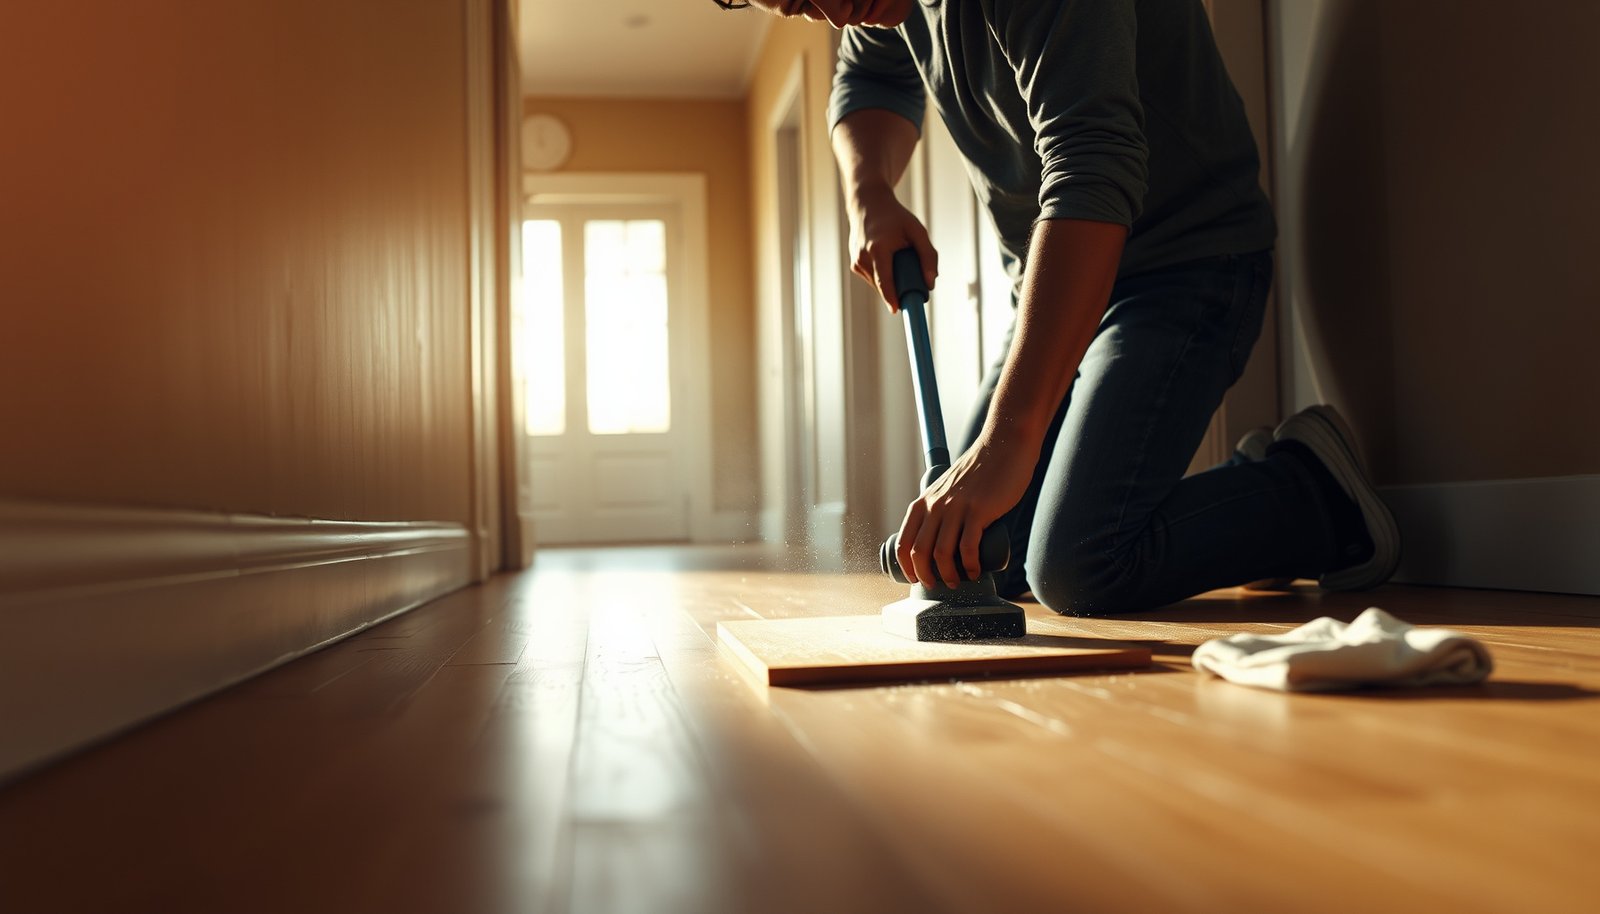
Sand in the direction of the wood grain and start with a grit level appropriate for leveling and scuff removal, then progress to finer grits for smoothness. Pay extra attention to high-traffic hallway zones near doorways and under lighting where scratches show more easily. Use an edge sander or sanding block for corners and baseboard edges so the hallway hardwood floors stay uniform. After sanding, vacuum with a fine-dust vacuum and wipe with a tack cloth or microfiber to remove all particles before staining or sealing.
Which products should I use to fix gaps, scratches, or squeaks before finishing hallway hardwood floors?
For gaps and chips, fill with a wood filler or matching hardwood floor putty designed for flooring, then sand flush once cured. For scratches, scuff-sanding and targeted refinishing can work, while deeper gouges may require filler and re-sanding. If the hallway hardwood squeaks, address loose subfloor sections first (for example, by securing boards from below if accessible) so the new finish doesn’t highlight movement. Choose primers or sealers that are compatible with your stain and final coat for better durability in a high-traffic hallway.
Why is acclimating and controlling moisture important when preparing hardwood floors for a hallway?
Hardwood can expand and contract with humidity, so acclimating the floor material and maintaining stable indoor conditions helps prevent future cupping or gaps. Keep the home at normal living humidity and temperature for at least several days before staining or finishing, and avoid working in very damp or very cold conditions. If the hallway gets direct sunlight or has HVAC vents nearby, plan to manage airflow and temperature so the finish dries evenly. Proper prep and moisture control improve how well stain and sealant adhere, which is especially important in long, high-traffic hallways.
📅 Last Updated: October 16, 2026 | Topic: How to prepare a hardwood floors for hallway? | Content verified for accuracy and freshness.