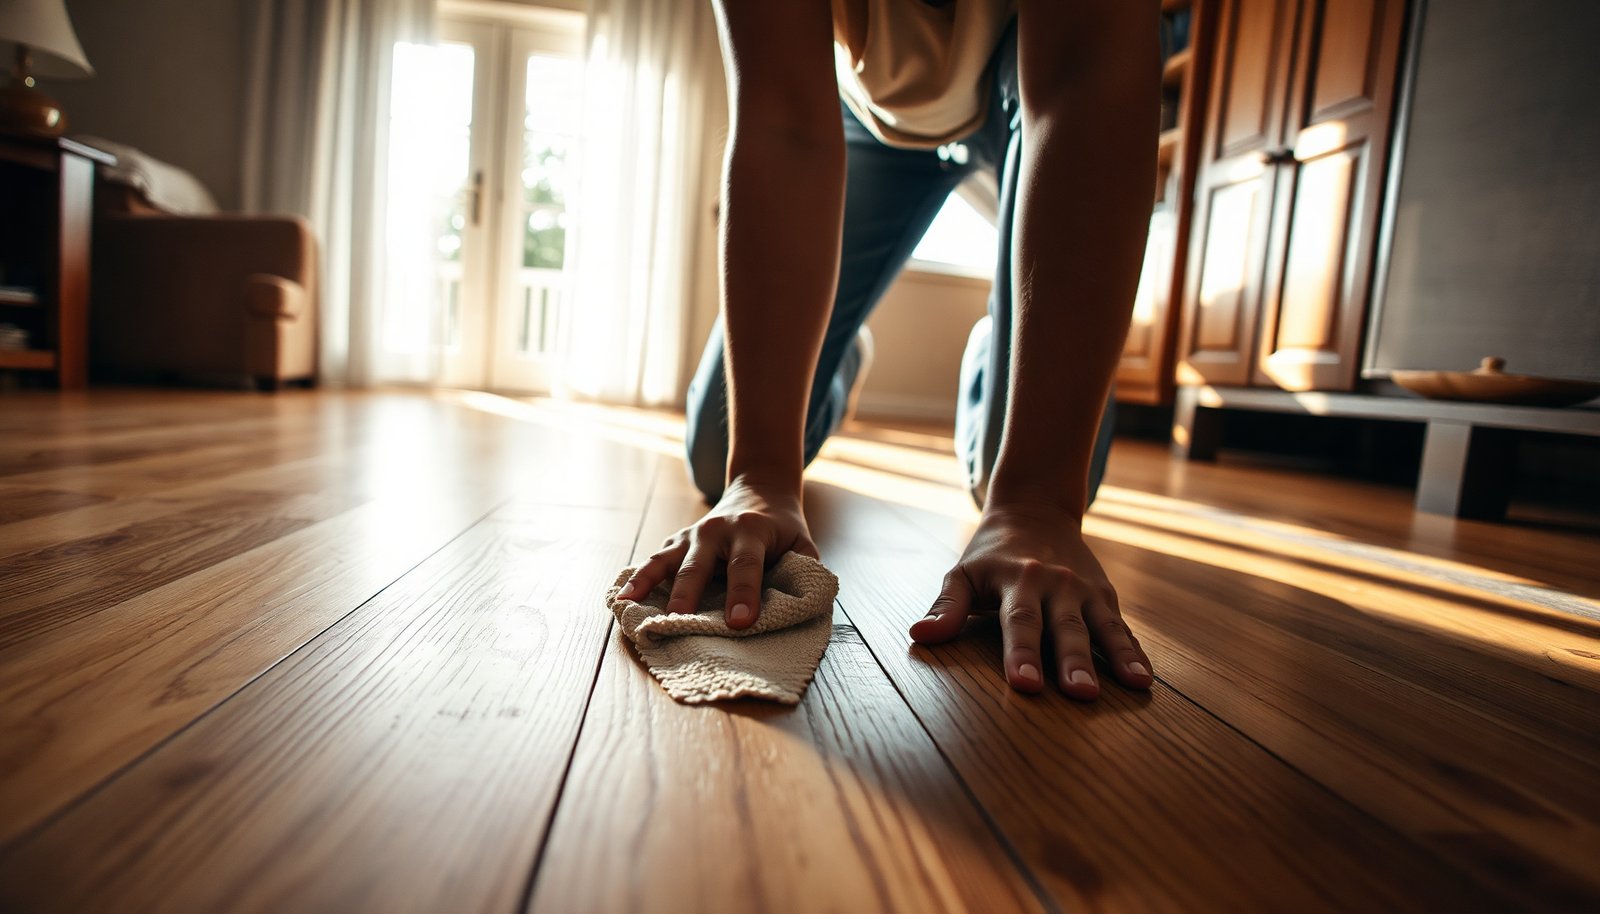

Hardwood smudges can be frustrating, especially when you worry that wiping too hard will dull the finish. You’ll be able to lift transfer marks and streaks safely by using a pH-neutral solution (or water-dampened cloth) and blotting rather than scrubbing. We’ll also cover when to switch to a specialized hardwood cleaner and how to finish with dry polishing so the floor stays protected.




Use a dry microfiber first, then wipe smudges with a barely-damp cloth using a pH-neutral hardwood floor cleaner (or the cleaner your floor manufacturer recommends). Avoid soaking the floor or using harsh chemicals, because extra moisture and abrasive cleaners can dull or damage the finish. You’ll also want to test any cleaner in a hidden spot before you tackle the whole area. If your hardwood looks “dirty” in specific smudged patches (shoe marks, handprints, dull rings), this guide will walk you through a safer, finish-friendly way to lift residue without harming the surface. It’s especially useful if you’re not sure whether the finish is waxed, polyurethane, or something else—because the safest approach is gentler cleaning first and verification second.
Check your hardwood finish before you clean

You don’t need to identify the exact finish to start safely—you do need to reduce the risk of adding moisture or using incompatible chemistry. The quickest path is to follow manufacturer care guidance when available, then begin with the lowest-risk method: dry microfiber removal plus cautious, barely-damp spot wiping.
– Look up (or find) your flooring manufacturer’s care instructions if you still can—cleaners and moisture tolerance vary by finish. Many brands specifically call out “damp, not wet” application and discourage soaking around edges, seams, and corners.
– If you can’t confirm the finish, start with the lowest-risk method: dry microfiber dusting and spot wiping (no soaking). This matters because smudges are often oils and transfer residue, not deep staining.
– If the floor is waxed or has a specialty finish, assume that “strong” cleaners or abrasive pads may not be compatible until you verify. Waxed surfaces can soften or haze if you introduce the wrong solvent or too much water; film finishes (commonly polyurethane) can dull if you abrade or repeatedly over-wet.
To keep the risk grounded in real-world moisture behavior, remember that hardwood movement is tied to humidity. According to the National Wood Flooring Association (NWFA) guidance, maintaining indoor relative humidity around 35–55% helps reduce problems tied to wood expansion and contraction (). While you’re only spot-cleaning, moisture still transfers through finish layers—especially at seams—so “barely-damp” isn’t just a rule of thumb; it’s a moisture-control strategy.
Gather the safest supplies for smudge removal
You’ll remove most smudges from hardwood floors using simple, controlled tools: microfiber and a pH-neutral hardwood cleaner. The goal is mechanical residue pickup (microfiber) plus gentle chemistry (pH-neutral), without abrasives, dripping cloths, or soaking.
– Use: soft microfiber cloths (2–3), a pH-neutral hardwood floor cleaner, and a dry mop or vacuum with a floor-safe head. Microfiber is effective because it traps residue fibers and oils instead of grinding them into the finish.
– Skip: abrasive sponges, scouring pads, steel wool, and anything that’s likely to leave scratches. Even “light” abrasion can create sheen variation on finished hardwood.
– Optional (only if needed): a very soft cloth for “repeat passes” rather than pressing harder. If smudges don’t lift on the first attempt, pressing down typically increases risk more than it increases results.
Below is a practical comparison you can use when deciding whether to stick with the microfiber + pH-neutral route or reach for something harsher.
| Feature | Microfiber + pH-neutral cleaner | Abrasives / harsh chemicals |
|---|---|---|
| Scratch risk | Low (soft fibers) | High (micro-scratches) |
| Water control | Barely-damp wipe (wrung out) | Often over-applied |
| pH compatibility | Designed to be finish-friendly | Can be acidic/alkaline |
| Haze / dulling risk | Reduced by immediate buff-dry | Higher, especially with residue |
| Residue removal | Good for oils, scuffs, prints | May “spread” residue before lifting |
| Control during spot cleaning | Easier to keep moisture localized | Easy to oversaturate larger areas |
| Finish longevity | Supports long-term shine consistency | Can reduce gloss over time |
| When you’re unsure of the finish | Lowest-risk verification-first approach | Higher chance of incompatibility |
| Repeatability | Repeat passes without aggressive friction | Repeat scrubbing can worsen dull patches |
| Best overall workflow fit | Works for most daily smudge scenarios | Better reserved only for manufacturer-approved cases |
| Best For | Regular smudges: handprints, shoe marks, transfer haze | When manufacturer explicitly approves a stronger cleaner or process |
Finish-Friendly Cleaning vs. Common “Smudge Helpers” (Typical Chemistry)
| # | Option | Typical pH / Temp | Residue Lift Control | Hardwood Finish Safety |
|---|---|---|---|---|
| 1 | Microfiber + pH-neutral hardwood cleaner | ~pH 7 (neutral) | High (spot wiping) | ★★★★★ |
| 2 | Water-only damp microfiber (minimal) | ~pH 7 (water) | Medium (oil-lifting varies) | ★★★★☆ |
| 3 | Vinegar (typical 5% acetic acid) | ~pH 2.4–3.0 | Low–Medium (finish compatibility varies) | ★★☆☆☆ |
| 4 | Ammonia-based cleaner (typical) | ~pH 11–12 | Medium (degreasing can over-clean) | ★★★☆☆ |
| 5 | Bleach solution (sodium hypochlorite) | ~pH 11–12 | High (but finish risk) | ★☆☆☆☆ |
| 6 | Rubbing alcohol (typical 70%) | ~pH ~7 (varies) | Medium (solvent effects possible) | ★★☆☆☆ |
| 7 | Steam cleaning (unapproved) | ~100°C @ 1 atm | High water/heat exposure | ★☆☆☆☆ |
The finish-safety ratings in the table are an analytical guidance based on the principles in this article (pH compatibility, moisture minimization, and abrasion risk). For exact pH values and finish-specific compatibility, defer to your flooring manufacturer and cleaner SDS/specs.
Step-by-step: safely clean smudges without damaging the finish
You can remove smudges from hardwood floors safely by controlling three variables: grit (none), moisture (barely-damp), and friction (gentle, not forceful). Follow this workflow for most shoe marks, handprints, and dull rings in 2026.
– Sweep or vacuum first
– Remove grit so you don’t grind particles into the surface when you wipe. Use a vacuum with a soft floor head or hard-floor setting to avoid micro-scratches from trapped grit.
– Try dry microfiber wiping
– Rub gently in small sections with a clean microfiber. Many smudges lift just from residue removal, especially when the “smudge” is actually a light oil/transfer film.
– Use “barely damp” spot wiping for residue
– Lightly dampen a microfiber with your pH-neutral hardwood cleaner. Wring it so it doesn’t drip. Excess cleaner can leave surfactant film (a cloudy residue) that later looks like the smudge never left.
– Wipe with the grain, then immediately buff with a dry microfiber to prevent dull spots from lingering moisture.
– Work in passes, not force
– For stubborn smudges, repeat the damp wipe + quick dry cycle rather than scrubbing harder. This keeps both moisture exposure and abrasive action limited.
– Don’t oversaturate
– If you see pooling or the cloth is getting too wet, stop and switch to a drier cloth. On hardwood floors, excess liquid increases the odds of finish haze, edge swelling, or water-driven movement over time.
A practical moisture framing: steam introduces both heat and moisture, and it can be substantially more aggressive than a damp wipe. Steam is typically near 100°C at atmospheric pressure (), so unless your manufacturer explicitly approves steam cleaning, treat it as higher-risk for finished hardwood.
Also, when you’re not sure about the finish type, think in terms of verification-first cleaning. Start gentle, observe the result, then decide whether you need a manufacturer-approved step-up—this reduces the chance you accidentally choose a chemistry that softens or clouds the finish.
Dry thoroughly and protect the finish
You protect hardwood floors most effectively by drying immediately and avoiding new residue. After cleaning, buff-dry and keep foot traffic off the spot until the finish is fully dry.
– Buff dry right after cleaning
– This reduces the chance of water spotting, haze, or a cloudy look from moisture. If you notice a temporary “milky” patch after wiping, buff harder with a dry microfiber first before adding more cleaner.
– Let the area fully dry before walking on it
– Place a barrier (or ask household members to avoid the spot) until it’s dry to the touch. Even short contact while damp can re-deposit residue (especially from shoes and socks).
– Avoid stacking “extra treatments” immediately
– If you plan to apply polish or wax, confirm compatibility with your current finish first (manufacturer guidance matters here). Adding a product too soon can create layering that turns into streaks or uneven sheen.
If you’re cleaning in 2026 in a climate with dry winters or humid summers, moisture control matters even more. According to NWFA humidity guidance, maintaining indoor relative humidity around 35–55% supports stable flooring behavior (), which makes spot-cleaning results more consistent.
What can go wrong (and how to avoid it)
You can usually prevent damage by avoiding oversaturation, abrasive friction, and unapproved chemicals. Most “permanent-looking” smudges after cleaning are actually haze, leftover residue, or sheen changes—not the original mark staying intact.
– Using too much water
– Over-wetting can seep into seams or lift edges, and it can leave haze that looks like “permanent” smudging.
– Harsh cleaners or wrong pH
– Acidic solutions (including some DIY mixes) and strong degreasers can dull or degrade certain finishes over time.
– Scrubbing instead of wiping
– Pressure plus grit (even a little) can create dull patches or micro-scratches.
– “Melting” the smudge with aggressive products
– Some products lift surface oils temporarily but can also damage the finish, leaving a larger problem.
– Relying on one magic eraser approach
– If a pad/eraser is abrasive, it may reduce shine or leave inconsistent texture. If you use anything like that, test in a hidden area first and stop if you see change. ()
– Steam cleaning when the finish isn’t confirmed
– Steam introduces heat and moisture; many manufacturers discourage steam on hardwood unless specifically approved. ()
From experience watching maintenance issues spread across homes and commercial spaces, the most common failure point is repeating harsh scrubbing after the first “no result.” On hardwood floors, the finish responds to friction and moisture—so pushing harder often locks in sheen unevenness rather than restoring the original clarity.
Verdict: the safest way to clean smudges (and who should skip DIY)
If you want the lowest-risk method: dry microfiber first, then a barely-damp pH-neutral hardwood cleaner spot wipe, followed by immediate buffing dry. This approach is generally safer than soaking, scrubbing, or experimenting with DIY acids/solvents—especially when you don’t know the exact finish.
Skip DIY (or pause and confirm before proceeding) if:
– the smudges are actually embedded stains (deep discoloration, persistent rings)
– you suspect wax buildup or a stripped/unfinished section
– your floor manufacturer explicitly warns against the type of cleaner you were about to use
– the surface already looks damaged (peeling, cloudy film that won’t wipe away)
If you’re unsure, the best next step is checking your flooring’s care guide or contacting the manufacturer for cleaner compatibility. ()
Downside to note: spot-wiping works best for residue and surface transfer. If you’re dealing with true staining, water damage, or coating failure, no gentle wipe workflow will fully fix it—at that point, you may need professional refinishing or a manufacturer-approved treatment.
Quick scan checklist (save this)
| Step | Do this | Avoid |
|---|---|---|
| 1 | Vacuum/sweep with a soft head | Scrubbing over grit |
| 2 | Dry microfiber wipe | Wetting immediately |
| 3 | Barely-damp pH-neutral cleaner spot wipe (with grain) | Soaking, dripping cloths |
| 4 | Buff dry right away | Leaving moisture to air-dry |
| 5 | Repeat gently as needed | Pressing harder to “get it off” |
Sources
The safest smudge-cleaning routine for hardwood floors in 2026 is simple: start dry with microfiber, then use a barely-damp pH-neutral spot wipe and buff immediately dry. That sequence protects your finish because it limits water exposure, avoids abrasion, and focuses on residue removal rather than “scrubbing the mark away.” If anything looks off during your test area—clouding, color change, or persistent dull rings—stop and defer to your flooring manufacturer’s compatibility guidance before escalating.
Frequently Asked Questions
What’s the safest way to remove smudges from hardwood floors without damaging the finish?
Use a soft microfiber cloth lightly dampened with water or a cleaner specifically made for hardwood floors. Wipe with the grain and avoid soaking the wood, because excess moisture can seep into seams and cause warping or dulling. If the smudge persists, use a tiny amount of manufacturer-recommended cleaner rather than harsh chemicals or abrasive pads.
How do I clean sticky smudges or fingerprints on hardwood floors safely?
Start by wiping the area with a dry microfiber cloth to lift surface residue, then follow with a barely damp cloth. For sticky marks, apply a hardwood floor cleaner to the cloth (not the floor) and gently buff in small sections. Rinse with a second cloth lightly dampened with clean water if the product requires it, then dry immediately to prevent streaks.
Why do smudges show up on hardwood floors even after cleaning, and how can I prevent them?
Smudges often come from residue left by the wrong cleaner, oily fingerprints, or residue buildup from improper mopping methods. Use a cleaner designed for finished hardwood floors and avoid excess product, which can leave a film that attracts dirt. Regularly dust with a microfiber mop and use gentle, controlled moisture to keep the finish clear and reduce future smudging.
What’s the best cleaning method for dark or scuff smudges on sealed hardwood floors?
For scuffs and darker smudges, try a clean, dry eraser pad made for floors or a slightly damp microfiber cloth first—always test in a hidden spot. If needed, use a hardwood floor cleaner and buff gently until the mark lifts, then dry thoroughly. Avoid steel wool, magic erasers with abrasive backing, or strong solvents unless the floor’s finish is confirmed to be compatible.
Which products should I avoid when cleaning smudges on hardwood floors?
Avoid steam cleaners, wax-based cleaners (unless recommended for your finish), and harsh chemicals like bleach, ammonia, or strong degreasers that can strip the topcoat. Don’t use abrasive scrubbers or paper towels that can scratch the surface and make smudges more visible. Stick to pH-neutral hardwood floor cleaners, soft microfiber materials, and minimal moisture for safer, finish-friendly smudge removal.
📅 Last Updated: November 02, 2026 | Topic: How to safely clean smudges from hardwood floors? | Content verified for accuracy and freshness.
References
- Wood flooring
- https://extension.umn.edu/household-furniture-and-furnishings/cleaning-hardwood-floors
- https://hgic.clemson.edu/factsheet/cleaning-and-care-of-wood-floors/
- https://extension.psu.edu/how-to-clean-hardwood-floors
- 404 Error
- https://scholar.google.com/scholar?q=safely+clean+smudges+from+hardwood+floors+without+damaging+finish Google Scholar
- https://scholar.google.com/scholar?q=remove+scuff+marks+from+hardwood+floor+best+practices+water+damage Google Scholar
- https://scholar.google.com/scholar?q=hardwood+floor+cleaning+residue+free+methods+microfiber+and+approved+cleaners Google Scholar