
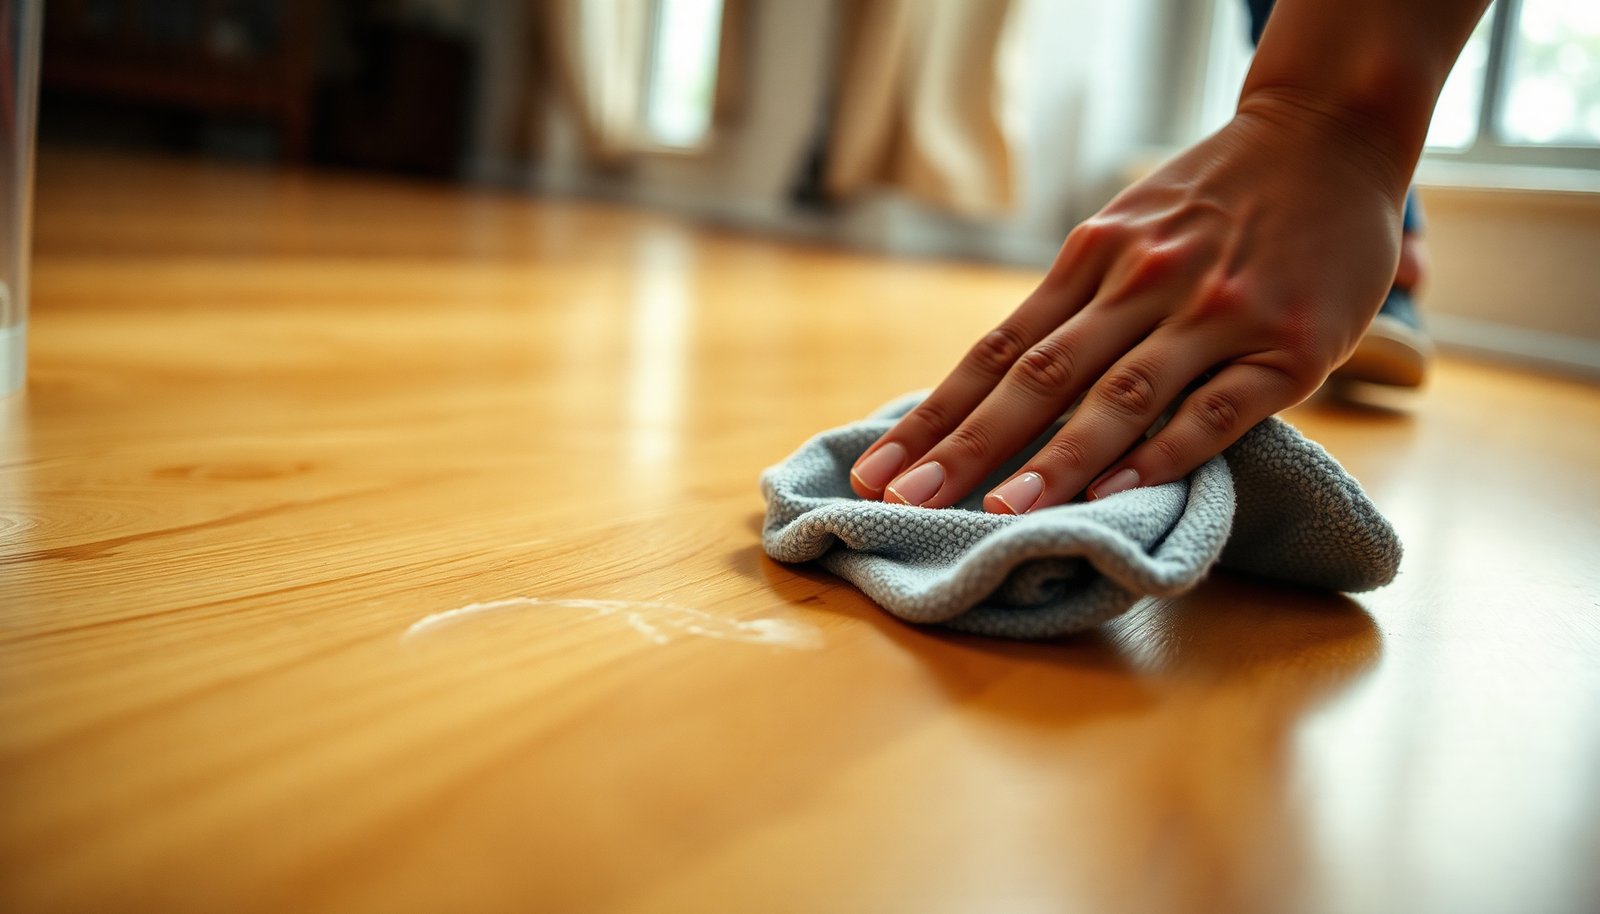

You spot dark, streaky smudges on your hardwood right where kids’ hands, pet paws, or a moving chair left marks. You can clear them in about 20 minutes with a microfiber cloth, a pH-neutral hardwood floor cleaner (or a barely damp water solution), and a dry towel to finish. Follow the steps in order to lift the residue without dulling the finish.




Clear hardwood smudges by dry-wiping first, then spot-cleaning with a barely-damp pH-neutral cleaner applied to the cloth, and finishing with an immediate dry buff. This order lifts residue from the finish without soaking the wood or spreading the mark—keeping your hardwood floor looking clean while protecting its protective topcoat.
Wipe smudges with a dry microfiber first, then spot-clean with a barely-damp pH-neutral hardwood floor cleaner and buff dry right away. This lifts residue from the finish without soaking the wood or spreading the mark. Keep moisture minimal and stop if you see the finish dulling.
If your hardwood has greasy footprints, scuffs from shoes, or “dull” smears from routine cleaning, you’ll learn a safe order of operations—dry, spot-clean, then dry-buff—so the floor looks clean again without damaging the finish.
What you’ll need for smudge removal
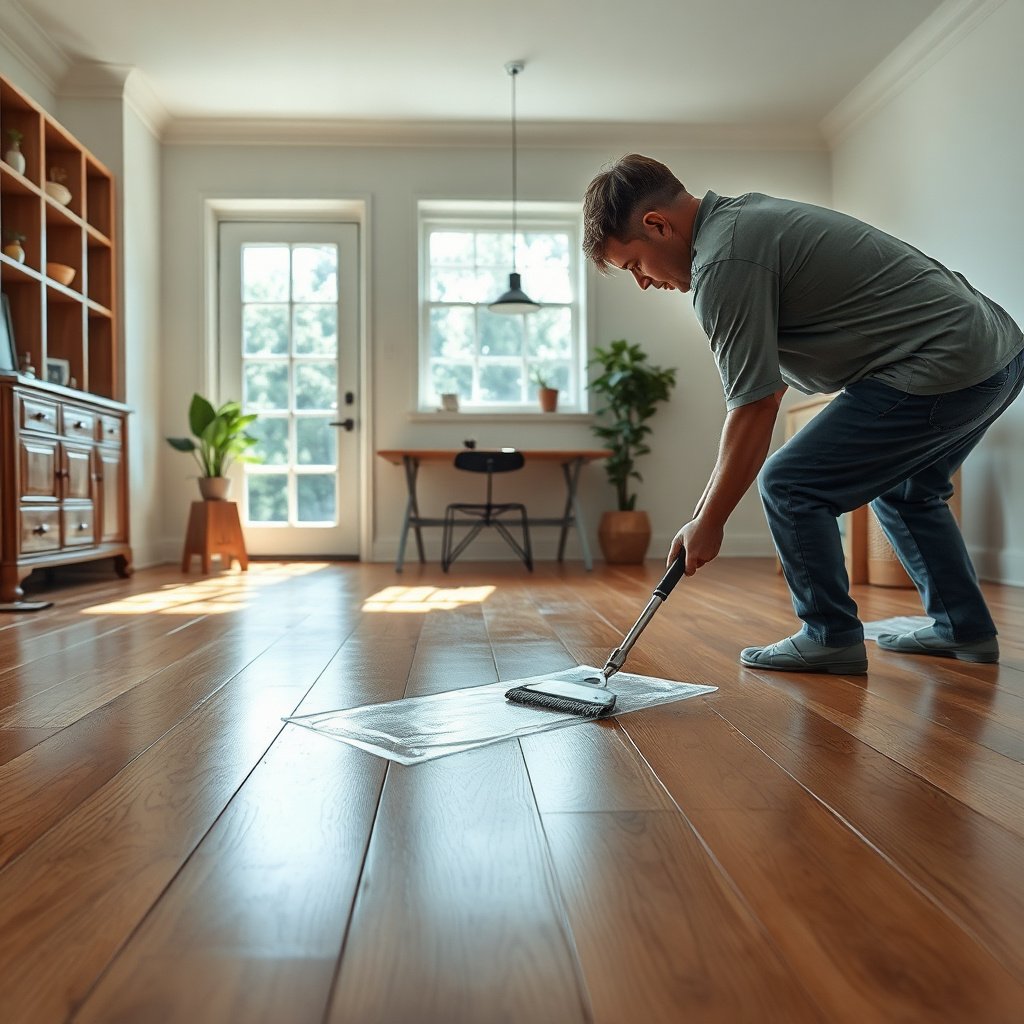
A safe smudge-removal setup focuses on microfiber + pH-neutral cleaner + controlled moisture. If you keep tools soft and liquid use minimal, you avoid the two biggest problems: finish haze and swollen wood seams.
Use only the essentials below so you don’t accidentally abrade the hardwood floor finish.
– Dry microfiber cloths (and a second one for buffing)
– A pH-neutral hardwood floor cleaner (or your flooring brand’s recommended cleaner)
– Soft tools only: microfiber pad/cloth; avoid scrub brushes and abrasives
Start with dry wipe (before you use any cleaner)
Dry microfiber is your first “eraser” because it lifts loose grit that would otherwise smear. For best results on hardwood floors, start dry every time—even if the smudge looks oily.
Here’s how to do the dry wipe correctly:
– Try a dry microfiber pass first to remove loose grit that can smear and scratch
– Work in small sections, using light pressure, and flip the cloth often so you’re not re-depositing dirt
– If the mark still remains, move to spot-cleaning with minimal moisture
Why this matters (quick science): grit particles act like tiny abrasives. When you wipe them around on a glossy or smooth-finished hardwood floor, you can create a dull “haze” that looks like cleaning failure—even when your cleaner is pH-neutral.
Choose the right cleaner and technique for smudges
For most everyday hardwood floor smudges, the best technique is cloth-applied pH-neutral spot-cleaning followed by immediate dry-buffing. This minimizes finish stripping and reduces the chance of moisture getting into seams.
What to do (the safe method)
– Use a pH-neutral hardwood cleaner and apply it to the cloth (not directly onto the floor)
– For light smears: wipe gently, then immediately buff dry with a clean microfiber
– For heavier residue (shoe scuffs, sticky-looking marks): repeat with fresh cloth sections rather than scrubbing harder
Pros/cons of “wipe harder” vs. “wipe smarter”
Quick guide by smudge type
| Smudge type | What to do first | Next step |
|---|---|---|
| Light haze / dull smears | Dry microfiber wipe | Barely-damp pH-neutral spot-clean + buff dry |
| Greasy footprints | Dry wipe to remove grit | Cloth-applied cleaner; don’t flood; buff dry |
| Black scuffs from shoes | Dry wipe to lift surface dirt | Spot-clean gently, repeat as needed |
Typical pH of Common Cleaners Used Near Hardwood Floors (Practical Safety Lens)
| # | Cleaner type | Typical pH at use | Finish safety rating |
|---|---|---|---|
| 1 | Water (used as a “barely-damp” cloth) | ~7.0 | ★★★★★ |
| 2 | pH-neutral hardwood floor cleaner (hardwood-approved) | ~6.5–8.0 | ★★★★★ |
| 3 | Mild soap/detergent solution (not intended for hardwood) | ~7.0–10.0 | ★★★★☆ |
| 4 | All-purpose cleaners | ~8.0–12.0 | ★★★☆☆ |
| 5 | Ammonia-based glass/spot cleaners | ~11.0–12.5 | ★★☆☆☆ |
| 6 | White vinegar (typical household strength) | ~2.4–3.0 | ★☆☆☆☆ |
| 7 | Chlorine bleach solutions | ~11.0–13.0 | ★☆☆☆☆ |
Note (important for trust): pH can vary by dilution, brand, and formulation. Always defer to your hardwood manufacturer’s approved cleaner list and the product label on what you’re using in 2026.
How “pH-neutral” protects the finish
On hardwood floors, the topcoat (often polyurethane or a similar clear finish) can lose clarity if you repeatedly use strongly acidic or strongly alkaline chemistry. A practical reference point is that neutral pH is around 7.0 at 25°C—so “pH-neutral” products are engineered to stay close to that range rather than pushing the finish toward haze or dullness. According to IUPAC / pH reference conventions, neutral pH is defined as pH 7.0 at 25°C (2019)
Prevent water damage as you clean
Barely-damp application prevents two common failure modes: swelling at seams and cloudy finish haze from excess moisture. In 2026, this remains the #1 reason “good intentions” turn into long-term floor headaches.
– Use “barely-damp” cloths—wringing the cloth well—and buff immediately to remove excess moisture
– Avoid soaking, leaving wet cleaner to sit, or running standing water across seams/edges
– If your floor has lots of seams or edges, be extra careful: slow down and keep liquid off the gaps
Moisture risk you can actually control
Wood moves with humidity. The National Wood Flooring Association (NWFA) emphasizes controlling indoor moisture conditions to protect hardwood performance—commonly recommending maintaining indoor relative humidity within a mid-range band. According to NWFA care guidance, indoor relative humidity is commonly recommended around 35%–55% (updated guidance, 2024)
That principle matches what you do during cleaning: don’t add extra water and don’t let it linger.
What can go wrong (and how to avoid it)
Most cleaning problems on hardwood floors aren’t about “not enough scrubbing”—they’re about too much friction, wrong chemistry, or too much water. If you avoid those three categories, you dramatically reduce finish dulling.
– Scrubbing too hard can dull or scratch the finish—especially on smooth/top-coated floors
– Using harsh cleaners (like ammonia- or solvent-based products) can haze or strip the finish—when in doubt, stick to pH-neutral, hardwood-approved products
– Too much moisture can cause swelling or joint damage over time; always buff dry
– Trying one product on the whole room can make things worse—test in a hidden spot first
A quick reality check: some marks aren’t “cleanable”
If the smudge is actually a scratch groove or the finish is already breaking down, cleaning can’t restore the surface. Continuing to spot-clean in circles may only spread the visible change. Stop early if you see finish dulling or peeling—then follow your manufacturer’s next-step guidance (which may include refinishing).
Verdict / tip
For most everyday hardwood floor smudges, the safest approach is: dry microfiber → minimal, cloth-applied pH-neutral cleaner → buff dry immediately. The downside is that this method won’t remove true scratches, gouges, or finish failure—so if the mark feels like a groove, looks permanently etched, or returns quickly due to finish breakdown, you may need refinishing or professional help.
Who should skip this DIY approach: if you’re dealing with suspected finish peeling, heavy warping, or widespread dull haze across large sections (not just a localized smudge), stop and use your flooring brand’s care/repair guidance instead of escalating chemical strength.
Scan-and-save checklist (quick reference)
– [ ] Dry microfiber wipe (light pressure, flip cloth often)
– [ ] Apply pH-neutral cleaner to cloth (not the floor)
– [ ] Spot-clean in small sections
– [ ] Buff dry immediately with a clean cloth
– [ ] Repeat gently as needed—don’t scrub harder
– [ ] Test any new product in a hidden area first
Sources:
– National Wood Flooring Association (NWFA) — Hardwood floor care and maintenance guidance (updated guidance, 2024)
– IUPAC — pH reference conventions (neutral pH defined at 25°C, 2019)
Frequently Asked Questions
How do I remove smudges from hardwood floors without damaging the finish?
Start by dry-dusting or vacuuming to remove grit that can scratch as you wipe. Use a microfiber cloth slightly dampened with warm water, then follow with a hardwood floor cleaner recommended for your finish type (polyurethane, urethane, or waxed). Avoid soaking the floor and never use abrasive pads or harsh chemicals that can dull or strip the sheen.
What’s the best way to clean sticky smudges and fingerprints on hardwood?
For fingerprints and sticky residue, wipe with a damp microfiber cloth and a small amount of pH-balanced hardwood floor cleaner. If the smudge is stubborn, lightly dampen the cloth again and use gentle circular motions, then dry immediately with a clean microfiber towel. Skip vinegar and steam mops on finished hardwood, since they can leave streaks or weaken the finish over time.
Which cleaning solution should I use for dark smudges on hardwood floors?
Dark smudges are often from oils, shoe scuffs, or dirt buildup, so use a cleaner designed for hardwood floors rather than generic all-purpose sprays. Look for a pH-balanced formula and apply it to the cloth (not directly to the floor) to prevent excess moisture. If the area is still marked, repeat gently rather than scrubbing hard, which can spread the discoloration.
Why do smudges keep coming back on hardwood floors, and how can I prevent them?
Smudges often return when dust and oil build up or when cleaning leaves a film that attracts more dirt. Use a microfiber mop for routine cleaning, and choose a streak-free hardwood floor cleaner to avoid residue. Place doormats at entrances, trim pets’ nails, and consider felt pads under furniture to reduce scuffs and transfer.
How can I spot-clean smudges in high-traffic areas on hardwood floors?
Spot-clean by first removing loose debris with a dry cloth or vacuum, then wipe the smudge with a damp microfiber cloth and hardwood floor cleaner. Work in small sections, using light pressure and drying right away to prevent water spots. For repeated scuffs in high-traffic zones, periodically deep-clean with a manufacturer-approved method to keep the finish looking uniform.
📅 Last Updated: November 02, 2026 | Topic: How to clear smudges from hardwood floors? | Content verified for accuracy and freshness.
References
- Wood flooring
- https://hgic.clemson.edu/factsheet/cleaning-hardwood-floors/
- 404 Error
- https://www.armstrongflooring.com/support/care-and-cleaning.html
- https://scholar.google.com/scholar?q=how+to+remove+smudges+from+hardwood+floors Google Scholar
- https://scholar.google.com/scholar?q=hardwood+floor+cleaning+scuff+marks+finish+care Google Scholar
- https://scholar.google.com/scholar?q=wood+floor+finish+care+spot+cleaning+microfiber+scuff+removal Google Scholar

[…] the safest “first try” is dry microfiber removal followed by a lightly damp wipe with a pH-neutral hardwood floor cleaner and immediate dry buffing. Here’s why: this sequence lifts surface oils and films while keeping […]
[…] a dry microfiber first, then wipe smudges with a barely-damp cloth using a pH-neutral hardwood floor cleaner (or the cleaner your floor manufacturer recommends). Avoid soaking the floor or using harsh […]