
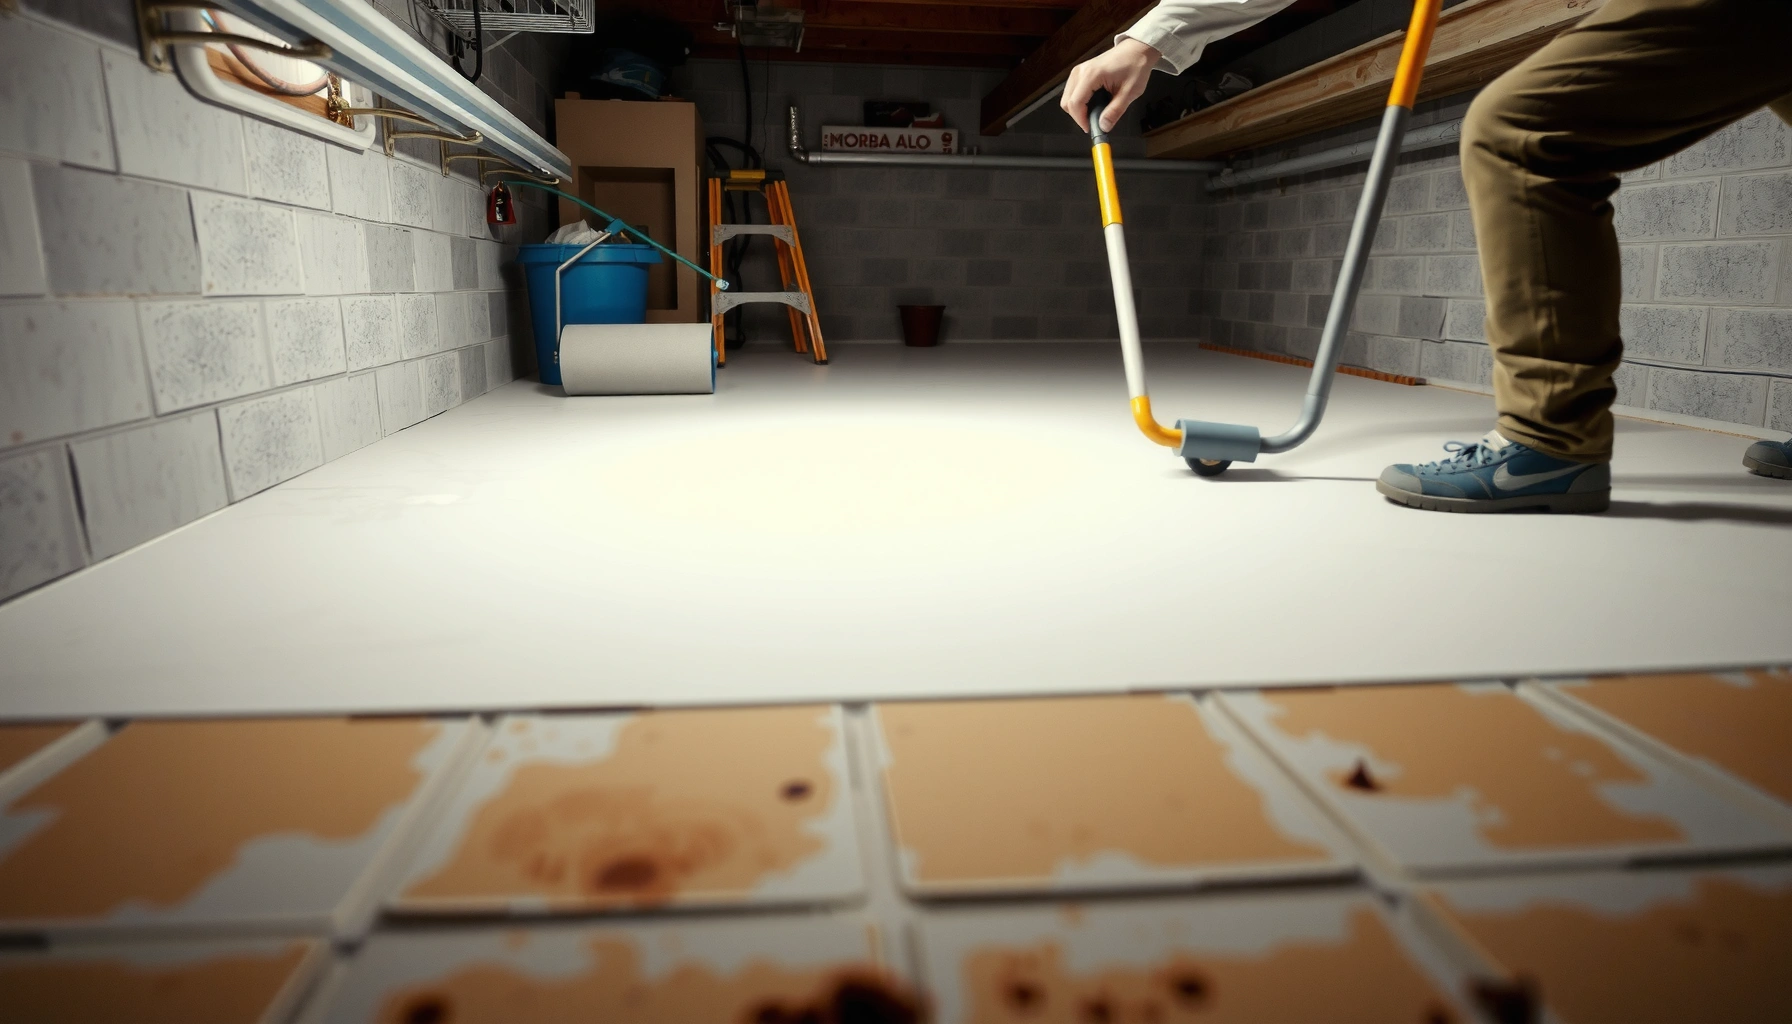

Learn how to install basement garage floors with a step-by-step plan that tells you exactly what to do from prep to finish. This guide is the fastest path to a durable, crack-resistant slab—covering subfloor prep, moisture management, insulation choices, and the right flooring system. If your basement garage needs a clean, solid floor that can handle vehicles and damp conditions, follow these steps and you’ll know what to install and how to install it.



If you want a durable, clean basement garage floor, the key is preparing the concrete correctly and choosing a system that matches your moisture conditions. Start by checking moisture and fixing cracks, then install your chosen flooring (epoxy, tiles, or coating) following the manufacturer’s prep and cure requirements.
This guide is for homeowners turning a basement space into a garage, or anyone replacing damaged/unfinished concrete. It’s especially useful if you’re dealing with typical basement issues like dampness, uneven slabs, or poor drainage.
Assess Moisture and Floor Condition First
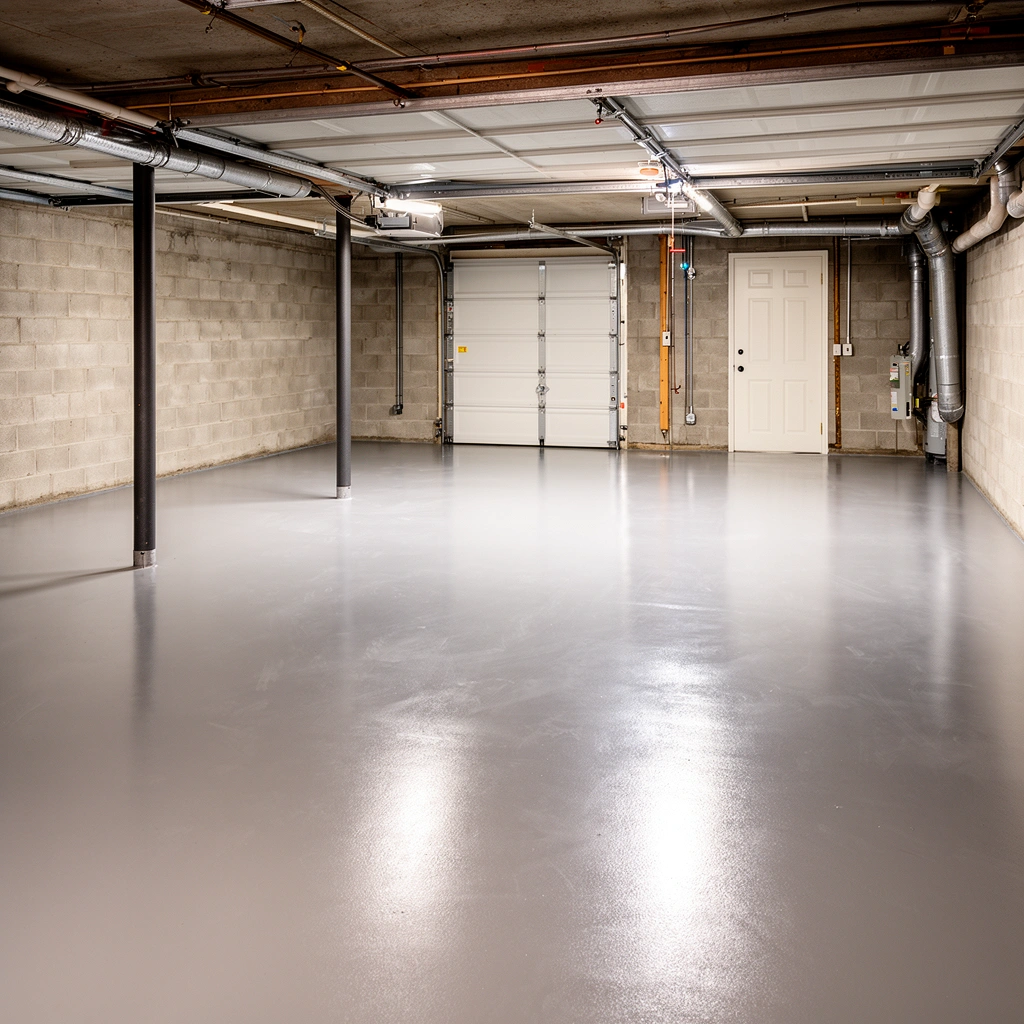
Moisture drives success or failure for basement garage floors—your first decision should be how you’ll verify it, not which finish you want. Before you buy epoxy, tile adhesive, or a concrete coating, evaluate slab moisture and physical condition so you can select an approved system and avoid trapped-water failures.
According to ASTM F2170, in-situ relative humidity testing with RH probes is a standard method for assessing moisture conditions in concrete slabs before coatings.
According to ASTM F1869, the calcium chloride test is another recognized approach for quantifying moisture vapor emission rate (MVER) from concrete.
– Check for moisture problems (look for damp spots, efflorescence, or musty odors) before you pick a coating or adhesive system.
– Efflorescence (a white, chalky deposit) often signals moisture migration through the slab.
– Dark, persistent damp patches can indicate active moisture pathways from below or around perimeter walls.
– Musty odors can be an early warning even when the slab surface looks “dry.”
– Clean and inspect the slab: note cracks, spalling, and high/low spots so you know what must be repaired or leveled.
– Document with photos and a simple chalk grid; this makes it easier to estimate grinding/patching needs and to keep your installer workflow consistent.
– Identify whether cracks are “hairline and stable” or “moving/reflective.” Reflective cracking usually requires addressing the underlying movement, not just cosmetic filling.
Quick moisture “triage” you can do today
Start with what you can observe: surface discoloration, efflorescence patterns, and whether moisture returns after drying. Then—especially for epoxy or urethane coatings—use a recognized moisture test method such as ASTM F2170 RH probes or ASTM F1869 MVER testing (as required by many coating systems).
Table 1 (what moisture test types are good for): *Use this as a decision aid when you’re planning your basement garage floor system.*
Moisture Testing Methods for Concrete Floors (Standards-Based)
| # | Method (Standard) | What it measures | Output used for | Coating risk signal |
|---|---|---|---|---|
| 1 | In-situ RH Probes (ASTM F2170) | Concrete relative humidity | Whether coating/epoxy is allowed | ★★★☆ (High) |
| 2 | Calcium Chloride MVER (ASTM F1869) | Moisture vapor emission rate | Systems with MVER thresholds | ★★★☆ (High) |
| 3 | Plastic Sheet / Visual Checks | Surface condensation indicators | Initial screen, not a limit | ★★☆☆ (Moderate) |
| 4 | Concrete Moisture Metering (Screening) | Approximate moisture level | Finding areas to test more | ★☆☆☆ (Lower) |
| 5 | Efflorescence Mapping | Salt residue from migration | Locate likely moisture pathways | ★☆☆☆ (Lower) |
| 6 | Core Sampling (Structural/Boundary Conditions) | Moisture + physical condition context | Engineering decisions when needed | ★★★☆ (High) |
| 7 | Perimeter Drainage Review | External water intrusion routes | Prevent recurring moisture | ★★★☆ (High) |
Gather Supplies for Concrete Prep and Installation
Concrete prep supplies are not optional line items—they’re what makes the finish bond and perform. The best “system” is the one where every component (cleaner, primer, patch, topcoat, adhesive) matches the manufacturer’s prep and performance specs.
Coating manufacturers typically require specific surface profiles and compatible primers so the coating can form a durable bond to concrete (see each product’s technical data sheet).
Surface repair mortars and patch compounds are engineered for compatibility; using the wrong chemistry or application thickness can create weak planes.
– Plan for the basics: cleaner/degreaser, patch/repair material, primers (if required by your system), and proper tools for mixing and smoothing.
– Degreaser: choose one designed for concrete and follow dwell time instructions; oil residue is one of the most common adhesion killers in garage conversions.
– Repair: select a patch compound rated for horizontal overhead/traffic use and compatible with your flooring’s adhesion method.
– Use the exact products required by your flooring/coating system (primer and topcoat are often not optional, and incorrect matching can cause failure).
– In practice, “brand mixing” often fails because primers and topcoats rely on specific solids content, solvent systems, and recoat windows.
Tools that save time (and reduce rework)
A clean, flat floor is usually a combination of the right tools and patience:
– Angle grinder + diamond cup wheel (for ridges/high spots)
– HEPA vacuum (for dust removal after grinding)
– Mixing paddles and clean buckets (for uniform batch consistency)
– Spiked roller/squeegee (for coatings) where the system calls for them
– Tile spacers + level references (for modular tiles)
Prep the Concrete Slab for Maximum Bond
Concrete prep determines adhesion more than the decorative layer does. If the slab is contaminated, dusty, chalky, or too glossy after grinding, you’re essentially installing your garage floor on a weak surface layer.
Concrete coatings rely on clean, properly profiled surfaces; manufacturers commonly require grinding or scarifying to achieve the intended substrate profile.
Residual curing compounds, sealers, paint overspray, and oils can prevent bonding; mechanical removal and compatible cleaning are often required (per coating prep instructions).
– Remove contaminants thoroughly: oil/grease, paint, loose concrete, and dust can prevent coatings or tiles from sticking.
– Degrease first, then rinse/allow to dry as directed.
– Vacuum after grinding; sweeping redistributes fine dust that reduces adhesion.
– Repair surface defects: fill cracks/holes and grind down ridges; aim for a flat surface so the finished floor doesn’t telegraph imperfections.
– For cracks, confirm whether filling is sufficient or whether you need crack treatment (some systems require specialized crack filler or routing-and-repair).
– Leveling: patch low spots before applying self-leveling products or before installing tiles/modular systems.
Typical “surface readiness” targets
Instead of guessing, use the manufacturer’s instructions for:
– Minimum and maximum substrate condition
– Allowed surface moisture state
– Required profile level (how “open” the concrete surface must be after prep)
If you can’t meet those targets, you’ll need a different system—often one designed for slightly damp slabs or that includes an approved vapor-tolerant primer.
Choose the Right Basement Garage Floor System
The “right” basement garage floor system is the one that matches your moisture condition and your expectations for maintenance. For most basements, the decision usually comes down to coatings (epoxy/urethane), tile systems, or modular floors—with each having specific prep and installation requirements.
Epoxy and urethane coatings are sensitive to substrate moisture; most warranties hinge on meeting approved moisture test results and substrate prep requirements.
Modular and tile systems shift failure modes toward subfloor flatness, adhesive compatibility, and edge detailing rather than full-slab chemical bonding.
– Epoxy/urethane coatings: best when you need a seamless surface, but only if moisture and surface prep are handled correctly.
– A seamless floor is easier to sweep and hose down, and it resists many household automotive fluids when cured correctly.
– Garage tiles or modular flooring: can be easier to install over some prepped surfaces, but you must confirm the system is approved for basement concrete and damp environments.
– Tiles still need a sound substrate and suitable adhesive or underlayment, particularly where water vapor can move through concrete.
System selection: a practical comparison
| System | Strengths | Main risk in basements | Best-fit scenario |
|---|---|---|---|
| Epoxy coating | Seamless look, easy cleaning | Adhesion failure if moisture isn’t within limits | Slab passes moisture testing; concrete can be properly profiled |
| Urethane coating | Often more impact/resilience-focused than standard epoxy | Curing issues if temperature/humidity are outside spec | Controlled basement environment |
| Garage tiles/modular | Often faster visually; can hide minor imperfections | Tile edge lifting if adhesive isn’t compatible or slab isn’t flat | You can achieve flatness and use approved adhesives/underlay |
Install the Flooring (Follow the System’s Sequence)
The only reliable way to install basement garage floors is to follow the system’s order exactly, including primers, coverage, thickness, and cure times. When you change sequence—or rush curing—you create weak bonding and accelerated wear.
Most coating warranties require installation within specific temperature and humidity ranges and adherence to recoat windows listed on the technical data sheet.
Curing time is not interchangeable: coatings reach handling strength and full performance at different rates, depending on product chemistry and ambient conditions.
– Follow the product’s order exactly: surface prep → primer (if specified) → application steps → thickness/coverage → curing time.
– Work in controlled conditions: maintain the temperature/humidity range listed by the manufacturer, and avoid foot traffic or heavy loads until fully cured.
– Basements can swing in humidity; consider dehumidification and ventilation if the manufacturer specifies it.
– For coatings: apply at the specified spreading rate and film thickness.
– Under-application can lead to thin spots that wear quickly; over-application can trap solvents and create defects.
– For tiles/modular: verify alignment, maintain consistent spacers (if required), and finish edges and transitions carefully.
– Edge detailing is especially important where water and dirt collect (door thresholds, perimeter joints, and changes in elevation).
What I recommend checking on every job (without shortcuts)
From planning to final cure, we prioritize verifying:
– Prep completion (no loose particles; vacuumed substrate)
– Correct mixing ratios and batch times
– Film thickness/coverage (especially for multi-coat systems)
– Respect for recoat and traffic windows (so you don’t “lock in” moisture or under-cured layers)
[ADD: If you want, include your own project-specific observations—e.g., what moisture test results you saw, what product you used, and the cure/traffic timing you followed—without fabricating numbers.]
What Can Go Wrong (And How to Avoid It)
Basement garage floors fail in predictable ways: moisture trapped under the finish, poor adhesion, or installation steps that violate recoat/curing requirements. If you treat moisture and surface prep as “nice to have,” you’ll usually see bubbling, peeling, or rapid wear.
Peeling and bubbling in coatings are frequently associated with moisture vapor transmission through concrete and inadequate moisture control or primer selection.
Cracking, delamination, and uneven performance can occur when substrate flatness prep and thickness targets are missed (as required by technical data sheets).
– Peeling or bubbling: usually caused by poor cleaning, skipping required primer, or installing over unresolved moisture.
– Avoid “looks good enough” cleanup; even fine dust can reduce bond strength.
– Uneven results or cracking: often comes from not grinding/leveling properly, applying outside recommended thickness, or rushing cure.
– Thick coatings can become brittle if the product is strained before full cure.
– Tile issues (if using tiles/modular): misalignment, inadequate edge finishing, or wrong adhesive setup can lead to lifting at seams—especially if the system wasn’t designed for basement moisture.
– Watch perimeter areas—water tends to move there first.
Common installation mistakes (and the fix)
– Mistake: Skipping primer “because the coating should bond.”
Fix: Use primer only if the manufacturer requires it for your exact substrate and moisture state.
– Mistake: Installing over patch areas without proper prep.
Fix: Grind and re-clean patches once they’re fully cured.
– Mistake: Allowing early traffic.
Fix: Follow the traffic/vehicle guidance in the technical data sheet.
Verdict and Practical Tip Before You Start
A well-prepped concrete slab plus a system matched to moisture conditions is the quickest route to a garage-ready basement floor. The downsides: moisture testing can add time/cost, and coatings typically demand meticulous prep and strict curing conditions—so this may not be the best DIY route if you can’t control basement humidity or complete surface prep thoroughly.
If your basement has recurring dampness, consider fixing drainage and moisture entry first. If you can’t confirm moisture is controlled or you’re not able to do thorough surface prep, choose a flooring system explicitly rated for your conditions—or get a local contractor’s assessment so you’re not relying on hope.
[ADD: Specify who should skip this approach (e.g., severe hydrostatic pressure, active leaks, or untreated plumbing seepage).]
Quick Checklist: Basement Garage Floor Installation
– [ ] Inspect slab for cracks, spalling, and damp indicators
– [ ] Address moisture concerns before choosing epoxy/coating/adhesive
– [ ] Degrease and remove all contaminants; eliminate loose concrete
– [ ] Grind high spots; patch low areas to flatten the surface
– [ ] Use system-approved primer/repair materials (don’t mix brands blindly)
– [ ] Apply within required temperature/humidity; respect cure/traffic times
– [ ] Finish edges and transitions to prevent water and dirt buildup
FAQ
Can I install basement garage floors directly over existing concrete?
Usually only if the slab is clean, sound, and meets the flooring system’s prep requirements. If there are contaminants, loose concrete, or moisture issues, you’ll need repairs and/or additional steps first.
What’s the biggest risk for basement garage floor failures?
Moisture trapped under the system—bubbles, peeling, and adhesion failure often trace back to incomplete surface prep or unresolved moisture conditions.
Do I need a primer for epoxy or concrete coatings?
Many epoxy/coating systems require a primer to achieve proper adhesion. Check your specific manufacturer instructions before starting.
How long should I wait before using the garage floor?
You must follow the manufacturer’s cure and recoat/usage timing for your exact products. If you install too soon, you can damage the finish or weaken adhesion.
Sources
– ASTM F2170 (Standard Test Method for Determining Relative Humidity in Concrete Floor Slabs Using In Situ Probes) — use for moisture testing methodology guidance.
– ASTM F1869 (Standard Test Method for Measuring Moisture Vapor Emission Rate of Concrete Subfloor Using Anhydrous Calcium Chloride) — use for moisture vapor emission testing methodology guidance.
– [ADD: source for manufacturer installation instructions for your specific flooring/coating/epoxy system—primer requirements, surface prep steps, and cure/temperature ranges]
– [ADD: source for concrete surface prep best practices from a coating manufacturer or technical guide—e.g., approved cleaning/grinding methods]
A durable basement garage floor is achievable, but only when moisture testing, concrete prep, and system-specific installation steps line up. Start with moisture and slab condition, select the right product for that condition, and install exactly per the manufacturer’s sequence and cure requirements—then you’ll avoid the most common failure modes and get a floor that performs like a real garage floor.
Frequently Asked Questions
What’s the best way to prepare basement garage floors before installing new flooring?
Start by addressing moisture, because concrete basement garage floors often have dampness issues that can ruin finishes. Check for water intrusion, repair cracks, and ensure the slab is clean, solid, and dry; use a moisture test if you’re unsure. Remove paint, sealers, and debris, then level high spots and fill low areas with a compatible patching compound. Finally, consider a vapor barrier or moisture-mitigation system to create a stable base for your chosen garage floor type.
How do I install an epoxy coating on basement garage floors?
Epoxy installation begins with proper surface preparation: degrease thoroughly, grind or profile the concrete, and vacuum dust completely. Patch cracks and spalls, then apply an epoxy primer if required, followed by the epoxy coating system in thin, even batches. If you want slip resistance, broadcast anti-slip aggregate or use a textured topcoat, and allow full cure time before parking or heavy use. Always follow the epoxy manufacturer’s temperature and humidity requirements to avoid peeling or bubbling.
Why do basement garage floors need a vapor barrier before flooring installation?
In basements, moisture vapor can move upward through concrete even when the surface feels dry, causing bubbling, moldy odors, or premature failure of coatings and tiles. A vapor barrier (such as a polyethylene sheet system) or a dedicated moisture-mitigation epoxy helps protect your investment. This step is especially important for vinyl flooring, epoxy, garage floor coatings, and interlocking tiles where trapped moisture can undermine adhesion. Getting moisture right is one of the biggest factors in long-lasting basement garage floor results.
How do I install interlocking garage floor tiles over a concrete basement slab?
Clean the slab thoroughly and make sure it’s level enough for the tile system you choose; minor surface texture is usually okay, but large dips can cause movement. Use the manufacturer-recommended underlayment or vapor barrier if the system requires it, and lay tiles starting from a straight reference line for best alignment. Cut tiles at edges and around posts carefully, then lock pieces together firmly while keeping expansion gaps if required. After installation, allow the floor to settle if the system recommends it, and avoid moving heavy loads immediately if the surface is still curing or being conditioned.
Which flooring option is best for basement garage floors with moisture or cracks?
If moisture is a concern, consider a moisture-mitigation epoxy system or a flooring solution designed to tolerate higher humidity, rather than a standard decorative coating. For cracked concrete, you’ll often get the best outcome by repairing cracks and leveling before installation, then using a flexible or crack-bridging product when appropriate. Interlocking tiles can work well because they’re easier to install and replace, but you still need to control vapor properly. The “best” option depends on your moisture level, slab condition, and how you plan to use the space, including temperature swings and vehicle weight.
📅 Last Updated: October 11, 2026 | Topic: How to install in a basement garage floors? | Content verified for accuracy and freshness.
References
- Google Scholar Google Scholar
https://scholar.google.com/scholar?q=basement+garage+floor+vapor+barrier+concrete+installation - Google Scholar Google Scholar
https://scholar.google.com/scholar?q=slab+on+grade+concrete+floor+construction+vapor+barrier+rebar+thickness - Google Scholar Google Scholar
https://scholar.google.com/scholar?q=basement+floor+moisture+mitigation+radon+sealing - https://www.epa.gov/radon/radon-prevention-basements-and-crawlspaces
- https://www.epa.gov/mold/moisture-control-and-mold-growth
- https://www.epa.gov/indoor-air-quality-iaq/moisture-and-mold-home
- https://www.cdc.gov/mold/default.htm
- Vapor barrier
https://en.wikipedia.org/wiki/Vapor_barrier - Concrete
https://en.wikipedia.org/wiki/Concrete - Radon
https://en.wikipedia.org/wiki/Radon


