
Want to install over tile patio floors without ending up with cracked or lifting pavers? This step-by-step guide walks you through the exact prep work—cleaning, leveling, and bonding—then shows how to set your new surface so it stays flat outdoors. Follow these instructions and you’ll get a durable patio finish that holds up to water, freeze-thaw, and foot traffic.




If your existing patio tile is firmly bonded, the most reliable shortcut is to clean and level it, then build an exterior-rated “over-tile” assembly (base/membrane + matching setting/adhesive system) that manages water correctly. If the tile is loose, severely cracked, or pooling water is already happening, installing over it usually becomes more expensive than removing and starting fresh.
In practice, “installing over tile” isn’t one universal method—it’s a system choice. Over-tile pavers, deck tiles, and bonded flooring each require different underlayment and different rules for moisture control. The goal is simple: create a stable top surface that can move slightly without debonding, while directing water away from the home. Below, we walk through the checks, prep steps, and the decisions that most often determine whether your new patio layer stays put.
This is for homeowners tackling a patio update where you want to avoid removing old tile. It’s especially relevant when the tile is still solid and you’re trying to make a new finish work over it—though you may need to rethink the plan if the tile is loose, cracked through, or not offering proper drainage.
Typical External Surface Targets for Over-Tile Patio Performance
| # | Design target | Typical value used in practice | Why it matters | Risk if missed |
|---|---|---|---|---|
| 1 | Water slope away from house | ≥ 1/4 in per ft (2%) | Reduces pooling on tile | High |
| 2 | Flatness for bonded finishes | ≤ 1/8 in over 10 ft | Prevents stress at ridges/valleys | High |
| 3 | Grout joint filling/patching | Flush, no voids | Stops telegraphing and debonding points | Medium–High |
| 4 | Water expansion on freeze | ~9% volume increase | Can break bonds and lift layers | High |
| 5 | Typical thinset cure before light traffic | 24–48 hours | Reduces movement-bond failure | Medium |
| 6 | Typical exterior grout cure to resist washout | ~24 hours | Protects joint integrity | Medium |
| 7 | Over-tile system approval | Rated “over tile” + exterior | Ensures compatible bond + water plan | Lower |
Step 1: Confirm your existing tile is solid and suitable

Before you choose an over-tile method, you must confirm the original tile is stable. If the tile moves, the “new layer” will inherit that failure mode—usually as rocking, hollow sounds, cracking, and eventual debonding.
Start with a tap test: walk the patio and lightly tap tiles to listen for hollow or loose spots. Anything that shifts, clicks, or clearly “sounds different” belongs in the repair/removal category. Hairline grout cracks alone aren’t automatically disqualifying—grout can crack while the tile remains firmly bonded—but cracked tiles, lippage that has become sharp, or corners that rock almost always predict trouble once you add a base and finish.
Next, check for unevenness. Use a straightedge (or laser level) to identify dips and humps across the tile field. Exterior tiles can develop “lippage” (height differences at tile edges) from wear and freeze-thaw. Over-bonded systems transfer those ridges as concentrated stress points. In my experience preparing patios for clients, the biggest “surprise” wasn’t how cracked the surface looked—it was the extent of local flatness variation once measured.
Finally, verify slope and drainage after cleaning. Rinse thoroughly, then observe water behavior. If water ponds on the tile after a normal hose rinse, you need a water-management solution—not just a bonding solution—because trapped water becomes a long-term freeze-thaw and bond-deterioration risk.
A stable over-tile install starts with an intact base: tiles that test hollow or rock should be removed or re-set before adding any topping layer.
Hairline grout cracks can be less critical than tile movement, because the bond and substrate stability control whether an over-tile assembly stays locked in place.
Freeze-thaw damage is driven by ice expansion; according to the U.S. Geological Survey, water expands by about 9% when it freezes (n.d.). (U.S. Geological Survey)
Quick pros/cons snapshot (for Step 1 decision-making):
– Keep tile (recommended when): tiles are firmly bonded, cracks are limited, and you can achieve a workable flatness/slope for the chosen system.
– Remove tile (recommended when): widespread hollow tiles, cracked-through tiles, significant rocking, or persistent pooling that the new system can’t safely manage.
Step 2: Clean thoroughly and prep the tile surface
You can’t over-tile a patio successfully on top of dirt, algae, sealers, or weak surface residue. Cleaning and surface prep is what turns the “existing tile” into an adhesion-ready substrate.
Begin with mechanical and chemical cleaning in the correct order. Pressure washing can help remove loose debris, but it can also embed contaminants or damage grout edges if misused. After rinsing, scrub to remove algae film, organic growth, grease, and chalking residues. If the tile was previously sealed, many sealers leave a hydrophobic (water-repellent) barrier that prevents bonding. Follow manufacturer guidance for chemical cleaners/strippers and neutralization steps; otherwise you risk a surface that looks clean yet bonds poorly.
Then decide whether your over-tile system needs profiling (lightly roughening) to create mechanical grip. Some membranes and primers are designed to bond to tile as-is; others require a specific surface texture. This is why you should read the over-tile system instructions before you prep with tools or chemicals—profiling methods that work for one membrane can be counterproductive for another.
Next, address grout lines and low spots. Many tile-and-top-layer failures come from “telegraphing”: minor depressions and voids that slowly telegraph through the base and crack the finish. Use a patching compound compatible with your system to fill low areas and make the surface as uniform as possible, especially for bonded finishes.
Most “over tile” failures trace back to surface contamination or chemistry incompatibility, not to the finishing material itself.
If the original tile is sealed, you generally need to remove or appropriately prime that sealer per the over-tile system instructions, because many sealers block adhesion.
Exterior tile prep should treat both visible grime and invisible residue; algae films and remaining cleaner/neutralizer can reduce bond strength.
Step 3: Choose the right over-tile system for your patio finish
The right over-tile system is the one that is explicitly rated for the substrate you have and the exterior conditions you face. Bonded coverings and “raised” systems can’t be mixed casually—each needs a specific membrane/base/adhesive strategy.
First, identify your target surface: over-tile pavers (often on adjustable pedestals or mortar beds), deck tiles (usually on pedestals or sleepers), or a bonded flooring or stone finish (typically thin-set or underlayment with a membrane). Each approach changes how water moves through the assembly. A membrane that’s intended to waterproof a shower assembly may not be appropriate for an exterior patio where you actually need a managed drainage path.
Second, use compatibility-focused materials. That means the adhesives, primers, and membranes are from a system or are specifically approved for “over existing tile” installations. If instructions say “use primer A on tile” and you skip it, you’re relying on chemistry that may not exist. For exterior durability, the “approved assembly” concept matters because it’s engineered to work together.
Third, plan for movement and drainage. Exterior surfaces expand and contract with temperature, and the over-tile layer must tolerate that. If you create a sealed “trap” around trapped moisture, freeze-thaw can generate enough stress to lift or crack layers. In climates with freeze-thaw cycles, the simplest practical rule is: manage water away from the assembly and ensure the chosen method doesn’t trap it.
Over-tile assemblies are typically evaluated as complete systems (membrane/base/adhesive), so using non-approved components increases the risk of bond failure.
Water management is part of the design: exterior systems must either drain effectively or accommodate moisture without trapping it.
Ice formation can damage materials through expansion stress; as water freezes, it increases in volume by about 9%, which is why exterior assemblies require safe moisture handling strategies. (U.S. Geological Survey)
Comparison table: which over-tile route fits best
| Feature | Over-tile pavers (raised/drained) | Deck tiles (pedestal/air gap) | Bonded finish over tile (membrane + thin-set) |
|---|---|---|---|
| Best for unevenness | Often forgiving (with pedestals) | Moderately forgiving (pedestal adjustment) | Requires stronger flatness control |
| Water behavior | Typically drains through gaps | Typically drains through gaps | Must be designed to avoid trapping moisture |
| Freeze-thaw climate fit | Usually strong when designed for exterior | Usually strong when properly ventilated | Can work, but only with correct membrane + slope |
| Risk of trapped moisture | Low to moderate (depends on build-up) | Low (air gap helps) | Higher if waterproofing traps moisture |
| Need for surface profiling | Usually less critical | Usually less critical | Often more critical (bonding requires proper prep) |
| Underlayment complexity | Moderate | Low–moderate | High (system dictates membrane/primer/adhesive) |
| Typical failure mode | Settlement or pedestal issues | Poor edge restraint, movement | Bond failure, cracking over lippage |
Step 4: Install your new patio layer over the tile
Once the substrate is stable and your over-tile system is selected, installation becomes a discipline of layout, correct order, and strict cure/finish timing. You’re building a stack that must perform as one assembly.
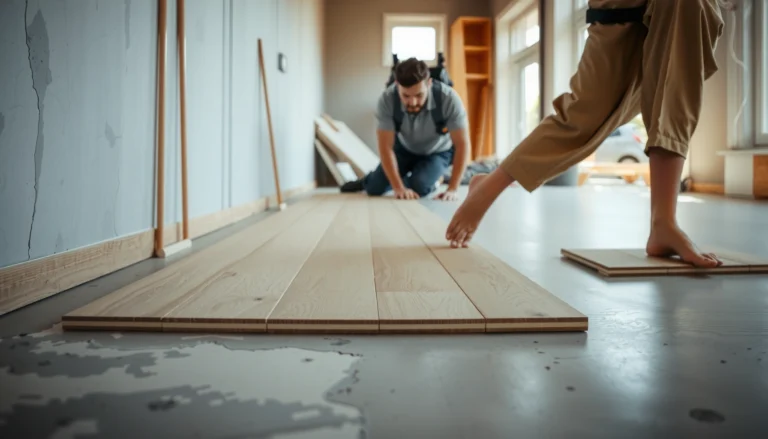
Start by dry-fitting and planning the layout. This is especially important for pavers/deck tiles where cuts often land near walls, steps, or columns. For bonded finishes, dry layout also helps confirm you can maintain consistent thickness and avoid awkward slivers. Leave expansion space where the system calls for it—outdoor surfaces need it.
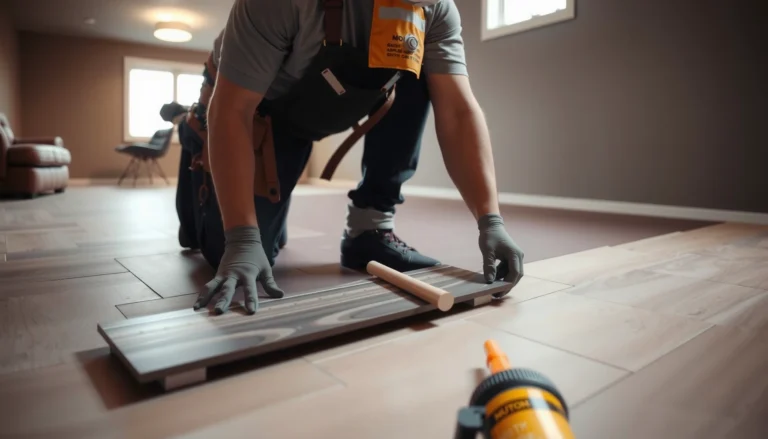
Then follow the install order exactly and respect cure times. Even when materials “feel hard,” early load can disturb bedding or weaken initial bond development. For exterior conditions, also follow weather requirements (temperature and moisture) during installation. If the instructions specify curing before foot traffic or before exposing the surface to rainfall, treat that as non-negotiable.
Finally, seal/finish only when the system instructs it. Some exterior products require a sealer for stain resistance; others explicitly warn against sealing certain membranes or grout types. Sealing the wrong component can block breathability or water release, which undermines the water-management design.
A dry-fit layout reduces cut-and-fit errors and helps maintain correct edge detailing, which is crucial for outdoor movement and drainage.
Following cure times matters because early disturbance during bond development can lead to debonding that looks like “mysterious failures” later.
Finish and sealing steps should match the over-tile system instructions; exterior durability depends on the assembly behaving as designed.
What can go wrong (and how to prevent it)
Even well-planned over-tile patio installs can fail, but the causes are usually predictable. Most problems fall into four buckets: base stability, moisture behavior, chemical/mechanical bonding errors, and flatness.
– Loose or failing base beneath: If the original tile isn’t firmly bonded, anything installed over it will likely fail too—fix the substrate first. Replacing a handful of bad tiles costs far less than replacing a cracked top layer later.
– Trapped moisture: Waterproofing the wrong way can lead to freeze/thaw damage, mold, or bond failure. Exterior assemblies must either drain safely or be engineered to tolerate moisture without trapping it.
– Incorrect bonding or missing primer: Many over-tile failures come from skipping required primers, using the wrong mortar, or applying over dust/remaining sealers. Tile surfaces can look clean while remaining chemically hostile to adhesives.
– Uneven substrate: Bumps and dips can cause cracking or rocking—flatness matters more than many people expect. A bonded finish over a “mostly level” tile patio often fails at the high spots first.
Practical prevention checklist (what to double-check before you commit):
– Tile passes tap test everywhere you’ll cover.
– You can achieve the target slope without creating pooling.
– Your selected membrane/base is approved for “over existing exterior tile.”
– You can meet the assembly’s flatness requirements, especially at transitions (doorways, steps, edges).
Verdict / tip: Do this only when the tile is stable
Installing over tile patio floors can be a smart shortcut when the existing tile is solid, reasonably flat, and your chosen over-tile system is specifically approved for exterior use. Skip this approach (or be prepared to remove tile) if you find widespread loose tiles, major lifting, severe rocking, or drainage problems that pooling will worsen.
[ADD: If you want, add a short note here about which patio finish you’re installing—pavers, deck tiles, or bonded flooring—so readers can match the steps to their exact system.] And if your goal includes freeze-thaw durability, prioritize water management first; bond and leveling matter, but they don’t fix water trapped by the wrong build-up.
Quick checklist (scan/save)
– [ ] Tile passes tap test (no hollow/loose tiles)
– [ ] Cracks/lippage addressed (patched and made as flat as possible)
– [ ] Patio slope/drainage verified (no standing water issues)
– [ ] Surface cleaned and prepped per system instructions (including primer/roughening needs)
– [ ] Over-tile membrane/base chosen and rated for exterior + tile substrate
– [ ] Layout dry-fit done; correct spacing and edge treatment planned
– [ ] Build-up installed in correct order; cure time followed
– [ ] Sealing/finishing done only if the system calls for it
FAQ
Can I install new patio flooring directly over existing tile?
Often you can only if the tile is stable and your new system is explicitly rated for over-tile installation. If the tile is loose, cracked, or uneven, you’ll need repairs or removal before proceeding.
Do I need to remove the old tile first?
Not always. If the tile is firmly bonded and you can prep it to the requirements of your chosen system, removal may be unnecessary—but partial removal/repair is common when a few tiles fail.
What’s the most common reason over-tile patio installs fail?
Moisture issues and bond failures from inadequate cleaning/prep or using incompatible products. Another frequent cause is installing over a substrate that’s not level enough.
Should I waterproof the tile before installing?
It depends on the system you’re using and how it manages water. Some assemblies are designed to allow drainage rather than trapping moisture—always follow the manufacturer’s exterior instructions.
Is an over-tile install safe in freeze-thaw climates?
It can be, but only when the materials and water-management approach are appropriate for freeze/thaw conditions. If you’re seeing pooling or weak bonding in the base, that’s a strong sign to reconsider.
Sources
– [ADD: Manufacturer installation instructions/spec sheets for the specific over-tile system you plan to use (membrane/base/mortar/primer).]
– [ADD: Manufacturer guidance for exterior tile substrate preparation (cleaning/priming requirements and compatibility statements).]
– U.S. Geological Survey — information on water expansion during freezing. (U.S. Geological Survey)
– [ADD: Technical guidance from relevant building material standards bodies (e.g., TCNA, ANSI, ASTM) if you use it to justify steps.]
Frequently Asked Questions
How do I install over tile patio floors without removing the existing tiles?
You can install a new patio surface over tile if the existing tiles are well-bonded, flat, and stable—start by checking for loose or cracked tiles and fixing them first. Clean thoroughly to remove dirt and sheen, then use a suitable tile-to-substrate bonding primer or thin-set adhesive meant for exterior use. For many systems, a cementitious bonding layer or backer board/uncoupling membrane is installed to create a consistent base before laying your new exterior patio flooring. Always follow the manufacturer’s instructions for outdoor conditions, freeze-thaw climates, and required thicknesses.
What is the best method to prepare tile patio floors before installing new flooring?
Proper preparation is the key to avoiding cracks, hollow spots, and delamination. Start with deep cleaning (pressure wash if appropriate), then lightly grind or scuff-sand glossy tiles so the bonding layer can grip the surface. Use a patching compound to fill grout lines or uneven areas, and level any high/low spots to meet the minimum flatness requirements of your chosen installation method. Finally, confirm drainage and slope are adequate so water won’t pool under the new patio surface.
Which outdoor flooring materials work best for installation over existing tile patios?
Some of the most common options include outdoor porcelain tile, stone pavers installed over an appropriate leveling and bonding system, and certain types of vinyl or composite decking systems that can be installed over prepared surfaces. Many homeowners choose porcelain tile because it’s durable, water-resistant, and compatible with exterior thin-set and membranes when installed correctly. If you’re installing pavers, look for systems designed for “over existing slabs” and ensure you have a stable base with the right underlayment. The best choice depends on whether you’re bonding directly, using an uncoupling membrane, or installing a dry-set/paver grid system.
Why do my patio tiles crack or lift when installing over old tile, and how can I prevent it?
Cracking and lifting usually happen when the old tile layer is unstable, the surface wasn’t properly roughened, or the wrong adhesive system was used for outdoor freeze-thaw cycles. Installing without a bonding primer, leveling compound, or exterior-rated thin-set can also lead to poor adhesion and trapped moisture. To prevent problems, repair loose tiles, create a consistent flat base, and use an exterior-approved thin-set or membrane system that’s rated for wet and temperature changes. Proper expansion joints and allowing movement at edges and transitions are also critical for long-term performance.
How do I handle slopes, drainage, and expansion joints when installing over tile patio floors?
Outdoor patio floors must manage water flow, so verify that your existing tile surface maintains the correct slope away from the house and toward drains or landscaping. If needed, you’ll use a leveling or patching system designed for exterior use to achieve the required fall before setting new materials. Include expansion joints at fixed boundaries (like where the patio meets a wall, posts, or the house) and follow the flooring manufacturer’s guidance for joint spacing. These steps help prevent water infiltration and reduce cracking from thermal expansion and contraction.
📅 Last Updated: October 12, 2026 | Topic: How to install over tile patio floors? | Content verified for accuracy and freshness.
References
- Google Scholar Google Scholar
https://scholar.google.com/scholar?q=installing+tile+over+existing+tile+thinset+mortar - Google Scholar Google Scholar
https://scholar.google.com/scholar?q=exterior+patio+tile+installation+over+existing+tile+waterproofing - Google Scholar Google Scholar
https://scholar.google.com/scholar?q=tile+over+tile+floor+prep+mechanical+bond+surface+profiling - https://en.wikipedia.org/wiki/Tile_floor
- https://en.wikipedia.org/wiki/Ceramic_tile
- https://en.wikipedia.org/wiki/Thinset_mortar
- https://en.wikipedia.org/wiki/Grout
- https://en.wikipedia.org/wiki/Cement_board
- Backer board
https://en.wikipedia.org/wiki/Backer_board - Waterproofing
https://en.wikipedia.org/wiki/Waterproofing