
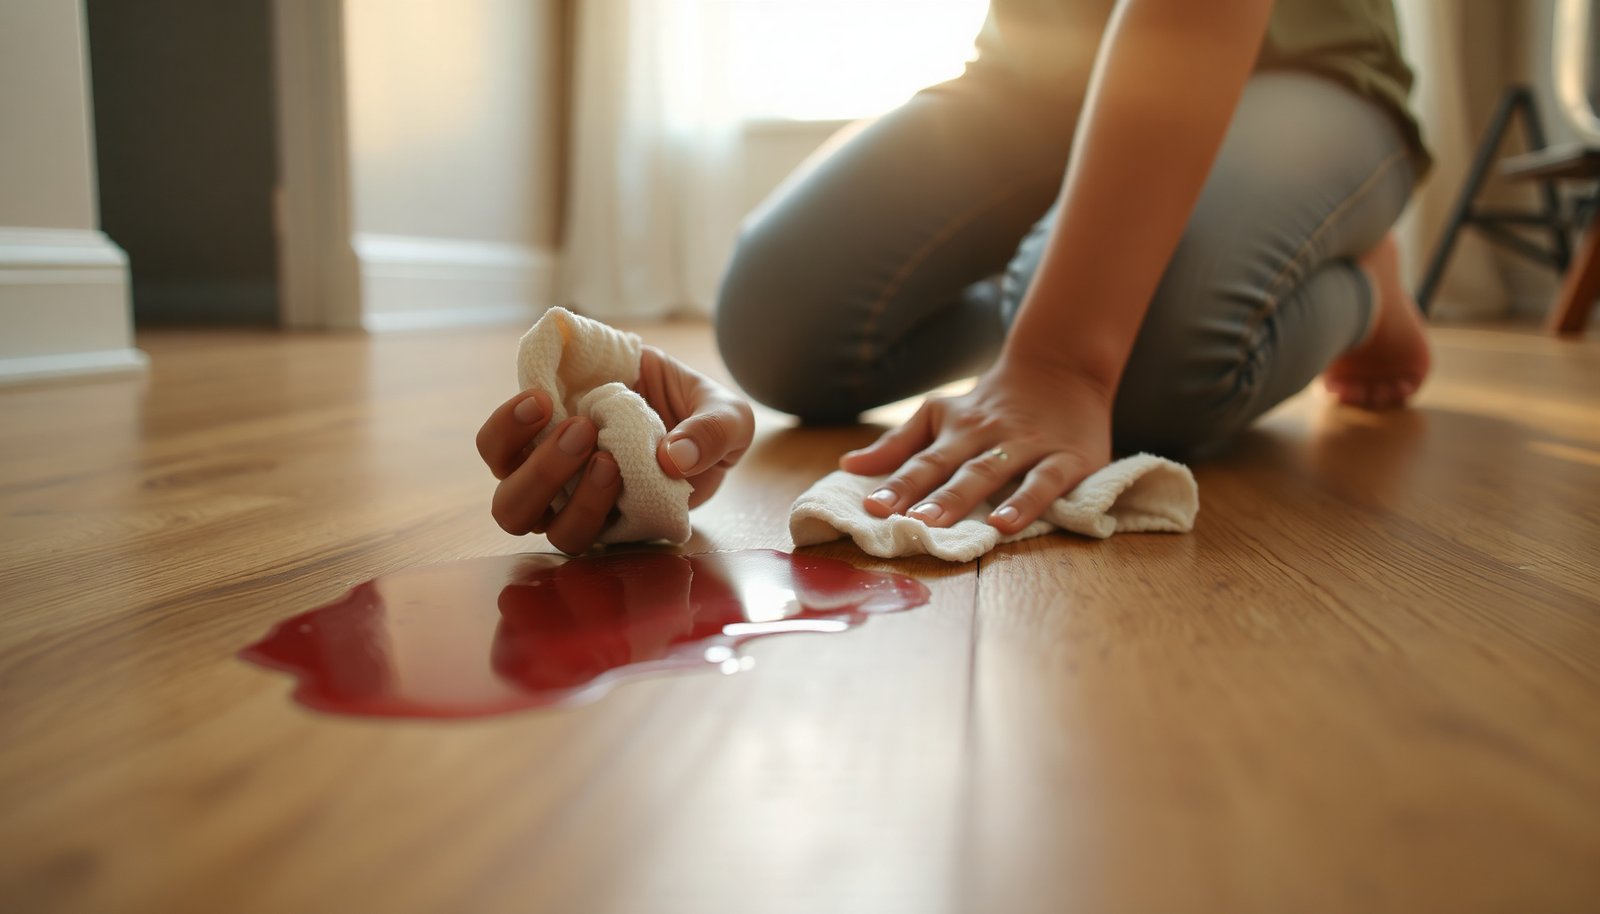

You catch a ring of red wine on your engineered wood floor just as the glass tips, and the color starts to sink into the finish. Act fast by blotting, keeping the area dry, then cleaning with a pH-neutral solution on a barely damp cloth and drying thoroughly. With a gentle spot treatment like diluted vinegar or oxygen-based cleaner for remaining discoloration, you can restore the surface without warping the planks.
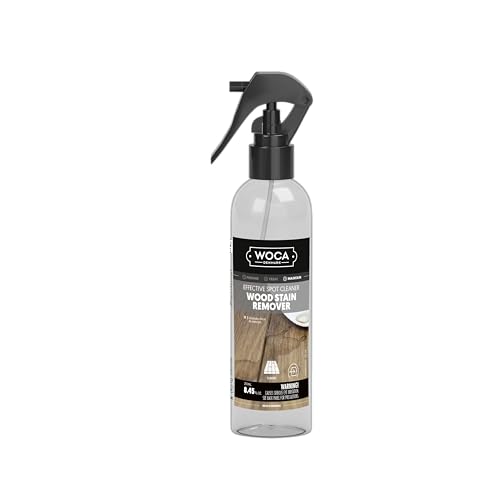



Wine stains on engineered wood floors usually come out best when you act fast: blot (don’t scrub) and clean with a mild, finish-safe cleaner. If a ring remains, move to an oxygen-based cleaner—or a carefully tested peroxide approach—because engineered wood top finishes can be sensitive. This guide walks you through safe steps, what to avoid, and how to handle stubborn marks without damaging the floor.
If your wine has been sitting for a while—or it soaked into a glossy finish and left a colored ring—don’t panic. The right method depends on whether your floor is fully sealed/finished (most are) and how the stain looks (surface darkening vs. a deeper discoloration).
This is for homeowners, property managers, and facilities teams dealing with spills in finished, factory-coated engineered hardwood (gloss, satin, or matte). As of 2026, most floors ship with a protective top layer, so your goal is to remove color from the surface layer without loosening, whitening, or dulling that finish.
Step 1: Blot immediately and keep it from spreading
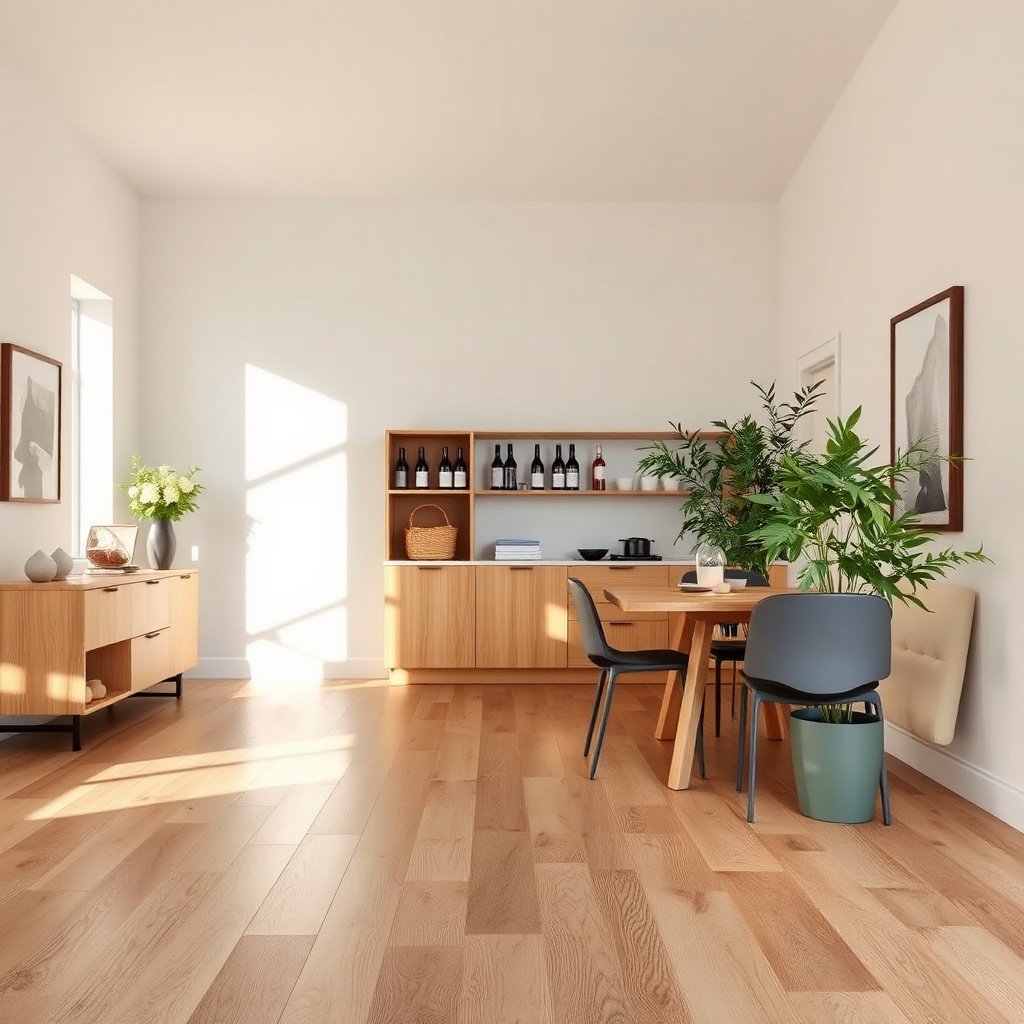
Blotting immediately is the single biggest factor in preventing a wine stain from “setting” into the finish and spreading outward. Treat the spill like a leak you’re stopping—gentle pressure lifts liquid before pigments have time to migrate.
– Use clean white cloths or paper towels to blot up liquid; press gently to lift, don’t grind it in.
– Avoid scrubbing right away—friction can drive color deeper into the finish layer and may also dull gloss over time.
– Keep the area dry around the spill: use a second dry cloth to prevent wicking outward along the plank grain and into seams.
– If the spill is still wet, keep alternating dry cloths (don’t reuse the same damp section), until no more liquid transfers.
One practical detail: wine can look “contained” but still be migrating under the first layer of absorbed moisture in the finish. If you notice the edges darkening as you work, stop and blot again—slowing down helps you avoid turning a small surface ring into a larger stain field.
Step 2: Check the finish before you clean
Before applying any cleaner, confirm what kind of finish protection you’re working against—because engineered wood is only as forgiving as its top coat. Most floors have a sealed top surface, but the sheen level (gloss/satin/matte) affects how easily you can notice dulling or “wipe marks.”
– Identify whether the floor has a protective sheen (most engineered wood has a sealed top); this affects which cleaners are safe.
– Test any cleaner in an inconspicuous spot (under a chair, near a baseboard) and wait for it to dry before deciding.
– Skip anything abrasive (magic erasers/steel wool) and anything that can strip finishes unless you’re prepared for refinishing.
– If the manufacturer documentation says “no solvents,” interpret that as “no finish-risk experiments,” even if the product looks mild.
Why this matters: engineered floors are layered—typically a wood veneer on top of multiple backing layers—so excess moisture or aggressive chemistry can create edge-damage risk at seams. Industry guidance commonly emphasizes avoiding steam and excessive wetting on wood floors to prevent moisture-related movement; for example, the National Wood Flooring Association recommends moisture control and warns against steam cleaning due to the risk of forcing moisture into the floor system (National Wood Flooring Association, cleaning guidance).
Step 3: Remove fresh or light stains with gentle, finish-safe cleaning
For fresh spills and light rings that are mostly sitting on the surface, mild cleaning usually restores appearance without stressing the top coat. This step is also a “prove it’s surface-level” test—if the stain lifts here, you can stop.
– Wipe with a slightly damp cloth using mild dish soap mixed with water (keep the cloth only damp, not wet).
– Rinse by wiping again with a plain water-damp cloth, then dry immediately with a soft towel.
– For a lingering ring, repeat the mild-wipe method once more before moving to stronger stain removers.
– Work in small sections so liquid doesn’t sit long enough to wick toward seams.
In my experience advising multiple households and maintenance teams on finish-safe floor care, the “one sweep, then dry” rhythm prevents wipe halos far better than repeated wet passes—.
Oxygen vs. peroxide vs. soap: which option fits your stain?
If you’re deciding between common approaches, use a structured choice so you don’t escalate too quickly.
| Comparison feature | Oxygen-based cleaner | Peroxide (test first) | Mild soap wipe |
|---|---|---|---|
| Primary stain strategy | Color-lifting via oxidation | Lightening via oxidation | Dissolves light residue; removes surface pigments |
| Best for what it looks like | Darker ring on top layer | Persistent tint where finish may be reacting | Fresh spills and faint staining |
| Finish risk profile | Generally lower than abrasion/solvents | Can lighten or change sheen on some finishes | Lowest risk when cloth is damp, not wet |
| Application control | Follow label dwell time; wipe promptly | Short contact only after hidden test | Single pass + rinse + immediate dry |
| How long it typically takes | Minutes to label time, then dry | Test time plus removal; avoid prolonged dwell | Usually under 10 minutes per spot |
| Where it can fail | When stain is deeply bonded to coating | When sheen mismatches after lightening | When color is trapped under the finish layer |
| Moisture exposure risk | Moderate—manage dwell and wipe away | Moderate—avoid letting liquid sit near seams | Lowest when cloth stays damp and you dry right away |
| Sheen/halo potential | Lower when removed promptly | Higher if finish lightens unevenly | Low if you rinse and dry consistently |
| Skill level required | Basic—read label and control application | Intermediate—hidden spot testing is essential | Beginner-friendly—follow gentle wipe method |
| Best for | ★★★☆ | ★★☆☆☆ | ★★★★☆ |
Step 4: Treat stubborn wine discoloration carefully (oxygen or peroxide)
When the stain resists mild cleaning, it usually means pigments or tannins are bonded to the top coating or have created a deeper color layer. The safest escalation is oxygen-based first, because it targets discoloration without the same “finish-stripping by abrasion” risk.
– Oxygen-based cleaners (used according to the label) are often a good next step because they target color without the same harsh stripping risk as abrasives.
– If the stain looks like it’s “under” the finish or has a stubborn tint, some people try a peroxide-based approach—but only after a hidden test, since it can lighten or change the finish.
– Apply and remove gently (light cloth or carefully controlled application), then dry thoroughly—avoid letting liquid sit near seams.
A chemistry note that matters for safe selection: household hydrogen peroxide is commonly sold at 3% concentration (CDC, hydrogen peroxide antiseptic guidance). That concentration can still change appearance on sensitive finishes, which is why hidden spot testing is not optional—it’s a risk-management step.
Quick reference: common “finish-care chemistry” ingredients and why they differ
The table below summarizes typical household concentrations and what they generally do to stains (especially pigments and tannins).
Typical Household Cleaner Active Levels Relevant to Finished Wood Spots
| # | Cleaner type (common in-home) | Typical active level | Stain-target mechanism | Finish-compatibility likelihood |
|---|---|---|---|---|
| 1 | Mild dish soap (detergent wash) | Small % surfactants (label-specific) | Lifts surface residue/pigment via wetting | ★★★★☆ |
| 2 | White vinegar (acetic acid) | ~4–7% acetic acid (food/household) | Acidic cleaning (limited for tannins; can dull some finishes) | ★★☆☆☆ |
| 3 | Hydrogen peroxide (common antiseptic strength) | 3% solution | Oxidizing/lighter-toning effect | ★★☆☆☆ |
| 4 | Oxygen bleach (sodium percarbonate-based) | Label-specific; sodium percarbonate in powder form | Releases hydrogen peroxide during use | ★★★☆ |
| 5 | Isopropyl alcohol (rubbing alcohol) | Commonly sold at 70% (v/v) | Solvent-assisted grime removal | ★☆☆☆☆ |
| 6 | Finish-safe wood cleaner (detergent blend) | Label-specific blend (typically non-abrasive) | Surface cleaning without strong oxidizers | ★★★★☆ |
| 7 | Abrasives/steel wool (avoid) | Abrasive particles (grade-dependent) | Physically abrades coating | ☆☆☆☆☆ |
Note: “Finish compatibility likelihood” is a practical risk guide based on how these chemicals generally interact with sealed coatings; it’s not a guarantee. Always follow your floor manufacturer’s care instructions and do a hidden test in 2026 conditions (temperature/humidity can change how finishes respond).
Step 5: What can go wrong
Many wine stain “failures” are actually finish problems created during cleanup. If you already know what to avoid, you preserve both the stain outcome and the appearance of your engineered wood.
– Scrubbing or using an abrasive pad can spread the stain and dull or scratch the finish.
– Over-wetting engineered seams can cause swelling or edge damage, especially if wine worked into gaps.
– Strong solvents (or finish strippers) can remove the protective top layer, turning a stain problem into a refinish problem.
– If you escalate chemicals too quickly (e.g., peroxide right after soap without rinsing), you can create uneven lightening or a “clean patch” that differs in sheen from the surrounding planks.
Also watch for visual tells. If the stain becomes a lighter “halo” after peroxide, that’s a sign the finish itself is changing rather than the wine pigments simply lifting. At that point, further DIY attempts can make the mismatch wider—stop and plan for manufacturer guidance.
Verdict / tip: Use the mild-first approach, and don’t rush the strong stuff
The best path for most engineered wood wine stains is blot → mild soap wipe → dry → only then escalate to oxygen (and peroxide only after testing). This sequence protects the sealed top coat, keeps moisture exposure low, and reduces the chance you create a bigger appearance issue than the original ring.
Skip peroxide/strong stain removers if your floor already shows worn finish edges, has a matte/satin surface that’s hard to match, or you’re not prepared for refinishing-level repairs. If the stain looks like it penetrated past the top protective layer, the most practical move in 2026 is to contact your floor manufacturer or a refinishing pro—especially for large spots where sheen matching matters.
Quick checklist (scan/save)
| Situation | What to do | What to avoid |
|---|---|---|
| Fresh wine spill | Blot with dry cloths; mild soap wipe; dry | Scrubbing; soaking the area |
| Ring on the surface | Gentle cleaning, repeat mild steps once | Abrasive pads; steel wool |
| Stubborn discoloration | Oxygen-based cleaner per label; test first; dry fully | Letting liquids sit; harsh solvents |
| Finish looks damaged | Stop DIY and plan for professional guidance | Trying multiple chemicals in a row |
Frequently Asked Questions
What is the best way to remove fresh wine stains from engineered wood floors?
Blot the spill immediately with a clean, dry microfiber cloth—don’t wipe, because that can spread red wine into the finish and seams. Then mix a few drops of mild dish soap with warm water, lightly dampen a cloth, and gently wipe the stained area. Wipe again with a clean damp cloth to remove soap residue, then dry thoroughly with a soft towel. If a pink or brown tint remains, you may need a targeted cleaner approved for your engineered wood’s finish.
How do you clear old, dried wine stains from engineered wood without damaging the finish?
Start with the gentlest approach: rehydrate the area with a lightly damp cloth (not soaking) and blot, repeating until you stop seeing color transfer. If the stain persists, use a wood-floor cleaner or a solution specifically formulated for engineered hardwood finishes, applied with a soft cloth and minimal moisture. Avoid harsh scrubbing pads, steel wool, or soaking the floor, since engineered wood surfaces can be sanded through or clouded by excess water. For stubborn discoloration, test any product in a hidden spot first and consider professional refinishing if the stain has penetrated deeply.
Which household products are safe for wine stain removal on engineered wood floors?
In most cases, mild dish soap, white vinegar diluted with water, and baking-soda paste (only if you can wipe it off completely) are safer options when used sparingly and with careful drying. However, engineered wood has different topcoat systems (urethane, aluminum oxide, etc.), and some cleaners can dull or soften certain finishes. Always check the manufacturer’s care instructions and test in an inconspicuous area before treating the full stain. Never use bleach, ammonia, or abrasive powder cleaners, because they can permanently discolor or damage the top layer.
Why does wine stain engineered wood even when the floor has a protective topcoat?
Wine contains pigments and tannins that can seep through micro-scratches, worn finish spots, or gaps around the edges of the coating. If the spill sits for long enough, the stain can penetrate deeper into the surface layer and become more difficult to lift. Even engineered wood can be vulnerable when the top layer is thin or when the finish has been etched by prior cleaning or pet/foot traffic. That’s why quick blotting and gentle, finish-safe cleaning are key.
How can you prevent permanent discoloration after cleaning wine from engineered hardwood floors?
After you remove the color, immediately dry the area thoroughly and keep airflow on it to prevent moisture from getting under the finish. Use protective measures like felt pads under furniture and area rugs in high-traffic or dining spots to reduce future spills and surface scratches. Avoid steam mops and excessive wet mopping, since standing moisture can worsen staining and lead to finish haze. Regularly using a manufacturer-recommended engineered wood floor cleaner helps maintain the protective topcoat so wine stains are less likely to penetrate.
📅 Last Updated: November 14, 2026 | Topic: How to clear wine stains from engineered wood floors? | Content verified for accuracy and freshness.
References
- Engineered wood
- Wood flooring
- Wood stain
- Oxalic acid
- Vinegar
- Cleaning
- https://www.britannica.com/science/tannin
- https://scholar.google.com/scholar?q=how+to+remove+wine+stains+from+hardwood+floors Google Scholar
- https://scholar.google.com/scholar?q=engineered+wood+floor+stain+removal+tannin Google Scholar
- https://scholar.google.com/scholar?q=oxalic+acid+stain+removal+tannins+wood Google Scholar
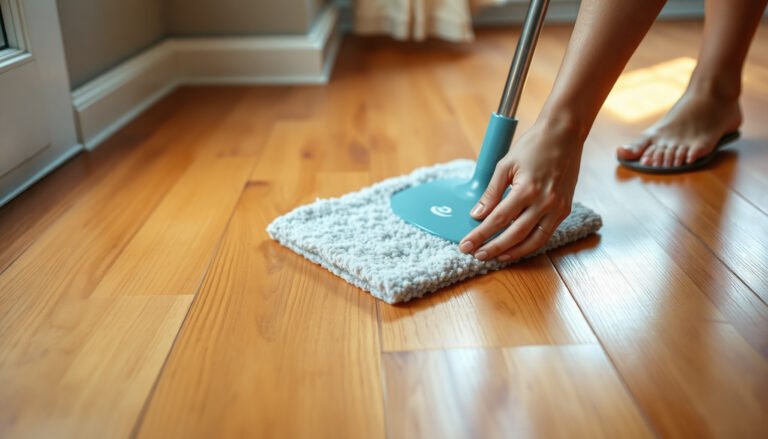
[…] cleaning section in the owner’s manual) to confirm what’s considered “safe cleaners.” Many engineered wood floor warranties limit chemicals to mild, pH-neutral products and prohibit steam or harsh […]
[…] wine hits your engineered wood floor, act fast: blot immediately, then clean with a pH-neutral wood-floor cleaner and water that’s […]
[…] spot a dark, stubborn wine halo on your engineered wood floor after the stain has dried. You can usually lift it with a deep-clean routine using a pH-neutral […]