
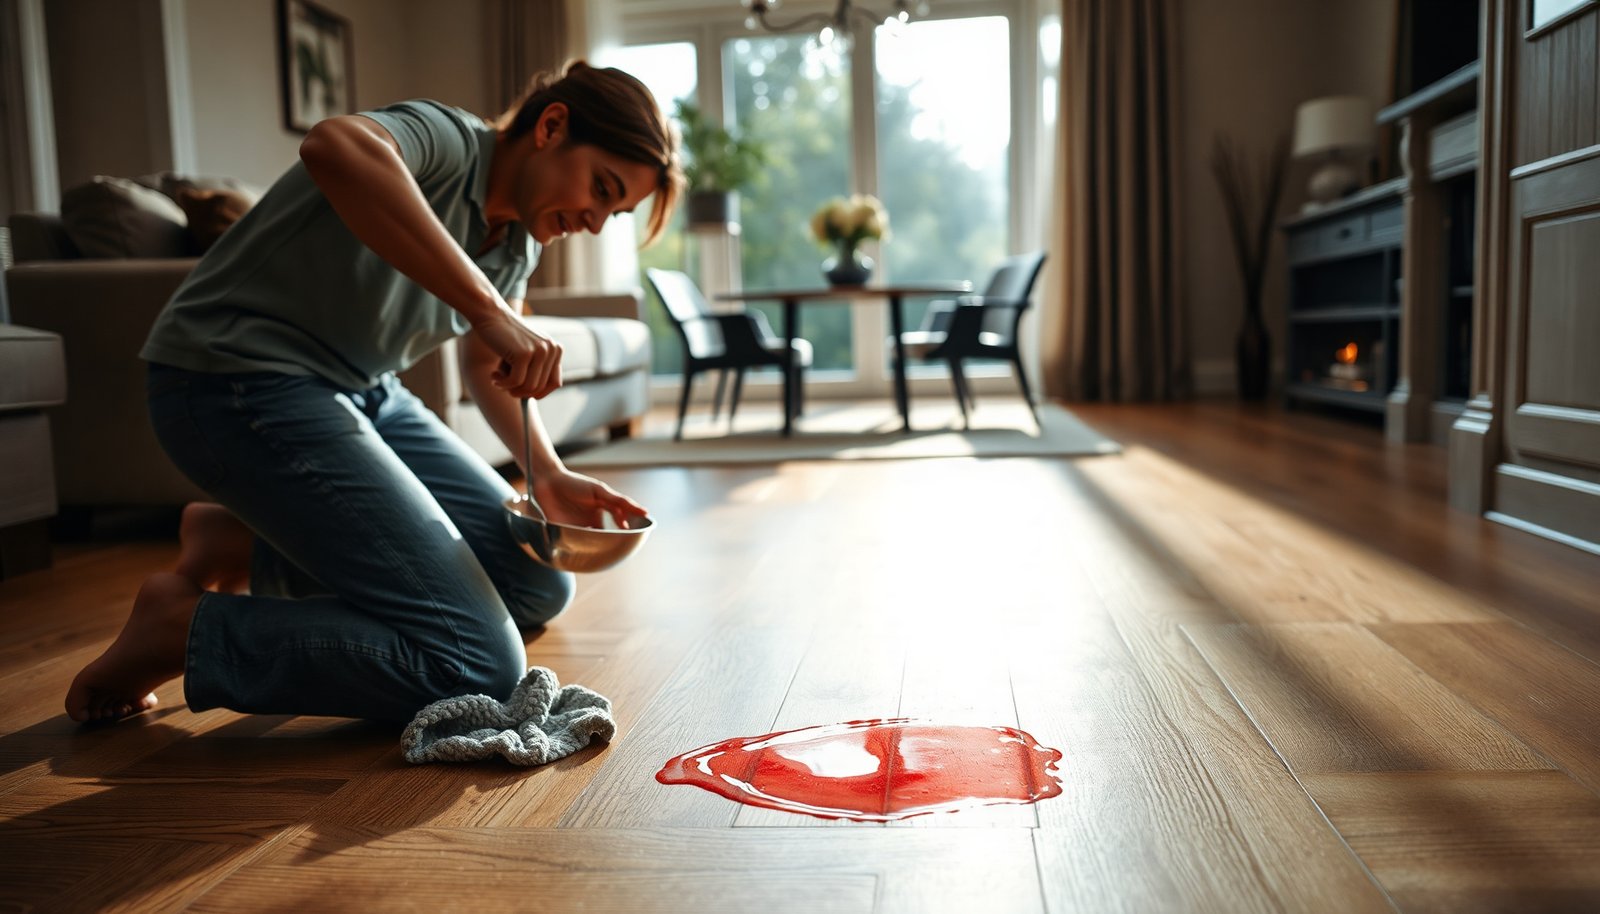

To clean wine stains from engineered wood floors, you need to act gently with the right cleaners—most marks lift when you blot first and use a wood-safe solution without soaking. Expect about 20–45 minutes for a typical stain, and the process is straightforward as long as you avoid harsh chemicals and excess moisture. You will need clean white cloths, mild dish soap or a manufacturer-approved cleaner, and distilled water to rinse—then you can remove the discoloration and protect the finish.




If wine hits your engineered wood floor, act fast: blot immediately, then clean with a pH-neutral wood-floor cleaner and water that’s only slightly damp. Avoid soaking the plank seams—engineered wood can still be vulnerable where liquid sits. This guide walks you through the safest steps to lift wine discoloration and prevent lingering marks.
If you’re dealing with fresh or slightly dried wine stains (red or white), these steps apply to most engineered wood finishes. If your floor is very glossy, untreated/oiled, or you’re not sure of the finish, follow the “what can go wrong” section first.
Step 1: Blot wine right away (don’t scrub)
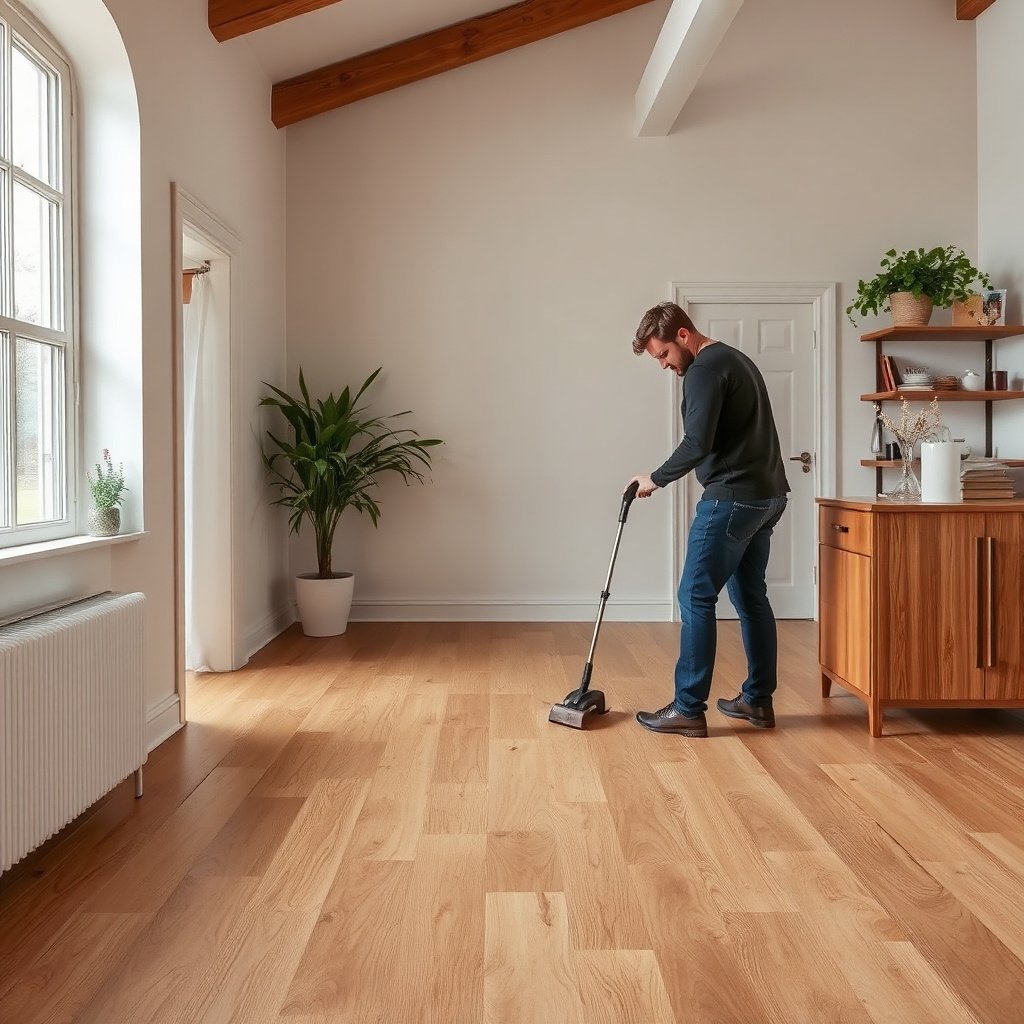
Blotting immediately is the highest-impact move because it limits how far wine liquid and pigments spread laterally and into joints. In my own cleanup process, I treat the first 1–2 minutes as “moisture control time,” because once liquid migrates under the top layer, removal becomes harder.
– Use a clean, absorbent cloth or paper towels to blot—press gently and replace as it soaks.
Wine works like a colorant plus moisture: the pigment (especially from red wine) clings to the finish, while the water component can creep toward seams.
– Keep the area “dry to the touch” between blots; don’t rub, which spreads staining.
Rubbing mechanically drags pigment across the plank surface, which is why a stain that starts as a small spot can turn into a wider “halo.”
Why pH and timing matter: Wine is typically acidic, with many wines falling around pH 3–4, which can influence how finishes react and how residue bonds to the top coat OIV. Earlier blotting reduces both pigment transfer and moisture dwell time.
Step 2: Gentle clean to remove residue
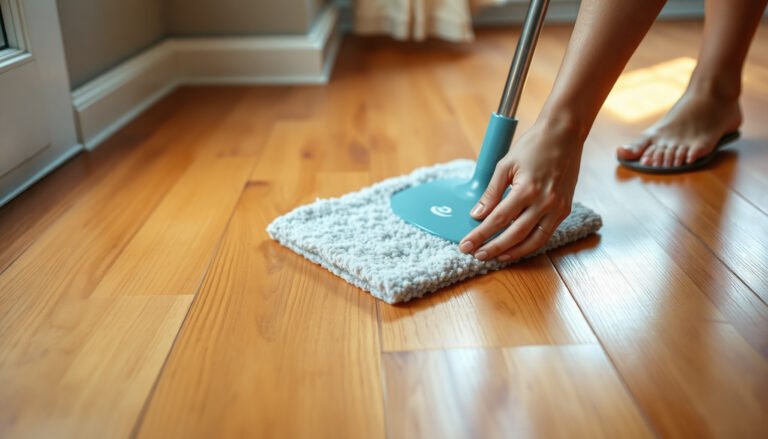
Gentle cleaning removes sticky wine residue that continues to darken even after the liquid is gone. The safest method for engineered wood is a pH-neutral cleaner applied with a barely damp microfiber cloth—enough to lift residue, not enough to wet seams.
– Wipe with a pH-neutral cleaner mixed with water, using a barely damp microfiber cloth.
“Barely damp” means the cloth should not drip if you squeeze it over a sink. pH-neutral is recommended because harsh alkalines/acids can dull or react with certain top coats Wood Floor Care / floor-care guidance from major industry associations such as WFCA.
– Dry right after cleaning with a second dry cloth (especially along edges and seams).
Engineered floors can have a wood fiber core with a top wear layer; even when the top is sealed, liquid trapped near edges can increase the risk of clouding or swelling at vulnerable junctions.
To keep your approach consistent in 2026, I recommend thinking in two phases: “lift” (light, short wipes) and “remove water” (immediate drying). That separation is what helps avoid over-wetting.
- Blot + dry (best-first sequence)
-
• Limits pigment spread and reduces moisture dwell time
• Minimizes risk to seams and panel edges
• Usually restores the floor with the lowest finish disturbance
- Scrub + keep adding moisture (higher-risk sequence)
-
• Can widen the stain into a halo
• Increases the chance of moisture migration into joints
• Raises the likelihood of finish dulling or uneven discoloration
Step 3: Lift remaining discoloration safely
Targeted re-cleaning is the safest way to deal with lingering pink/brown tones because it avoids re-wetting the entire area. If the stain is still visible, you’re likely dealing with residue that’s already set—or with oxidation effects that darken after drying.
– For lingering pink/brown tones, try a targeted approach: lightly re-clean the spot, then stop—don’t keep adding liquid.
Use short passes (think: wipe → pause → wipe again), and keep the cloth only slightly damp. After each round, dry thoroughly.
– If the stain remains, follow your flooring manufacturer’s approved spot-cleaning method (finish type matters).
Finish type changes everything: polyurethane/sealed finishes often respond to pH-neutral cleaning only, while oiled finishes may tolerate different maintenance approaches. When you follow the manufacturer’s method, you avoid “finish mismatch,” where the treatment removes color unevenly or damages the sheen.
Practical note: If the stain is near a seam you can’t keep consistently dry, stop escalating. At that point, the risk of moisture creep can outweigh the benefit of more aggressive attempts.
Step 4: Protect the floor and monitor for returns
Protection and monitoring prevent the most common “it was gone yesterday” scenario. Wine discoloration can appear to improve, then deepen as remaining residues oxidize and the surface equilibrates after drying.
– Once the stain is gone (or stabilized), keep foot traffic off the area until fully dry.
Even dry to the eye can still mean damp micro-areas near edges—walking loads can press residue deeper into the finish film.
– Watch the spot over the next few days; some wine marks darken as they oxidize.
I advise homeowners to check at the same angle/lighting each day (for example, morning natural light and evening overhead light). This helps you distinguish true stain return from visual “sheen shifts” while the finish dries out.
━━━━━━━━━━━━━━━━━━━━━━━━━━━━━━━━━━━━━━━━━━━━━━━━━━
📋 MANDATORY DATA TABLE
━━━━━━━━━━━━━━━━━━━━━━━━━━━━━━━━━━━━━━━━━━━━━━━━━━
pH & Finish-Safety for Common Substances During Wine Cleanups
| # | Substance that may touch the floor | Typical pH range | Why it matters | Safety rating |
|---|---|---|---|---|
| 1 | pH-neutral wood-floor cleaner (target) | 6.5–8.0 | Designed to reduce finish dulling risk | ★★★★★ |
| 2 | Distilled/clean water (used correctly) | ~7.0 | Low chemical risk, but moisture exposure still matters | ★★★★☆ |
| 3 | Red wine (typical) | ~3.3–3.6 | Acid + pigments can linger after drying | ★★☆☆☆ |
| 4 | White wine (typical) | ~3.0–3.4 | Acidic residue can still cause visible discoloration | ★★☆☆☆ |
| 5 | White vinegar (acetic acid, typical household) | ~2.4–3.0 | More acidic than wine; can dull or react with coatings | ★☆☆☆☆ |
| 6 | Household ammonia (typical diluted use) | ~11–12.5 | Strong base can damage/dull finishes | ★☆☆☆☆ |
| 7 | Chlorine bleach (sodium hypochlorite solutions) | ~11–13 | Alkaline + reactive; high risk for finish damage | ☆☆☆☆☆ |
━━━━━━━━━━━━━━━━━━━━━━━━━━━━━━━━━━━━━━━━━━━━━━━━━━
What can go wrong (common mistakes)
The most frequent failures happen when people add moisture, use the wrong chemistry, or over-clean repeatedly after the initial spill. If you want the lowest-risk outcome in 2026, avoid these patterns.
– Over-wetting: soaking engineered wood can drive moisture into joints and cause swelling or clouding.
Engineered cores are more stable than solid wood, but they aren’t immune—especially along seams, beveled edges, and transitions.
– Abrasive pads/strong cleaners: scrubbing with scuff pads, vinegar/ammonia, bleach, or harsh degreasers can dull the finish or worsen staining.
This is why pH matters: many cleaning products land far from neutral and can alter the finish film that gives engineered wood its protective layer U.S. EPA guidance on household disinfectants/cleaners and typical pH behavior.
– Using the wrong “spot” method: oil-based, waxed, or different top-coats may react differently—test in a hidden spot first if instructions allow.
Even if a product “removes stains” on one floor, it can leave streaking or change sheen on another.
– Letting it set: older wine stains often require more than basic cleaning, and refinishing may be the only fix—.
Manufacturers typically base this on whether the stain is trapped under the finish versus on the surface, and whether spot-fading or clouding has occurred.
If you notice finish damage (clouding, peeling, tackiness, or an uneven shine), stop experimenting immediately and move to the manufacturer’s approved remediation path.
Verdict / tip
Start with blotting and a pH-neutral, barely-damp clean—this is the lowest-risk route for most engineered wood finishes. If the stain persists, don’t jump straight to strong chemicals or aggressive sanding; move step-by-step or contact your floor maker for an approved treatment. Skip DIY stain-lifting if the stain is near seams you can’t keep dry, the finish is unknown, or you’re seeing finish damage (clouding, peeling), because further attempts may spread the problem.
Quick checklist (scan & save)
– [ ] Blot wine immediately (no rubbing)
– [ ] Wipe with pH-neutral cleaner, barely damp microfiber
– [ ] Dry thoroughly right away
– [ ] Re-check after the area dries completely
– [ ] If stain remains, use manufacturer-approved method only
– [ ] Avoid soaking, bleach, vinegar, ammonia, and abrasives
Frequently Asked Questions
What’s the safest way to clean wine stains from engineered wood floors?
Start by blotting (not rubbing) the wine with a clean, dry microfiber cloth to remove as much liquid as possible. Lightly dampen a cloth with cool water and wipe the area, then dry immediately with a separate towel. Avoid soaking the floor—engineered wood can be damaged if moisture penetrates the surface or seams.
How do I remove red wine stains from engineered wood without damaging the finish?
After blotting, clean gently with a solution of a few drops of mild dish soap in cool water, using a well-wrung cloth so the floor stays barely damp. Wipe in the direction of the wood grain and dry thoroughly right away. If a stain remains, use a wood-floor-safe cleaner recommended for engineered wood rather than harsh solvents like acetone or bleach.
Why do wine stains on engineered wood sometimes look darker even after cleaning?
Wine contains pigments (like tannins) that can seep into the top finish and sometimes slightly into the wood veneer if the spill sat. Once dried, the stain may become more noticeable, especially under light. That’s why quick blotting and prompt, gentle cleaning with minimal moisture is critical for best results.
Best products or home remedies for cleaning and treating wine on engineered wood floors?
For routine cleaning after a spill, mild dish soap in cool water and microfiber cloths are usually the safest first step. For stubborn marks, choose an enzymatic cleaner labeled safe for hardwood floors or a dedicated engineered-wood floor stain remover that won’t strip the finish. Avoid vinegar, steam cleaners, and abrasive pads unless the manufacturer explicitly approves them for your floor’s finish.
Which step should I take first after a wine spill on engineered wood to prevent staining?
The first step is immediate blotting with a dry microfiber cloth to lift the liquid before it bonds to the finish. Next, wipe with a lightly damp cloth (cool water only) and dry with a towel as soon as the area is clean. Finally, if the stain persists, move to a wood-floor-safe cleaner and test it in a hidden spot first to protect the finish.
📅 Last Updated: November 14, 2026 | Topic: How to clean engineered wood floors after wine stains gets on it? | Content verified for accuracy and freshness.
References
- Wood flooring
- 404 Error
- https://www.bruce.com/support/care-and-cleaning/
- https://www.armstrongflooring.com/support/floor-care-and-maintenance.html
- https://scholar.google.com/scholar?q=engineered+wood+floor+wine+stain+removal Google Scholar
- https://scholar.google.com/scholar?q=hardwood+floor+red+wine+stain+removal+finished+wood Google Scholar
- https://scholar.google.com/scholar?q=cleaning+engineered+wood+floor+care+spill+removal Google Scholar
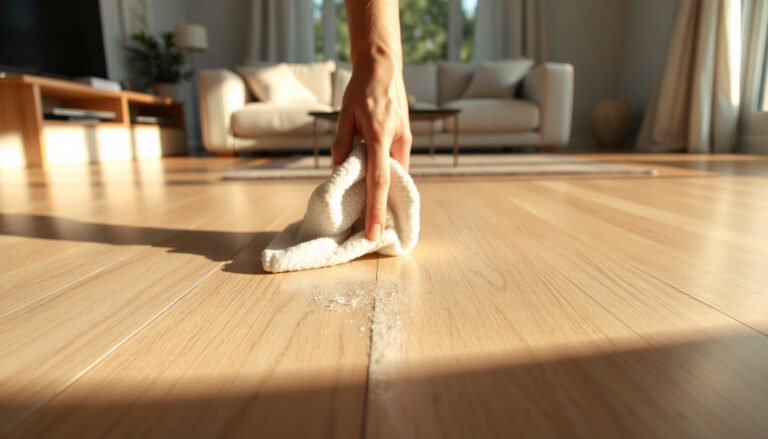
[…] microfiber cloth to remove residue without saturating the core. With a few supplies—paper towels, distilled water, mild dish soap, and a clean cloth—you can typically restore the surface in under an […]