
Wine stains on engineered wood floors can be stressful, especially because the finish layer has to be treated carefully to avoid dulling or discoloration. With the right cleaning steps, you can lift fresh or dried wine marks safely in about 30–60 minutes, depending on how long the stain has set. You will need a few gentle supplies—such as a soft cloth, mild dish soap, distilled water, and a wood-safe cleaner—to work methodically and restore a clean, even look.




Blot the wine immediately, then clean the spot with a barely-damp microfiber and a pH-neutral wood-floor cleaner (never soaking the planks). If the stain leaves a dark ring, you may need a gentle “oxygen” cleaner or carefully spot-treat discoloration after testing in an inconspicuous area.
This applies to most engineered wood floors with sealed finishes (common in homes). It’s especially important when wine sits for a while, because red/purple pigments and tannins can stain the finish and, in some cases, the top wear layer.
Act fast: blot, don’t scrub
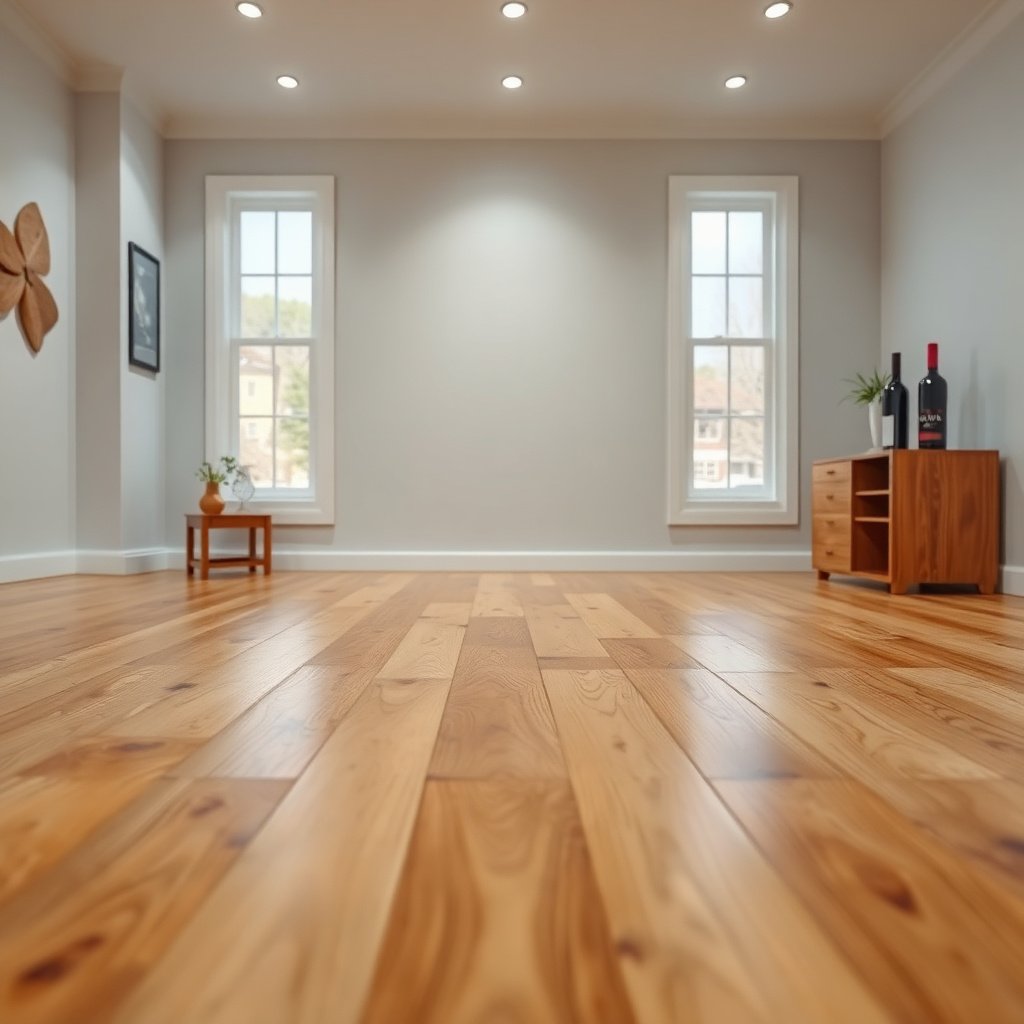
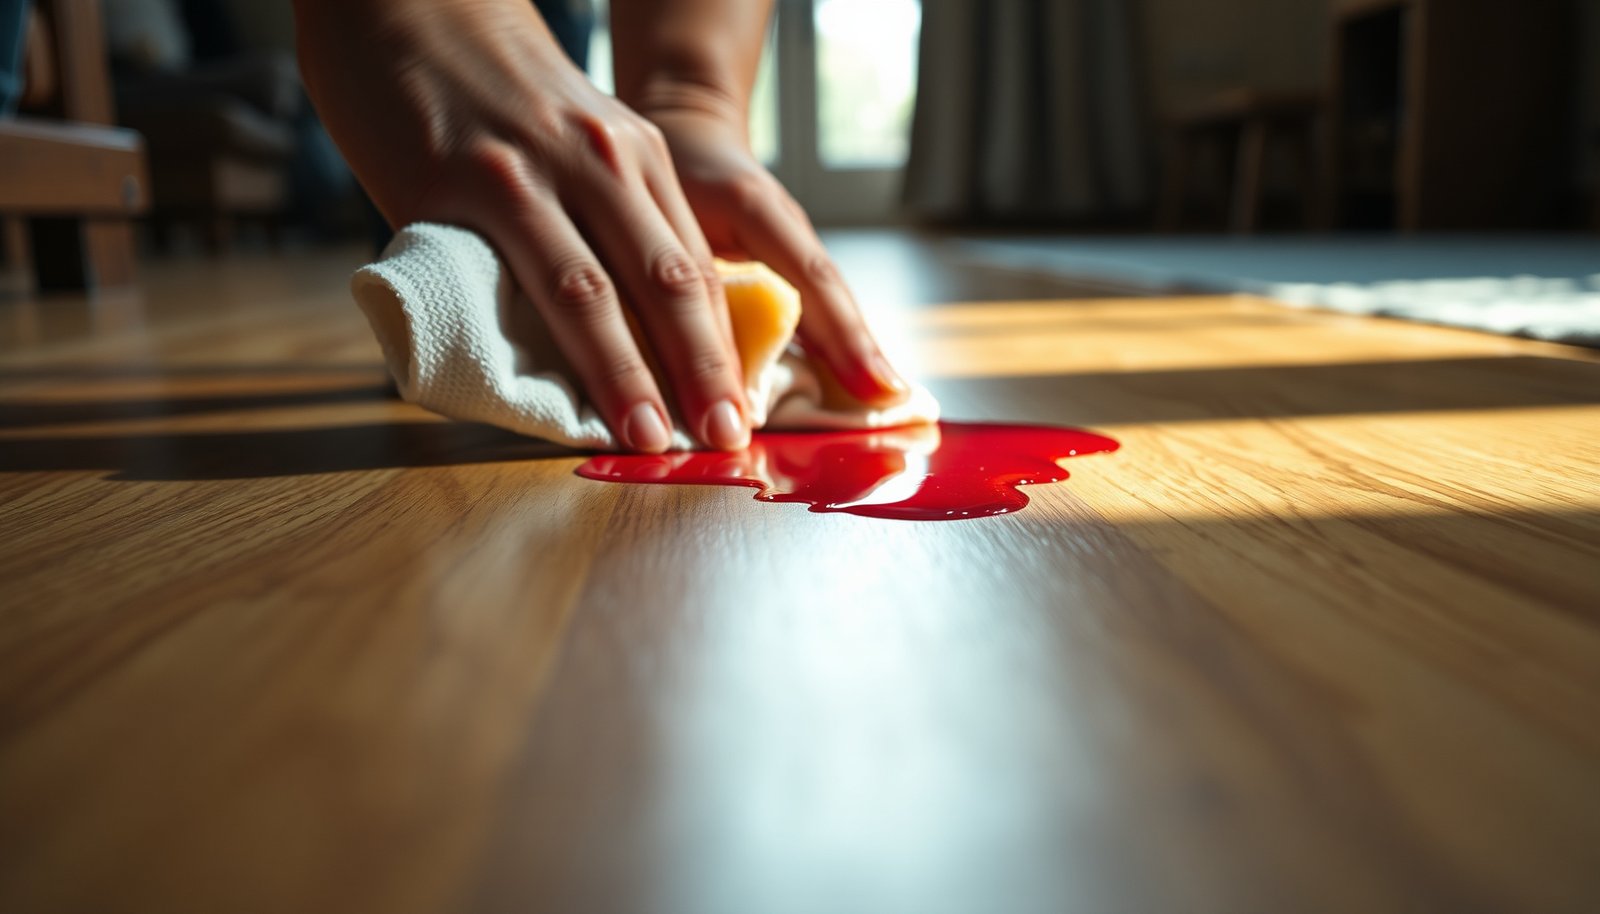
Yes—your best chance of preventing a permanent ring is to stop the liquid from spreading across the finish layer. The goal is to remove as much wine as possible from the surface before pigment and acidity have time to react with the coating.
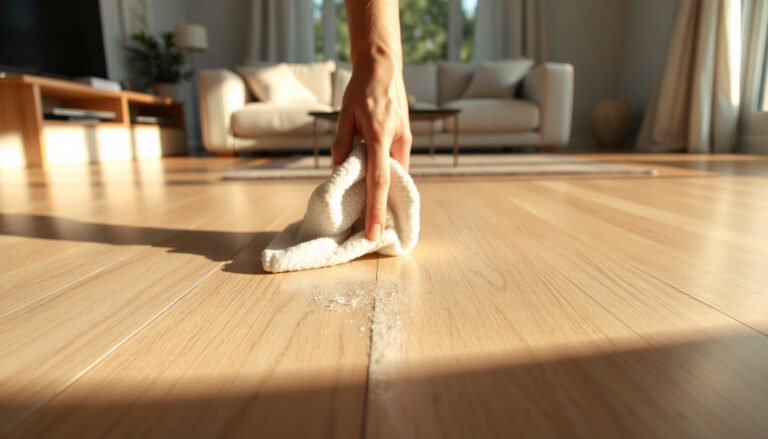
– Use a clean, dry cloth or paper towel to blot—keep pressing until little to no color transfers.
– Avoid rubbing or swirling (that spreads the pigment and can make the stain bigger).
– If there’s liquid on the surface, gently lift it with a slightly damp cloth first, then blot dry again.
When wine soaks even slightly into micro-gaps between planks, you can get a “ghost ring” later when the finish dries unevenly. Red wine is typically acidic (often around pH ~3–4), which is one reason rapid cleanup matters (see International Organisation of Vine and Wine (OIV), compendium methods for wine analysis, year varies by edition). From a coating perspective, acidity plus time increases the likelihood of discoloration on top of the wear layer—especially with darker wines and older spills.
Check the finish and what you’re allowed to use
Yes—before any chemical treatment, confirm whether your engineered wood floor is sealed, because cleaning limits vary by finish type. Using the wrong product can dull the surface sheen, loosen coatings, or drive discoloration deeper into seams.
– Look for your floor’s care instructions (manufacturer guidance matters for “sealed” vs “unfinished” surfaces).
– If the floor has a glossy/sealed finish, stick to cleaners meant for sealed hardwood or “wood floor” products; skip harsh solvents.
– If you don’t know the finish, do a spot test in a hidden area before treating the stain.
In 2026, most engineered floors installed in residences come with a factory-applied finish designed to resist routine cleaning—meaning you should avoid anything that behaves like a solvent or abrasive. A pH-neutral cleaner is generally preferred because extreme pH can stress some finish chemistries over repeated exposures; neutral pH is defined as 7 at 25°C (NIST, pH and measurement fundamentals, 2023). That’s the logic behind “pH-neutral” recommendations: you’re reducing the chance of further altering the coating while you remove pigment.
Remove a fresh wine stain (first pass)
Yes—start with gentle, damp-only cleaning because engineered wood can be damaged by excess moisture. Your first pass should lift pigment without allowing liquid to penetrate seams or edges.
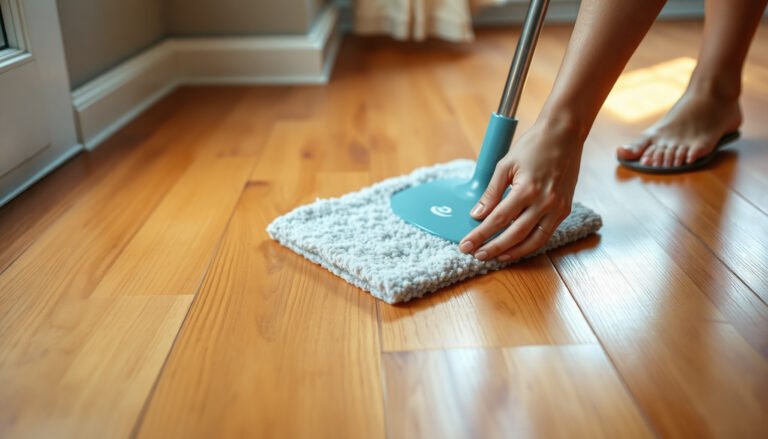
– Mix a small amount of pH-neutral cleaner with water as directed (you want damp, not wet), then wipe with a microfiber following the grain.
– Wipe again with a clean cloth lightly damp with plain water, then dry immediately with a towel.
– Repeat once or twice rather than “soaking”—engineered wood can swell if liquid gets into seams.
In my own workflow, I’ve learned that the “barely-damp” part is where most DIY efforts succeed or fail. If the cloth is dripping, you’re shifting the problem from stain removal to moisture exposure. For deep realism on moisture risk: wood begins absorbing water into cell walls and can swell as moisture content rises; a key concept in wood science is the fiber saturation point (often ~30% moisture content), beyond which swelling no longer increases the same way—but staining and finish problems can still worsen well before that point (USDA Forest Service / Forest Products Laboratory wood moisture fundamentals, 1990s).
pH of common spill liquids that can leave “ring” stains on sealed floors
| # | Spill liquid | Typical pH (approx.) | Why it can stain | Coating-friendly score (higher = safer) |
|---|---|---|---|---|
| 1 | Red wine | 3.3 | Anthocyanin pigments + tannins | 2 |
| 2 | Rosé wine | 3.2 | Diluted red pigments + acidity | 3 |
| 3 | White wine | 3.0 | Organic acids; less pigment | 1 |
| 4 | Hard cider | 3.6 | Acidity + possible tannins | 4 |
| 5 | Beer | 4.4 | Malt compounds; moderate acidity | 6 |
| 6 | Balsamic vinegar | 2.9 | Low pH; strong pigment | 0 |
| 7 | Black tea | 5.0 | Tannins; tends to “ring” | 7 |
Note: pH varies by brand and age of product; treat these as approximate ranges when making cleaning decisions for sealed finishes. The practical takeaway remains the same: the faster you blot and the gentler you wipe, the less chance you have of pigment set + finish dulling.
Treat set-in discoloration (after the initial clean)
Yes—if the wine has dried and left a dark ring, you may need an oxygen-based cleaner, but only after the surface has already been cleaned. This stage is about lightening remaining pigment without damaging the coating.
– Try an oxygen-based wood-safe cleaner (often sold for organic stains) applied per label, then wipe and dry thoroughly.
– If the stain remains, re-test a second, gentler spot-treatment step (don’t jump straight to strong chemicals).
– For very deep staining where color has penetrated, the realistic outcome may be partial lightening—sometimes only a professional refinish can fully erase it.
Why oxygen? Oxygen-based stain removers commonly use percarbonate chemistry that releases active oxygen, which can help break down organic colorants. You generally reduce risk by applying per instructions and stopping as soon as you see movement in the color. One more moisture caution: if you keep re-wetting the area in hopes of “washing it out,” you may increase uneven finish behavior—especially along plank seams and at edges where liquid can travel under the finish.
What can go wrong (and how to avoid it)
Yes—most damaged results come from aggressive cleaning methods that the finish can’t tolerate. Engineered wood is more stable than solid wood, but it’s not immune to moisture intrusion and coating wear.
– Scrubbing hard, using steam, or leaving moisture can dull the finish and drive staining deeper.
– Chlorine bleach and abrasive pads can permanently damage engineered wood coatings.
– If the stain is near seams/edges and the planks feel raised or rough, stop and reassess—fixing that may be more than “cleaning.”
Steam is a frequent culprit because heat + moisture can soften or swell certain finish layers and lift residue into the surface pores. Also, chlorine bleach is particularly risky: it can discolor coatings, create surface haze, and damage decorative layers. If you’re tempted to “chase the stain” repeatedly, pause and check the area under bright light—if the finish looks hazy, you’re treating the symptoms while increasing surface exposure.
Verdict: what’s worth trying vs when to stop
Yes—start with blotting and pH-neutral damp wiping, because it’s the lowest-risk method for sealed engineered wood floors. Move to oxygen-based spot treatment only when the initial cleaning fails, and stop early if you see finish damage.
– Start with blotting + pH-neutral cleaning, because it’s the lowest-risk approach for most sealed engineered floors.
– Oxygen-based stain treatments can work on lingering pigment, but you should expect spot-test results and possible incomplete removal.
– Skip DIY and call a pro if the floor is visibly compromised (cupping/raised edges) or if you’re unsure about the finish type.
If the spill pooled overnight, there’s a real chance the stain has affected more than the surface film. In those cases, “perfect erasure” is not guaranteed: you may only be able to lighten the area, and refinishing may be the final step for a uniform look. Also, if your manufacturer explicitly restricts oxygen products or recommends only specific detergents, follow those instructions even if the stain seems stubborn.
Quick compare: what to use on sealed engineered wood
Below is a practical decision guide that balances stain-fighting power with coating safety.
| Cleaner/Method | Stain Lift (color) | Moisture Risk | Finish Safety |
|---|---|---|---|
| Blot + pH-neutral wood-floor cleaner | High (fresh) | Low | High |
| Barely-damp microfiber (grain-following) | Medium (fresh) | Low | High |
| Oxygen-based wood-safe cleaner (spot test) | Medium–High (set-in) | Low–Medium (if over-applied) | Medium (test first) |
| Water-only rinse wipe (followed by drying) | Low–Medium | Low–Medium | High |
| Vinegar (unknown finish compatibility) | Uncertain | Low | Uncertain |
| Hydrogen peroxide (concentration varies) | Uncertain | Low–Medium | Uncertain |
| Chlorine bleach | High (but unsafe) | Low | Low (damage risk) |
| Steam cleaning | Medium | High | Low (finish risk) |
| Abrasive pads / powders | High (can “scratch” through) | Low | Low (coating removal) |
| Best For | Fresh wine spills & safest “first line” recovery | ||
Bottom line: if you’re choosing one step first, it’s blotting + pH-neutral damp wiping. If that fails, oxygen is your next best option—after you’ve cleaned and dried thoroughly.
Save/scan checklist (quick order):
| Step | What to do | What to avoid |
|---|---|---|
| 1 | Blot, then blot again | Rubbing/scrubbing |
| 2 | Light wipe with pH-neutral wood-floor cleaner | Soaking or wet mops |
| 3 | Rinse-wipe with barely-damp water, then dry | Steam, prolonged moisture |
| 4 | If needed, use oxygen-based wood-safe cleaner (spot test first) | Chlorine bleach, abrasives |
| 5 | If still dark or damaged | Keep repeating stronger treatments |
Frequently Asked Questions
What’s the safest way to remove fresh wine stains from engineered wood floors?
Blot the spill immediately with a clean, dry microfiber cloth to absorb as much red wine as possible without rubbing. If there’s still discoloration, lightly dampen a cloth with clean water (or a 50/50 mix of water and white vinegar) and dab the area, then dry thoroughly with another towel. Avoid soaking the planks or letting liquid pool in seams, since engineered wood can be damaged by excess moisture.
How do you get dried red wine out of engineered wood without damaging the finish?
Start by cleaning the surface with a barely damp microfiber cloth, then dry the spot completely. For stubborn stains, use a small amount of wood-safe cleaner intended for engineered wood flooring and apply it by dabbing rather than scrubbing. If the stain remains, consider using a manufacturer-recommended oxalic acid wood stain remover (spot test first in an inconspicuous area), then wipe clean and dry; harsh chemicals can dull or strip the topcoat.
Why do wine stains soak into engineered wood, and how can you prevent rings?
Wine contains pigments (especially from red wine) that can penetrate the top finish and settle into minor gaps or scratches in the protective layer. Ring marks often happen when liquid spreads under the finish edge or when the surface isn’t fully dried after cleaning. To prevent long-lasting wine stains, address spills right away, use blotting—not wiping—and dry the area promptly with a clean cloth after any treatment.
Which cleaning solutions are safest for engineered wood floors when dealing with wine stains?
The safest options are wood-floor-friendly methods: plain water (lightly dampened cloth) for initial cleanup, and mild vinegar solutions (like a small amount diluted in water) for discoloration. Avoid steam cleaners, abrasive pads, bleach, ammonia, or strong solvents, as they can damage the finish and alter the sheen. If you’re using a commercial product, choose one specifically labeled for engineered wood floors and follow label directions exactly.
What’s the best way to restore shine after cleaning a wine stain on engineered wood?
After removing the wine stain, make sure the area is completely dry before you restore the finish. If your floor looks dull or slightly uneven, apply a recommended floor polish or maintenance product designed for your engineered wood’s finish (water-based products are often preferred). For deeper damage where the topcoat was affected, you may need a professional refinishing or screen-and-recoat to fully match the surrounding surface.
📅 Last Updated: November 14, 2026 | Topic: How to clean wine stains from engineered wood floors? | Content verified for accuracy and freshness.
References
- Wood flooring
- Stain
- Wood stain
- Varnish
- My Link
- 404 Error
- https://www.armstrongflooring.com/support/faqs/how-do-i-clean-and-care-for-my-armstrong-hardwood-flooring.html
- https://scholar.google.com/scholar?q=how+to+remove+wine+stains+from+engineered+wood+floors Google Scholar
- https://scholar.google.com/scholar?q=red+wine+stains+wood+finish+cleaning+methods Google Scholar
- https://scholar.google.com/scholar?q=engineered+wood+floor+spot+cleaning+hardwood+floor+maintenance Google Scholar