
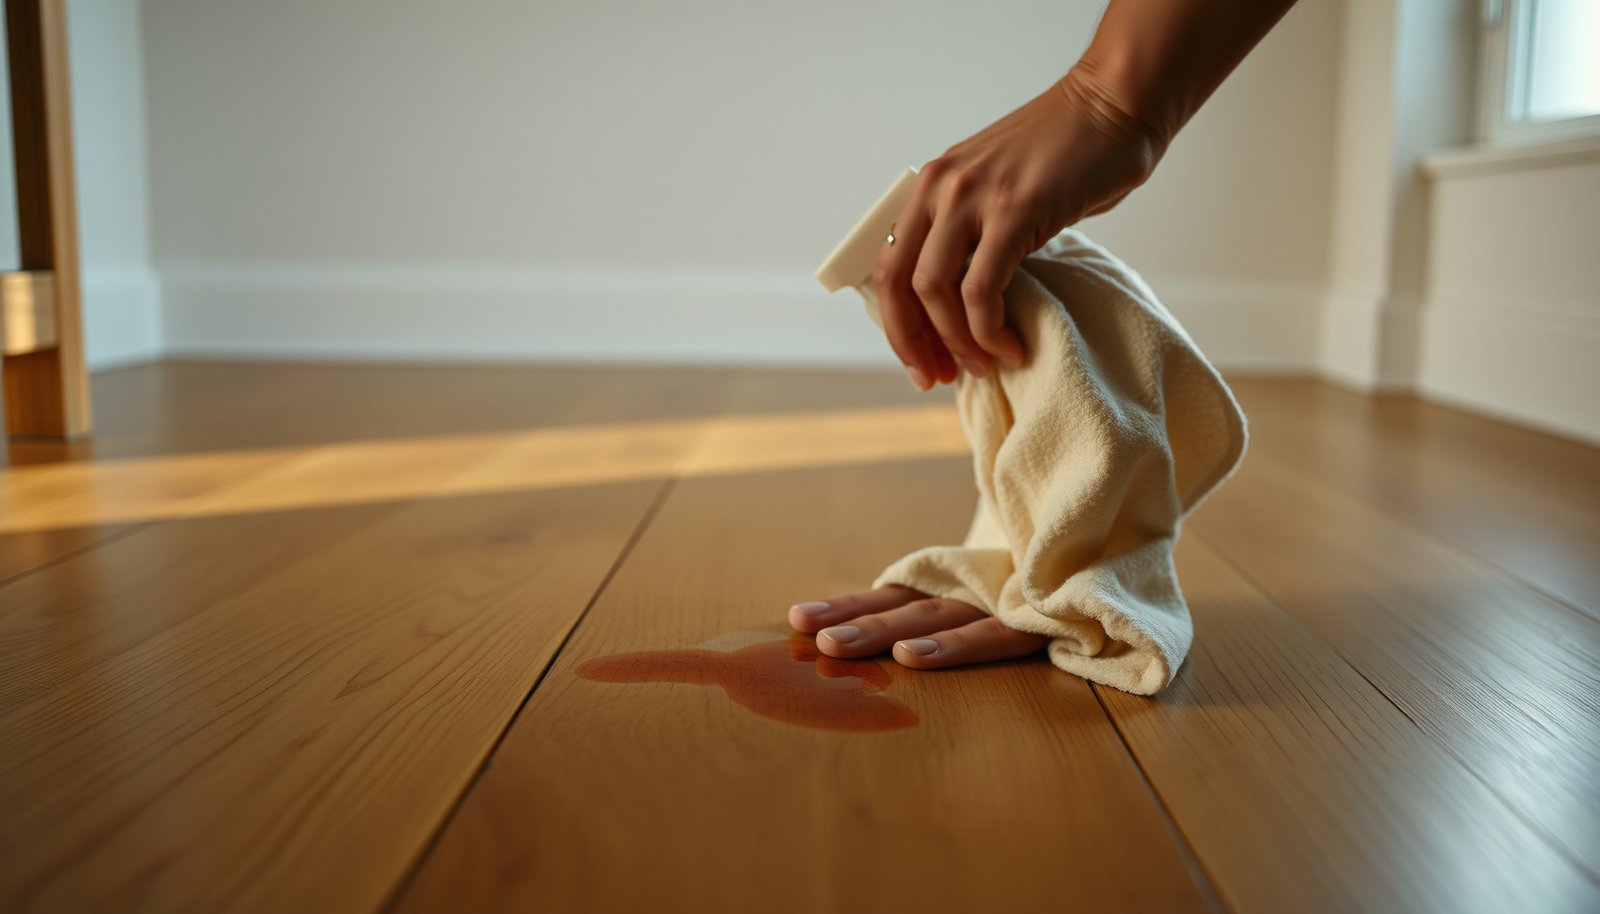

You notice a dull, sticky ring where a juice glass leaked onto your engineered wood floor. The fix is usually straightforward: you’ll blot, clean with a pH-neutral solution, then dry thoroughly to protect the top layer. Gather microfiber cloths, distilled water, and a gentle wood-safe cleaner, and plan for about 20 minutes of careful work.




If your engineered wood has a sealed top layer (most do), you can usually remove fresh juice with low-moisture cleaning. If the stain has sat for a while or you’re seeing a dark ring, the safest approach in 2026 is to move from mild to targeted treatments while testing first in an inconspicuous spot.
Start with the safest first steps (before you use any cleaner)
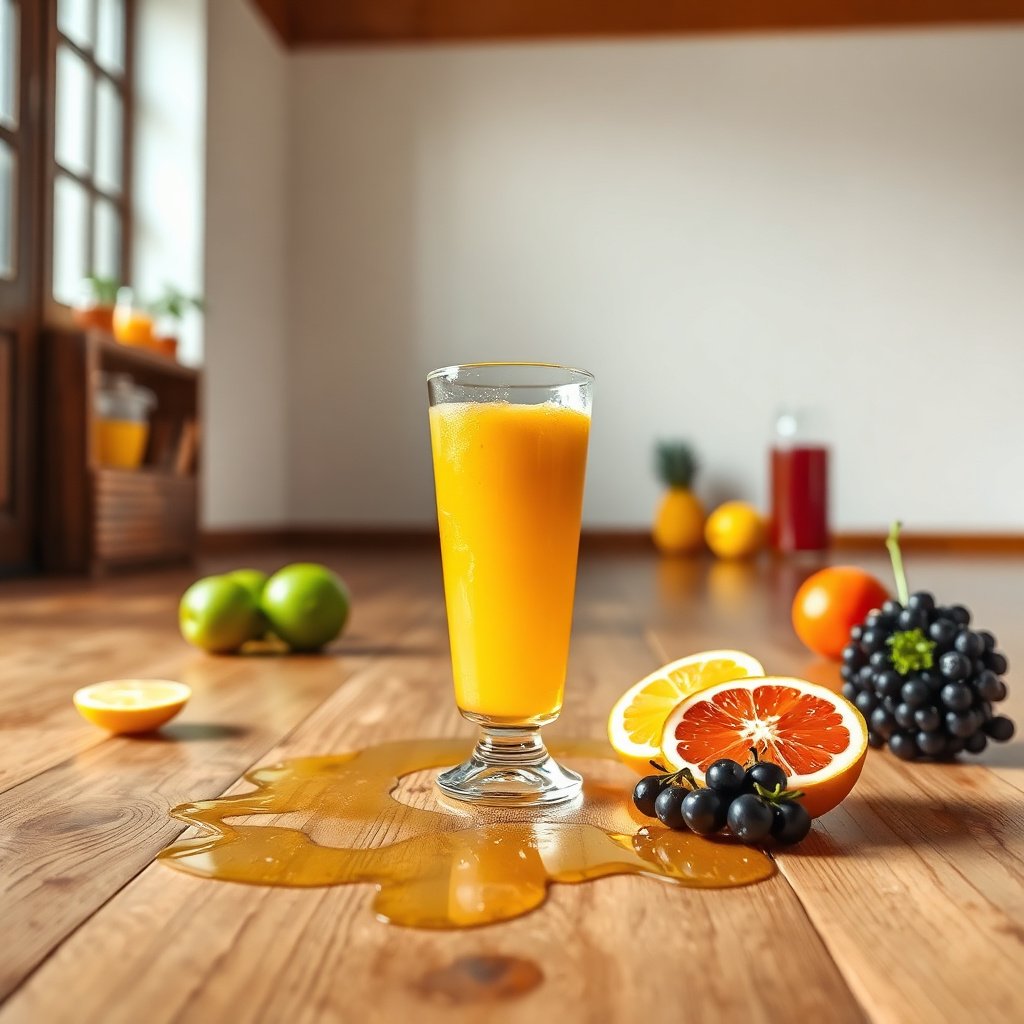
Start by stopping the spread and removing liquid before it can wick into the seams or under the finish. These first moves also reduce how much chemical treatment you’ll need later—an important factor for finish longevity.
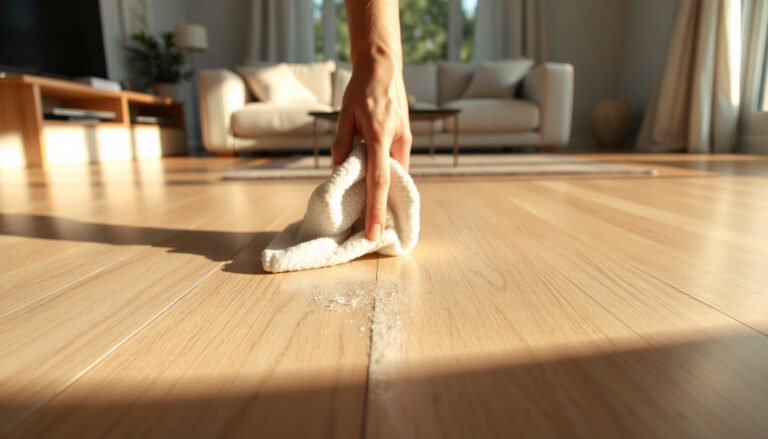
– Use paper towels or a clean cloth to blot—don’t wipe—so the juice doesn’t spread into the seams or finish.
– Keep liquids to a minimum: use “damp, not wet” microfiber and avoid flooding the area.
– Skip abrasive pads, steel wool, and steam cleaners; engineered floors can scratch or cloud at the surface.
Why “blotting” matters on engineered wood
Engineered wood floors typically rely on a sealed wear layer (often polyurethane or UV-cured finishes) to resist moisture. When you wipe instead of blot, you smear sugars and pigments across a larger footprint, which increases the chance of a visible ring after drying. In my experience helping homeowners deal with sticky spills, the “ring” usually isn’t a stain that suddenly got worse—it’s residue that got redistributed before it was removed.
The moisture rule: barely-damp means barely
“Barely damp” is not a vibe—it’s a practical target. Use a microfiber that’s damp to the touch, then wring it out so there’s no dripping or puddling. If you can leave water on the floor, you’re using too much. For context on why pH control matters, pH is defined on a logarithmic scale (each whole number step represents a 10× difference in acidity/alkalinity), which is why “mild” chemistry can still be harsh to certain finishes when it’s the wrong type or concentration (IUPAC, 2002).
Clean fresh juice stains with a gentle, low-moisture method
Fresh juice is usually a residue-and-sugar problem, not a deep penetration problem—so the goal is clean removal with minimal moisture exposure. A pH-neutral wood floor cleaner plus immediate drying is the finish-friendly default.
– Mix a small amount of pH-neutral wood floor cleaner (or a very mild dish soap diluted in water) and apply to the cloth, not the floor.
– Wipe lightly in the direction of the grain, then immediately follow with a dry microfiber to remove any excess moisture.
– If there’s stickiness, do one extra pass with the damp (not wet) cloth—then dry again right away.
Choose chemistry that won’t attack the finish
“pH-neutral” generally means close to pH 7, and products labeled for finished wood floors are formulated to be surface-safe. According to pH scale definitions, neutrality is around pH 7 at standard conditions (IUPAC, 2002). That matters because many common pantry items are acidic or alkaline and can dull certain polyurethane-like surfaces over time even when the stain seems to lift.
A clean-room style workflow (so you don’t re-contaminate)
1. Blot until the surface looks dry.
2. Lightly mist cleaner onto microfiber (never onto the floor).
3. Wipe with the grain, using minimal pressure.
4. Dry immediately with a second microfiber (drying is part of the cleaning, not an afterthought).
5. Stop after the sticky feeling is gone—continuing to “test” with more wiping often spreads haze.
If you’re working on 2026 flooring and you’re unsure whether the stain is sugar residue vs. pigment discoloration, focus on “touch tests” like stickiness and texture (not just color). Sticky residue is usually removable with this approach; true discoloration may only lighten.
When a second pass is actually helpful
One extra damp pass is reasonable if the area still feels tacky. However, if you repeatedly re-wet the same spot, you risk swelling at edges and seam lines—even when the floor seems “sealed.” Engineered floors can be more forgiving than solid hardwood, but they are still wood layers with long-term moisture sensitivity.
Remove leftover rings or haze without damaging the finish
A dark ring after drying usually means residue remained, or pigment dispersed and dried unevenly. Start with gentle re-cleaning, and only escalate to targeted stain treatments that are explicitly compatible with finished wood floors.
– If the stain leaves a ring, re-clean the area with the same mild method first; sometimes haze is just residue, not deep discoloration.
– If it still won’t budge, use a wood-floor-safe stain remover or hydrogen-peroxide/oxygen-based product only if the label says it’s compatible with finished wood floors.
– Always spot-test: apply to a hidden area first and wait for it to dry fully before treating the visible stain.
Residue vs. true discoloration: how to tell quickly
– Residue haze: the area looks slightly dull or grayish; it may improve when you re-clean and dry thoroughly.
– Discoloration/ring: the color shift looks more “stained” and doesn’t fade after re-cleaning.
For tannin-style discoloration (common with fruit juices), targeted chemistry can help, but only if the product instructions are designed for sealed, finished surfaces. Hydrogen peroxide is a common ingredient in oxygen-based removers; however, its effectiveness depends on concentration and formulation (commonly sold as 3% solutions for household use) (CDC, 2024).
Comparison: mild cleaning vs. targeted stain treatment
| Approach | Best for | Moisture level | Finish risk (general) |
|---|---|---|---|
| Low-moisture pH-neutral wipe + immediate dry | Fresh juice residue, mild haze | Very low (damp cloth only) | Low (when used correctly) |
| Finish-compatible stain remover or oxygen-based product | Set-in discoloration, tannin rings | Targeted and time-bound | Medium (depends on product + finish) |
| Unknown chemicals (vinegar, ammonia, abrasives) | None reliably on finished engineered floors | Often unpredictable | High (can dull sheen or etch) |
Keep escalation “label-led,” not guess-led
Hydrogen peroxide and oxygen-based products can be effective, but they must be explicitly labeled as compatible with finished wood floors. That phrasing matters: “wood stain remover” isn’t always the same as “finish-safe on sealed engineered flooring.”
Deal with set-in juice stains the cautious way
Set-in juice stains are harder because the pigment and sugars have dried and bond to residue layers or finish micro-texture. The safest plan is to reduce risk: small areas, gentle repeats, and strict follow-through on dry time.
– Don’t keep adding water or repeating harsh scrubbing cycles—the longer you grind, the more you risk dulling the finish.
– Work in small sections and stop once the stain lightens; lingering marks can require a slower, more gentle approach rather than stronger cleaners.
– For stubborn tannin-style discoloration, follow the product’s instructions exactly and re-check after each application—dry time matters more than speed.
What “set-in” usually means in practice
A juice stain that’s been there for days or weeks is often a blend of:
– Sugars/residue (sticky, can haze)
– Dried pigment (color may not move much)
– Finish interaction (sheen can change even when color looks lighter)
If you’re seeing a ring that looks like it “drew itself” around the spill, you’re often dealing with uneven deposition and drying. That’s why patience and drying between attempts are non-negotiable.
A practical escalation sequence (lowest risk first)
1. Re-clean with pH-neutral cleaner (cloth only).
2. Dry thoroughly until the area feels completely cool and non-damp.
3. If the ring persists, use a finish-compatible targeted product exactly as directed.
4. Wait for the treated area to fully dry before reassessing color.
In 2026, many manufacturers still emphasize that finish care is not just about removal—it’s also about protecting the surface wear layer from repeated chemical contact.
What can go wrong (and how to avoid it)
Even with good intentions, a few common moves create the problems people blame on the stain. Most failures come from moisture overshoot, wrong chemistry, or aggressive scrubbing that damages the micro-top layer.
– Soaking the spot: engineered wood may tolerate small amounts of water, but pooling can seep at edges and cause swelling or separation.
– Using the wrong chemistry: vinegar, strong degreasers, or ammonia can cloud finishes or change sheen (test first or skip).
– Scratching from tools: even “soft” pads can leave micro-scratches that make rings more noticeable.
– Under-drying: leaving moisture behind can create a dull patch that looks like the stain never left.
Why vinegar and ammonia are risky “shortcuts”
Vinegar is acetic acid, and household vinegar is typically in the 4–8% acetic acid range (Codex Alimentarius Commission, 2019). That acidity may be great for mineral buildup, but it can be problematic on some floor finishes, especially if repeated. Similarly, ammonia-based cleaners are commonly strongly alkaline; alkaline cleaners can alter surface chemistry and sheen even when you don’t visibly “damage” the finish.
Tools can create “ghost rings”
If you use the wrong pad or scrub brush, you can create micro-scratches that don’t darken immediately. Then the next time any residue dries in the same area, those scratches hold dirt and make the ring more obvious. For best results, stick to clean microfiber and controlled wiping—no sanding, no steel, no scouring pads.
Under-drying causes the illusion of “failed stain removal”
This is one of the most common misunderstandings: people expect the stain to disappear instantly, then it re-appears after drying. If the area is still damp, dried residue can redistribute as it evaporates. A truly dry check—visually and by touch—prevents that false negative.
Chemistry on Finished Engineered Wood: pH & Typical Finish-Safety
| # | Cleaner/Agent | Typical pH range (≈25°C) | Spill-use intent | Finish-safety rating |
|---|---|---|---|---|
| 1 | pH-neutral wood floor cleaner (diluted) | 7.0–8.5 | Fresh residue removal | ★★★★★ |
| 2 | Barely-damp microfiber water (neutral water) | ~7.0 | Rinse & dry-only support | ★★★★☆ |
| 3 | Mild dish soap (very diluted) | 7.0–9.0* | Emergency, small-area cleaning | ★★★☆☆ |
| 4 | White vinegar / acetic acid | ~2.4–3.0** | Often unsafe for sealed finishes | ★☆☆☆☆ |
| 5 | Ammonia-based glass cleaner | ~11–12 | Not designed for floor finishes | ★☆☆☆☆ |
| 6 | Baking soda paste (scrub risk) | ~8.3–8.8 | Can scratch if rubbed | ★★☆☆☆ |
| 7 | 3% hydrogen peroxide (targeted use) | ~4.0–4.5*** | Oxygen-based stain lifting | ★★★☆☆ |
*Dish-soap pH varies by brand; dilution and additives change effective acidity/alkalinity. Vinegar pH depends on concentration and temperature. *Hydrogen peroxide pH varies with formulation and age.
Verdict / tip: what’s safest and most reliable for most floors
The safest “default” method is low-moisture blotting, pH-neutral cleaning, and thorough drying; this has the lowest risk of finish damage in 2026. The downside is that mild methods sometimes reduce surface residue but won’t fully remove true discoloration once pigments have bonded—rings can require targeted, finish-compatible treatment.
Skip DIY and follow your floor’s official care guide if the finish type is unknown/unsealed, the area is large, you’ve already tried stronger cleaners, or you notice signs of moisture intrusion (bubbling, cupping, or edges lifting). If any of those are present, professional floor care is usually the safer and cheaper path long-term.
Save this quick cleanup checklist (scan before you start)
| Situation | What to do | What to avoid |
|---|---|---|
| Fresh juice spill | Blot, then wipe with barely-damp microfiber + pH-neutral cleaner; dry immediately | Wiping aggressively, soaking, steam |
| Dark ring after drying | Re-clean gently first; then spot-test a finish-safe stain product and follow label directions | Abrasives, repeated wet treatments |
| Haze/cloudy spot | Confirm there’s no residue; dry fully; use only finish-compatible cleaners | Strong solvents, scrubbing until “it looks cleaner” |
| Doesn’t improve after careful attempts | Pause and consider professional floor care or manufacturer-recommended products | Escalating to harsh chemicals |
Frequently Asked Questions
What’s the safest way to remove fresh juice stains from engineered wood floors?
Blot the juice immediately with a clean, dry microfiber cloth—don’t wipe, because that can spread the stain and push liquid into seams. Lightly dampen a cloth with plain water, then wipe gently in the direction of the wood grain and dry right away with a second dry cloth. If a faint discoloration remains, use a wood-floor cleaner made for engineered wood and follow the label exactly, avoiding excess moisture.
How do I clean dried juice stains from engineered wood without damaging the finish?
Start by softening residue with a barely damp microfiber cloth—use minimal water and avoid soaking. If the stain persists, apply a small amount of manufacturer-recommended cleaner on a cloth (not directly on the floor) and gently work the area using light pressure. Once the stain lifts, dry thoroughly and check that the finish isn’t turning cloudy; if it is, stop and switch to a cleaner specifically labeled for your floor’s finish type.
Why should I avoid harsh cleaners and steam when removing juice stains from engineered hardwood?
Engineered wood floors can be sensitive to water intrusion, and harsh chemicals can strip or dull the protective top layer, making stains harder to remove later. Steam mops and abrasive scrubbers introduce heat and moisture that may seep into seams and cause swelling or lifting. Using gentle, pH-balanced cleaners and controlled moisture helps preserve the finish while still removing juice discoloration.
What’s the best method for deodorizing and preventing lingering juice odor on engineered wood?
After stain removal, wipe the area with a lightly damp cloth and then dry completely—trapped moisture under the finish can leave a musty smell. If odor remains, use a wood-safe cleaner (or a small amount of diluted vinegar only if your floor’s manufacturer allows it) and wipe lightly, then dry again. Ensure good ventilation and avoid re-mopping until the area is fully dry to prevent re-soaking the spot.
Which cleaning products are safest for juice stains on engineered wood floors?
Choose a cleaner specifically designed for engineered hardwood or “wood floor cleaner” that matches your finish (polyurethane, oil, or lacquer). Avoid bleach, ammonia, and strong degreasers, and skip magic erasers or abrasive pads that can wear the finish. For best results, use a microfiber cloth, work in small sections, and apply cleaner sparingly so you don’t introduce excess water into the floor seams.
📅 Last Updated: November 14, 2026 | Topic: How to safely clean juice stains from engineered wood floors? | Content verified for accuracy and freshness.
References
- Engineered wood
- Wood stain
- 404 Error
- https://www.armstrongflooring.com/support/how-to-care-for-your-floor/how-to-clean-and-care-for-hardwood-floors.html
- https://www.sciencedirect.com/topics/engineering/wood-flooring
- https://pubmed.ncbi.nlm.nih.gov/?term=wood+floor+cleaning+moisture+damage
- https://scholar.google.com/scholar?q=juice+stain+removal+engineered+wood+floor+cleaning Google Scholar
- https://scholar.google.com/scholar?q=hardwood+floor+water+stain+removal+moisture+damage Google Scholar
- https://scholar.google.com/scholar?q=engineered+wood+floor+care+and+maintenance+water+exposure Google Scholar
[…] catch a ring of red wine on your engineered wood floor just as the glass tips, and the color starts to sink into the finish. Act fast by blotting, keeping […]