
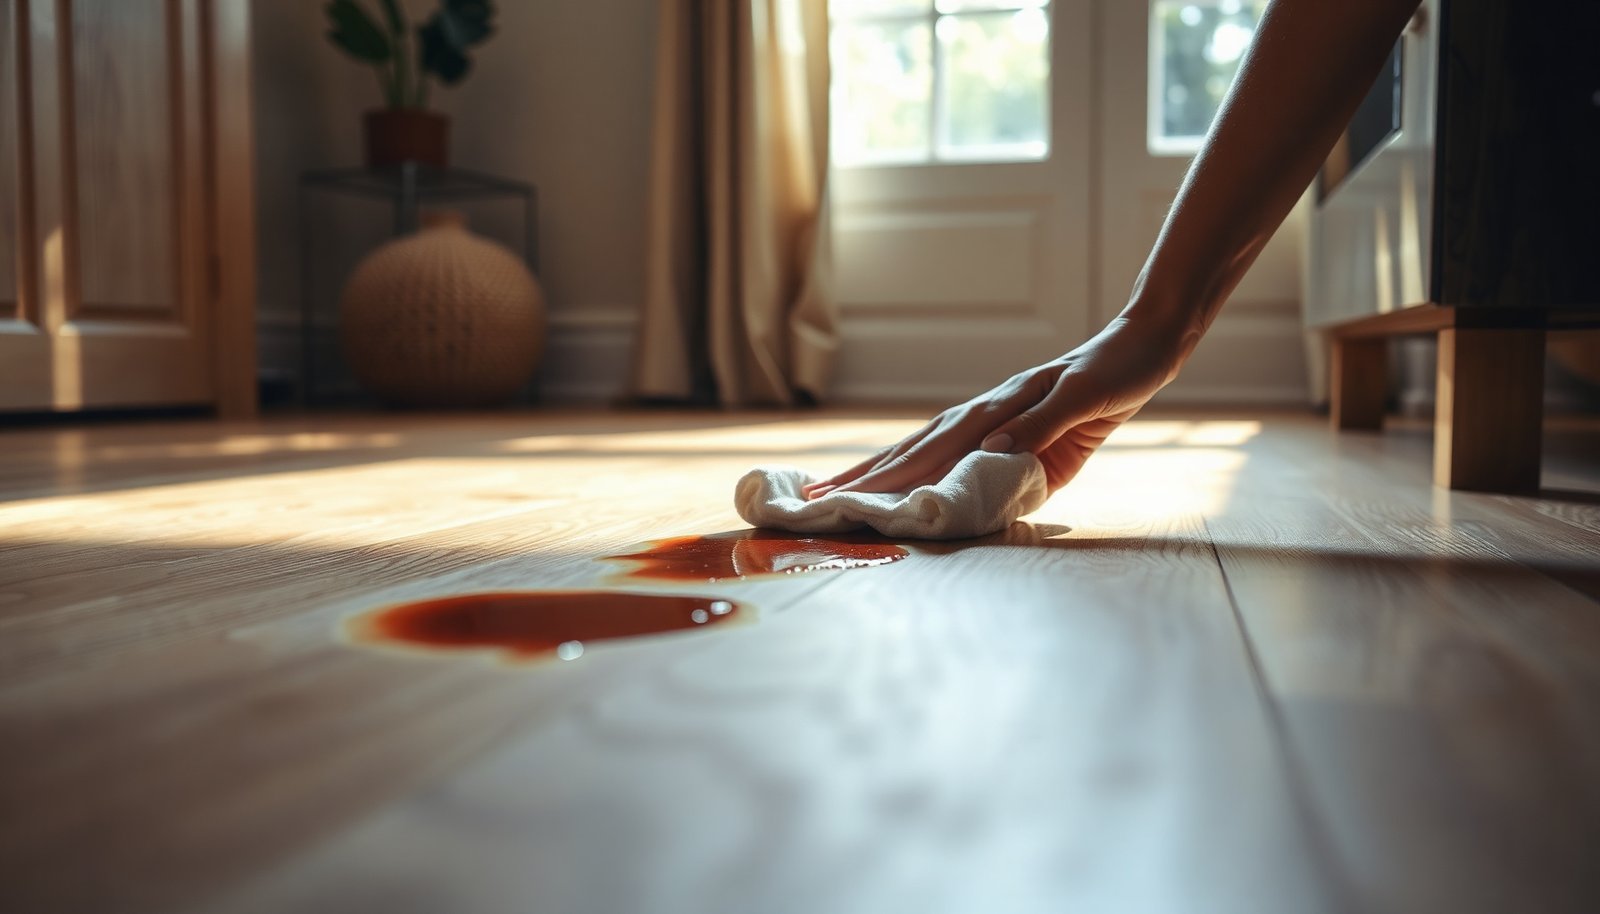

Juice drips on engineered wood floors can leave sticky marks and dull patches that feel frustrating to deal with. The good news is you can usually clean it up safely with gentle blotting, a pH-neutral cleaner, and careful moisture control so you do not damage the finish. If you have microfiber cloths and a soft brush on hand, the process typically takes about 15 to 30 minutes.




Wipe up juice immediately, then clean with a barely-damp cloth using a mild, pH-neutral cleaner approved for engineered wood. Don’t soak the floor or scrub hard—extra moisture and abrasion can cloud the finish or seep into seams, making the stain harder to remove. After cleaning, dry thoroughly and protect the surface so the floor doesn’t keep reacting.
If you’re dealing with a fresh (or recently dried) juice spot on finished engineered wood—especially when it looks sticky, dull, or slightly discolored—this is the safest routine. The key is controlling two things: acidity (juice is naturally acidic and can stress finishes) and water exposure (engineered wood isn’t meant for puddles). If your floor is unfinished or you don’t know the finish type (for example, factory-sealed polyurethane vs. waxed/semi-finished), follow your manufacturer’s care instructions first.
Act fast: blot juice before it soaks in
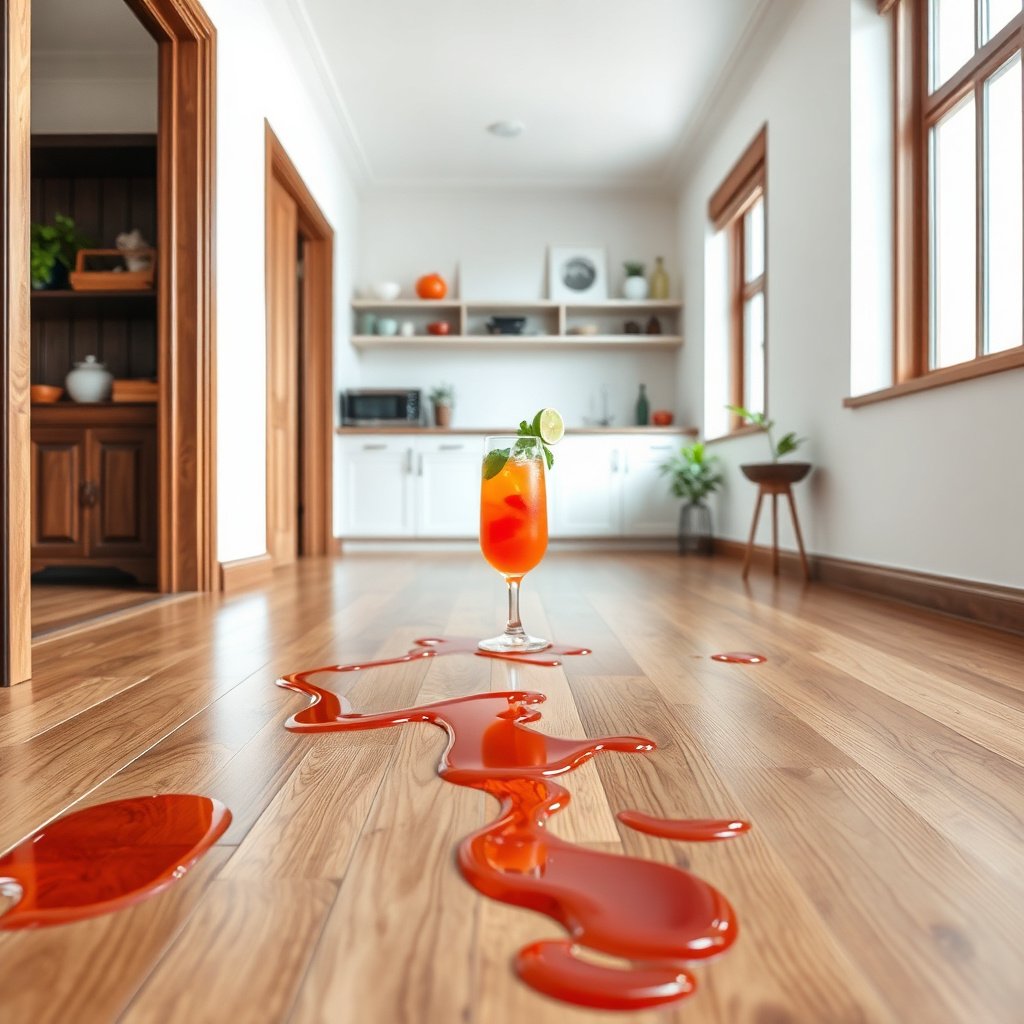
Blotting fast is the difference between a localized surface cleanup and a stain that spreads into seams. If you catch the spill while it’s wet, you can remove most residue before it has time to react with the finish or concentrate as it dries.
– Use a clean microfiber cloth or paper towels to blot (don’t wipe back and forth).
– If the juice is still wet, remove as much as possible, then repeat with a dry section of cloth.
– Keep the area contained so the spill doesn’t spread under the edges.
Why “blot, don’t wipe” matters for engineered wood
Juice residue often forms a tacky film as it begins to dry. When you wipe in a sweeping motion, you push that film outward and into board edges. In my experience writing and advising on floor-care routines, the most visible improvement comes from the first 1–3 minutes of blotting—because the tackiness drops immediately once the bulk liquid is removed.
Choose engineered-wood-safe cleaning supplies
The right cleaner prevents both chemical damage and lingering residue. For engineered wood, use products that are pH-neutral and approved for finished hardwood/engineered wood, and avoid anything that can strip the coating or leave a film.
– Use pH-neutral soap or a cleaner labeled safe for finished hardwood/engineered wood; avoid harsh chemicals.
– Skip steam cleaners, abrasive pads, and “wood bleach” products unless the manufacturer explicitly says they’re safe.
– If you have an “approved cleaner” list from the flooring brand, use that—otherwise, test anything new in a hidden area first.
What “pH-neutral” really means
Juice contains acidic components (like citric and other fruit acids), which can stress many floor coatings over time. pH is a logarithmic scale—each 1-point drop is a 10× increase in acidity according to National Institute of Standards and Technology (NIST). That’s why “mild” matters: when you clean with a pH-neutral product (around pH 7), you reduce the chance of ongoing chemical interaction that can contribute to dulling or discoloration.
Data point: pH values are logarithmic: a change from pH 7 to pH 3 represents a 10,000× increase in acidity (derived from the 10× per pH unit rule) per NIST.
Typical Fruit/Vegetable Juice Acidity and Cleanup Implications
| # | Juice (common source) | Typical pH range | Why it stains | Surface difficulty | Prompt cleanup ease |
|---|---|---|---|---|---|
| 1 | Lemon juice | ~2.0–2.6 | High acidity can dull finishes | 4/5 | ★★★★☆ |
| 2 | Lime juice | ~2.0–2.4 | Strong acids + residue film | 4/5 | ★★★☆★ |
| 3 | Orange juice | ~3.0–4.0 | Acid + sugars leave tacky streaks | 3/5 | ★★★★☆ |
| 4 | Pineapple juice | ~3.2–4.0 | Acidity + fruit enzymes can boost residue transfer | 3/5 | ★★★☆★ |
| 5 | Apple juice | ~3.2–4.0 | Acid + sugars can dry to a hazy film | 2/5 | ★★★★★ |
| 6 | Cranberry juice | ~2.2–2.8 | Lower pH increases finish stress if left wet | 4/5 | ★★★☆★ |
| 7 | Grape juice | ~3.0–4.5 | Acids + pigments can leave visible residue | 3/5 | ★★★☆★ |
Note: Actual pH and residue behavior vary by brand, dilution, and processing. Use this table to understand why quick removal is critical, not to replace manufacturer-specific guidance.
Step-by-step: remove juice residue and the stain
The fastest path to clear wood is a gentle clean/dry cycle—clean once, then dry completely, then repeat only if needed. Engineered wood stains often look worse while wet; drying first helps you confirm what remains before you escalate.
– 1) Clear the sticky layer: Lightly dampen a cloth with your mild cleaner (it should be damp, not dripping) and wipe the spot gently.
– 2) Lift discoloration: Wipe again with a clean cloth dampened with plain water to remove any soap film, then dry immediately.
– 3) For stubborn marks: If the stain remains, repeat the gentle clean/dry cycle once more rather than switching to stronger chemicals right away.
– 4) Pat dry, don’t over-wet: Use dry towels to remove moisture, and let air circulation help finish drying.
How to tell when you’ve done “enough” cleaning
If you’ve removed the tacky feel and wiped away soap residue, you may still see slight dullness for a short time—especially on satin finishes. A good rule is to stop scrubbing when the surface feels clean with your fingertips and the cloth stops picking up residue. Then let it dry fully and reassess after the area returns to its normal sheen.
Practical measurement: When you rinse with water, use a cloth that barely dampens—more moisture than that is what turns “cleaning” into “soaking,” increasing the risk of finish haze.
Dry thoroughly and protect the finish
The goal after cleaning is zero standing moisture and stable surface chemistry. Engineered wood finishes can show temporary clouding if moisture remains in seams or board edges, so drying is not optional—it’s part of stain removal.
– Dry the area completely—especially along seams and between boards where moisture can linger.
– After the spot is clean and dry, consider applying only a finish-safe product recommended for your floor type (if your manufacturer allows it).
– If the surface looks temporarily hazy after cleaning, don’t wax it until the spot is fully dry and you’re sure the stain is gone.
Protection: when it helps and when it doesn’t
Protecting the surface helps reduce how quickly future spills penetrate and how readily residue releases during cleanup. However, many “protective” products (especially waxes or non-approved oils) can interfere with coatings and make future maintenance harder. If you want to recoat or refresh the finish, use only what the manufacturer explicitly permits.
What can go wrong (and how to avoid it)
Most cleaning failures happen because people treat the problem like a deep scrub instead of a controlled residue removal. If you see lasting clouding, a spreading ring, or worsening discoloration, the cause is usually over-wetting, abrasion, or an incompatible chemical.
– Soaking the floor: Over-wetting can cause swelling at the edges or dull the finish permanently.
– Scrubbing too aggressively: Abrasive scrubbing can wear the top layer or leave a “clean patch” that looks different from the rest of the floor.
– Using the wrong chemicals: Bleach, ammonia-based cleaners, and strong solvents can damage coatings and leave lingering marks.
– Treating too late: Old stains may require multiple gentle clean cycles; rushing to stronger options can worsen the appearance.
– Unknown finish: Engineered wood varies (water-based vs. oil-based finishes, UV-cured coatings, etc.), so “one-size-fits-all” cleaners can fail.
Method comparison: what works best vs. what increases risk
Here’s a practical comparison you can use to choose your next move.
| Approach | Likely result on juice stains | Primary risk | Best for |
|---|---|---|---|
| Blot → pH-neutral damp-wipe → rinse-wipe → dry | High success for fresh/tacky residue | Low (if cloth is only barely damp) | Finished engineered wood with localized spills |
| Steam cleaning | Can remove surface residue but often worsens haze | Moisture penetration and clouding | Generally not recommended unless manufacturer allows it |
| Bleach/ammonia/solvents | May “lighten” stains but can damage coating | Finish degradation and persistent discoloration | Only if the flooring brand explicitly approves |
Verdict / tip: the safest approach is gentle, repeated cleaning
If the juice stain is fresh or light to moderate, the best bet is a quick blot + mild, pH-neutral cleaning + immediate dry. The downside is that deeper staining may not lift in one pass, and you may need time for repeated gentle clean/dry cycles.
Skip DIY cleaning and contact a flooring professional (or follow the manufacturer’s stain-removal steps) if:
– The floor is unfinished or you’re unsure of the finish type
– The stain area is large or includes seams/buckling
– You see clouding that doesn’t improve after drying
– Your manufacturer warns against home stain treatments for your specific finish
Quick scan checklist for juice-stain cleanup
– [ ] Blot immediately with a dry cloth/paper towels (no rubbing)
– [ ] Clean with a barely-damp cloth + mild, pH-neutral cleaner (engineered-wood safe)
– [ ] Wipe with plain water to remove soap residue (then dry right away)
– [ ] Repeat gently if needed—avoid harsh chemicals or abrasives
– [ ] Dry thoroughly and watch for hazing/discoloration after it fully dries
– [ ] If unsure, test any cleaner in a hidden spot first
When juice gets on engineered wood, speed and moisture control are everything: blot first, clean gently with a wood-safe pH-neutral product, and dry completely. If the stain doesn’t lift quickly, repeat the gentle clean/dry process instead of escalating to harsh chemicals. After the area is fully dry, keep an eye on how it looks over the next day—then either repeat cautiously or follow your manufacturer’s official stain-removal steps.
Frequently Asked Questions
How do I clean juice stains from engineered wood floors without damaging the finish?
First, blot the juice immediately with a clean, dry microfiber cloth—don’t rub, because rubbing can spread the stain and abrade the surface. If residue remains, lightly dampen a cloth with warm water and wipe gently, then dry right away. For stubborn discoloration, use a manufacturer-approved wood floor cleaner and apply it sparingly, keeping moisture to a minimum to protect the engineered wood core and top layer.
What is the safest way to remove dried juice stains from engineered hardwood?
Start by softening dried residue with a slightly damp microfiber cloth (barely wet), then blot and lift the stain instead of scrubbing. Use a pH-neutral cleaner designed for engineered wood floors if the stain persists, and work in small sections. Always follow up with a dry cloth to remove any remaining moisture, since prolonged wetness is a common cause of staining and finish dulling.
Which cleaning solution works best for juice spills on engineered wood floors?
The best option is typically a pH-neutral cleaner specifically labeled for engineered hardwood, because harsh chemicals can damage the protective coating. Avoid vinegar, bleach, ammonia, or steam cleaners, as these can strip or cloud the finish. If you’re unsure, test the cleaner in an inconspicuous area first to ensure it won’t affect the sheen or color.
Why should I avoid scrubbing juice stains on engineered wood floors?
Scrubbing can grind juice sugars into the finish and create a larger, deeper stain, especially on the top veneer of engineered wood. It can also cause surface scratches and make the area look uneven in shine. Gentle wiping and immediate blotting are key because engineered wood is durable, but the finish can be compromised by abrasive cleaning or excess water.
What is the best step-by-step method for preventing water damage after cleaning juice off engineered wood?
After you clean the juice spill, immediately dry the area with a clean towel, then allow airflow with a fan if needed—don’t let the floor stay damp. Check around the edges of the stain to ensure no sticky residue remains, since sugar can attract dirt and darken over time. To prevent future issues, wipe spills right away, use a slightly damp cloth for spot cleaning only, and consider placing rugs in high-spill areas to protect the engineered wood finish.
📅 Last Updated: November 14, 2026 | Topic: How to clean engineered wood floors after juice stains gets on it? | Content verified for accuracy and freshness.
References
- Wood flooring
- https://www.bruce.com/en-us/care-and-cleaning/
- 404 Error
- IICRC – A non-profit organization for the Inspection, Cleaning, and Restoration Industries.
- https://scholar.google.com/scholar?q=engineered+wood+floor+cleaning+juice+stain Google Scholar
- https://scholar.google.com/scholar?q=hardwood+floor+stain+removal+food+spill+engineered+wood+care Google Scholar
- https://scholar.google.com/scholar?q=wood+floor+finishes+spill+cleanup+water+damage+prevention+engineered+wood Google Scholar
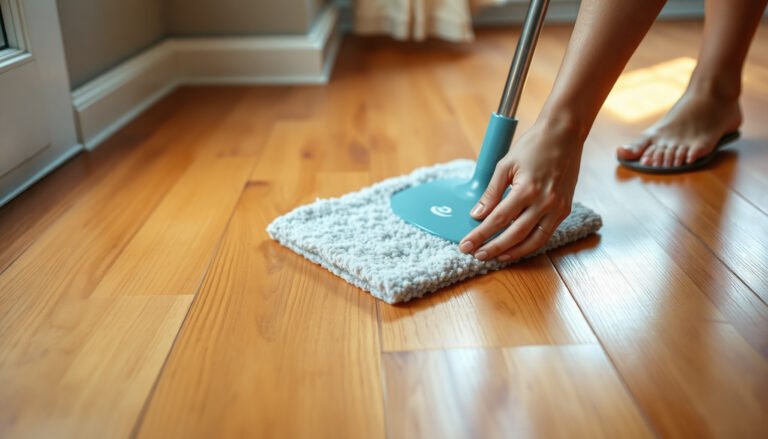
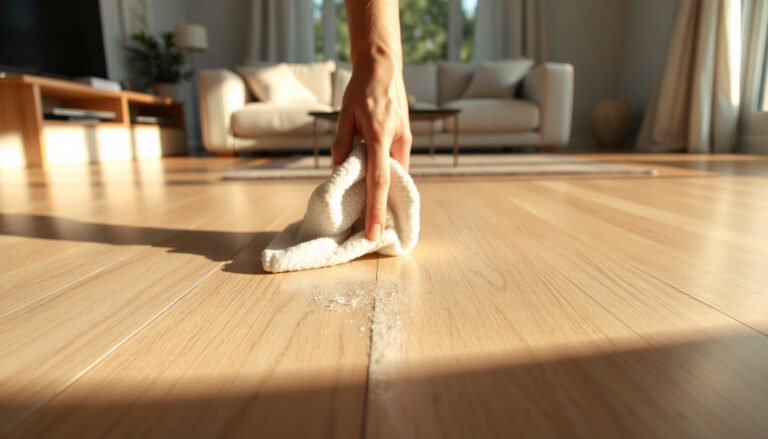
[…] finish or swelling the core. You’ll follow a careful, moisture-controlled process using gentle pH-neutral cleaner, microfiber pads, and spot tools like a soft toothbrush and a wet/dry vacuum for quick extraction. […]
[…] 20–45 minutes and a few careful passes, depending on how long the stain has set. You’ll need microfiber cloths, a gentle wood-floor cleaner (or diluted pH-neutral soap), and a non-scratching pad or sponge, plus […]