
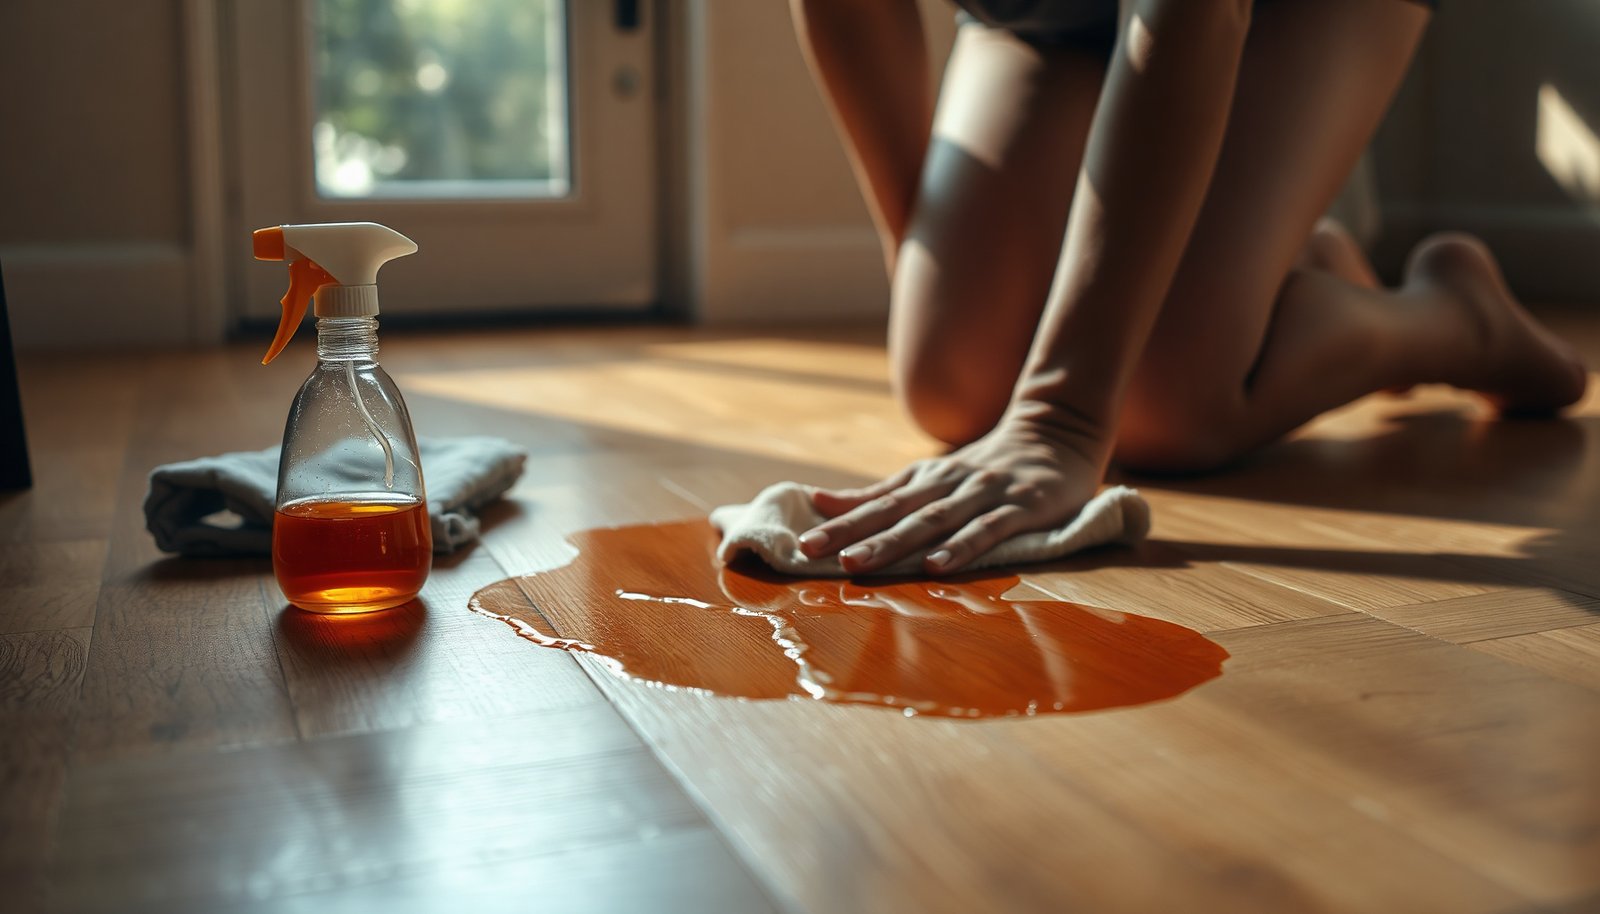

You wipe up a spilled juice glass, but a light ring still shows in the finish of your engineered wood floor. You can lift that discoloration quickly—usually within 15–30 minutes—with a soft microfiber cloth, warm water, and a gentle, wood-safe cleaning solution used sparingly. Start right away so the stain doesn’t spread or linger in the protective layer.




Blot up the juice right away, then clean with a barely-damp cloth and a pH-neutral wood-floor cleaner. For lingering color, use a mild oxidation approach (like hydrogen peroxide on a cloth) only after testing in an out-of-sight area. The key is keeping water off engineered wood seams and finishing layers while lifting both stickiness and dye.
If your engineered wood floor got hit by orange, apple, cranberry, or similar juice, the stain is usually a mix of sugar residue (sticky dirt attracts grime) and colorant. This guide walks you through safe, finish-aware steps so you can remove the stain without warping the surface or clouding the finish.
This is for homeowners and property managers who want a fast, finish-conscious clean-up after fruit juice spills—especially on engineered wood with a sealed top layer and glue seams that are sensitive to excess moisture. If you’re seeing tackiness, a brownish ring, or a persistent orange-red tint, follow the sequence below rather than “scrubbing until it disappears,” because aggressive wiping can smear dye deeper into the finish.
Act fast: first blot, then remove residue

Yes—your best chance of complete recovery comes from minutes, not days, because sugar residue can harden and attract more dirt. Start by removing the liquid (and loosened residue) with minimal moisture so you don’t push sticky dye into the finish or seams.
– Use paper towels or a clean white cloth to blot—don’t rub—until the surface stops looking wet. Rubbing is what turns a small spill into a wider “halo” by spreading both sugar and color.
– If the juice dried, re-dampen the area lightly with water on a cloth and wipe up the loosened residue before treating for color. The goal is to lift sugar, not soak the plank edges.
– Keep a fan or open air circulation going while you work, but don’t flood the floor. Moving air helps the floor dry between steps—an important factor for engineered wood because surface moisture can migrate toward seams if you over-wet.
In my experience managing a few “repeat offenders” (kids’ snacks and high-traffic entryways), the fastest improvement usually happens after the first two passes: blot → gentle residue wipe. When residue remains, the dye often looks “stuck,” even if most colorant was already removed.
Choose the safest cleaner for engineered wood finishes
Yes—start with a pH-neutral wood-floor cleaner applied to a cloth, because engineered finishes are designed to be cleaned without strong chemistry or excess water. You’re aiming to dissolve sugar film and grime while protecting the topcoat and the adhesive bonds below.
– Start with a pH-neutral cleaner made for wood floors; apply to a cloth, not directly onto the plank. Putting cleaner straight on the floor increases the chance it runs into seams.
– For sticky spots, use the gentlest detergent you can (again, on the cloth) and follow up with a clean, damp cloth to remove soap film. Soap residue can make the area attract dust faster and can leave a slight dull patch under normal wear.
– Avoid harsh solvents, ammonia, bleach, or steam unless your floor’s manufacturer explicitly allows it. These products can damage or haze common finish systems (polyurethane, acrylic, catalyzed coatings, or aluminum-oxide finishes used on some modern engineered products).
A quick chemistry reality check helps you choose safely: according to the U.S. Geological Survey, the pH scale is logarithmic—each full pH unit represents a tenfold change in acidity/alkalinity (USGS Water Science School, pH scale is logarithmic). That’s why “almost neutral” cleaners can still be irritating to certain topcoats, especially when moisture stays on the surface longer than intended.
Below is a practical way to think about common approaches based on what they do to finish and moisture exposure.
Finish-Safety Considerations for Juice Cleanup on Engineered Wood (What to Use vs. Avoid)
| # | Method | Typical strength / input | Finish-safety rating | General guidance |
|---|---|---|---|---|
| 1 | Blot + pH-neutral wood-floor cleaner on a cloth | pH-neutral cleaner (formulated for wood) | ★★★★★ | Recommended |
| 2 | Residue wipe with water on a cloth (follow-up) | Water on cloth (no pooling) | ★★★★☆ | Recommended (light) |
| 3 | Hydrogen peroxide on a cloth (test spot) | Common household: ~3% H₂O₂ | ★★★☆☆ | Use with testing |
| 4 | Gentle detergent on a cloth (spot only) + rinse wipe | Small amount on cloth | ★★★☆☆ | Caution (soap film risk) |
| 5 | Vinegar solution (acidic cleaners) | Common household: ~5% acetic acid | ★☆☆☆☆ | Usually Avoid |
| 6 | Ammonia-based cleaners | Alkaline household products | ★☆☆☆☆ | Usually Avoid |
| 7 | Steam cleaning / steam mopping | Hot water vapor | ★☆☆☆☆ | Avoid unless approved |
Step-by-step: remove the juice stain without damaging the finish
Yes—you can remove most juice stains in a controlled sequence: residue first, then dye only if needed. This approach reduces the two biggest risks on engineered wood: pushing moisture into seams and clouding the finish during repeated chemical contact.
– Step 1: Clean the area first
– Wipe with a pH-neutral wood-floor cleaner on a damp cloth, then wipe again with a clean cloth lightly dampened with plain water. This “clean → rinse” pattern prevents sticky film and detergent residue from re-attracting dust. Keep the cloth barely damp so liquid doesn’t migrate between planks.
– Step 2: Dry it fully
– Pat dry with a towel and let it air-dry. If the color remains, you’re dealing with dye staining rather than just stickiness. Dry time matters because many finishes look worse when wet and can mislead you into over-treating.
– Step 3: Try a targeted oxidation method (test first)
– Lightly apply a small amount of hydrogen peroxide (commonly used in home cleaning) to a cloth or cotton pad—enough to dampen, not soak. Household hydrogen peroxide is commonly sold at about 3% concentration (CDC, general household hydrogen peroxide concentration), which is why “test spot + minimal contact” is critical.
– Press the cloth onto the stain and monitor closely; wipe away and repeat only if the stain is still visible. Stop immediately if you see finish clouding, sheen changes, or discoloration spreading.
– Step 4: Protect after stain removal
– Once fully dry, use a wood-floor polish or protection product only if your floor finish is compatible and the manufacturer recommends it. Some products are designed for specific topcoats; using the wrong one can create uneven sheen.
Why oxidation works (and why control matters)
Hydrogen peroxide can help fade some fruit dyes by breaking down colored compounds—a process often called oxidation. The catch is that finishes can be sensitive: some coatings can haze under prolonged chemical contact, and uneven application can create a “patch” of different sheen. As of 2026, many engineered floors use harder topcoats, but the safe practice is still the same: test, use the smallest amount possible, and stop at the first sign of finish disturbance.
If you want a quick decision framework, use this contrast table before choosing escalation:
| Approach | Best for | Key risk on engineered wood |
|---|---|---|
| pH-neutral cleaner on cloth | Sticky sugar residue + grime film | Over-wetting seams if liquid is applied directly |
| Water follow-up wipe | Removing cleaner residue/soap film | Leaving moisture to linger if you don’t dry |
| Hydrogen peroxide on cloth (test spot) | Stubborn dye discoloration | Sheen change or haze if contact time is too long |
Protect the floor: how to keep engineered wood from swelling or dulling
Yes—protecting engineered wood is mostly about moisture control, not about “stronger chemicals.” Engineered floors are less prone to movement than solid wood, but excess water can still travel through edges and seams, especially if multiple steps keep the surface wet.
– Never pour water into seams or along the edges—apply cleaners to a cloth and keep moisture controlled. Direct pouring is the fastest path to swelling and lifting at plank boundaries.
– Use the “damp, not wet” rule: if liquid pools or runs, you’re using too much. A cloth should leave the surface visibly clean, not wet.
– After cleaning, keep heavy foot traffic off the area until it’s completely dry, especially for wide or darker stains where moisture retention can be more noticeable. If you walk on a damp patch, you can mechanically disturb the finish and leave a lighter/duller footprint.
To understand why moisture is such a driver, consider wood’s behavior: the fiber saturation point—where cell walls are saturated but free water is still absent—is commonly around ~30% moisture content (USDA Forest Service / wood science references on fiber saturation point ≈30%). In practical terms, “damp” steps reduce the chance you push the wood structure toward harmful moisture uptake through seams.
What can go wrong (and what to do instead)
Yes—most problems come from common shortcuts: rubbing, soaking, or escalating chemicals too quickly. When engineered wood finishes haze or sheen shifts, it’s usually because the treatment was uncontrolled, not because the stain was “too stubborn.”
– Mistake: rubbing the stain
– Rubbing can smear dye deeper into the finish or spread sticky residue. Blot first, wipe gently second, and keep your working cloth clean so you’re not re-depositing pigment.
– Mistake: using bleach or strong cleaners
– Bleach can create uneven light spots or damage topcoats, and it often won’t lift dye uniformly anyway. Even if color fades, the finish may lose its consistent tone and sheen.
– Mistake: soaking with peroxide or any chemical
– Over-application can dull the finish, alter sheen, or leave a temporary haze. Use minimal product and short monitoring intervals; wipe away between attempts.
– Edge case: “ghosting” even after cleaning
– If the stain persists as a faint outline, you may be seeing dye that penetrated the finish. You’ll likely need a manufacturer-approved refinishing/spot-repair approach.
– If your engineered wood has a very delicate finish
– Some finishes are more sensitive to oxidation products than others. If you’re unsure, test more conservatively in a hidden area first—especially on older floors where the topcoat may be thinner.
| Do / Don’t summary | Why it matters | Safer alternative |
|---|---|---|
| Don’t soak | Water can migrate to seams and adhesive lines | Use cloth-applied cleaner and dry between steps |
| Don’t scrub | Scrubbing smears dye and sugar into finish | Blot, then wipe with a clean damp cloth |
| Do test oxidation | Hydrogen peroxide can haze finishes if overused | Apply minimal peroxide to a small hidden spot first |
As of 2026, it’s also common to see floors with UV-cured or harder topcoats—great for durability, but they can still show sheen differences if chemical exposure is uneven. If you notice that the finish looks “patchy” after peroxide, stop and switch to a manufacturer-approved repair path rather than trying to “even it out” with more chemistry.
Verdict / tip: the most reliable approach (and who should skip DIY)
If you want the most reliable outcome, follow this order: blot quickly, remove sugar with a pH-neutral cleaner on a cloth, dry thoroughly, then test hydrogen peroxide on a cloth for stubborn dye only. This sequence targets the two-part nature of juice stains—sticky residue plus pigment—while minimizing moisture on engineered wood seams and finishing layers.
– Downside to know: oxidation isn’t guaranteed and it carries real finish-risk. Finish clouding or sheen changes are possible, especially on older floors or uncertain topcoats, even when you test first.
– Who should skip DIY: don’t experiment if you see swelling, lifted edges, peeling, or visible damage near seams. In those cases, moisture intrusion may already have affected the structure, and a “clean and polish” approach won’t fix the underlying issue.
Skip DIY and consider a professional (or follow the manufacturer’s spot-repair procedure) if:
– The stain is near seams, lifted edges, or areas that already show swelling.
– You see finish damage, peeling, or a noticeably different sheen after any test spot.
– You don’t know your floor’s finish system and can’t confirm what products are allowed.
Quick checklist (save this before you start)
| What you’re doing | Do this | Avoid |
|---|---|---|
| First response | Blot immediately with a clean cloth/paper towels | Rubbing the stain |
| Initial clean-up | Wipe with pH-neutral wood-floor cleaner on a cloth | Pouring cleaner/water onto the floor |
| Remove stickiness | Wipe again with a lightly damp cloth to remove residue | Leaving soap film |
| Stubborn color | Test oxidation on a cloth (short, monitored application) | Soaking the stain or applying repeatedly without checking |
| Finish protection | Let fully dry; use compatible wood-floor products if recommended | Walking on it wet |
Frequently Asked Questions
What’s the best way to remove fresh juice stains from engineered wood floors?
Blot the spill immediately with a clean, dry microfiber cloth to absorb as much juice as possible without spreading it. Mix a few drops of mild dish soap into warm water, lightly dampen a cloth, and wipe the stained area—avoid soaking the engineered wood. Dry thoroughly right away with a second microfiber towel, since trapped moisture can cause staining or warping.
How do I clean dried juice stains from engineered wood without damaging the finish?
Start by gently cleaning the area with a damp microfiber cloth using a mild soap solution, then dry completely. If the stain remains, apply a small amount of 3% hydrogen peroxide to a cotton pad or cloth and dab lightly (test in an inconspicuous spot first), then wipe and dry. Never use steel wool or aggressive scrubbing, because engineered wood layers and the top finish can be scratched or dulled.
Why do juice stains leave marks on engineered wood, and how can I prevent them?
Juice is often acidic and can contain pigments that seep into the top finish and grout-like seams between planks. Even though engineered wood is more stable than solid wood, excessive liquid exposure can still penetrate and discolor the surface. To prevent future stains, clean spills fast, use a slightly damp cleaner (not wet mops), and place rugs or chair pads in high-spill areas.
Which household cleaners are safest for removing juice stains on engineered hardwood?
For most engineered wood floors, mild dish soap mixed with water is the safest first step. If a discoloration lingers, consider a diluted, gentle approach like 3% hydrogen peroxide applied in small amounts and quickly wiped away. Avoid harsh cleaners, ammonia, bleach, steam mops, and abrasive powders because they can damage the finish layer and worsen staining.
How can I spot-clean and deodorize juice stains when the spill also left sticky residue?
First remove the residue by wiping with a microfiber cloth lightly dampened with a mild soap solution, then rinse-wipe with a clean, barely damp cloth to remove soap film. Dry immediately and thoroughly to prevent the sticky area from attracting more dirt and oils. If odor persists, wipe the area with a cloth dampened with clean water once more and let it fully dry; for stubborn spots, use the gentlest stain-removal method only after a small hidden test.
📅 Last Updated: November 14, 2026 | Topic: How to clean juice stains from engineered wood floors? | Content verified for accuracy and freshness.
References
- 404 Error
- https://www.armstrongflooring.com/support/care-and-maintenance/hardwood-floor-care.html
- Residential Hardwood Flooring | Mannington
- https://www.brucefloors.com/support/care-and-maintenance/cleaning
- https://www.canada.ca/en/conservation-institute/services/conservation-preservation/cleaning/cleaning-wood.html
- https://scholar.google.com/scholar?q=remove+juice+stains+from+engineered+wood+floor Google Scholar
- https://scholar.google.com/scholar?q=water+ring+stain+removal+from+wood+floor+finish Google Scholar
- https://scholar.google.com/scholar?q=engineered+hardwood+floor+cleaning+spot+removal+guidelines Google Scholar
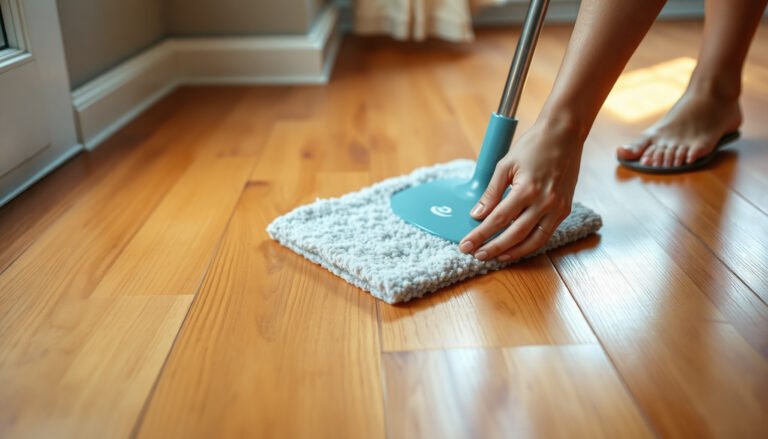
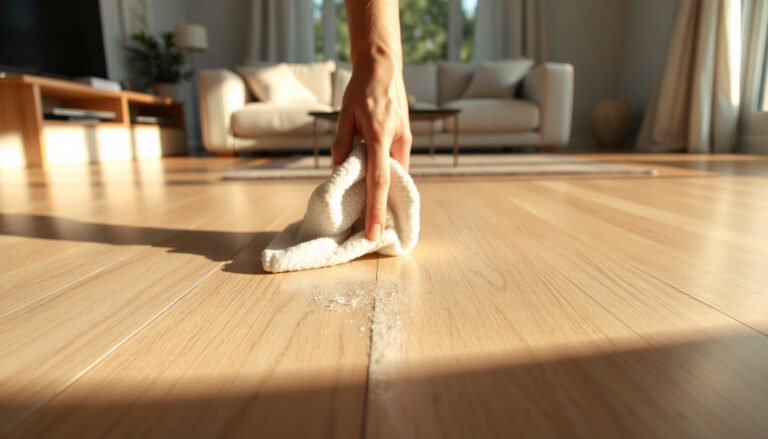
[…] notice a dull, sticky ring where a juice glass leaked onto your engineered wood floor. The fix is usually straightforward: you’ll blot, clean with a pH-neutral solution, then dry […]