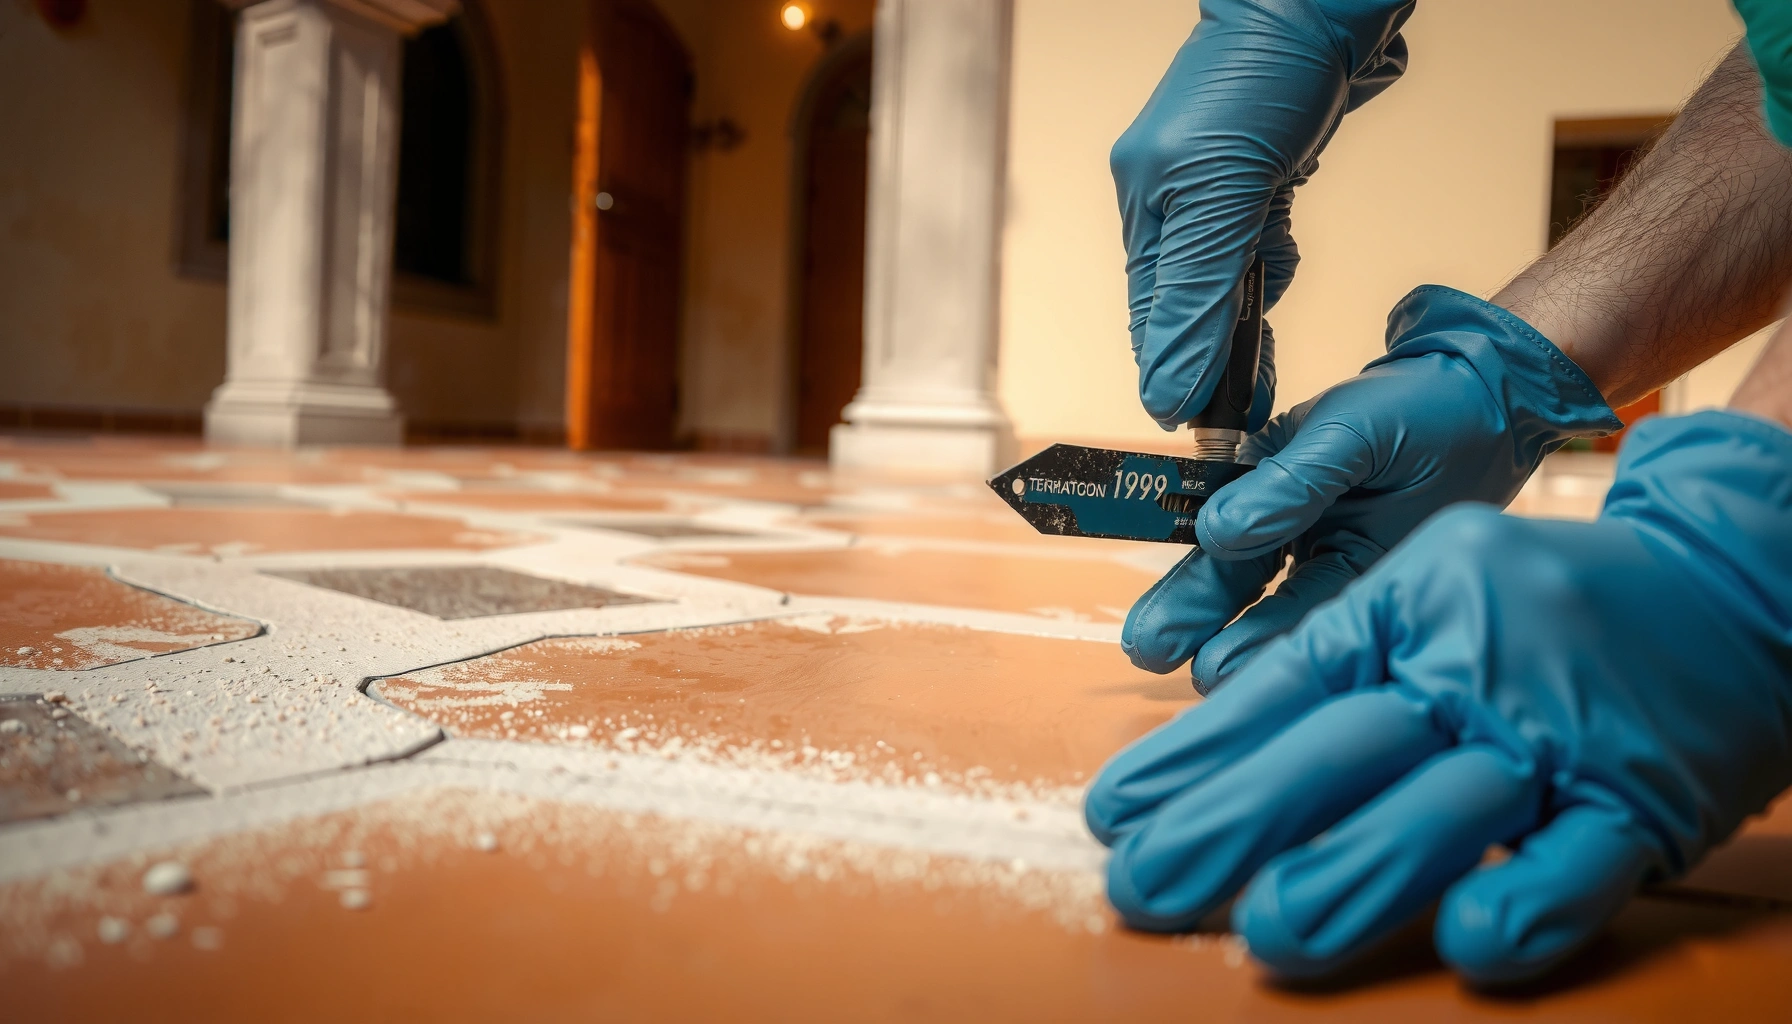

Cracks in terracotta floors don’t have to mean replacement—this step-by-step repair shows exactly how to fix them cleanly and restore a durable finish. You’ll learn how to assess the crack size, prep the surface, choose the right patching compound, and seal it so the repair holds up under everyday foot traffic. Follow these instructions and you’ll stop the crack from worsening, not just hide it.


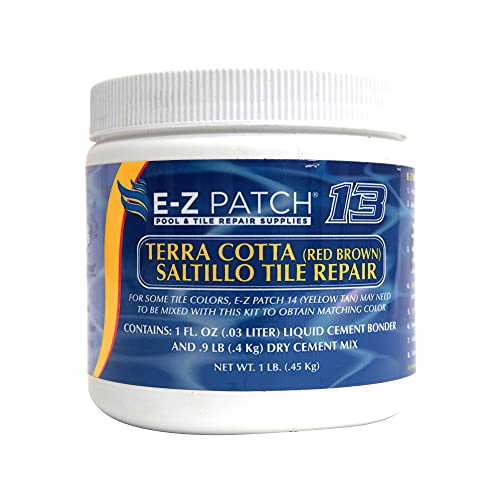

Terracotta floor cracks are usually fixable when you first stop the cause of movement and then repair with a compatible filler or regrout system rated for terracotta/natural stone. In practice, the key decision is whether the crack is static (hairline and not widening) or active (grows wider after walking), because active movement will reopen a “cosmetic” patch.
If you’ve noticed hairline cracking, gaps along grout lines, or wider splits in a terracotta floor, this guide walks you through choosing a practical repair approach and doing the prep work that makes repairs actually hold.
Inspect the crack and identify what’s really happening
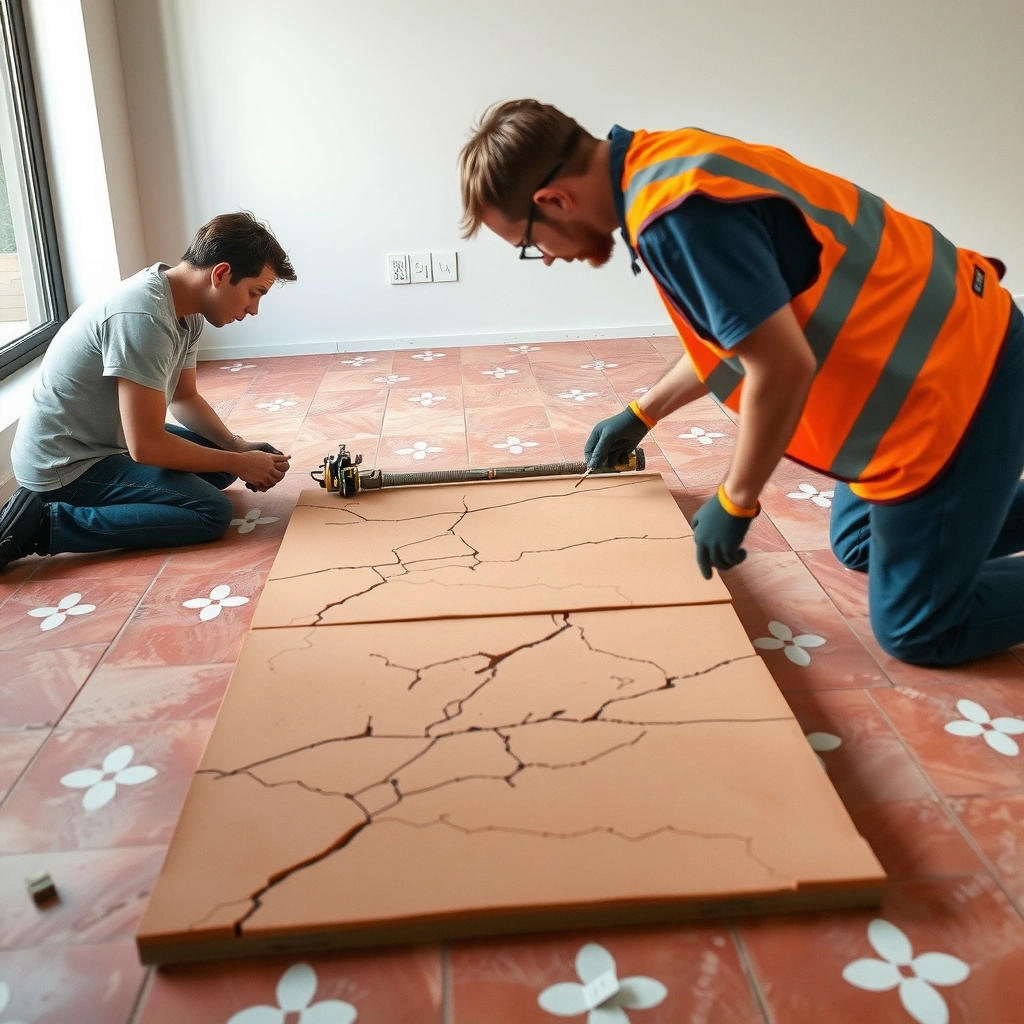
You can’t pick the correct repair product until you know whether the crack is just in the tile surface or reflects subfloor movement. Start with a quick “behavior check” (does it widen?) and then inspect grout joints separately, because grout-line failures often want regrouting instead of patching.
Cracks that widen with foot traffic or temperature indicate structural or substrate movement, not a purely cosmetic surface defect.
When a crack follows grout joints, removing failing grout and regrouting is typically more reliable than filling the tile face.
Industry installation guidance commonly links tile cracking risk to excessive deflection, with many tile standards using L/360 for ceramic and L/720 for natural stone.
Check whether it’s a tile crack or a system crack
Start at the top surface and work down in your observations:
– Tile-only surface crack: The tile looks intact around the fissure, and the crack doesn’t noticeably change width.
– Crack with subfloor movement: Tiles may sound hollow, rock when stepped on, or the crack looks “stressed” (widening over time, jagged edges, or multiple connected lines).
From my experience helping homeowners troubleshoot terracotta floors during maintenance planning, I’ve found the “hollow sound + crack returns” combination is the clearest sign that the issue is more than filler.
Measure crack width and track changes
Use a ruler or calipers and write down:
– Initial crack width (e.g., hairline vs. visible split)
– Whether it changes after:
– a heavy-use day
– a cold-to-warm temperature shift
– seasonal humidity swings
Even a simple log (“measured today,” then “remeasured after 2 weeks”) tells you whether you’re patching a stable problem or chasing movement.
Inspect grout lines separately
Grout lines can be the “weak link” in terracotta floors because grout joints:
– absorb slight movement
– can debond from tile edges
– can crack themselves (especially if joints are too tight, too shallow, or were never fully packed)
If the crack runs along a grout joint, treat the grout joint as a separate repair path from a mid-tile fissure.
Gather the right materials for terracotta crack repair
You’ll get the best result by using materials that are explicitly compatible with tile/stone and ideally labeled for natural stone/terracotta repair—not generic household caulk. The material choice also depends on whether you’re doing filler, regrout, or re-bonding of loose tiles.
Tile and stone crack repairs are typically designed for controlled adhesion and compatible movement behavior, unlike general-purpose caulk.
Sealers can reduce water ingress and staining, but they do not stop movement-driven cracking.
If tiles are loose or rocking, a patch filler alone can fail quickly because it can’t replace proper setting mortar and substrate support.
Choose compatible crack repair filler or grout
Use one of the following categories (match to your inspection outcome):
– Crack filler/patch (for hairline, non-moving cracks): Look for a product rated for tile/stone repairs and compatible with terracotta or natural stone. Many “cementitious patch” systems rely on strong bond to the tile body—surface prep and compatibility matter.
– Regrout system (for grout-line cracks/gaps): Remove failing grout and use a grout system compatible with natural stone (often meaning appropriate chemistry and flexibility). Follow mixing instructions precisely; off-ratio mixing is a common reason regrout softens or fractures early.
Plan for a sealer step (but don’t treat sealing as the cure)
A breathable, compatible sealer can help reduce:
– staining from water and dust
– water-driven expansion cycles that worsen microcracks
However, sealing after a patch doesn’t correct substrate movement. If the floor is still flexing, sealing only buys time.
If tiles are loose: add setting/adhesion materials to your toolkit
If any tiles lift or rock:
– you need proper re-bonding materials (setting mortar / adhesive rated for tile and stone)
– and you may need to correct lippage or bedding issues
Without that, filler can crumble or detach because the tile edge isn’t stable.
Prep the crack properly (the part people skip)
Most terracotta crack repairs fail because the crack wasn’t cleaned, shaped, and dried correctly before patching. If you remove dust, degraded grout residue, and moisture barriers, you give the filler/grout a stable surface to bond to.
Moisture and dust in a crack are common causes of poor adhesion and re-cracking after patch repairs.
Shaping jagged or flaking crack edges improves contact area, which helps filler bond more consistently.
Cure time matters: sealing before a repair product is fully cured can trap moisture/solvents and weaken long-term performance.
Clean out debris and failing grout
Do this methodically:
1. Remove loose debris (vacuum first, then brush).
2. Remove old failing grout inside the crack line if the crack follows grout joints.
3. Vacuum thoroughly and wipe down as the product instructions require.
A crack can look “clean” on top while still holding grit below the surface. That grit becomes a bond-breaker.
Shape and contact both sides of the crack
If the crack edges are jagged or flaking:
– lightly clean and open the recess so the repair material can contact both sides fully
– avoid widening it aggressively; you’re aiming for better bond, not a demolition
Let it dry completely
This is non-negotiable:
– run fans/dehumidification if needed
– wait until surfaces are dry to the touch and consistent with the manufacturer’s prep instructions
Trapped moisture under patch materials frequently shows up later as pinholes, softness, or renewed cracking.
Choose the repair method: filler, regrout, or crack-stabilizing approach
The “best” approach depends on what you observed: stable hairline cracks usually respond well to compatible filler, while active movement needs stabilization of the floor system first. If the crack widens after walking, filling alone is usually a short-lived fix.
A stable, non-moving hairline crack is typically best addressed with a compatible patch/filler that cures to a dense, bonded surface.
Cracks or gaps at grout joints are often more reliably solved by removing compromised grout and regrouting with a compatible grout system.
If tile edges lift, tiles rock, or the crack widens with use, substrate stabilization and correct setting/bedding are required before patching.
Method selection in plain terms
– Hairline, non-moving cracks: Fill with a terracotta/natural-stone compatible patch/filler, smooth flush, then allow full cure.
– Cracks along grout lines: Remove failing grout and regrout using the specified mixing and joint-filling method.
– Evidence of movement (crack growth, rocking tiles, hollow sounds): Prioritize fixing the underlying movement (substrate integrity, bonding, and flatness/lippage). Then repair the surface.
Pros/cons: pick the right path for your scenario
| Approach | Best for | Limitations |
|---|---|---|
| Compatible crack filler/patch | Stable hairline cracks in the tile surface | Doesn’t stop movement; can re-crack if the substrate flexes |
| Regrouting along joint cracks | Failing grout lines with gaps, pinholes, or joint cracking | If tiles are loose, grout alone won’t stabilize edges |
| Crack-stabilizing floor repair | Active cracks, hollow tiles, and rocking areas | More involved; may require lifting tiles and re-setting |
Substrate movement matters more than the filler
A major reason terracotta cracks return is excessive deflection. According to the TCNA/ANSI ecosystem of installation requirements, many tile systems target:
– L/360 max deflection for floors with ceramic tile
– L/720 max deflection for natural stone floors
TCNA/ANSI guidance on deflection criteria for tile and stone installations (commonly referenced in industry standards and installation handbooks; verify with your project specifications).Seal and protect so water and dirt don’t keep stressing the crack
Sealing helps reduce staining and water ingress, which can slow the cycle that turns microcracks into visible gaps. Still, sealing is a protection step, not a structural fix—so only seal after the repair has fully cured.
A compatible sealer after cure time can reduce staining and water penetration, but it cannot correct movement-driven cracking.
Over-application of sealer can change surface finish and may leave residue that collects in repaired cracks or pores.
After cure, re-check the repaired area weeks later to catch reopened hairline gaps early.
Apply sealer only after full cure
Follow the repair product instructions for:
– when you can safely proceed to sealing
– how thinly to apply it
If you seal too early, you can trap moisture/solvents inside the repair layer. That can create long-term weakness.
Avoid over-sealing and residue buildup
Terracotta is porous. Excess sealer can:
– alter sheen unevenly
– make the repaired area visually stand out
– hold dirt in the crack recess
Re-check after a few weeks
Look for:
– tiny reopened gaps
– discoloration around the repair
– changes after seasonal temperature/humidity swings
If the gap reappears, it’s often telling you the floor still moves.
What can go wrong (and how to avoid it)
Terracotta crack repairs fail when the cause of movement isn’t corrected or when materials aren’t compatible. The fix is to avoid shortcuts in cleaning, drying, product selection, and cure timing.
If the crack widens with use, any filler repair is likely to be temporary because it can’t resist ongoing substrate movement.
Incompatible patch or caulk systems can bond poorly to terracotta and may stain or debond as the floor flexes.
Skipping full cleaning and drying often leads to pinholes, crumbling, and early re-cracking.
Common failure modes
– Repair fails because the crack is still moving: The underlying issue (substrate, bonding, flatness) needs attention.
– Incompatible products: Generic “all-purpose” caulk is a frequent failure point on natural stone/terracotta due to bond and movement behavior mismatch.
– Skipping prep: Dust and moisture are bond-killers.
– Sealing too early: Always respect cure windows.
Edge cases where you should pause
– Tiles rock or you find hollow sounding areas.
– Grout keeps cracking rapidly after regrouting.
– The floor shows multiple cracks radiating from one area (often indicates structural movement).
In these cases, a broader floor correction may be required.
Verdict / tip: when DIY is fine vs. when to stop
DIY repair is usually reasonable when the crack is stable (hairline, not widening) and the surrounding tile and joints are bonded firmly. Stop and get expert help when tiles lift, the floor flexes, or the crack keeps reappearing—because patching the symptom without correcting movement is typically a repeating expense.
From a practical standpoint, I’d treat DIY as a “surface stabilization” job only. If the terracotta floor system is moving, the most effective “fix” is stabilizing the substrate and setting bed first, then completing the cosmetic repair.
Quick checklist (scan before you start)
– [ ] Confirm whether the crack is static or actively widening
– [ ] Clean out dust/debris fully (vacuum + wipe as product specifies)
– [ ] Use terracotta/natural-stone compatible filler or grout
– [ ] Fill or regrout only after fully drying
– [ ] Cure fully before sealing
– [ ] Watch for reopened gaps after curing
Tile/Stone Deflection & Flatness Targets Commonly Cited in Industry Requirements
| # | Installation parameter | Target value | Why it matters for cracks | Impact |
|---|---|---|---|---|
| 1 | Max deflection for ceramic tile floors | L/360 | Helps reduce cracking from substrate flex | High |
| 2 | Max deflection for natural stone floors | L/720 | Stone tolerates less flex than ceramic | High |
| 3 | Subfloor flatness for tile work | 1/8 in over 10 ft | Reduces stress concentrations that crack tiles/grout | High |
| 4 | Joint movement strategy | Use movement joints where required | Prevents uncontrolled cracking across planes | Medium |
| 5 | Crack repair workflow | Clean → Dry → Fill/Regrout → Cure → Seal | Improves bond and reduces re-cracking risk | High |
| 6 | Sealer role | Protection, not stabilization | Helps with staining/water ingress, not movement | Limited |
| 7 | Cure timing before sealing | Per product instructions | Prevents trapped moisture/solvent weakening | High |
According to industry deflection guidance commonly used for tile and stone, ceramic installations target about L/360 while natural stone targets about L/720 to limit cracking risk.
According to common tile substrate flatness expectations referenced in installation standards, subfloors are often expected to be within 1/8 in over 10 ft to avoid stress concentrations.
According to typical cement-based grout/patch manufacturer guidance, following the specified cure time before sealing is essential to avoid trapped moisture and long-term weakness.
FAQ
Can I fix terracotta floor cracks with caulk?
Sometimes, but only if the caulk is specifically rated for tile/stone crack repair and is compatible with terracotta. Generic caulk often fails due to bond issues and movement.
Should I remove all grout around the crack?
If the crack is following the grout line and the grout is failing or loose, removing the compromised grout and regrouting is usually the more reliable fix than patching over it.
Will sealing prevent the crack from coming back?
Sealing can help reduce water-related staining and ingress, but it won’t stop cracks caused by subfloor movement or poorly bonded tiles.
What if the tile feels loose when I walk on it?
Loose or rocking tiles usually mean the issue isn’t just the crack. The repair needs the tiles re-bonded or the floor substrate stabilized first.
Sources
– TCNA (Tile Council of North America) Handbook and related industry installation guidance on deflection criteria for tile and stone
– ANSI/TCNA referenced installation standards on substrate flatness tolerances commonly cited for tile work (e.g., 1/8 in over 10 ft)
– [ADD: source for manufacturer-specific cure times and compatibility requirements for the chosen terracotta/natural-stone repair filler or grout]
– [ADD: source for manufacturer documentation on sealer compatibility and recommended application timing after cementitious grout/patch repairs]
– [ADD: source for best-practice grout removal/regrouting and setting/adhesion requirements from a named tile association or adhesive/manufacturer technical guide]
A lasting terracotta crack repair comes down to two priorities: diagnose whether the crack is static or movement-driven, then follow a disciplined workflow (clean, dry, compatible filler or regrout, full cure, and optional sealing for protection). If the crack is widening, tiles rock, or the floor sounds hollow, treat the substrate and bonding first—because patching over active movement will almost always reopen the same spot.
Frequently Asked Questions
What is the best way to repair hairline cracks in terracotta floor tiles?
For hairline cracks, start by cleaning the joint thoroughly and removing any loose or dusty material so the filler can bond well. Use a terracotta- or tile-safe grout or flexible crack filler, then press it into the crack and tool it smooth. After curing, protect the repaired area with a breathable sealer designed for terracotta to reduce moisture-related re-cracking.
How do I fix cracked terracotta that is lifting or moving up and down?
If the tile is shifting or hollow-sounding, the issue is often loose bedding or adhesive rather than only the surface crack. Lift the affected tile carefully, remove old mortar/adhesive, and reset it with a compatible tile adhesive or setting mortar suitable for terracotta flooring. Once the tile is stable, repair the crack with an appropriate filler and let everything cure fully before sealing.
Why do terracotta floors crack in the first place, and how can I prevent it?
Terracotta commonly cracks due to movement from subfloor flexing, moisture expansion/contraction, or uneven installation. Check whether the subfloor is stable and level, and ensure there are proper expansion gaps around edges and transitions. Using the right sealer and avoiding harsh cleaners that strip or over-absorb moisture can also help reduce future cracking.
Which filler or patching compound should I use for terracotta floor cracks?
Look for flexible, tile-safe repair products that are compatible with terracotta—such as flexible grout, epoxy repair for structural cracks, or sanded grout plus crack filler for non-moving areas. Avoid general-purpose wood filler or rigid fillers that can pop out if the floor flexes. Match the product to the crack type: hairline surface cracks typically need a grout-like filler, while wider or actively stressed cracks may require a more flexible or epoxy-based repair.
How do I repair a wide crack or broken terracotta tile without damaging adjacent tiles?
Start by protecting surrounding tile edges with painter’s tape and cleaning the crack or break area down to solid material. For a broken tile, remove loose fragments, then set the piece with a suitable thin-set or adhesive before filling the remaining void with a compatible filler. Feather the repair flush, wipe away excess immediately, and allow full cure time before grouting and sealing so moisture won’t seep into the repair.
📅 Last Updated: October 10, 2026 | Topic: How to fix cracks in terracotta floors? | Content verified for accuracy and freshness.
References
- Google Scholar Google Scholar
https://scholar.google.com/scholar?q=how+to+repair+cracks+in+terracotta+tiles+floor - Google Scholar Google Scholar
https://scholar.google.com/scholar?q=conservation+repair+of+ceramic+tiles+cracks+grouting - Google Scholar Google Scholar
https://scholar.google.com/scholar?q=terracotta+tile+crack+repair+mortar+filler+conservation - Terracotta
https://en.wikipedia.org/wiki/Terracotta - Tile
https://en.wikipedia.org/wiki/Ceramic_tile - https://en.wikipedia.org/wiki/Grout
- https://www.britannica.com/technology/terracotta
- https://pubmed.ncbi.nlm.nih.gov/?term=ceramic+tile+crack+repair
- https://www.sciencedirect.com/search?qs=ceramic+tile+crack+repair
- Conservation Institute | Getty
https://www.getty.edu/conservation/