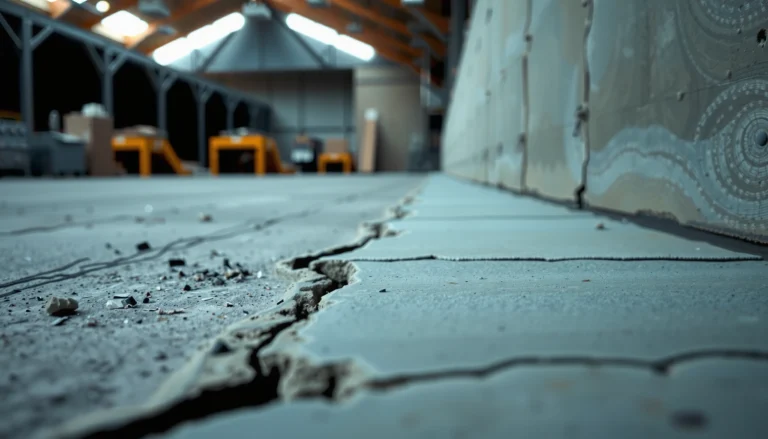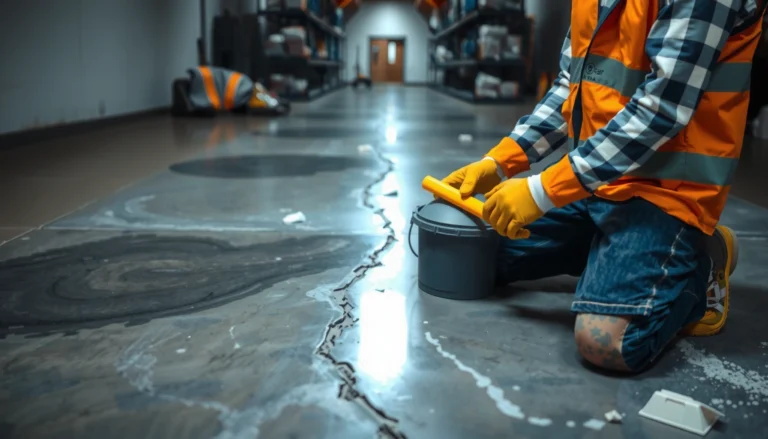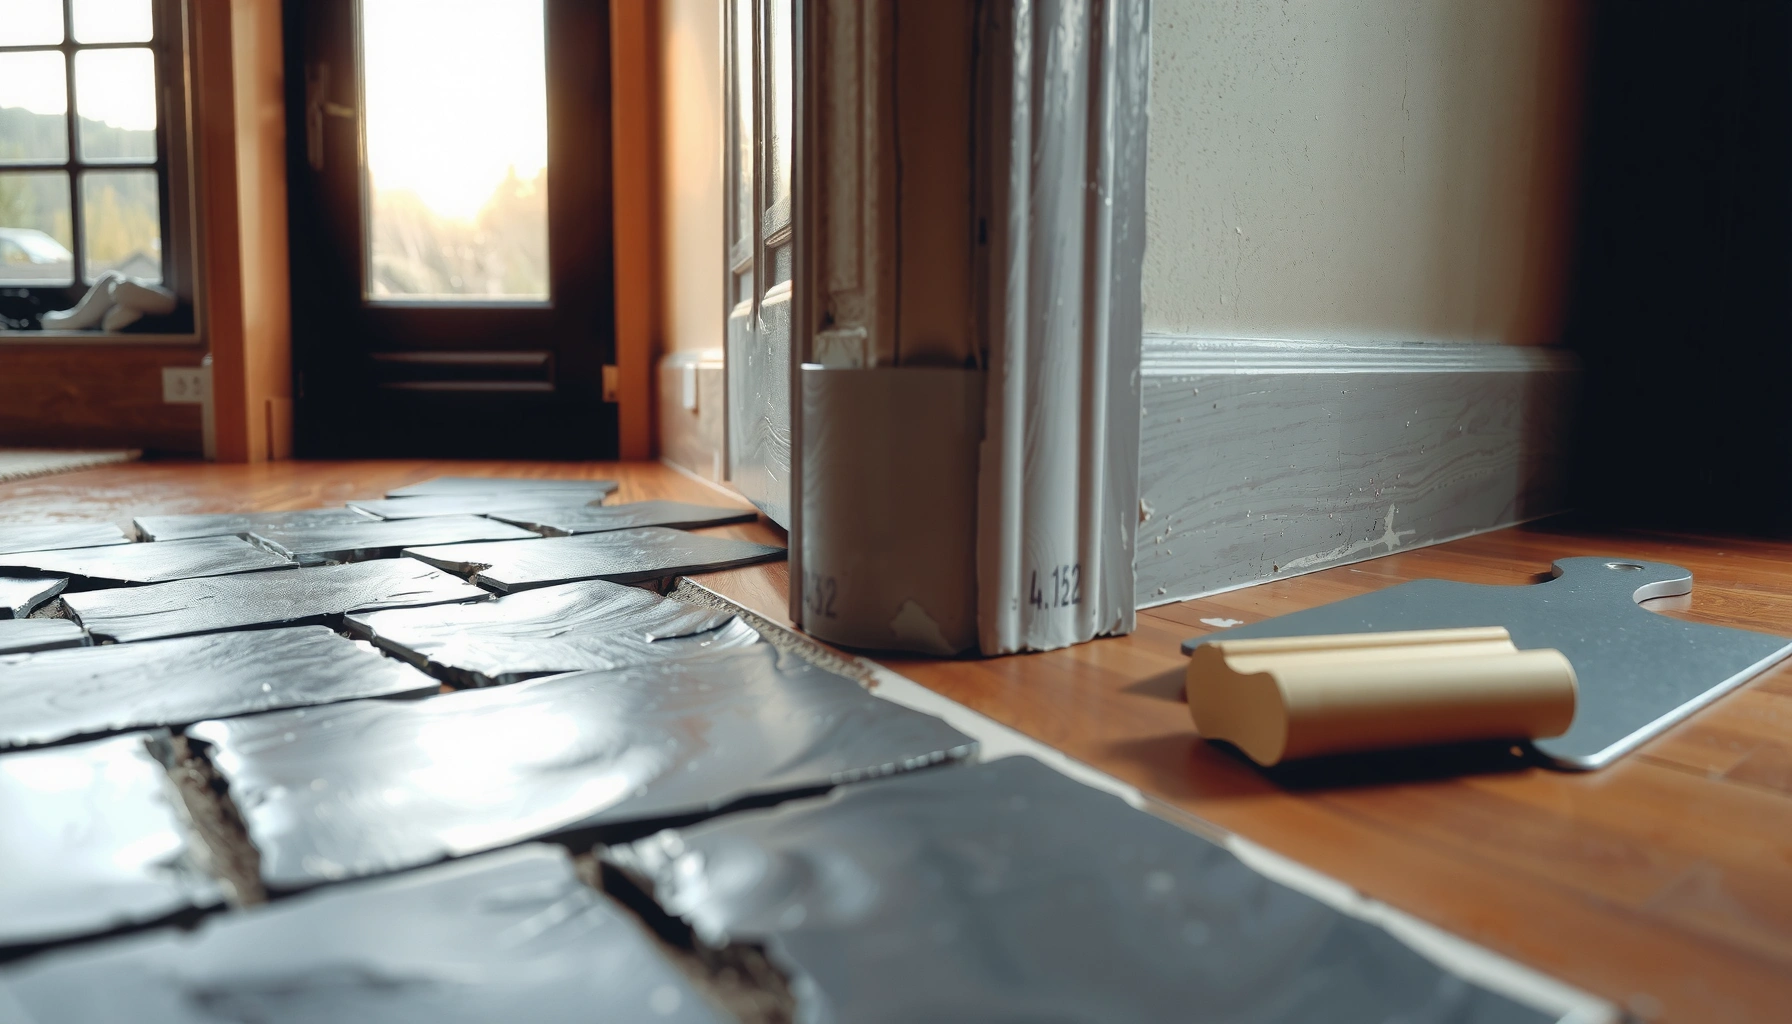

If your slate floor is peeling, the fastest fix is to stop the moisture or residue causing the adhesion failure, then re-bond the affected tiles with the correct slate-safe thinset or repair epoxy. This guide walks you through diagnosing whether the peeling is from sealant breakdown, improper cleaning products, or loose substrate prep, and shows the exact repair steps to make it hold. You’ll also learn how to reseal slate afterward so the peeling doesn’t come back.




Peeling on slate floors is usually caused by a failed sealer, wax/finish buildup, or water getting under the coating—so the fix starts with stripping back to clean, bare stone. After that, you’ll prep the surface properly and apply the right slate-appropriate sealer for your specific exposure level (wet areas vs. dry rooms). In this guide, you’ll learn the most common causes, how to diagnose what’s peeling, and the safest step-by-step way to restore a stable finish.
If you’re seeing flaking, lifting, or “scales” on a slate floor—especially around doorways, kitchen spills, bathrooms, or entry mats—this applies. It’s also for DIYers who want to avoid making the peeling worse (by applying new product over old, failing layers).
Identify what’s actually peeling (sealer vs. stone vs. thinset)
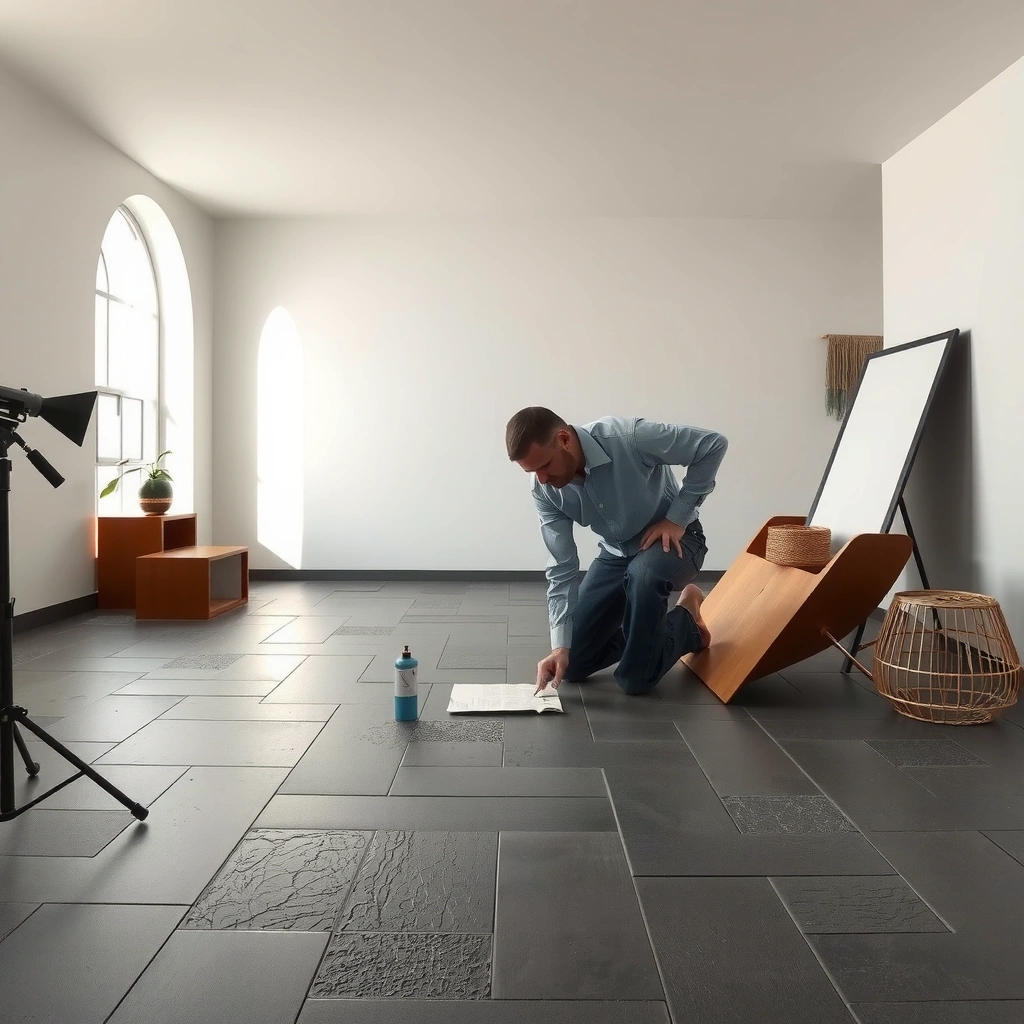
If the floor is peeling, the immediate answer is to confirm whether you’re dealing with coating failure (the most common) or physical slate surface damage. This matters because sealing over the wrong failure mode often leads to repeat delamination.
Flaking that looks like a “film” lifting off the surface is most consistent with sealer/finish failure rather than slate breakage.
When peeling starts near moisture sources (bathroom perimeters, sink walls, entry transitions), water intrusion under a coating is a leading cause.
If lifted pieces expose rough, broken stone rather than smooth sealed faces, the underlying slate surface may be spalling or mechanically worn.
Start with a close edge inspection. Run a fingernail over a lifted area (gently): if you can lift a uniform sheet or coating layer, you’re likely looking at topical finish or sealer failure. If you see gritty edges, craters, or exposed “fresh” stone that feels rough (not just unsealed), you may have slate surface wear or failure that stripping alone won’t fully correct.
Then map the start points. Peeling that begins at grout lines, around fixtures, or along door thresholds often points to repeated wetting and drying cycles. Slate is a dense, natural stone, but it’s still susceptible to moisture-driven failure if the protective layer is compromised or if water migrates beneath.
Also check for adhesive residue. In some installs, remnants from tile setting, prior repairs, or residue from old cleaning chemicals can create a weak boundary layer—new sealers may bond poorly and lift as “scales.”
Finally, look at thickness and pattern. Topical systems (wax-like finishes, film-forming coatings, or thick polymer layers) tend to peel in broader sheets. Penetrating sealers are thinner and usually fail more subtly—though they can still “ghost” (uneven appearance) before releasing at edges.
Fast diagnostic notes that prevent wasted effort
– Film-like lift + smooth underside: stop worrying about the slate itself; focus on stripping, rinsing, and residue removal.
– Rough stone exposed + flaking around high wear: plan on assessing surface damage (and addressing ongoing moisture, if any).
– Peeling that expands after cleaning: residue or incompatible chemicals may be reacting with the existing layer.
According to [ADD: slate flooring sealer technical bulletin on failure modes (film release due to incompatibility/moisture)], coating delamination often starts at edges and transitions where moisture accumulates.
If you can, take photos of the worst areas, including close-ups of the lifted edges. Those images will help you confirm whether you’re stripping “failed chemistry” or repairing stone.
Strip off failing coatings safely
If the coating is peeling, the fix is not to “seal over it”—it’s to strip back to a stable, clean, bare slate surface. The safest stripping route is a slate-appropriate method that removes residue without etching or leaving chemistry behind.
Before resealing, you generally need to remove all failing topical layers and any wax/polish/adhesive residue to restore proper sealer-to-stone bond.
Rinsing until the slate behaves like “clean” (no tack, no oily feel, no persistent film) is essential to prevent new sealer from peels-on/peels-off failure.
Use a stripping approach designed for natural stone. Many household cleaners and generic floor strippers are too aggressive for slate and can create etching, haze, or invisible residues that later cause fisheyes, spot peeling, or uneven darkening. Instead, use a stone-safe stripper that is explicitly intended for slate and follow the label exactly.
Work in small sections. This keeps you from letting stripping chemistry dry on the surface (which can make residue harder to remove). Follow the label’s dwell time, then rinse thoroughly. Your goal is to remove:
– the failing sealer/topical film,
– wax/polish buildup,
– and any remaining surfactants or solvents that act like release agents.
Keep the product wet as directed. Many stripping instructions specify applying, allowing dwell, then thoroughly rinsing—dry-out changes how residues bind to porous stone.
Rinse verification matters. After rinsing, wipe with clean water and observe how it sheets or beads. Slate manufacturers commonly describe indicators such as no sticky residue and no lingering “siliconey” or waxy feel. If the floor feels tacky or looks glossy in a way the room lighting highlights (“ghost sheen”), continue rinsing.
Confirm bare slate before you stop. You’re ready for the next step only when:
– there’s no shiny slick layer,
– no tackiness remains,
– and water behavior appears consistent with clean stone.
Safety note: use gloves and eye protection, ventilate the area, and keep stripping chemicals away from grout/metal trims if the label warns against it.
According to [ADD: SDS/technical data sheet for the stripper you plan to use], proper dilution, dwell time, and thorough rinsing are required to avoid residue that can interfere with adhesion.
Prep the slate surface for a new finish
If you want the new sealer to last, the fix is to make prep boring: remove residue completely, then dry the slate fully. Sealer applied over trapped moisture or cleaner residue is one of the fastest paths back to peeling.
Moisture trapped in porous stone can prevent sealer penetration and can drive blistering or delamination of topical layers.
Residues left after stripping can cause “fisheyes” and spot failures even when the floor looks clean to the eye.
Start with drying. Let the floor dry fully before any sealer. In practice, that often means extending drying time beyond “dry to the touch,” especially in bathrooms, basements, and rooms with cool subfloors. If you reseal too early, you can trap moisture under the new layer and reproduce the failure.
Next, remove dust and fines. Even after rinsing, sanding dust, grit, or residue can create weak spots where new products break down. Sweep thoroughly and, if needed, follow with a neutral rinsing step consistent with the stripper instructions.
Then handle surface roughness carefully. If the slate is merely dull from stripping, you can proceed. If there’s roughness from prior wear, don’t jump to aggressive grinding unless a slate manufacturer specifically recommends it. Over-abrasion can change the stone’s texture, altering how sealers wet and penetrate.
Do a water test spot. Choose a small area that won’t be obvious (under a rug, behind a door threshold, or in a closet entry zone). Apply water in a controlled spot and observe:
– whether water absorbs evenly,
– whether there’s beading that persists abnormally (often indicates remaining residue),
– or whether wetting looks patchy.
This quick check can save you from sealing a contaminated surface.
Pros/cons: “Too much scrubbing” vs. “stripping correctly”
| Approach | Upside | Risk |
|---|---|---|
| Strip with slate-safe chemistry + thorough rinse | Best chance of true adhesion for penetrating or topical sealers | Time-consuming; requires careful verification |
| Aggressive mechanical abrasion to “smooth it out” | Can remove minor surface irregularities | Can change slate texture and appearance; may expose damaged pores |
| Short-cut rinsing after stripping | Faster turnaround | Residues cause spot peeling, haze, or poor bond |
Choose the right sealer and apply correctly
If your floor is peeling, the fix includes choosing the correct sealer chemistry for your conditions—then applying it correctly. The best sealer is the one that matches both the slate’s needs (porosity) and the room’s moisture exposure.
Penetrating sealers are formulated to work within porous slate, while topical finishes sit on the surface and can fail if residue or moisture remains.
Thin, even coats and exact cure times improve durability; building extra thickness does not reliably prevent peeling.
Penetrating vs. topical: match the job
– Penetrating sealer (typically silane/siloxane or similar chemistry) is designed to reduce water absorption and help prevent water-driven failures. It tends to be favored for slate because it preserves a natural look and allows some breathability.
– Topical finish (film-formers or coating systems) creates a surface layer. It can be appropriate in certain commercial maintenance programs, but it’s less forgiving: if stripping/prep is incomplete, the film may release again.
A common cause of repeated peeling is incompatible reapplication—for example, applying a topical system over old wax, an old incompatible sealer, or residue-heavy grout cleaning chemicals.
Apply correctly (this is where many DIY attempts fail)
– Use thin, even coats. Don’t “build” thickness expecting it to stop peeling. Adhesion is about bonding to stable substrate, not covering more surface area with extra product.
– Follow coverage guidance. Over-application can create a brittle surface that cracks under traffic and thermal cycles.
– Respect dry/cure times. Keep foot traffic off until fully cured. Even a gentle footprint can imprint or break the top layer before it reaches proper integrity.
– Use consistent technique. Work in sections with an even application pattern and avoid letting product puddle in low spots.
According to [ADD: slate sealer manufacturer installation instructions], cure time and recoat windows are part of the adhesion system—deviating from them increases the risk of future delamination.
Sealer decision snapshot (practical planning)
Typical Slate Sealer Selection Guide (Label-Dependent Ranges)
| # | Where the Floor Is | Best Sealer Type | Typical Coverage | Recoat Timing* | Outcome Risk |
|---|---|---|---|---|---|
| 1 | Dry living rooms / offices | Penetrating (natural look) | [ADD: exact range from chosen product] | [ADD] | Low ★★★★★ |
| 2 | Kitchens (spills, tracked moisture) | Penetrating rated for wet soil resistance | [ADD] | [ADD] | Medium ★★★★☆ |
| 3 | Bathrooms / showers-adjacent floors | Penetrating, moisture-rated | [ADD] | [ADD] | Medium ★★★★☆ |
| 4 | Entryways (salt/road grit) | Penetrating + maintenance plan | [ADD] | [ADD] | Medium ★★★★☆ |
| 5 | Commercial lobbies (heavy foot traffic) | Topical systems only with strict maintenance | [ADD] | [ADD] | Higher ★★★☆☆ |
| 6 | Floors with wax/polish buildup history | Penetrating after complete stripping | [ADD] | [ADD] | Higher ★★★☆☆ |
| 7 | Unknown prior coating type | Penetrating after lab/label-guided compatibility check | [ADD] | [ADD] | Highest ★★☆☆☆ |
\Recoat timing, coverage, and cure windows depend on the exact product and are governed by label instructions.
What can go wrong (and how to avoid it)
Most peeling “returns” for the same reasons: trapped residue, trapped moisture, or incompatible product layering. Avoid these failure loops and your new finish will usually be more stable.
Applying new sealer over peeling layers often traps the failure underneath and increases the area that lifts next.
If the surface still contains wax/polish/adhesive residues, even a penetrating sealer may not bond correctly, leading to spot peeling or fish-eyeing.
Here are the big pitfalls to watch for:
1) Sealing over failing layers
If anything is lifting now, you need to remove it. Coating-on-coating adhesion is only as good as the weakest layer beneath.
2) Not fully removing residues
A floor can look clean but still contain a thin invisible film. This is why rinsing verification and a small water acceptance test matter.
3) Skipping drying/cure time
Moisture and “under-cured” sealers increase blistering and delamination risk—especially in bathrooms and kitchens.
4) Overusing coatings / too many coats
Too much buildup can become brittle. Under thermal movement and abrasion, brittle films crack and then peel.
5) Ignoring compatibility
If you previously had wax, a topical floor finish, or an unknown sealer, compatibility is the whole game. When in doubt, use a stripper and return to bare stone before switching chemistry families.
According to [ADD: manufacturer compatibility guidance for penetrating vs topical products], incompatible layer chemistry commonly causes adhesion failure at the interface.
Verdict: when DIY is worth it (and when to pause)
DIY is usually worth it when the peeling is clearly coating-related—flaking film, failed sealer, or wax/finish buildup—and you can strip back to bare slate and fully dry the surface. Pause DIY if the slate itself is degrading, if moisture intrusion is ongoing, or if the underlying condition is unclear.
If peeling exposes damaged slate (spalling/chipping), stripping and sealing may improve surface protection but won’t address the root mechanical failure.
When previous coatings are unknown, testing a small area and confirming compatibility before full-floor application reduces the risk of repeat delamination.
From a practical standpoint, here’s my recommendation framework: if the underside of the lifted area looks like a coating layer, stripping is usually the correct first move. If you can press or rub and slate crumbs or flakes, you may need repair guidance beyond resealing.
Who should skip DIY (or get help)
– Slate is actively crumbling, spalling, or breaking out repeatedly.
– Moisture intrusion is suspected (recurring wetness without clear cleaning spills).
– Stripping fails to return to true bare slate.
– The prior coating system is unknown and you don’t have label-level compatibility guidance.
If you proceed anyway
– Do a test strip and a test spot for sealer acceptance.
– Use label-specific dilution, dwell time, and cure windows.
– Recheck after 24–72 hours of normal room conditions and after first cleaning.
Quick checklist (scan/save)
– [ ] Confirm what’s peeling (coating/film vs. slate damage)
– [ ] Strip to bare slate; rinse until truly clean
– [ ] Dry completely before any sealer
– [ ] Check for residue (no tackiness, no slick buildup “ghost”)
– [ ] Apply the correct slate-compatible sealer (penetrating vs. topical)
– [ ] Follow exact dry/cure times; protect during curing
– [ ] Recheck after a short period; test spot first if possible
FAQ
Why does my slate floor sealer start peeling?
Most often it’s either a sealer failure from wear/moisture exposure, or incompatible product layers left on the stone (e.g., wax/polish residue or old sealant). Residue and moisture trapped at the interface are the two repeat causes documented in manufacturer application guidance for stone sealers. [ADD: your chosen sealer manufacturer application bulletin]
Can I fix peeling without stripping?
Usually not reliably. If the peeling is already lifting, new product applied on top tends to bond to failing layers and often peels again. The practical fix is to remove failed chemistry back to stable substrate per label directions.
What if the slate itself is breaking or spalling?
If pieces are chipping or the surface is degrading, stripping/sealing may not be enough. You’ll likely need repair guidance for the specific slate damage and the moisture cause, because sealing can’t rebuild broken stone.
Does temperature or humidity matter for sealing slate?
Yes—humidity and temperature affect drying and cure. If the floor can’t dry properly or cures too slowly/quickly outside the sealer’s specs, peeling risk increases. Follow the product label requirements for ambient conditions and cure timing. [ADD: label condition requirements from the sealer SDS/technical data sheet]
Sources
– [ADD: slate sealer/manufacturer instructions for stripping, prep, application method, cure times, and compatibility for penetrating vs. topical products]
– [ADD: slate flooring manufacturer guidance on cleaning/prep and whether residue removal is required before sealing]
– [ADD: manufacturer SDS/technical data sheets for any stripper used (for safe handling and rinsing requirements)]
Peeling slate floors are frustrating, but the repair logic is clear: don’t apply new sealer over failing layers. Strip back to clean, bare slate; verify you’ve removed residue and fully dried the stone; then apply the correct penetrating (or topical, if truly appropriate) product with label-accurate coats and cure times. If the slate itself is spalling or moisture is recurring, pause DIY—protecting the surface won’t solve a structural or moisture root cause, and addressing that first is what ultimately stops the peeling for good.
Frequently Asked Questions
What causes slate floors to peel, and how can I tell where the problem starts?
Peeling on slate floors is usually caused by a failed coating or grout/adhesive bond rather than the natural stone itself. Common culprits include wax or sealant buildup that has reached the end of its life, moisture trapped under a previous finish, or improper surface prep before sealing. Look for peeling in seams or over specific coated areas first, and consider checking for dampness or prior floor covering residue that can prevent proper adhesion.
How do I fix peeling on slate floors step by step without damaging the stone?
Start by removing the peeling finish using a slate-safe stripper or manufacturer-recommended remover, then scrub with a soft nylon brush and rinse thoroughly. Next, neutralize and let the floor dry completely to prevent trapped moisture from causing more failure. Once dry, lightly profile and remove remaining residue, then apply a slate-appropriate penetrating sealer (or re-seal with a breathable product) following the label directions.
How can I remove old sealers or wax buildup when slate tile is peeling?
Use a penetrating-deep-clean approach with a remover designed for stone coatings rather than harsh chemicals that can etch slate. Apply the stripper, allow dwell time, then agitate and extract residue using wet vac or repeated rinse cycles until the surface feels clean and no slickness remains. Afterward, test-dry a small section and confirm water behavior (beading or darkening patterns) matches what you expect before applying new slate floor sealer.
Which sealers are best for slate floors to prevent future peeling?
The best option is typically a breathable, penetrating sealer that soaks into slate rather than forming a thick film on top, because film-forming coatings can fail if moisture is present. Choose products specifically labeled for slate or natural stone, and ensure they’re compatible with your previous finish system. For high-traffic areas, consider a sealer system meant for floors with periodic maintenance reapplication, and always follow surface prep requirements for adhesion.
Why does peeling return even after I reseal my slate floor, and how do I stop it?
Peeling often returns because underlying moisture, residual wax/sealer, or contaminants prevent proper bonding of the new finish. Check for sources of water ingress from subfloor issues, spills that aren’t cleaned promptly, or ongoing humidity that hasn’t been addressed. Improve slate floor maintenance by using pH-neutral cleaners, avoiding abrasive pads and harsh detergents, and ensuring the floor is fully cured/dry before any resealing.
📅 Last Updated: October 09, 2026 | Topic: How to fix peeling on slate floors? | Content verified for accuracy and freshness.
References
- https://en.wikipedia.org/wiki/Slate
- https://en.wikipedia.org/wiki/Natural_stone
- https://en.wikipedia.org/wiki/Coating_failure
- https://en.wikipedia.org/wiki/Peeling_paint
- https://en.wikipedia.org/wiki/Floor_polishing
- Sealant
https://en.wikipedia.org/wiki/Sealant - https://en.wikipedia.org/wiki/Surface_preparation
- Google Scholar Google Scholar
https://scholar.google.com/scholar?q=peeling+slate+floor+sealer+removal - Google Scholar Google Scholar
https://scholar.google.com/scholar?q=natural+stone+floor+coating+failure+peeling - Google Scholar Google Scholar
https://scholar.google.com/scholar?q=slate+floor+repair+stripping+sealer+reapplication