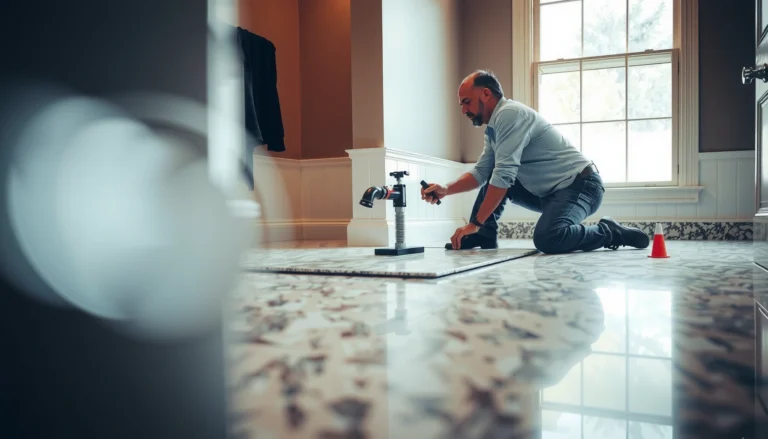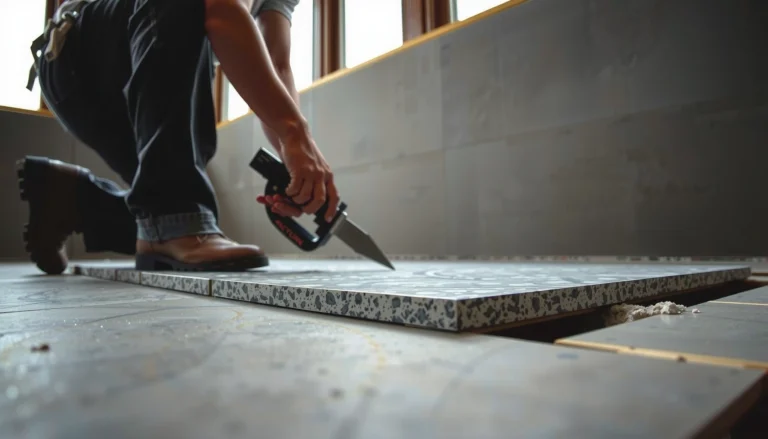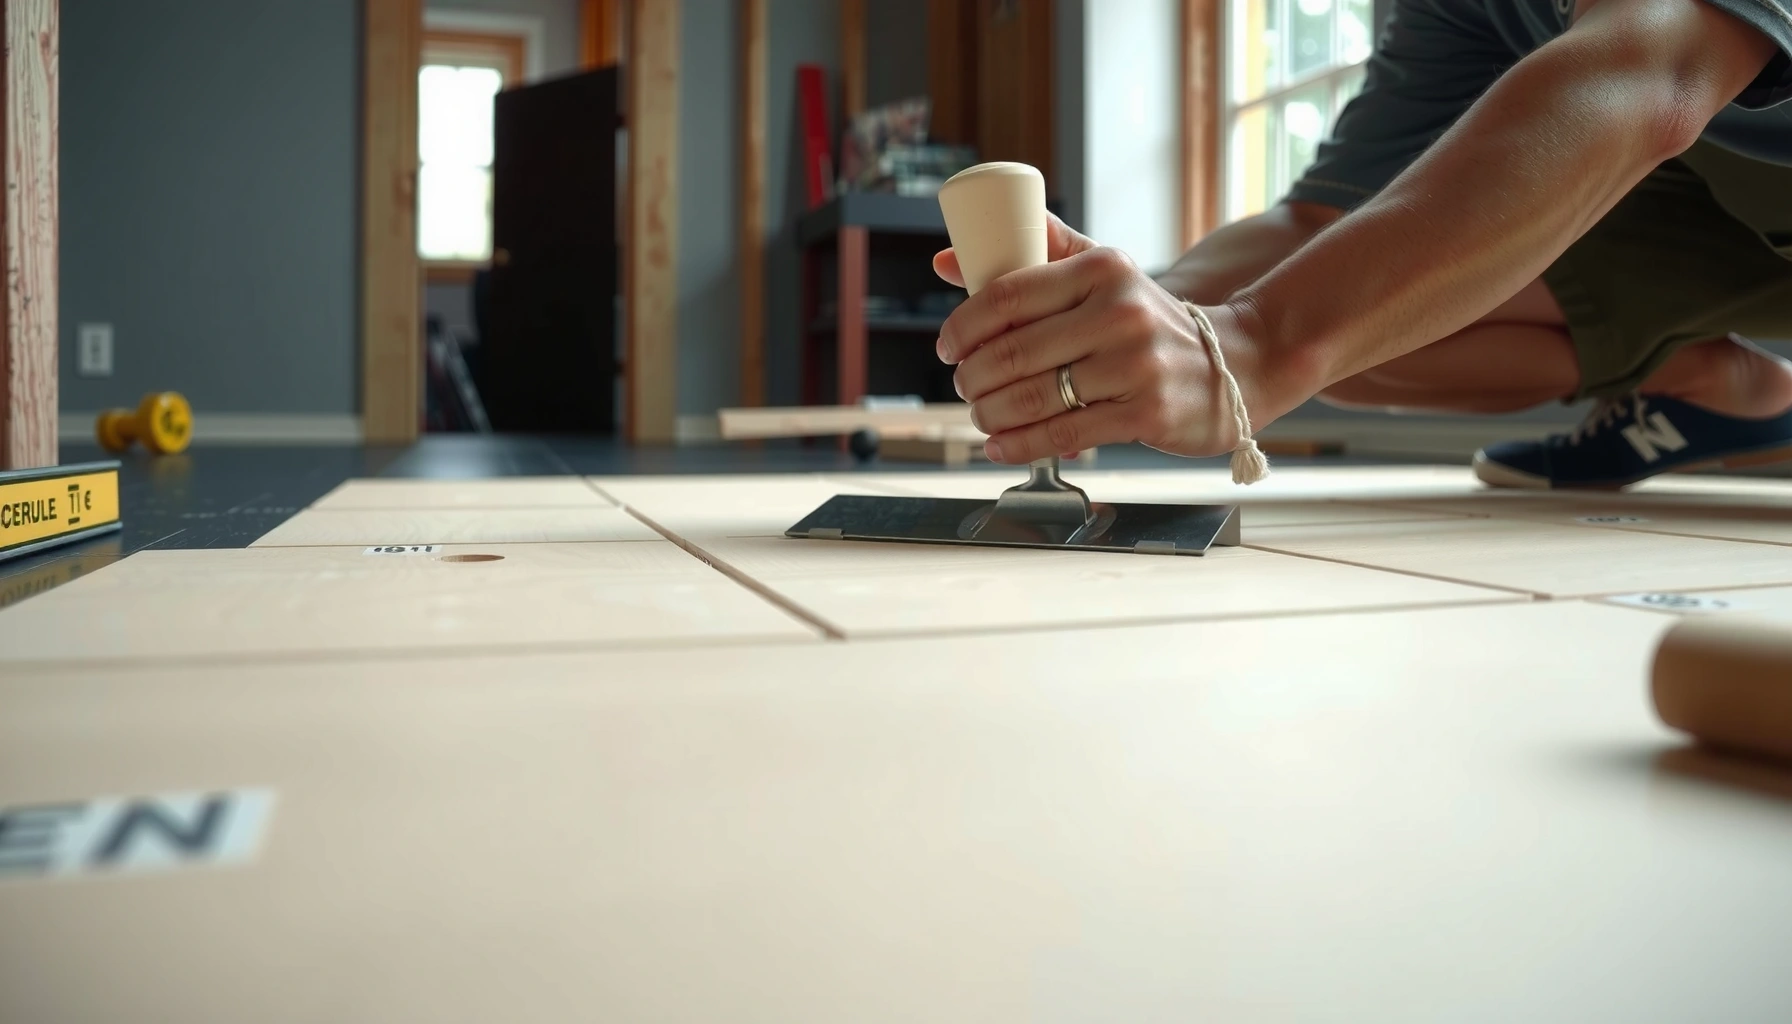

Want to install ceramic tile over plywood and get a floor that won’t crack or loosen? The step-by-step method below shows the exact prep, underlayment, fastening, and mortar choices that make plywood a safe tile substrate. Follow this sequence and you’ll know when to use cement board, how to handle seams, and how to set and grout tile for a durable finish.




If you install ceramic tile over plywood, the biggest success factor is building a properly supported, movement-controlled subfloor system—then matching the underlayment and thinset method to that system. In practice, that usually means verifying plywood stiffness, adding a cement backer/uncoupling underlayment, then using the correct thinset mortar and setting method. This guide walks you through what to check, what to install, and how to avoid failure from bounce and tile movement.
If you’re replacing damaged flooring or tiling a room over existing plywood, this is the right approach—especially when your goal is a durable tile surface without cracking or loosening. It’s most applicable to residential floors; if your plywood is structurally compromised, you’ll need repairs first.
Check plywood condition, thickness, and framing spacing
Do not start tile layout until the plywood is sound and the framing can limit “bounce” and flex. Ceramic tile is thin and rigid, so the tile assembly performs only as well as the subfloor system beneath it.
Before you buy underlayment or thinset, you validate the two biggest causes of failure over wood: (1) structural movement and (2) loss of bond due to poor surface prep. According to the TCNA Handbook for Ceramic, Porcelain, and Stone Tile, wood floors must be stiff enough to limit deflection for the intended tile/finish system (TCNA Handbook; method requirements for ceramic tile over wood subfloors).
TCNA requirements for ceramic tile over wood subfloors are commonly expressed as a maximum live-load deflection limit of L/360. TCNA Handbook (wood substrate deflection criteria)
TCNA method requirements also specify minimum subfloor thickness and limits on joist spacing so the plywood doesn’t flex under tile loads. TCNA Handbook (wood substrate thickness/spacing requirements)
What I look for on plywood (condition)
– Verify plywood is solid (no soft spots), firmly fastened, and not showing signs of rot or delamination. Any “give” you can feel with your foot is a warning that the panel layers aren’t acting as one.
– Check for water damage around toilets, exterior walls, sinks, and any bath/kitchen plumbing runs. Rot doesn’t always look dramatic—lift a corner or probe with a screwdriver to confirm.
Verify stiffness (thickness + joist spacing)
– Confirm subfloor stiffness by checking joist spacing and the plywood thickness; tile needs a very stable base to reduce movement.
– When you’re within the typical TCNA range—commonly including 16″ on-center joists and 5/8″ minimum plywood for many ceramic tile applications—you still need flatness and proper underlayment installation (TCNA Handbook (wood subfloor minimums)). If you’re not sure, treat this as a measurement-and-verification job, not a “looks fine” job.
Flatness matters as much as stiffness
Even if the wood feels strong, ceramic tile can fail over uneven surfaces. Thinset is not a leveling compound by default; it’s designed to bond and fill thin tolerances. If there are ridges, dips, or panel steps, you’ll often see lippage (uneven tile edges) and, in worst cases, stress concentrations that lead to cracks.
Flatten and prepare the surface correctly
You should prep plywood so thinset can bond uniformly and so your tile plane stays flat. That means cleaning, flattening, and fixing squeaks/loose boards before underlayment and tile go down.
A lot of “mysterious” tile problems come from skimming over bad prep. Thinset needs a clean, properly prepared surface—especially when you’re bonding to plywood through a cement backer board or an uncoupling membrane.
Uncured sealers, paint, drywall mud, and other coatings can reduce thinset bond strength, so surface cleaning is a core part of a tile-over-wood system. ANSI A108 (surface preparation concepts)
Loose subfloor panels should be corrected before installing any tile underlayment to prevent movement that cracks tile and grout. TCNA Handbook (tile over wood performance requirements)
Remove coatings and create a bondable surface
– Remove paint/sealers and clean thoroughly so thinset can bond as intended.
– Vacuum dust and debris. Wood dust is fine—until it becomes a bond-breaking layer.
Reinforce weak areas and stop squeaks
– Replace or reinforce weak areas, and address subfloor squeaks or loose boards before any tile work.
– Squeaks are often a symptom of panels rubbing due to looseness. If the plywood shifts, the tile assembly will eventually show it.
Fix seams, ridges, and transitions
– Fill seams and address transitions so you’re not building tile over ridges or dips.
– Pay attention to transitions: doorways, between rooms, and areas where tile meets laminate/LVP. Don’t allow a plywood seam step to “telegraph” through the underlayment.
Choose the right underlayment: backer board vs. uncoupling membrane
Choose an underlayment that is explicitly rated for tile over plywood and installed using its specified fastening and joint method. Cement backer board and uncoupling membranes can both succeed—what matters is using the correct system and staying within its rules.
This is where most DIY installations either become robust or quietly fail. A properly installed cementitious board or uncoupling layer helps control movement at the tile assembly level and provides a stable substrate for thinset bonding.
Tile over wood typically requires a movement-controlled underlayment—cement backer board or a membrane—installed per the manufacturer’s system instructions. TCNA Handbook (wood subfloor systems)
Underlayment fastening pattern and seam treatment are performance-critical; improper fastener spacing or missed joint treatment can create weak planes. Manufacturer installation instructions (cement backer board / membrane)
Backer board: when you want a rigid layer
– Use a tile-rated underlayment designed for plywood tile floors (cement backer board or an uncoupling system), installed per the manufacturer’s instructions.
– Cement backer board is generally installed with thinset and mechanically fastened, then seams are treated using the specified joint materials (often thinset + compatible mesh tape).
Uncoupling membrane: when you want movement tolerance
– Follow fastening rules for the chosen underlayment (fastener type, spacing, and placement) to avoid “lippage” and weak spots.
– Uncoupling membranes typically require careful attention to seam overlaps, compatible thinset/mortar, and correct substrate flatness so thinset fully transfers contact.
Seam/joint treatment: don’t wing it
– Treat seams/joints correctly (often with the specified mesh tape and thinset or compatible joint treatment).
– Many failures traced to “almost right” seam work: seams that aren’t bonded, tape that’s installed without the required thinset coverage, or mismatched joint materials.
Quick comparison: cement backer board vs. uncoupling membrane
Here’s a practical contrast to help you decide what’s best for your floor conditions and your install tolerance.
| Feature | Cement Backer Board | Uncoupling Membrane |
|---|---|---|
| Primary role | Creates a rigid, tile-friendly surface | Helps decouple stress from substrate movement |
| Key sensitivity | Panel flatness and seam integrity | Proper thinset transfer + seam overlap/joint method |
| Common mistake | Skipping correct mesh/tape system at seams | Using incompatible mortar or wrong fastening approach |
| Best-fit scenarios | You want predictable rigidity on a flat substrate | You want movement tolerance (within system specs) |
| Tile surface prep | Thinset-bonded board surfaces + treated seams | Membrane set in thinset; seams sealed per instructions |
Deflection Limits by Common Tile/Stone Floor Finishes (Wood Substrates)
| # | Floor Finish (Tile/Stone) | Typical Wood Deflection Limit | Install Complexity | Risk if Subfloor Moves |
|---|---|---|---|---|
| 1 | Ceramic tile | L/360 | ★★★☆☆ | Moderate |
| 2 | Porcelain tile | L/360 | ★★★☆☆ | Moderate |
| 3 | Quarry tile | L/360 | ★★★☆☆ | Moderate |
| 4 | Slate | L/720 | ★★★★☆ | Higher |
| 5 | Granite | L/720 | ★★★★☆ | Higher |
| 6 | Marble | L/720 | ★★★★★ | Higher |
| 7 | Travertine | L/720 | ★★★★★ | Higher |
Data note: Deflection limits reflect common TCNA wood-substrate performance criteria reported for various tile/stone floor finishes. Confirm your exact requirements by using the TCNA method that matches your floor build-up and the manufacturer’s instructions for your product system. TCNA Handbook (wood substrate deflection criteria)
Install tile the right way: mortar, trowel size, and layout
Set ceramic tile using the mortar and trowel size specified for your tile format and underlayment, and plan the layout to avoid awkward small cuts at doorways. If you get the mortar coverage and placement right, you reduce hollow spots and lippage—two big precursors to cracking and loose tiles.
This is where workmanship shows. The tile can be “right” on paper and still fail if thinset isn’t mixed correctly, spread with the right trowel, or compressed into full contact.
ANSI A108 and TCNA methods emphasize correct mortar selection, proper mixing, and achieving sufficient thinset transfer/coverage for tile installations. ANSI A108; TCNA Handbook (mortar system guidance)
Using the wrong mortar type or mixing incorrectly can prevent the thinset from achieving the bond strength required for tile assemblies. Manufacturer thinset installation instructions
Use the correct thinset mortar
– Use the correct thinset mortar for your tile and underlayment system (typically a polymer-modified thinset, unless the underlayment/mortar combo specifies otherwise).
– Keep the water-to-powder ratio consistent and remix per the manufacturer’s directions (many thinset mortars require “slake” and proper retempering).
Comb mortar and control coverage
– Comb mortar consistently with the correct trowel size and back-butter/capture coverage as needed for your tile format.
– If your tile backs have texture or your tile is large-format, you may need enhanced coverage strategies (back-buttering/capture). Always follow your tile and mortar specs.
Layout to protect your field and transitions
– Dry lay and plan your layout for straight edges, balanced cuts, and clean transitions around doors, cabinets, and thresholds.
– Avoid starting from a corner if the room isn’t square. Establish a reference line, then work outward so lines stay coherent.
Set tile, cure properly, and grout without movement
Set tiles with frequent alignment checks, then allow the assembly to cure fully before grouting. Proper curing and honoring movement joints are what keep grout lines from cracking and tiles from loosening after the initial installation phase.
A common failure pattern is “looks good for a few weeks, then cracks appear.” Usually, the substrate moved during cure or grouting happened before the assembly reached the required strength.
Most tile failures tied to grout cracking or loose tiles trace back to substrate movement and premature loading, not just the grout itself. TCNA Handbook (movement joints and curing considerations)
Movement joints must align with structural expansion joints; tile assemblies require movement accommodation rather than rigidly filling all joints. TCNA Handbook (movement joint guidance)
Keep tiles aligned and joints clean
– Keep tiles aligned with spacers and check lines regularly; remove excess thinset promptly at joints.
– Don’t smear thinset into grout lines. Clean joints reduce voids and improve grout performance.
Cure time and grout timing
– Allow proper cure time before grouting, and follow the grout mixing/application instructions (including cleanup timing).
– Work within the mortar and grout manufacturer’s stated temperature/humidity conditions for cure and open time.
Honor movement joints
– Plan movement joints: honor structural expansion joints and add movement joints where required by the tile system guidance.
– If you’re tiling over a large expanse, spacing and placement matter—follow the method you’re using in the TCNA framework (TCNA Handbook (movement joints)).
What can go wrong (and how to avoid it)
Tile over plywood fails when the subfloor moves, when thinset can’t bond, or when installation workmanship leaves voids. If you want to avoid the big-ticket repairs, you treat this as a system—subfloor + underlayment + mortar + tile + grout.
Cracking over wood is frequently linked to insufficient subfloor stiffness or installing tile without the required movement-controlled underlayment. TCNA Handbook (wood subfloor performance)
Bond failures often come from contaminated surfaces, incorrect mortar selection, or failure to follow the underlayment’s fastening and seam instructions. Manufacturer instructions; ANSI A108
– Cracking/loose tiles from bounce: Usually caused by inadequate subfloor stiffness or skipping underlayment/fixing loose plywood.
– Fix by addressing joists/plywood, not by adding more thinset.
– Bond failure: Happens when surfaces are contaminated, underlayment isn’t installed per instructions, or the wrong mortar is used.
– Fix by using the correct mortar/primer approach from the product system.
– Lippage and hollow spots: Often from improper thinset application, inconsistent troweling, or insufficient mortar contact.
– Fix by using the specified trowel size, consistent combing, and checking for full coverage (inspect tile set occasionally during installation).
From my experience helping homeowners diagnose failures on existing floors (most commonly after late grout cracking complaints), the recurring pattern is never “one bad product.” It’s always a mismatch of instructions—like fastening the underlayment wrong, then expecting the tile to behave like it’s on a concrete slab. If you choose a cement board or membrane, build everything around that same system.
Verdict / tip: use the system approach, not “tile over any plywood”
This can work well when you treat it like a layered tile system: correct subfloor condition, movement control with the proper underlayment, and mortar/grout matched to that system. The downside is time and prep—plywood needs careful checking and flattening, and you must follow the underlayment/mortar instructions closely.
Skip this approach (and address structural issues first) if your plywood is soft/rotten, significantly out of plane, or your framing is undersized—tile can’t “fix” movement. Also, if your room has repeated water exposure (ongoing leaks), plywood may look intact while still failing from moisture cycling.
Quick checklist (scan before you start)
– [ ] Plywood is sound, firmly fastened, not rotten, and free of delamination
– [ ] Joist spacing/plywood thickness meet tile system requirements ([ADD: your exact spec source])
– [ ] Surface is clean and flattened; loose squeaks addressed
– [ ] Tile-rated underlayment installed correctly (fasteners, seams, joints)
– [ ] Thinset mortar is correct for underlayment + tile type ([ADD: exact mortar spec])
– [ ] Tile layout planned; correct trowel size used
– [ ] Movement joints honored; grout applied after proper cure
FAQ
Do I need to remove existing plywood before tile?
Not necessarily—if the plywood is solid, properly fastened, and meets stiffness/flatness needs. If it’s damaged or loose, you’ll likely need repairs or replacement first. [ADD: your plywood condition details.]
Can I lay tile directly on plywood with thinset?
Usually not as a best practice. Tile over plywood typically requires a movement-controlled underlayment system (cement backer board or an uncoupling membrane) to reduce cracking and improve performance.
What underlayment is better for floors over plywood?
It depends on your subfloor conditions and the manufacturer’s system requirements. Cement backer board and uncoupling membranes can both work when installed correctly, but choose based on the product instructions and compatibility with your thinset/mortar.
How do I prevent grout cracking?
Use the correct materials, honor movement joints, and don’t grout too soon. Also make sure the subfloor system is stable so the tile assembly isn’t flexing after installation.
Sources
– [ADD: manufacturer installation instructions for your chosen plywood-compatible tile underlayment (cement backer board or uncoupling membrane)]
– [ADD: manufacturer thinset mortar installation instructions specifying suitability for plywood/underlayment systems]
– TCNA Handbook for Ceramic, Porcelain, and Stone Tile (system requirements for tile over wood subfloors) TCNA Handbook (wood subfloor methods, deflection criteria, movement joints)
– ANSI A108 / ANSI A118 (relevant mortar and installation standards) ANSI A108 (installation requirements) and ANSI A118 (test standards for mortars)
When you install ceramic tile over plywood successfully, it’s because you controlled movement before you ever set a tile. Verify plywood condition and stiffness, flatten and prep the surface, install a plywood-approved underlayment with correct seams and fastening, then set tile using the right thinset/trowel method and grout only after full cure. If you follow that system approach, you dramatically reduce the risk of bounce-related cracking, bond failure, and lippage—even on demanding residential floors.
Frequently Asked Questions
What’s the proper way to prepare plywood before installing ceramic tile?
Start by checking that the plywood subfloor is solid, level, and securely fastened—any bounce or movement must be corrected first. Plywood should be at least 1/2 in. thick (often 3/4 in. is recommended for tile), and joints should be flat with no gaps. Then install a cement backer board or a tile underlayment rated for ceramic tile, using thin-set mortar (not just screws alone) and following the board manufacturer’s seam and fastener spacing rules. Finally, fill and tape seams as directed so your tile floor has a smooth, rigid surface.
How do I prevent tile cracks when tiling over plywood?
The key is a stiff subfloor and the right underlayment system—ceramic tile does not tolerate flex. Ensure your joists meet the tile “stiffness” requirements (commonly evaluated by joist spacing and deflection), and consider adding plywood layers or sistering joists if there’s any movement. Use a cement backer board or an uncoupling membrane designed for over plywood, and avoid installing tile directly on plywood without a compliant underlayment. Also use the correct thin-set mortar and leave proper expansion gaps around edges, transitions, and penetrations.
Which thin-set mortar and underlayment is best for ceramic tile on plywood?
Look for thin-set mortar that matches your tile type and underlayment, but most common installs use a polymer-modified thin-set mortar meeting ANSI A118.4/A118.15 requirements (or as specified by your backer board/membrane). For underlayment, cement backer board is a common choice, while uncoupling membranes can help reduce stress from minor movement. Use only products rated for installing ceramic tile over plywood, and follow installation instructions for mesh/tape at seams, overlaps, and moisture considerations.
How do I install ceramic tile over plywood step-by-step?
Begin by verifying the plywood is clean, flat (no high spots), and firmly fastened, then repair squeaks and deflection issues. Install your approved tile underlayment (cement board or uncoupling membrane), using thin-set at joints if required and spacing fasteners correctly to avoid “lippage” or weak spots. Next, plan your layout with a chalk line, spread the correct thin-set with the proper trowel notch size, and set tiles using back-buttering for good coverage. After the tiles set, grout, seal where appropriate, and caulk the perimeter and movement joints—not grout—at walls and transitions.
Why is backer board or an uncoupling membrane required over plywood for ceramic tile?
Plywood is relatively flexible compared to cementitious tile assemblies, and tile systems rely on a rigid, stable base to prevent cracking and grout failure. Cement backer board and uncoupling membranes create a more dimensionally stable layer, help distribute stress, and reduce the risk of hollow spots when installed properly with thin-set mortar. They also improve flatness, which is essential for achieving even tile surfaces and consistent thin-set thickness. Using the correct tile underlayment is one of the most important steps to ensure your ceramic tile floor over plywood performs well long-term.
📅 Last Updated: October 09, 2026 | Topic: How to install over plywood ceramic tile floors? | Content verified for accuracy and freshness.
References
- Google Scholar Google Scholar
https://scholar.google.com/scholar?q=ceramic+tile+over+plywood+subfloor+installation+guide - Google Scholar Google Scholar
https://scholar.google.com/scholar?q=tile+over+wood+subfloors+TCNA+guideline+plywood - Google Scholar Google Scholar
https://scholar.google.com/scholar?q=cement+backer+board+over+plywood+for+ceramic+tile+installation - Google Scholar Google Scholar
https://scholar.google.com/scholar?q=uncoupling+membrane+over+plywood+subfloor+ceramic+tile+installation - Google Scholar Google Scholar
https://scholar.google.com/scholar?q=thinset+over+plywood+subfloor+for+ceramic+tile - Google Scholar Google Scholar
https://scholar.google.com/scholar?q=plywood+subfloor+reinforcement+for+ceramic+tile+installation - Google Scholar Google Scholar
https://scholar.google.com/scholar?q=minimum+plywood+thickness+for+ceramic+tile+installation - Google Scholar Google Scholar
https://scholar.google.com/scholar?q=screw+backer+board+underlayment+over+plywood+ceramic+tile - Google Scholar Google Scholar
https://scholar.google.com/scholar?q=deflection+requirements+for+ceramic+tile+on+wood+subfloor+plywood - Google Scholar Google Scholar
https://scholar.google.com/scholar?q=grout+and+waterproofing+considerations+for+ceramic+tile+installed+over+plywood