


Want to install wood-look tile floors and want it done right the first time? This step-by-step guide walks you through measuring, prepping the subfloor, laying tiles, cutting around obstacles, and sealing for a finish that looks like real wood. If you follow these instructions, wood-look tile goes down cleanly, stays level, and delivers the durability you chose it for.




Install wood-look tile floors by prepping a flat, clean subfloor first, then dry-laying the pattern, setting tiles with the correct thinset, and finishing with grout and proper edge caulk. If you get the subfloor flatness and layout right, the rest mostly comes down to consistent thinset coverage, careful cuts, and correct curing times.
This approach fits homeowners installing porcelain/ceramic “wood-look” tile on floors (often over existing subfloor systems). It’s also useful if you’re planning a weekend DIY—or if you want to know what to double-check before hiring a pro.
Choosing the right tile, thinset, and tools
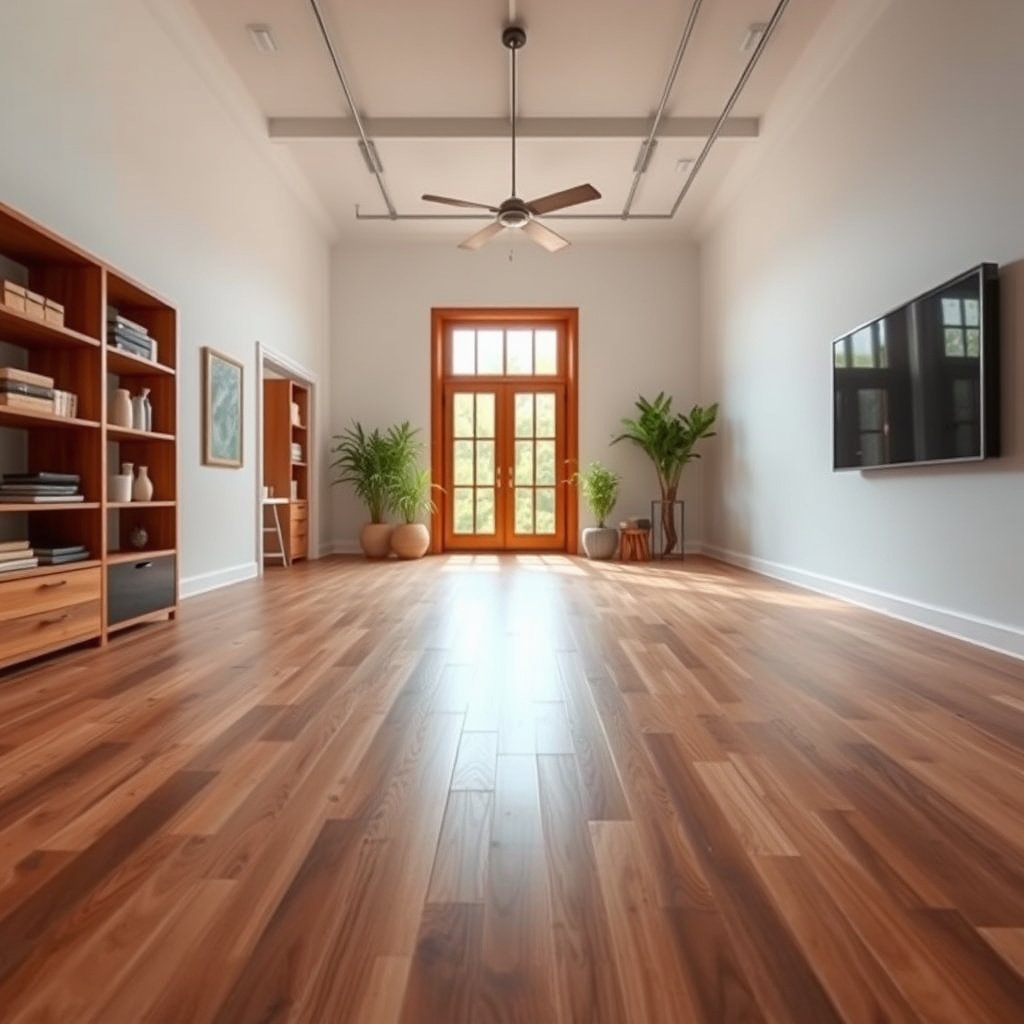
You get better-looking wood-look tile floors when you start by matching the tile type to the right thinset and the right tools for long plank cuts. In practice, wood-look tile problems usually trace back to the mortar pairing (thinset), not the tile design itself—especially once lippage and cracking show up later.
“Wood-look” tile is installed like ceramic/porcelain tile, so the thinset mortar must match the tile and substrate specifications in the manufacturer’s instructions.
Wood-look tile floors telegraph subfloor unevenness, so the tile format (plank size and thickness) matters as much as the pattern layout.
– Pick wood-look tile that matches your space requirements (interior vs. exterior, floor rating, and slip requirements if it’s a wet area).
– Use the thinset/mortar type the manufacturer specifies for your tile (and for the subfloor), plus matching grout and any recommended primer/sealer.
– Gather essentials like a margin trowel, notched trowel (size per thinset instructions), tile spacers, a tile cutter/wet saw (for clean long planks), mixing tools, and a grout float.
Mortar pairing isn’t optional (it’s the bond system)
For wood-look tile floors, “thinset” isn’t one universal product—it’s a performance system defined by standards and manufacturer listings. According to ANSI A108.5, thinset mortar coverage targets (often summarized as 80% for dry areas and 95% for wet/exterior) are critical for bond integrity when you comb out the mortar correctly. (Please verify the exact coverage method and any edition details in your ANSI/TCNA references.)
Also remember that grout and thinset cure chemistry is time- and condition-dependent. As of 2026, most manufacturer installation guides still emphasize following the specific open time, set time, and traffic/grout-cure windows on the bucket or data sheet—because wood-look tile floors are prone to “early disturb” failures when DIY schedules are aggressive.
Thinset Choices That Commonly Show Up in Wood-Look Tile Floor Installs (ANSI-aligned)
| # | Mortar standard (example listing) | Typical setting environment | Best use in wood-look tile floors | DIY-fit rating |
|---|---|---|---|---|
| 1 | ANSI A118.4 (polymer-modified dry-set) | Interior, dry floors | Most common “starting point” pairing when tile specs allow modified thinset | ★★★★★ |
| 2 | ANSI A118.4 (high-coverage premium modified) | Interior with higher loads | Long plank formats where you need strong grab and full comb-out | ★★★★☆ |
| 3 | ANSI A118.15 (improved modified dry-set) | Interior/exterior where allowed | When tile instructions permit a higher-performance modified mortar | ★★★★☆ |
| 4 | ANSI A118.7 (rapid-setting, modified) | Time-sensitive projects | Shorter set windows when you need faster progression (follow open-time limits) | ★★★☆☆ |
| 5 | ANSI A118.1 (unmodified dry-set) | Only where tile specs allow | Niche pairing—verify tile/substrate instructions before choosing | ★☆☆☆☆ |
| 6 | Large-format tile mortar (ANSI A118.15/A118.4—check listing) | LFT plank sizes where required | When wood-look planks exceed your tile system’s large-format threshold | ★★☆☆☆ |
| 7 | Modified mortar with waterproofing compatibility (system-based) | Bathrooms/shower-adjacent areas | Only as part of a full waterproofing system specified for ceramic/porcelain tile | ★★☆☆☆ |
> Note: Always follow your specific wood-look tile’s installation guide for the approved thinset and mortar standards. This table is a planning aid, not a substitute for the tile manufacturer’s instructions.
Thinset selection comparison (quick sanity check)
If you’re unsure which mortar direction to take for your wood-look tile floors, compare your options against the tile and substrate requirements first:
| Feature | Modified thinset (commonly ANSI A118.4/A118.15) | Unmodified thinset (commonly ANSI A118.1) |
|---|---|---|
| Bond strength “grab” and flexibility | Typically better for many modern wood-look installations when permitted | Harder-set chemistry; only where tile spec allows |
| Tolerance for substrate movement | Usually more forgiving when the system calls for it | Less forgiving outside approved conditions |
| Typical interior floor use | Commonly specified for porcelain/ceramic over approved substrates | Less common for wood-look tile floors today |
| Wet/exterior scenarios | Often preferred when the tile system and specs allow | Usually restricted—verify carefully |
| Comb-out and coverage requirements | Still depends on correct trowel notch and full bedding | Still requires correct notch and full contact |
| Open time sensitivity | Often workable but follow open-time limits from the bucket | Can be less forgiving outside target conditions |
| Large-format plank installations | Often chosen when the tile is in a large-format category | Not typically your default for large wood-look planks |
| Compatibility with waterproofing systems | May be required by the waterproofing manufacturer | Often limited—verify system details |
| Typical DIY learning curve | Generally easier to get right with correct combing | Higher risk if specs don’t match |
| Primary rule for wood-look tile floors | Use whatever your tile + substrate instructions approve | Don’t “assume” it’s allowed—confirm the tile doc |
| Best For | Most interior porcelain/ceramic wood-look tile floors when specs allow modified mortar | Only specific tile/substrate combinations approved for unmodified mortar |
Prep the subfloor and plan your layout
You can avoid most wood-look tile flooring failures by treating subfloor flatness as the first installation step, not the last. A good layout also prevents the “random plank offsets” that make wood-look tile floors look crooked even when the tile is perfectly installed.
“Substrate flatness” is a major acceptance criterion for ceramic tile, because wood-look tile floors will reflect high/low areas through the finished surface.
Dry-laying a wood-look tile pattern is the fastest way to spot awkward plank widths and layout imbalance before thinset goes down.
– Remove anything that can interfere with bonding (loose flooring/adhesives, high spots, and anything that leaves dips or ridges).
– Verify flatness meets the tile/thinset manufacturer requirements—wood-look tile will telegraph unevenness.
– Do a dry layout first: map where plank “boards” will start/stop, plan your main field cuts, and decide how you’ll handle transitions at doorways and along walls (typically leaving an expansion gap per specs).
Why flatness matters more with wood-look planks
Wood-look tile floors often use longer, narrower planks. That geometry increases how visible lippage and joint drift become. TCNA and ANSI-aligned guidance consistently emphasizes that the substrate variation limits aren’t “nice-to-haves,” because thinset thickness differences can’t fully disguise unevenness without creating weak spots.
According to TCNA Handbook (current edition), substrate flatness targets for ceramic tile are commonly expressed as no more than 1/8 inch over 10 feet (3.2 mm over 3.05 m)—but your wood-look tile manufacturer may impose stricter or different limits, and you must follow the more conservative requirement.
Layout planning that keeps the “wood” illusion straight
For wood-look tile floors, layout isn’t just aesthetics—it’s structural and stress-control:
– Start your field so you don’t end up with tiny “starter strips” along walls.
– Align your plank direction for the best visual flow, but be consistent near transitions.
– Plan where you’ll break the pattern—doorways and large openings need thoughtful cut placement and joint strategy.
– Maintain the movement accommodation the system requires: perimeter gaps and specified transitions are what prevent cracking.
If you’re working over a preexisting subfloor system (common for wood-look tile floors), also check for fastener pops, squeaks, and joist movement. You don’t need to over-engineer the framing—just address problems before setting tile. If you’re unsure, .
Install wood-look tile floors (set the tile)
You install wood-look tile floors by mixing the approved thinset correctly, combing for consistent mortar coverage, and setting planks in a controlled pattern. When thinset coverage is inconsistent or the open time is missed, wood-look tile floors can develop hollow spots, lippage, or premature grout failure.
Tile manufacturers typically require thinset mixed to the specified water ratio and mixed time, because the mortar’s consistency controls coverage and bond.
Consistent notch size and combing direction are what keep wood-look tile joints uniform and reduce lippage across long planks.
– Mix and apply thinset exactly as directed, then spread it with the correct notch size to get full coverage (avoid thin spots that cause hollow spots and lippage).
– Set tiles in your planned pattern, using spacers for consistent joints and periodically checking line/alignment.
– Cut plank ends and edges carefully; keep grout joints consistent so the “wood” look doesn’t look randomly offset.
Thinset application: how to avoid hollow spots and lippage
In wood-look tile floors, the “feel” of the setting bed matters. If the mortar skins over before you set the tile, you’re beyond open time. If you under-comb, you create thin spots. If you over-comb and squeeze unevenly, you can create lippage and joint line drift.
Practical steps that protect wood-look tile floors:
– Stage smaller batches so you can respect open time (follow the bucket instructions).
– Use the margin trowel to key mortar into the substrate, then comb with the correct notch.
– Back-butter when your tile instructions require it for coverage (many large plank installations require it).
– Periodically lift a tile to verify transfer—especially early in the run and whenever you change conditions.
If you’re re-using a subfloor patch or you corrected high spots, watch for “localized flatness swings.” Wood-look tile floors will mirror those changes.
Cutting long planks without ruining the visual rhythm
Long wood-look planks need precise cuts so grout joints stay consistent and the “board” look doesn’t break:
– Dry-mark cut lines and double-check plank orientation before cutting.
– Use a wet saw for the cleanest cuts on porcelain/ceramic wood-look tile, especially for long ends.
– Keep a consistent spacer strategy; drifting one joint line for several planks can become obvious when the pattern repeats.
– Plan transition cuts so you don’t end up with uneven joint offsets right at door thresholds.
Grout, seal, and finish transitions
You finish wood-look tile floors by letting thinset cure fully, then grouting carefully and completing movement-joint details with the correct product (often caulk rather than grout at edges). If you rush curing or use the wrong finish method, wood-look tile floors can crack at joints or trap haze that’s hard to remove.
Grouting works as intended only after thinset cure, because early movement can weaken the joint and lead to cracking or pinholes.
Perimeter and change-of-plane movement joints are typically filled with an appropriate sealant/cap rather than grout, depending on the tile system.
– After the thinset cures (follow the manufacturer’s cure window), grout using the recommended grout type and techniques to fully pack joints.
– Clean properly during the working time and protect the floor while curing. If your tile or grout requires sealing, apply it only as directed.
– Finish edges and transitions with the specified method (often caulk at perimeter/exposed edges rather than grout, to allow movement).
Grout packing and haze control
Wood-look tile floors hide problems until later—like grout shrinkage cracks or ghost haze. To keep grout solid and clean:
– Use the recommended grout type (seat it fully into joints; don’t just smear over the surface).
– Clean during the grout’s stated working window to avoid permanent haze.
– Avoid over-washing or eroding joints before the grout firms up.
Seal only when the system calls for it
Some grout systems are designed to be sealed; others aren’t. Some tile finishes need sealer; others don’t. For wood-look tile floors:
– Verify tile porosity and finish requirements.
– Verify grout type (cementitious vs epoxy vs urethane-based systems) and the sealer instructions.
Do wood-look tile planks need to be sealed? Some tiles/grouts are unsealed by design, while others require sealing. Check the tile and grout manufacturer instructions for your exact products.
Transitions and edge caulk: prevent movement failures
Your wood-look tile floors will still expand/contract with seasonal humidity and temperature swings. That’s why perimeter treatment matters:
– Use the expansion gap method specified by your tile system.
– At change-of-plane (floor-to-wall, floor-to-doorway hardware, floor-to-molding transitions), follow the instructions on whether caulk/sealant or membrane-joint transitions are required.
What can go wrong (and how to avoid it)
Wood-look tile floors mostly fail due to a few predictable issues: subfloor flatness, incorrect thinset coverage, missing movement accommodation, and rushed curing. If you check those areas early, you significantly reduce lippage, cracking, and grout joint problems later.
If wood-look tile floors are installed over uneven substrates, the finished planks reflect that unevenness as lippage and joint irregularities.
Grout cracking is often a movement-joint problem (wrong fill location or missing perimeter gaps), not simply a “bad grout” problem.
– Subfloor not flat enough: results in rocking tiles, cracked grout, or visible lippage—measure flatness and fix high/low spots before you start.
– Wrong thinset or inconsistent coverage: can lead to poor bond and future loosening; confirm the mortar pairing in the tile and thinset instructions.
– Skipping movement gaps: grout can crack if the floor can’t expand/contract; follow the manufacturer requirements for perimeter and transitions.
– Grout cleanup errors: leaving haze or pulling grout out of joints—stick to the grout’s stated wash/cleanup method and timing.
Pros/cons reality check: DIY vs. “system pro”
Use this quick structure to decide where wood-look tile floors are likely to be hardest in your specific project:
| Consideration | DIY tends to be strong when… | DIY tends to be risky when… |
|---|---|---|
| Subfloor correction | Flatness is close and repairs are localized | You need major leveling over a large area |
| Plank alignment | You dry-lay and plan reference lines | You only “figure it out” after thinset |
| Thinset coverage | You can verify transfer early by lifting tiles | You can’t maintain combing/open time |
| Cure scheduling | You can follow cure windows without foot traffic | You need to move furniture too soon |
Verdict: DIY-friendly—if you respect prep and cure times
Wood-look tile installation is very doable as a DIY project when you’re willing to take your time on subfloor prep, dry layout, and consistent setting. The main downsides are the mess/time (cutting long planks, mixing thinset/grout) and the risk of lippage or cracking if flatness, movement gaps, or curing steps are ignored—especially in 2026 when many homeowners still try to compress timelines.
Most “bad-looking wood-look tile” outcomes trace back to substrate flatness and layout decisions made before thinset, not to grout color or tile design.
Following manufacturer cure times is one of the most reliable ways to prevent grout joint failures in wood-look tile floors.
Skip DIY (or hire help) if the subfloor is difficult to correct, you’re working over major transitions (e.g., stairs/large openings), or you’re unsure about the specific mortar/grout compatibility for your exact tile.
| Criteria | DIY approach | Hiring a tile pro |
|---|---|---|
| Subfloor flatness correction | OK if localized and you can meet spec | More likely to hit spec on first pass |
| Long plank cut quality | Depends on tools and practice | Typically more consistent for plank formats |
| Thinset coverage discipline | Can be inconsistent without verification | More standardized comb/transfer habits |
| Movement joint strategy | Easy to miss without system knowledge | Usually handled with TCNA/ANSI-aligned detail |
| Cure scheduling | Can slip if the household timeline is tight | More likely to protect the floor through cure |
| Haze/grout cleanup risk | Higher if you rush washing | More consistent cleanup timing |
| Tolerance for rework | Rework may be time-consuming and costly | Rework handling is typically part of the job |
| Budget control | Best when the plan is stable and tools are ready | Costlier upfront, but fewer “surprise failures” |
| Time-to-completion | Slower for first-time plank cutting | Often faster due to experience and workflow |
| Verdict | DIY is worth it if you can meet flatness + layout + cure discipline. | Hire a pro when flatness correction, transitions, or waterproofing details add risk. |
Frequently Asked Questions
What’s the best way to prepare a subfloor before installing wood-look tile floors?
Start by ensuring the subfloor is flat, solid, and dry—tile can’t correct uneven spots. Remove any carpet, old flooring, or loose material, then check the surface with a level and fix low areas with a proper patch or self-leveler. Confirm moisture conditions (especially on concrete) and install an appropriate underlayment or uncoupling membrane when recommended, particularly over plywood or for crack isolation.
How do I choose the right wood-look tile for my space and installation needs?
Look for tile rated for your application, such as interior vs. exterior and wall vs. floor durability, and confirm it has the correct slip resistance (important for kitchens, entryways, and bathrooms). Pay attention to tile size and plank format—larger “planks” typically look more realistic but require careful layout for pattern alignment. Also check whether the tile is through-body or glazed, since that affects scratch resistance and long-term appearance for high-traffic areas.
How do I install wood-look tile floors using thinset, spacers, and proper layout?
Dry-lay several rows to plan your plank direction, spacing, and where cut pieces will fall, aiming for balanced edges that avoid narrow slivers. Mix the thinset to the manufacturer’s specs, use the correct notched trowel size, and set tiles with spacers to maintain consistent grout joints. Back-butter large-format tiles if required and periodically check for full thinset coverage to prevent hollow spots—then let the floor cure before grouting.
Why is grouting technique important for wood-look tile floors, and which grout should I use?
Grout selection affects both appearance and performance, especially because wood-look tile often has long plank lines that highlight joint variation. Use a grout type recommended for floors (often a polymer-modified grout) and consider a stain-resistant option or epoxy grout for areas exposed to spills. Apply grout with a float, pack joints fully, and clean excess promptly to keep the wood-grain pattern crisp and minimize haze.
Which underlayment or leveling method is best for installing wood-look tile floors over plywood or concrete?
Over plywood, many DIYers use a tile underlayment system or an uncoupling membrane designed for tile to help reduce movement and improve crack resistance. Over concrete, focus on moisture testing, then use a suitable leveling compound only where needed to correct dips and ridges. Always follow the tile and underlayment manufacturer requirements for thickness, curing time, and compatible products to ensure your wood-look tile floor stays flat and durable.
📅 Last Updated: October 16, 2026 | Topic: How to install wood-look tile floors? | Content verified for accuracy and freshness.



[…] installation guidance emphasizes that subfloor flatness and moisture conditions are primary drivers of wood-floor performance and early failure (National […]