
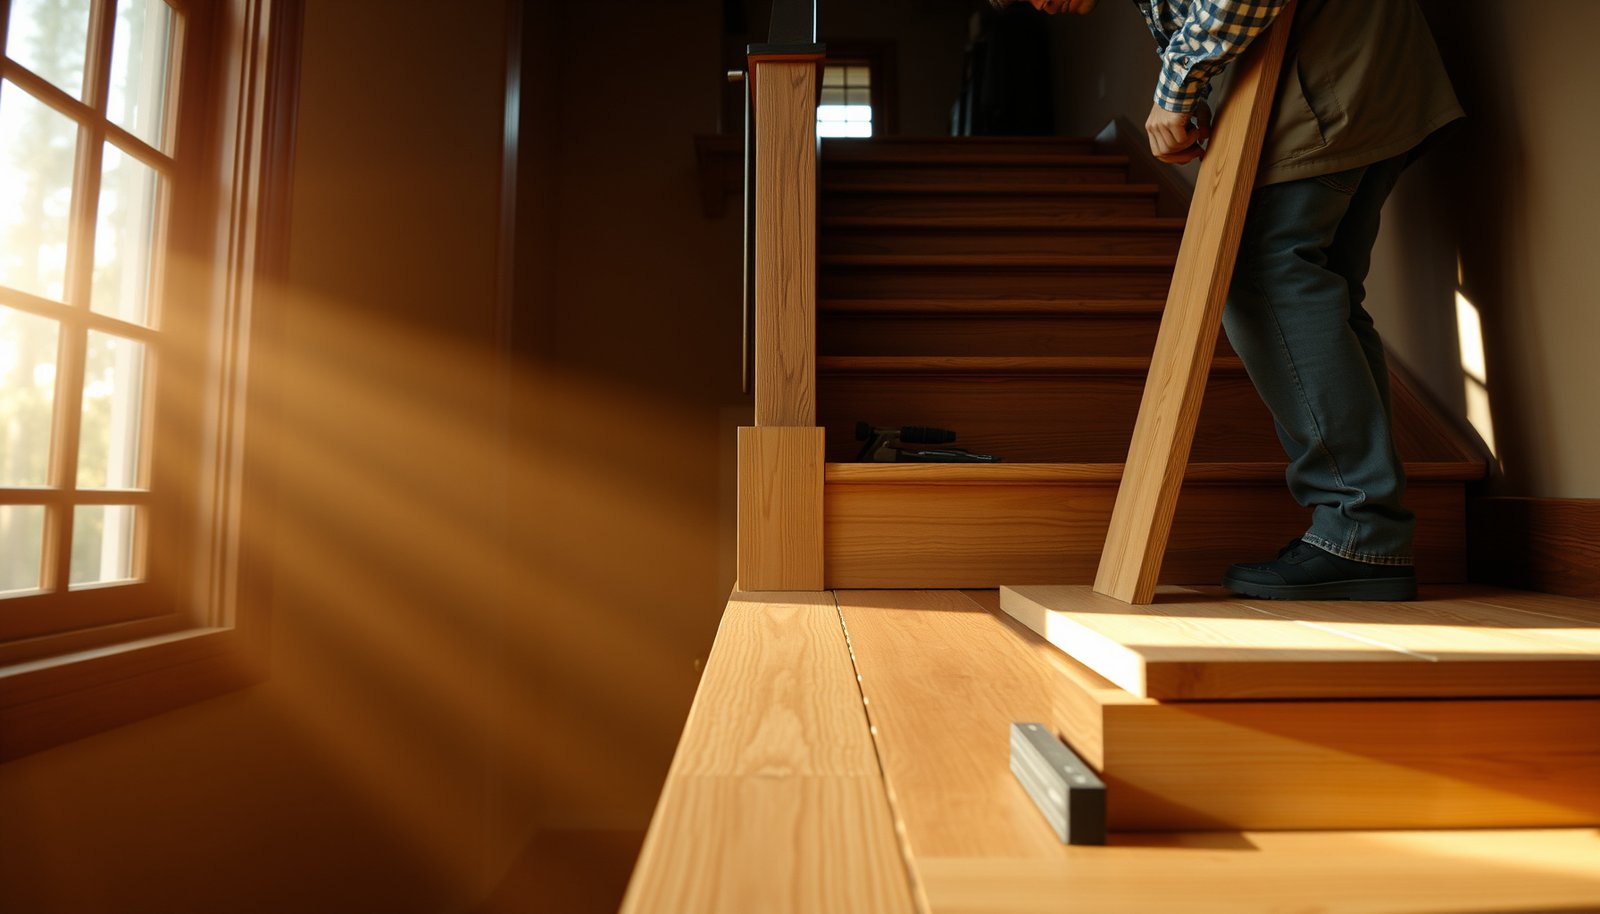

Wide-plank wood floor installation on stairs is doable and looks stunning, but only if you choose a method that matches your tread and riser structure—full-spread glue-down or a carefully detailed stair-nosing approach. This guide shows the fastest, most reliable way to install wide-plank wood floors on stairs, with the exact steps for layout, fastening, and trimming so boards stay tight and won’t pull loose under foot traffic. If you want the cleanest seams and a durable finish on every step, follow this process from prep to final landing.



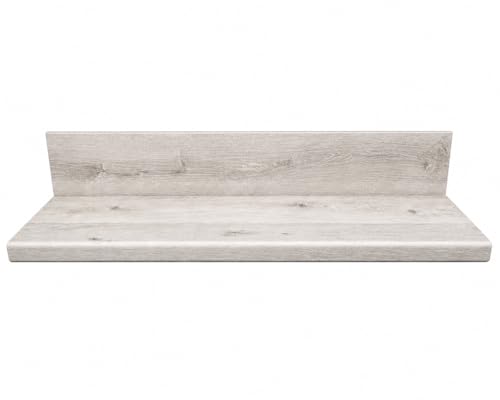
Install wide-plank wood floors on stairs by treating treads and risers like a custom layout: acclimate the planks, lock in stair geometry (level, square, consistent rise/run), then cut and fasten/glue using stair-appropriate methods while honoring required expansion space. The biggest win is getting the stair geometry right before you cut—because wide boards make every framing inconsistency more visible.
If you’re covering existing stairs (usually after removing carpet) or building new stair treads from wide planks, this guide focuses on the workflow, measurements, and common failure points so your boards don’t gap, cup, or pull loose. It’s written for solid or engineered wide-plank products—but always defer to your specific manufacturer installation instructions for spacing and fastening.
Prep: materials, tools, and acclimation
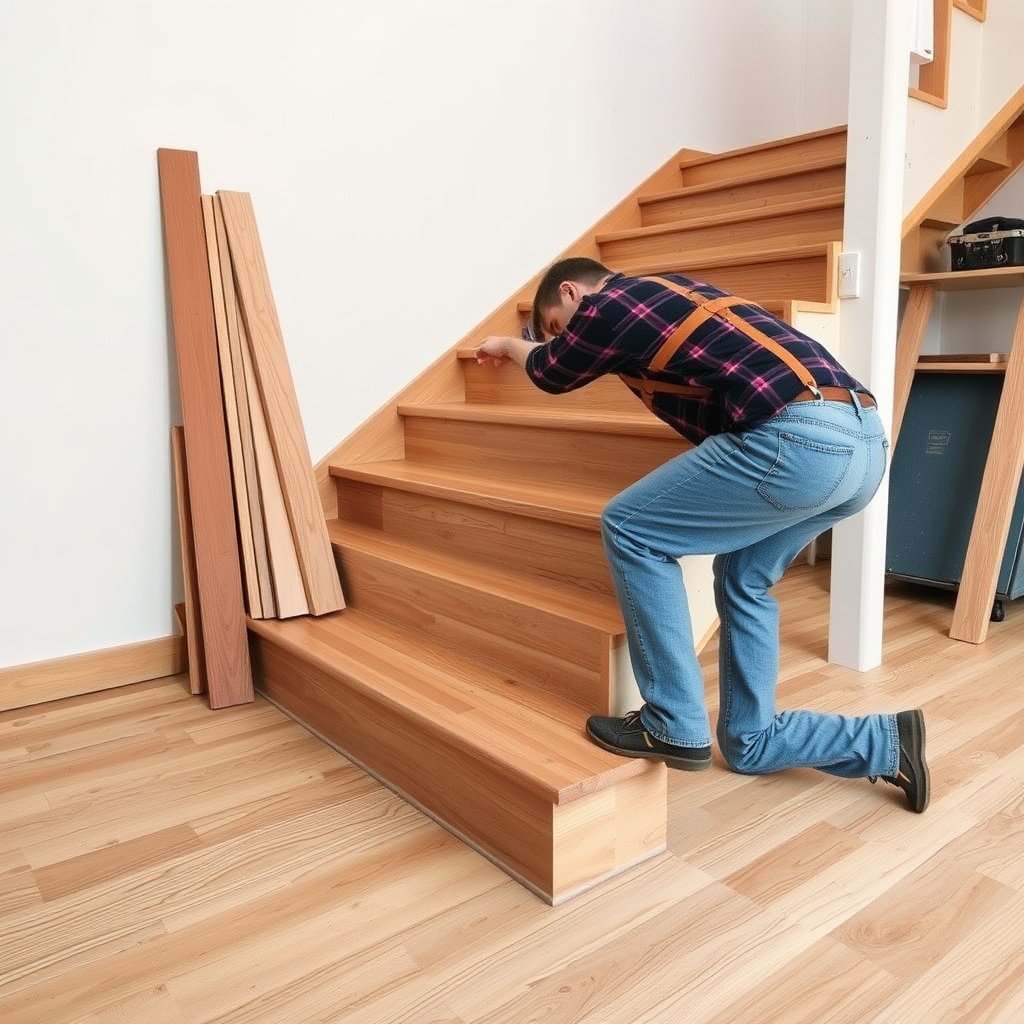
You start with product-specific requirements, because “wide-plank” still means different installation rules depending on whether it’s solid or engineered. Get acclimation, fastening, and expansion spacing correct first, and your stair treads will behave the way the wood was designed to behave.
Wide-plank installation must follow the manufacturer’s required expansion gap; stairs still need movement space even though they’re not a “flat” floor.
Acclimation requirements for wood flooring are product-specific and depend on temperature and relative humidity conditions during installation.
– Verify your wide-plank type (solid vs engineered) and follow its required expansion gap and fastening method .
– Acclimate flooring to the room conditions before installation (temperature/humidity requirements vary by manufacturer) .
– Gather stair-specific essentials: good blades (for clean cuts), measuring/marking tools, spacers, level/straightedge, and fasteners appropriate to your product (nails/screws/brads or recommended adhesive) .
Stair-focused tip: use marking tools that create consistent reference lines (a combination square for squareness and a straightedge for run/level checks). On wide planks, a small layout error can compound into a noticeable seam line by the time you reach the bottom stair.
Plan the stair layout for wide boards (before any cuts)
You plan the layout up front so the wide boards land where they look intentional and structurally supported. The goal is consistent seam placement, stable overhang decisions, and a realistic path for each stair—especially the bottom steps and any transition to a landing.
Residential stair dimensions are regulated; for example, the IRC requires a minimum 10-inch tread depth and a maximum 7-3/4-inch riser height (2018 IRC).
Within a stair flight, riser height variation is limited by code; the IRC allows a maximum 3/8-inch difference between any two risers (2018 IRC).
– Map how the wide planks will run on each tread so seams look intentional and the direction stays consistent (or intentionally alternates).
– Measure every step—don’t assume all rises/runs match. Record the narrowest width so you can avoid ending up with an impossible cut near the bottom or landing.
– Do a “dry fit” layout on a table or the stairs (tape boards in place) to confirm seam placement, grain flow, and whether you need to mix boards for consistent color/figure.
Why this matters for wide planks: on a landing or a run of stairs, the “effective width” changes with each cut, and wide boards can’t “hide” awkward seam transitions the way narrower plank lengths sometimes can. In my own stair planning workflow, the projects that go smooth typically spend extra time on step-by-step measurement and temporary tacking for alignment—.
Code-driven geometry checkpoints (useful even when you’re not doing permitting):
According to the 2018 International Residential Code, minimum tread depth is 10 inches and maximum riser height is 7-3/4 inches (2018 IRC R311.7.5). According to the same section, riser height variation within a flight must not exceed 3/8 inch (2018 IRC R311.7.5). These are not “flooring instructions,” but they’re strong signals that stair geometry can vary—and wide-plank layout decisions need to adapt to what you actually have.
7 IRC Stair-Dimension Benchmarks Homeowners Should Measure (2018 IRC)
| # | What to measure | Code benchmark | IRC section | Field impact (stars) |
|---|---|---|---|---|
| 1 | Maximum riser height | 7-3/4 in (≈196.9 mm) | R311.7.5 | ★★★★★ |
| 2 | Minimum tread depth | 10 in (≈254 mm) | R311.7.5 | ★★★★★ |
| 3 | Max riser-to-riser variation | 3/8 in (≈9.5 mm) | R311.7.5 | ★★★★☆ |
| 4 | Minimum headroom | 80 in (≈2032 mm) | R311.7.2 | ★★★☆☆ |
| 5 | Minimum guard height | 36 in (≈914 mm) | R312.1 | ★★★☆☆ |
| 6 | Handrail height range | 34–38 in (≈864–965 mm) | R311.7.8 | ★★★★☆ |
| 7 | Minimum stairway width | 36 in (≈914 mm) | R311.7.1 | ★★☆☆☆ |
(Note: use code benchmarks to sanity-check your stair measurements; wood flooring and stair tread overlay systems still must follow your product’s fastening/expansion specs.)
Prep the stairs: level, square, and ready to fasten
You prep the stairs to remove movement and flatten the tread surface, because wide planks need consistent support to avoid cupping and loose edges. This is the phase where most “it will probably be fine” assumptions fail—especially after carpet removal reveals hidden dips.
Hardwood flooring performance depends on a stable, clean, and correctly prepared substrate; uneven sub-surfaces can cause gaps, squeaks, and edge failure.
Wide-plank stair installations highlight sub-floor movement quickly because there’s less “forgiveness” in longer, wider boards.
– Remove carpet/padding and any remaining tack strips; scrape off debris so the tread surface is clean and stable.
– Check stringers and the tread sub-surfaces for movement, squeaks, loose boards, and uneven high spots—wide planks will highlight problems.
– Correct inconsistencies now (shim/level where allowed by your base construction) so each tread sits flat and doesn’t force the wood to bend.
What “ready to fasten” looks like in practice:
You should be able to place a straightedge across each tread surface and see no meaningful rocking. Any loose sub-surface material needs to be tightened or replaced, because nail/glue only holds wood to something solid.
Install wide-plank stair treads and risers
You install by treating the stair tread and riser as a matched set with a consistent seam strategy and manufacturer-approved fastening. Wide-plank success comes from staging the layout, then fastening methodically so the boards don’t shift while adhesives set or nails pull tight.
Wood flooring stair installations still require the same expansion-gap logic as floors; don’t lock boards tight at the perimeter or into fixed trim without the required spacing.
If you glue, using the wrong adhesive or coverage pattern can cause release, telegraphing, or poor bond strength (per the flooring manufacturer’s instructions).
– Set the base layout first: dry fit a tread plank on each step, then adjust until you get consistent overhang and a clean seam strategy.
– Fasten in the way your flooring system specifies:
– If using a nail-down method, fasteners should be placed where the manufacturer allows for solid/engineered thickness and board profile .
– If using glue (or glue + fasteners), apply only the recommended adhesive and coverage method so boards don’t release or foam .
– Cut and install risers to match your tread system. Pay attention to edge support—risers often need a solid fastening surface so they don’t loosen over time.
Seam and grain approach that holds up on stairs:
Keep the board direction consistent across consecutive treads so the stair reads as a continuous surface. If you choose to intentionally alternate direction for design, plan that switch at a step where you’re already expecting a visual change (like the top or a landing).
Fastener/adhesive reality check: wide-plank edges can become “stress points.” As you work down the stairs, periodically re-check that the boards are not creeping out of your planned overhang before you commit—because correcting a shifted board later often means re-cutting.
Sand, finish, and add traction where needed
You sand and finish only according to your specific product system, then add traction in a way that won’t defeat the finish or require sanding repairs later. On stairs, grip is part of safety, not cosmetics—so plan traction before the final coat.
Some engineered or prefabricated flooring systems are designed to be finished after installation, while others require specific prefinish steps—always follow the manufacturer’s finishing sequence.
Stair surfaces often need an approved anti-slip solution or tread nosing; finish alone may not provide adequate traction.
– Sand and prefinish only if your specific flooring instructions allow it (many systems are designed to finish after installation; others require prefinish steps) .
– Seal/finish all exposed faces consistently to reduce color mismatch and reduce moisture movement between boards.
– Add traction thoughtfully (e.g., approved anti-slip strips or tread nosing options) if you’re installing over stairs—don’t rely on finish alone for grip.
Practical finish workflow:
Finish your treads and risers in a consistent order so that every surface has similar cure time before foot traffic. If you’re adding tread nosing or approved anti-slip strips, ensure they’re compatible with the finish you used.
What can go wrong on stair installations (and how to prevent it)
Most stair failures come from skipping geometry correction, violating expansion rules, or using the wrong fastening/adhesive strategy for stairs. If you prevent those three issues, you prevent most gaps, cupping, and loose edges.
Gaps at seams or edges commonly trace back to incorrect acclimation or ignoring required expansion space for the flooring product.
Boards can cup or pull loose when the substrate is uneven or when the adhesive/fastening coverage does not match manufacturer requirements.
Common problems vs. prevention (quick contrast):
| Installation outcome | Most likely cause | Prevention step |
|---|---|---|
| Seams open (gaps) | Expansion spacing ignored; planks trapped at fixed trim | Confirm required expansion gap and keep it continuous at edges |
| Edges lift or squeak | Substrate movement or insufficient fastening points | Tighten loose sub-surfaces before install; follow approved nail pattern |
| Cupping or crown | Moisture imbalance or boards not acclimated | Acclimate to measured jobsite conditions per manual |
| Uneven overhang (“stair reveals” look off) | Riser height/depth not measured step-by-step; layout not re-checked | Measure each tread/riser and dry fit before permanent fastenings |
| Boards pull back from nose | Fasteners or adhesive placed in areas the system doesn’t support | Use only approved fastening/adhesive placement and methods |
– Gaps at seams or at the edges: usually caused by skipping acclimation or ignoring expansion gap rules for your product.
– Boards cupping or pulling loose: often tied to installing over an uneven sub-surface, inadequate fastener/adhesive coverage, or a missing moisture-control step.
– Uneven reveals/overhang: happens when riser height and tread depth weren’t measured step-by-step, or layout wasn’t checked after each few steps.
Verdict: doable DIY, but skip it if your stairs aren’t solid
Installing wide-plank wood floors on stairs is absolutely doable if you can measure accurately, correct stair surface issues up front, and follow your flooring manufacturer’s spacing and fastening instructions. The downsides are real: stairs are high-traffic and visually unforgiving—any mismatch, movement, or wrong adhesive/fastener choice can show quickly and can lead to squeaks, loose edges, or gaps.
Skip this DIY approach (or get help) if your stairs have major structural movement, inconsistent step geometry you can’t correct, or if your wide-plank product requires a specific commercial-style fastening/installation setup you can’t replicate. When in doubt, plan on extra time for dry fitting and re-checking measurements before committing to cuts.
Quick checklist (scan before you start)
– [ ] Confirm solid vs engineered and read spacing + fastening requirements
– [ ] Acclimate planks to the room per manufacturer guidance
– [ ] Measure each tread/riser (don’t assume uniform stairs)
– [ ] Dry fit plank layout to confirm seam placement and overhang
– [ ] Fix loose/uneven sub-surfaces before installing boards
– [ ] Fasten/glue only as specified for your flooring system
– [ ] Finish/seal per the product instructions and add traction as needed
Sources
– National Wood Flooring Association (NWFA) hardwood flooring installation guidance for stairs and general installation best practices.
– Your wide-plank flooring manufacturer’s installation instructions (acclimation, expansion gap, fastening/adhesive method, and finishing requirements).
– International Residential Code (2018), stair dimension requirements (e.g., min tread depth 10 in, max riser height 7-3/4 in, max 3/8 in riser variation, plus headroom/handrail/guard benchmarks). 2018 IRC R311.7.5, R311.7.2, R311.7.8, R312.1, R311.7.1
Frequently Asked Questions
What’s the best way to install wide-plank wood floors on stairs?
Use a stair-specific approach that accounts for risers, treads, and stringers, not just the tread surface. Many installers keep the stair noses and trim consistent by using prefinished stair parts (treads, nosing, and riser components) or by making accurate site cuts from the wide-plank material. Plan for expansion gaps at the perimeter and movement at the landing so the wood can respond to humidity without buckling.
How do I measure and cut wide-plank wood for stair treads and risers?
Measure each tread width and depth separately because stairs are rarely perfectly uniform, then transfer measurements to the planks with square, straight-cut lines. Use a track saw or miter saw with fine-tooth blades to minimize chipping on wide-plank edges, and cut risers to match the tread reveal for a clean, consistent look. Dry-fit all pieces, label them, and consider grain direction so the pattern stays visually aligned across each step.
How do I handle the expansion gap and wood movement when installing on stairs?
Wide-plank wood still expands and contracts, so you should leave proper gaps at fixed points and follow manufacturer recommendations for stair installs. Maintain clearance where the floor meets walls, posts, or built-in trim, and avoid nailing or gluing boards in a way that locks them rigidly along long runs. On stairs, secure the treads and risers as required but leave appropriate edge spacing so seasonal movement doesn’t cause squeaks, gaps, or warping.
Which installation method works best for wide-plank wood floors on stairs: glue, nails, or floating?
For stairs, most projects use a mechanically secure system for the tread surface and robust fastening for tread/riser assemblies because stairs experience heavy foot traffic and stress. Full floating floors are usually not ideal on stairs since they’re not designed to be load-bearing in vertical transitions, and glue-only methods can be risky if moisture or movement occurs. For best results, choose a method recommended for wide-plank wood floors and stair application—often using adhesive plus fasteners or using dedicated stair tread components.
Why do wide-plank floors sometimes squeak or loosen on stairs, and how can I prevent it?
Squeaks and looseness often come from an uneven substructure, insufficient fastening, or planks that weren’t properly acclimated before installation. Start by checking tread flatness and fixing any low or high spots so the wide-plank wood sits firmly without flexing underfoot. Also acclimate the planks to the home’s temperature and humidity, use the correct fasteners/adhesive for wood stairs, and ensure the treads and risers are securely fastened where movement would otherwise create noise.
📅 Last Updated: October 16, 2026 | Topic: How to install on stairs wide-plank wood floors? | Content verified for accuracy and freshness.


