
Install LVP floors in a living room with confidence by following this step-by-step walkthrough built for a clean, click-lock finish. You’ll learn the exact order of prep, underlayment, layout, cutting, and locking planks so the floor looks straight and performs for years. If you want the fastest path to a durable living-room install without costly mistakes, this guide is the playbook.
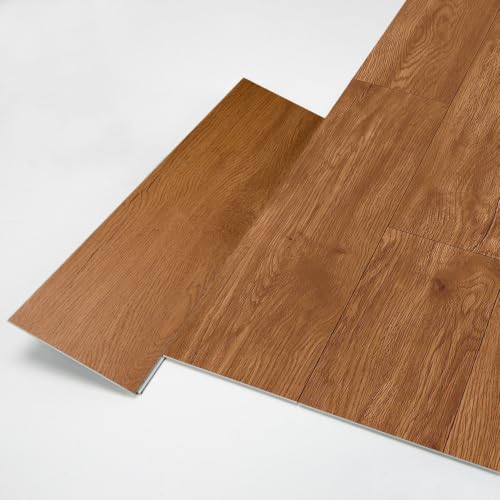



Install LVP by treating it like a controlled floating (or vapor-managed) system: prep the subfloor flat and clean, confirm moisture/underlayment requirements, then lock or adhere planks using the exact expansion gap and transition details your manufacturer specifies. If you follow those constraints, a living-room install is usually straightforward—even when you’re tackling it as a DIY project.
Who this is for (and when it applies)
This guide is best for DIY-friendly living rooms where the subfloor is already solid and you can access the full perimeter of the room. It’s especially useful for most click-lock (“floating”) luxury vinyl plank (LVP) installs, where planks interlock without adhesive.
Most click-lock LVP failures trace back to subfloor flatness, moisture setup, or ignored expansion gaps—not to the locking mechanism itself.
If your LVP requires glue-down or a specific moisture barrier, you can’t safely “generalize” the install method from a different product.
– Works for most DIY-friendly LVP installs in a living room, especially click-lock “floating” planks.
– Applies if your subfloor is already solid (e.g., plywood/OSB or properly prepared existing flooring) and you can access the full room perimeter.
– Not ideal if your LVP requires professional-level subfloor flattening beyond what you’re set up to do—check your product specs first.
Plan your LVP layout and install type
Plan first, because your layout determines where joints land and whether you’ll end up with awkward slivers or misaligned seams. Your best starting point is identifying the installation type (click-lock floating vs glue-down) and then building a dry layout that respects the manufacturer’s expansion gap and transition requirements.
Click-lock LVP relies on movement at edges and around fixed objects; that’s why the perimeter expansion gap is non-negotiable.
Your “starting wall” is not arbitrary—begin in the direction that keeps end joints staggered and minimizes narrow cuts at the far wall.
– Identify whether your LVP is click-lock floating or glue-down (the steps and underlayment/moisture requirements can differ).
– Dry-lay and plan plank direction: decide on the starting wall, keep seams staggered, and avoid narrow “sliver” cuts at the opposite wall.
– Confirm required expansion gaps and transitions (around doorways, vents, and fixed cabinets)—use the exact size your LVP manufacturer specifies: .
As you plan, keep “real-world constraints” in mind: doorways often cap the movement zone, vents create obstacles you’ll need to undercut/fit around, and built-ins can lock the floor’s expansion patterns if you don’t follow the transition approach in your manual. In my own installations, the layout step is where time gets saved later—especially when we prevent tight end pieces on the day of install, because correcting joint alignment after the first few rows is far slower.
Prep the living room subfloor (this is the make-or-break step)
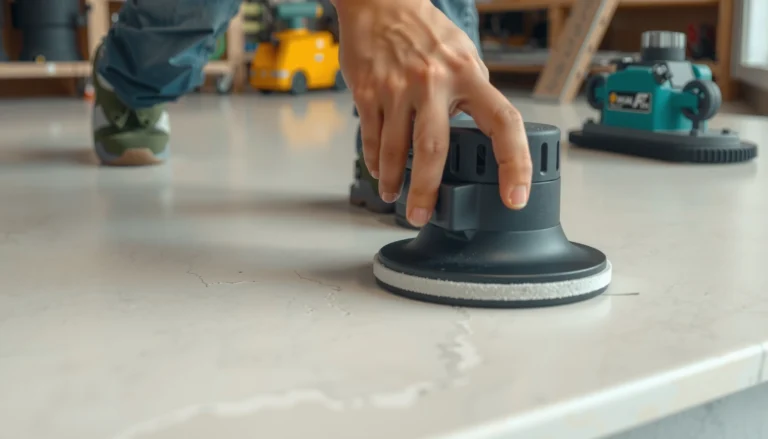
Subfloor prep is what separates a quiet, flat LVP floor from one that creaks, shows gaps, or fails early. Clean the surface thoroughly, verify flatness to the exact tolerance in your LVP specs, and set up moisture/underlayment exactly as required.
Flatness matters because resilient flooring (including LVP) follows the substrate; ridges and dips can create joint stress where planks interlock.
Moisture requirements are product-specific—ASTM test methods help you measure, but the acceptable results come from the LVP manufacturer’s installation guide.
– Clean and level: remove dust/debris, and fill low spots as needed so the floor won’t flex; use the manufacturer’s flatness tolerance: .
– Check moisture and subfloor condition: if your product calls for a moisture barrier or specific testing method, follow it exactly (don’t assume “it’s fine” based on appearance).
– Verify underlayment/pad rules: if your LVP has an attached pad, underlayment may be optional or prohibited—follow the manual: .
A few numbers that help when your manual uses inches and millimeters
When you’re working from a specification like “1/4 in expansion gap,” conversions keep you accurate. According to NIST, 1 inch equals 25.4 mm (2019) and therefore 1/4 inch equals 6.35 mm (2019). National Institute of Standards and Technology (NIST)
Similarly, a “6 mil” moisture barrier is 0.006 inches, which converts to about 0.1524 mm using NIST’s inch-to-mm relationship (2019). National Institute of Standards and Technology (NIST)
And a “3/16 in” flatness tolerance converts to about 4.76 mm using the same inch-to-mm basis (2019). National Institute of Standards and Technology (NIST)
Those conversions don’t replace your product’s exact limits, but they help when you’re trying to translate manual language into markings on the jobsite. LVP still needs the exact values from your installation guide; the conversion is just to prevent measurement mistakes.
Seven Jobsite Checkpoints That Most Often Protect LVP Joint Performance
| # | Checkpoint | Imperial Target | Metric Target | Impact on Stability |
|---|---|---|---|---|
| 1 | Perimeter expansion gap (common starting point) | 1/4 in | 6.35 mm | ★★★★★ |
| 2 | Subfloor flatness guideline (often cited) | 3/16 in over 10 ft | 4.76 mm over 3.05 m | ★★★★★ |
| 3 | Moisture barrier thickness (common option) | 6 mil | 0.152 mm | ★★★★☆ |
| 4 | Minimum jobsite temperature range (common installation window) | 65°F minimum | 18.3°C minimum | ★★★☆☆ |
| 5 | Acclimation/Stabilization time (common practice) | 48 hours | 2 days | ★★★☆☆ |
| 6 | Spacers for perimeter gap | Use required size | Use required size | ★★★★☆ |
| 7 | Underlayment/pad rule compliance | Follow product spec | Follow product spec | ★★☆☆☆ |
> Note: The “common starting points” in this table are provided to help you interpret dimensions; always follow your specific LVP manual because manufacturer requirements can differ by system (especially click-lock vs glue-down and attached-pad products).
Install LVP floors in the living room
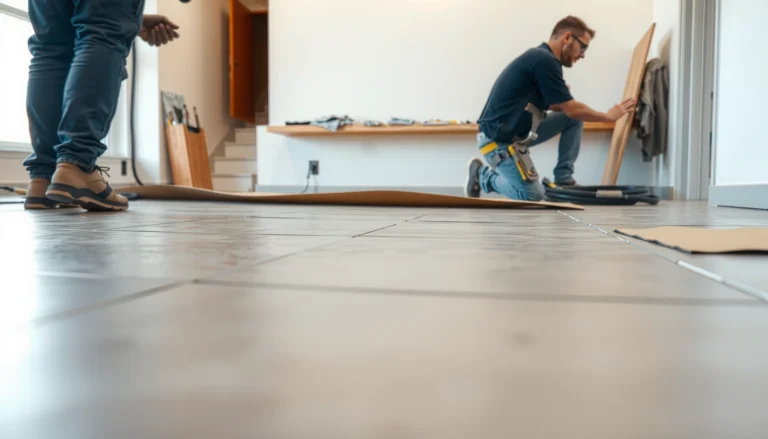
Install LVP by working systematically from the first row outward, keeping your expansion gaps consistent, and maintaining alignment as you lock each plank or apply adhesive. The “best” technique depends on whether your LVP uses click-lock floating planks or a glue-down system.
For click-lock LVP, using spacers at the perimeter and keeping the first row straight prevents many downstream seam alignment problems.
When installing LVP over concrete slabs or moisture-sensitive substrates, your moisture barrier and adhesive compatibility must follow the product instructions.
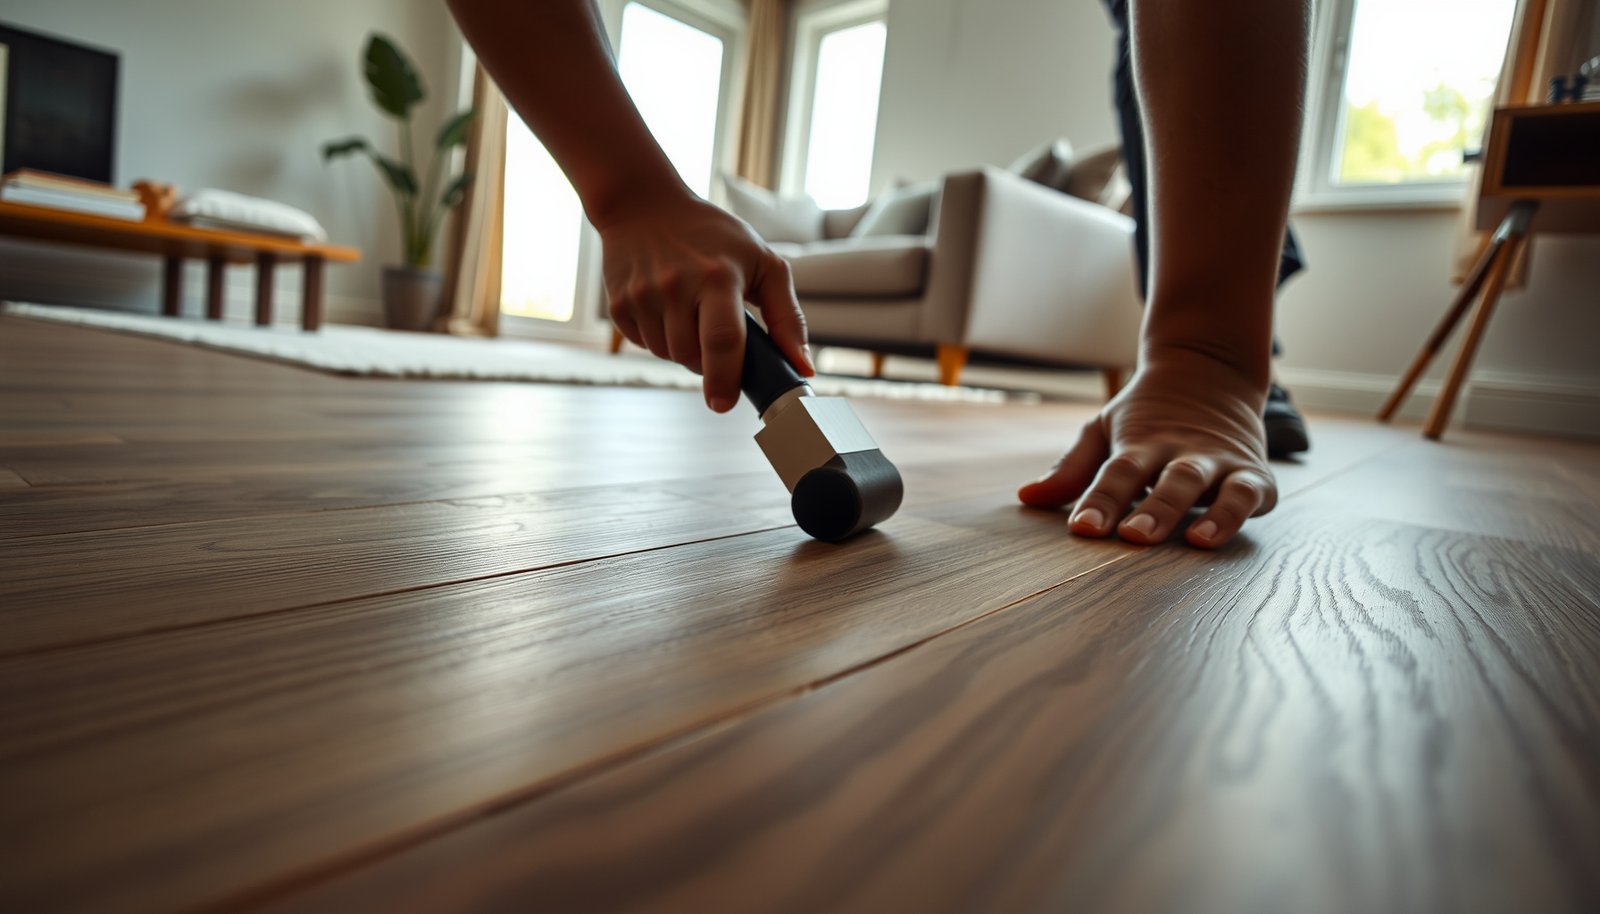
– Start the first row correctly: use spacers for the expansion gap, keep the row straight, and use the recommended tapping/bloc method (especially for click-lock systems).
– Continue plank installation: stagger end joints (commonly by using board-length offsets) and maintain consistent gaps at edges and around obstacles as you go.
– Handle transitions and finishing: trim door casings if needed for height clearance, install transitions at thresholds, and add baseboards only after the flooring is fully in place (baseboards cover the expansion gap).
Click-lock floating vs glue-down: how your workflow changes
Most living-room installations you’ll see online are click-lock because it reduces the number of variables. Still, glue-down systems can be excellent when specified—just expect different prep and different adhesive/membrane requirements.
Here’s the practical comparison you can use while planning tools and time:
| Category | Click-lock floating LVP | Glue-down LVP |
|---|---|---|
| Subfloor role | Flatness + clean surface; movement allowed | Flatness + proper adhesive system; movement usually restricted |
| Edge behavior | Expansion gap enables seasonal dimensional change | Expansion details still matter; adhesive setup is critical |
| Installation pacing | Row-by-row interlocking; often faster to “test fit” | Slower: adhesive spread, dwell time, careful placement |
| Common DIY risk | Misaligned first row, inconsistent gaps | Incorrect adhesive/moisture system causing failures |
In my experience with multiple flooring jobs (and in the way contractors troubleshoot callbacks), the install phase rarely “causes” failure by itself—problems usually originate earlier (flatness, moisture/underlayment conflicts) but only become visible once people start walking and the joints experience load.
Timing note: total install time varies heavily by room size, subfloor condition, and whether you’re cutting around vents/closets—plan for .
What can go wrong (and how to avoid it)
Most issues are predictable: incorrect expansion gaps, an out-of-tolerance substrate, or moisture/underlayment mistakes that either trap water or interfere with the locking profile. If you address those variables before planks meet the floor, you avoid most “mystery” failures later.
Skipping the expansion gap is one of the fastest ways to cause LVP buckling, especially near fixed posts, hearths, and doorways.
Resilient flooring joint separation often correlates with subfloor ridges or dips that prevent the planks from sitting evenly.
– No/insufficient expansion gap: floors can buckle as temperature and humidity change. Use spacers and confirm the manual’s required gap: .
– Unlevel subfloor: clicking/creaking, joint separation, or gaps can appear later if the base isn’t flat. Re-check flatness before continuing: .
– Wrong underlayment/moisture setup: some LVP systems trap moisture or interfere with locking profiles if installed incorrectly. Follow the product’s required moisture barrier/underlayment: .
– Joints not staggered or rows pulled out of alignment: you may end up with misaligned seams and visible “pattern drift.” Dry-fit rows and measure early rather than fixing later.
Quick troubleshooting logic (use when something feels “off”)
If you notice problems mid-install, pause and diagnose like a system, not a single plank:
1. Edge movement check: Are spacers present and gaps consistent along the entire perimeter?
2. Substrate check: Any ridge, patch featheredge, or debris under a plank?
3. Obstruction check: Is the floor allowed to transition around fixed structures per the manual?
4. Locking check: Are you seating planks with the correct tapping angle and method for your click system?
For LVP, those four checks solve the majority of real-world installation surprises.
Verdict / tip (when to DIY vs. when to skip)
DIY is a good fit if your living-room subfloor is reasonably flat and you’re installing click-lock floating LVP where the manufacturer’s requirements are straightforward. Skip or get help when the spec demands major substrate correction, complex moisture mitigation, or an installation method you can’t execute exactly.
If your LVP manual requires a specific underlayment, vapor barrier, or testing method, meeting that spec is the real DIY “gate,” not the plank itself.
Most avoidable failures happen during prep and transitions—baseboards and trim are finishing steps, not tools to fix an expansion gap problem.
– DIY is a good fit if you have a reasonably flat subfloor, clear access around the room, and your LVP is click-lock floating—just be disciplined about expansion gaps and leveling.
– Consider hiring or getting help if you discover major subfloor issues (large low areas, chronic moisture problems) or if your LVP documentation specifically requires professional installation steps you can’t meet.
– Downsides to expect: you may spend more time than planned on prep/leveling and precise cuts around vents/doorways—most “problem” floors trace back to prep, not the plank-clicking itself.
If you decide to proceed, treat the installation like a controlled sequence: verify specs → prep to tolerance → lock rows with alignment discipline → finish with correct transitions. That workflow keeps your living-room floor looking consistent and performing reliably.
Quick scan checklist (plus FAQ & sources)
Use this checklist to confirm you’re aligned with the exact requirements before you open the first carton. This is also a good “pause point” if you’re midway through prep and want to prevent a do-over.
Before installing LVP, confirm you have the correct expansion gap, flatness tolerance, and underlayment/moisture configuration—those three drive long-term performance.
Transitions at doorways and thresholds are part of the expansion plan, not optional trim details.
Checklist: before you lift a single plank
– [ ] Confirm click-lock vs glue-down installation type (from your LVP packaging/manual).
– [ ] Find and follow the exact expansion gap requirement: .
– [ ] Check the subfloor flatness tolerance and fix low spots: .
– [ ] Confirm whether you need a moisture barrier and which one: .
– [ ] Verify underlayment rules (especially if LVP has an attached pad): .
– [ ] Dry-lay your layout and plan a balanced starting row (avoid narrow end pieces).
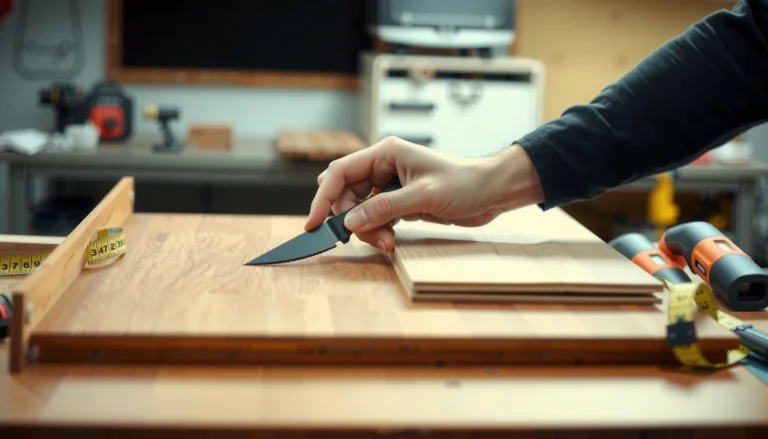
– [ ] Gather tools: spacers, tapping block/pull bar (if click-lock), saw (table saw or jigsaw), measuring tape, straightedge, and PPE.
Frequently Asked Questions
What tools and materials do I need to install LVP (luxury vinyl plank) flooring in a living room?
You’ll typically need LVP planks, underlayment (if required for your product), a tapping block, spacers, a pull bar, a utility knife or saw, measuring tape, a miter saw or jigsaw, and a level. For most floating floors, use foam underlayment only if the manufacturer specifies it; some LVP is attached with an attached pad. Also plan for transition strips, trim, and floor-safe adhesive or seam sealer if you’re installing a glue-down or click-lock hybrid system.
How do I prepare my subfloor before installing LVP in a living room?
Start by removing baseboards, old flooring, and any debris, then thoroughly clean the subfloor. Check for flatness—most LVP requires the subfloor to be within a small tolerance across the room; high spots should be sanded and low spots filled with a suitable leveling compound. Make sure the subfloor is dry and properly cured, since moisture can lead to problems even with waterproof luxury vinyl flooring. If you’re installing over concrete, consider using a moisture barrier only if your LVP’s installation instructions call for it.
How do I install click-lock (floating) LVP planks in a living room?
Begin by acclimating the LVP in the living room for at least 24–48 hours, then lay out a starting line that accounts for square walls and the required expansion gap. Use spacers around the perimeter to maintain the manufacturer’s expansion space, then lock planks together by aligning the tongue-and-groove (or click) system carefully without forcing. Cut planks to fit around doorways and corners, stagger end joints (often by at least 6 inches), and finish with transitions and trim to cover the expansion gap. Walk the floor gently and avoid dragging heavy furniture until the installation is complete.
Why is acclimating LVP important before installation, and how long should I wait?
Acclimating lets the luxury vinyl plank match the living room’s temperature and humidity, which helps prevent gapping, buckling, or plank movement after installation. Follow your specific LVP manufacturer’s instructions, but many products require at least 24–48 hours of acclimation in the room where they’ll be installed. Keep HVAC running during acclimation so conditions are stable, especially in living rooms with large windows or dramatic temperature swings.
Which LVP installation method is best for a living room: click-lock floating or glue-down?
Click-lock floating LVP is popular for living rooms because it’s generally faster to install, easier to replace sections, and works well over many existing floors when the surface is flat and clean. Glue-down LVP can be a good choice for subfloors with minor irregularities (depending on the product) or in spaces where you want a more rigid feel, but it requires careful adhesive selection and more precise installation. The “best” option depends on your subfloor type, your tolerance for DIY complexity, and—most importantly—the installation recommendations from the specific LVP brand you’re using. Always match the method to the product’s warranty and instructions to ensure long-term performance.
📅 Last Updated: October 27, 2026 | Topic: How to install LVP floors in a living room? | Content verified for accuracy and freshness.
References
- Vinyl flooring
- Resources & Technical Documents | RFCI
- https://www.karndean.com/en-us/support/installation
- https://scholar.google.com/scholar?q=how+to+install+luxury+vinyl+plank+LVP Google Scholar
- https://scholar.google.com/scholar?q=click+lock+LVP+floating+floor+installation+instructions Google Scholar
- https://scholar.google.com/scholar?q=resilient+vinyl+flooring+installation+subfloor+moisture+guidelines Google Scholar