
Learn how to install underlayment under stained concrete floors with a straightforward, best-practice method that delivers a smooth, long-lasting finish. The right choice comes down to when your concrete is new or sealed and the moisture risk you face—get it wrong and staining can highlight unevenness and failures. Follow the steps for proper surface prep, correct underlayment type, and clean seams so your stained floor looks even and wears well.




If you want a smoother feel and more comfort underfoot, the best approach is to install the right underlayment for your floor system (and control moisture first). Clean and level the stained concrete, check for moisture, then lay down an underlayment designed for concrete-to-floor installs before adding your finish flooring. This guide walks you through the prep, materials, and layout steps so it comes out flat and secure.
If you’re working on a room with stained concrete (either existing staining or a newly stained surface) and you want added comfort, sound reduction, or minor leveling, this is for you. It’s especially useful if you’re pairing concrete with laminate, engineered wood, vinyl, or another click/float-style floor that benefits from a specific underlayment.
Choose the right underlayment for stained concrete

The best underlayment for stained concrete is the one that matches your finish flooring method and your moisture plan. Because stained concrete is still concrete, your underlayment must be compatible with concrete’s moisture behavior—not just with the look of the stain.
Underlayment products meant for concrete-to-floor installation typically include (or are paired with) a vapor control layer to reduce moisture transmission.
Concrete behaves differently than wood subfloors, so an underlayment rated “over concrete” should be treated as a different system than “over wood.”
When you choose underlayment for stained concrete, start with the end result you’re installing on top:
– Laminate / engineered click-lock (float installations): Many systems require an underlayment for comfort and acoustics, plus a vapor barrier if the flooring system calls for one.
– Glue-down vinyl: Your vapor control and underlayment strategy often changes—some products require specific moisture barriers or allow none. Always follow the vinyl manufacturer’s bonding/moisture requirements.
– Floating engineered wood: You still need a concrete-rated underlayment and a compatible moisture barrier plan, especially if the flooring includes a foam component or requires a separate membrane.
Key compatibility checks (do these before you buy)
1. Confirm the underlayment is rated for stained/painted concrete (most are “concrete,” but a manufacturer’s instructions matter).
2. Confirm whether the underlayment includes vapor protection or whether you must install a separate moisture barrier.
3. Match thickness and performance requirements to the finish-floor manufacturer’s specs so you don’t exceed limits for flatness, fastening (if applicable), or click-lock engagement.
From a systems standpoint, underlayment is not a generic cushion—it’s part of a moisture management assembly. According to ASTM E1745, floor underlayment materials are characterized by properties such as thermal resistance and compressibility; you should select the assembly to meet the installation instructions for both underlayment and flooring. (ASTM standard referenced via ASTM E1745 documentation)
Where underlayment choice pays off
In my experience with concrete-to-floor projects, the “right” underlayment isn’t the thickest one—it’s the one that stays flat, doesn’t wrinkle, and is documented to work with your flooring method over concrete. Stained concrete can be visually forgiving, but it rarely stays perfectly uniform without preparation; the underlayment you choose should tolerate that reality without creating telegraphing ridges or trapped moisture.
Concrete-to-Floor Underlayment Systems: What They’re Typically Designed For
| # | Underlayment System Type | Common Vapor Strategy | Typical Finish Flooring Fit | Dry-Spot/Flatness Tolerance Rating |
|---|---|---|---|---|
| 1 | Foam underlayment with separate vapor barrier | Separate 6-mil class vapor film (system-dependent) | Laminate / click-lock | ★★★☆☆ |
| 2 | Rolled membrane with integrated vapor layer | Built-in vapor film (check perm rating) | Floating engineered / laminate | ★★★★☆ |
| 3 | Cork composite underlayment (with vapor strategy) | May require additional vapor control | Floating engineered wood | ★★★½☆ |
| 4 | Rubberized/advanced acoustic underlayment | Integrated vapor depends on product | Laminate / engineered click-lock | ★★★★☆ |
| 5 | Thin underlayment (minimum thickness systems) | Usually paired or integrated in spec sheet | Engineered wood (spec-limited) | ★★☆☆☆ |
| 6 | Underlayment with attached vapor (sheeted) | Attached membrane with seam tape | Click/float laminate | ★★★★☆ |
| 7 | Glue-down compatible moisture system (often not “underlayment”) | Moisture barrier and adhesive-specific | Glue-down vinyl | ★★★☆☆ |
Prep the stained concrete: clean, level, and test
Prepping stained concrete correctly is the difference between a floor that feels solid and one that squeaks, clicks, or fails early. Underlayment can smooth minor variation, but it cannot compensate for major flatness issues or ongoing moisture.
Most warranty failures on concrete floors trace back to missing moisture testing and noncompliant surface preparation—not to the underlayment itself.
Under click/float floors, surface flatness is critical because movement concentrates at high/low spots through the locking system.
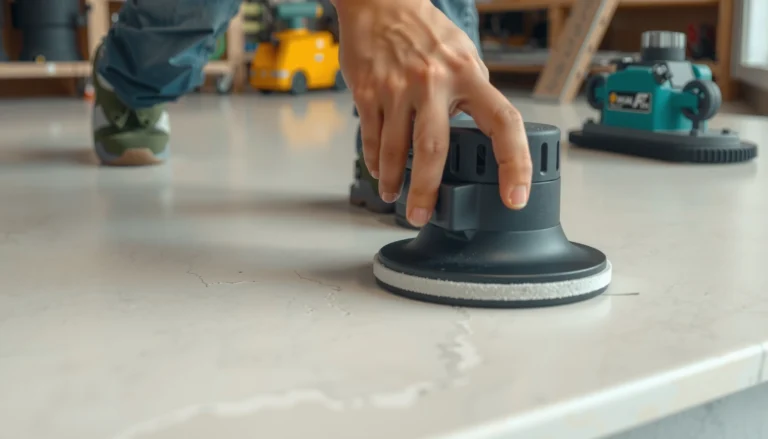
Clean: remove what prevents bonding and creates weak points
Start by cleaning the stained concrete the way a flooring system expects:
– Remove dust, paint overspray, drywall compound, and any loose residue.
– Sweep thoroughly, then vacuum with a shop vac and a nozzle that reaches corners and edges.
– If the stain sealer is tacky or chalky, address that before underlayment—an underlayment membrane can’t “fix” a contaminated surface.
Level: aim for “flat,” not “close”
When you install underlayment over stained concrete, you’re supporting a new surface. If the concrete is uneven:
– High spots can cause underlayment to bridge and create telegraphing ridges.
– Dips can lead to flexing, squeaks, and stress on click-lock joints.
In practice, you want a flat surface across the room—any tolerance and allowed variation should come from the finish-floor manufacturer’s installation instructions. If you don’t have a number, [ADD: exact flatness requirement from your flooring manufacturer’s spec for concrete subfloors].
Test moisture before you trap it
Moisture control is the heart of installing underlayment under stained concrete floors.
– Follow the underlayment and flooring manufacturer’s moisture requirements for concrete.
– Choose an approved test method (common methods include in-situ probe readings like RH testing or calcium chloride-style tests for moisture vapor emission rates).
– Record results and compare to the flooring system limits.
According to ASTM F2170, relative humidity (RH) testing is used to measure in-situ concrete moisture conditions for flooring applications. (ASTM standard referenced via ASTM F2170 documentation) If your underlayment/flooring requires a different method, follow that requirement.
[ADD: the specific moisture test method your flooring requires—e.g., ASTM F2170 RH probes vs. ASTM F1869—plus the exact allowable limit from the manufacturer.]
Plan the layout and install the moisture barrier (if needed)
The best layout plan prevents seam mistakes and keeps your vapor barrier continuous under stained concrete. If moisture protection is required, the barrier must be installed so overlaps, seams, and transitions are sealed exactly as the product directs.
Vapor barrier continuity matters: gaps at overlaps can turn a moisture system into a series of pathways under the underlayment.
Under concrete-to-floor assemblies, the seam tape specified by the underlayment or barrier manufacturer is often part of the performance system.
Dry lay first, then commit
Before cutting anything:
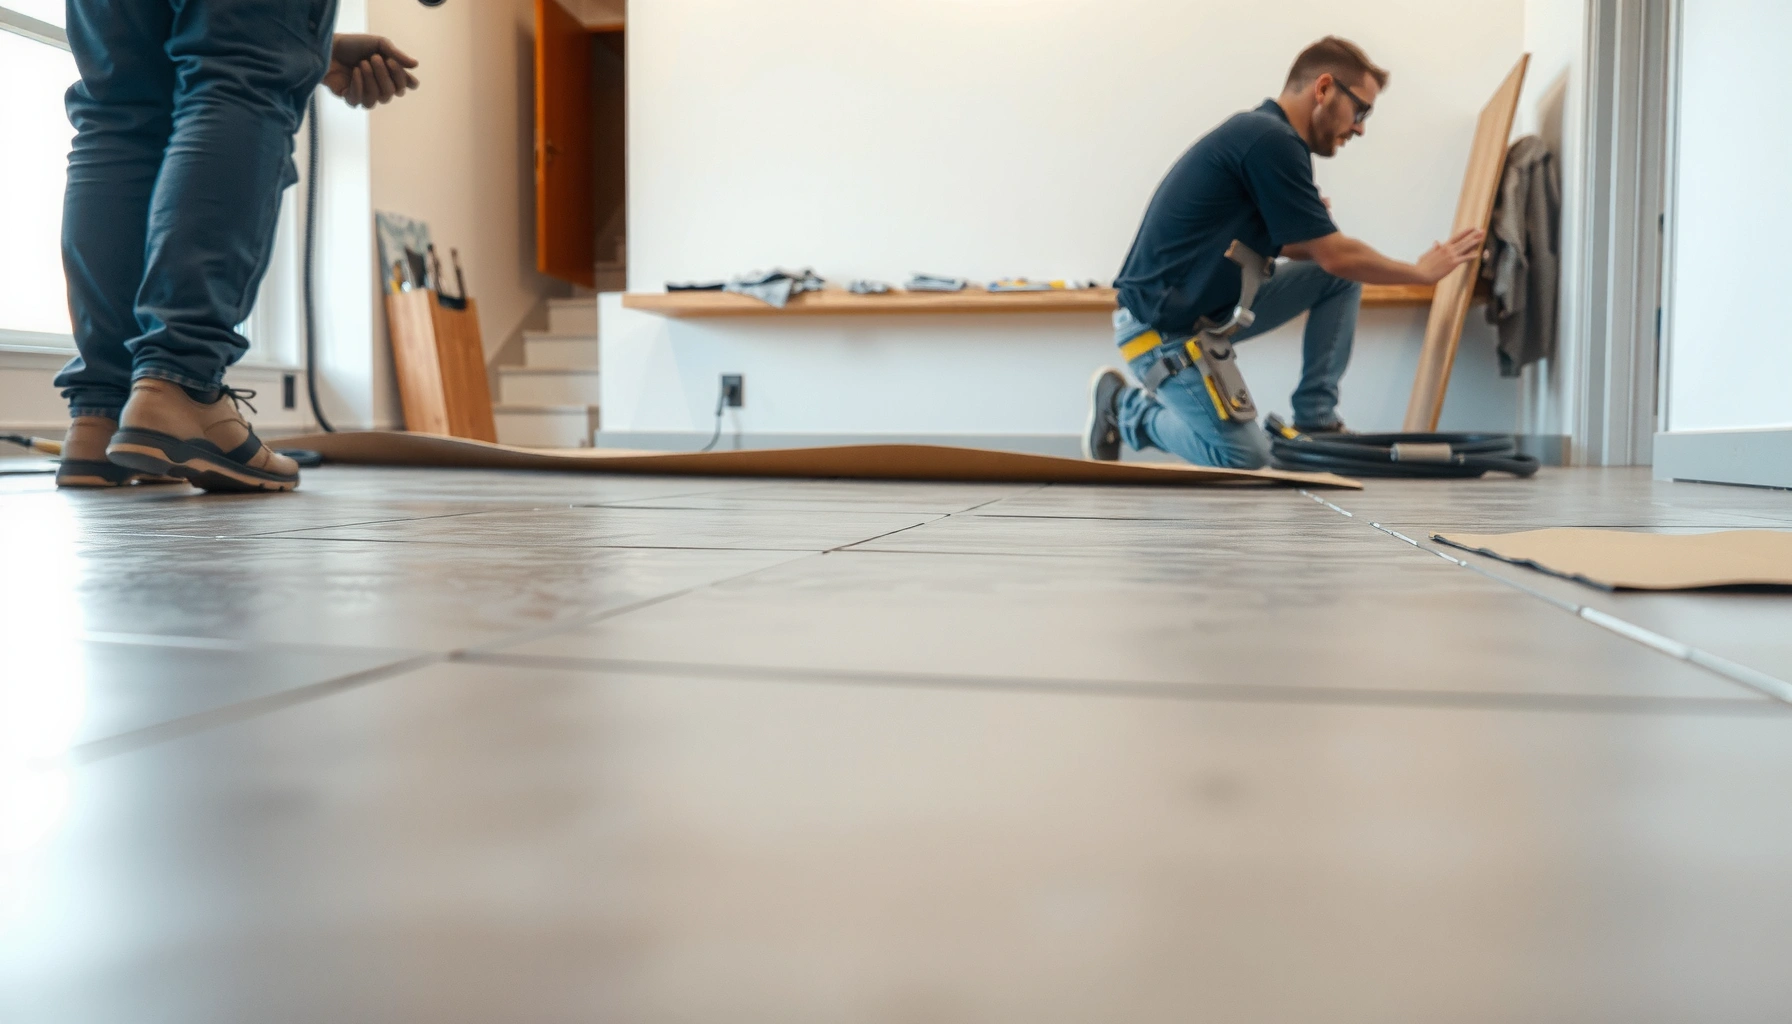
– Dry lay your underlayment and/or moisture barrier sections to see seam placement and how it flows around doorways and room geometry.
– Mark a start wall and direction so you minimize cross-room seams.
Stagger seams and overlap properly
For moisture barriers:
– Stagger joints so seams don’t line up across multiple courses.
– Overlap seams as required by the manufacturer (often with specific seam tape).
– Seal with the approved seam tape—don’t substitute generic tape unless the manufacturer explicitly allows it.
Trim neatly at edges and transitions
At doorways and where the floor meets walls:
– Keep cuts clean so you can maintain a consistent wall clearance later.
– Plan for trims at posts, bulkheads, or irregular openings rather than forcing a tight fit.
Install underlayment correctly: seams, fit, and movement
Proper underlayment installation over stained concrete is about flatness, seam control, and leaving the correct gaps for expansion. If you wrinkle a sheet, bridge a dip, or pinch it to the wall, you can create movement that shows up after the finish floor goes down.
Wrinkles in an underlayment membrane can telegraph through finished floors, especially with rigid click-lock planks.
Do not install underlayment tighter than the system allows at walls; pinched materials can buckle when the floor expands.
Lay in manageable sections
– Roll or sheet the underlayment in sections so you can keep it flat.
– Avoid wrinkles—if a piece won’t lay flat, replace it or refit it rather than forcing it.
Tape and secure seams per instructions
– Use the specified method (tape type, overlap width, and seam pattern).
– If the underlayment is “loose lay” but requires seam sealing, make sure you tape the seams even if you think they “seem fine.”
Maintain clearance at the perimeter
Expansion clearance protects the entire system:
– Leave the wall gap your finish-floor manufacturer specifies (commonly accomplished using spacers).
– Don’t “pack” underlayment under baseboards or tight trim lines.
Add the finish flooring on top (what to watch for)
The success of stained concrete + underlayment depends on installing the finish flooring exactly as the manufacturer specifies. Underlayment isn’t one-size-fits-all—click/float, glue-down, and fastened systems can require different underlayment configurations.
Click/float floors rely on controlled movement; the underlayment thickness and compliance must stay within the flooring system’s design limits.
Glue-down installations often have stricter moisture and surface requirements than floating floors, and underlayment strategies may differ.
Match the installation method to the underlayment
– Click/float laminate or engineered: Follow lock-joint installation steps and keep planks square to reduce stress on the locking mechanism.
– Glue-down vinyl: Confirm whether your “underlayment” is actually a compatible moisture barrier system; some adhesives require specific subfloor preparation.
Acclimate and respect installation conditions
If your finish floor includes wood content:
– Acclimate according to the manufacturer’s schedule and environmental ranges.
– Keep temperature and relative humidity within allowable ranges during installation and for service life.
Watch thresholds and door heights
Underlayment thickness changes finished-floor height at transitions. Re-check:
– Door clearance
– Thresholds
– Stair transitions (if applicable)
[ADD: your flooring’s allowable underlayment thickness range and any transition height guidance.]
What can go wrong (and how to avoid it)
Most problems underlayment can cause are either moisture-related or caused by poor flatness and seam execution. Fixing these issues after the finish floor is installed is expensive, so you want to prevent them during the stained concrete prep and underlayment steps.
Common failure modes
Prospective issues and how to avoid them:
– Moisture trapped under layers: If stained concrete has ongoing moisture and your underlayment system isn’t rated, you can see odor, mold risk, or floor failure—test first.
– Unlevel concrete causing squeaks/buckling: Underlayment won’t correct major dips or ridges; address them before installation.
– Wrong seam method: Poor overlaps or incorrect tape can reduce vapor barrier performance.
– Too much thickness: Excess thickness can interfere with click-lock engagement or create improper height at transitions.
Quick comparison: which problem is most likely?
| Issue | What you’ll notice | Typical root cause | Prevention step |
|---|---|---|---|
| Moisture-related | Odor, damp feel, spotting | Missing moisture test or incompatible barrier | Use required test + approved vapor system |
| Squeaks/peaking | Squeaks underfoot, joints flex | High/low spots not corrected | Flatten before underlayment installation |
| Seam leaks | Vapor film seams lifting | Wrong tape or insufficient overlap | Tape/overlap exactly per manufacturer instructions |
| Buckling | Raised edges near walls | Underlayment pinched at perimeter | Maintain required expansion gaps |
Verdict: when this DIY approach makes sense
Installing underlayment under stained concrete is a solid DIY project if you (1) confirm the right underlayment for your specific finish flooring, (2) prep the surface thoroughly, and (3) handle moisture testing and seam sealing correctly. The downside is that moisture issues aren’t always obvious, and small mistakes (wrinkles, bad seams, uneven concrete) can show up as squeaks, movement, or premature wear.
Skip or get professional help if you have significant cracking, efflorescence, persistent dampness, or results that don’t meet the flooring/underlayment moisture requirements. In those cases, underlayment alone may not solve the underlying problem—[ADD: source/installer guidance for moisture remediation and system selection if needed].
Quick checklist (scan before you start)
– [ ] Confirm underlayment is compatible with stained concrete and your finish flooring type
– [ ] Clean and remove high spots; address uneven areas before underlayment
– [ ] Test moisture and follow the allowable limits from underlayment/finish instructions
– [ ] Install vapor barrier (if required) with proper overlap and seam tape
– [ ] Lay underlayment flat; stagger seams; tape/secure seams per instructions
– [ ] Maintain expansion gaps at walls and transitions
– [ ] Install the finish floor using its exact method and acclimation requirements
FAQ
Do I need underlayment under stained concrete floors?
Often yes for comfort and sound control, but whether you must use it depends on your finish flooring’s installation instructions and moisture/vapor requirements for concrete.
Can I install underlayment over stained concrete right away?
You should only proceed after the surface is clean, stable, and appropriately level—and after you’ve confirmed moisture requirements. If the concrete is dusty, uneven, or has moisture concerns, fix those first.
What’s the biggest mistake people make with underlayment over concrete?
Trapping moisture by skipping testing or using an underlayment system that doesn’t match the concrete’s moisture conditions, plus poor seam sealing.
Does thicker underlayment help cover uneven concrete?
No—underlayment generally shouldn’t be treated as leveling. If the concrete is significantly uneven, correct the surface or you risk movement and floor performance problems.
Should I overlap seams on the underlayment or moisture barrier?
Follow the product instructions for overlaps and seam sealing. If the instructions are unclear, use the manufacturer’s approved method (or [ADD: contact/technical support reference]).
Sources
– Manufacturer installation instructions for your underlayment product (rated use over concrete, seam/tape requirements, and moisture/vapor guidance).
– Manufacturer installation instructions for your finish flooring (requirements for underlayment thickness, surface flatness, acclimation, and moisture limits).
– ASTM F2170 (RH in-situ moisture testing method used in flooring moisture assessments).
– ASTM E1745 (underlayment material characterization used in technical performance discussions).
– [ADD: source for concrete moisture testing method and allowable guidance, e.g., the testing standard or a specific manufacturer technical bulletin, if you have one.]
[ADD: If you tell me your finish flooring type (laminate, vinyl, engineered wood, etc.) and underlayment brand/model, I can tailor the seam/vapor steps to match the exact instructions you’re working from.]
Installing underlayment under stained concrete floors works best when you treat it as a complete system: moisture control first, correct flatness prep, properly sealed seams, and finish-floor installation that matches the flooring’s method. If you follow the compatibility and moisture requirements in the underlayment and flooring documentation, you’ll get the smoother feel and quieter, more comfortable underfoot performance you’re aiming for—without risking early failures from preventable mistakes.
Frequently Asked Questions
What underlayment is best for stained concrete floors to prevent moisture and improve comfort?
For stained concrete, look for an underlayment system that includes moisture protection and a compatible top layer for your flooring type (laminate, engineered wood, or vinyl). In many cases, a moisture barrier like a 6-mil polyethylene sheet or a combined underlayment with built-in vapor barrier is recommended, especially on slabs that may hold humidity. Choose an option with good sound reduction if you’re installing over a busy room or upper level, and make sure it’s labeled safe for use over concrete with stains or coatings.
How do I prepare a stained concrete floor before installing underlayment?
Start by thoroughly cleaning the slab—remove dust, paint overspray, loose residue, and any high spots—because debris can prevent underlayment from laying flat. Check for moisture issues using a concrete moisture test, and verify the stained surface is fully cured and stable before installation. If the concrete has cracks or leveling problems, address them with an appropriate patch or self-leveling compound so the underlayment doesn’t telegraph imperfections.
How do I install underlayment under a stained concrete floor without damaging the stain?
Installing underlayment generally won’t harm the stain if the slab is clean and you avoid aggressive grinding or chemical stripping that could affect the finish. Roll out the underlayment or vapor barrier over the stained concrete without stretching it, and tape seams according to the manufacturer’s instructions. Keep materials flat and evenly supported, and don’t allow fasteners or adhesive to penetrate the concrete unless the product specifically calls for it.
Which underlayment thickness should I choose over stained concrete?
Underlayment thickness affects comfort and how well the flooring locks together, so stay within the manufacturer’s recommended range for your specific floor type. Thicker padding can reduce sound but may increase the risk of joint separation if your laminate or click-lock system isn’t designed for it. If you’re working with uneven stained concrete, prioritize flattening the slab first—then select an underlayment that provides stability rather than excessive cushioning.
Why is a moisture barrier important when installing underlayment on stained concrete?
Concrete moisture can cause mold, mildew, odor, and floor movement, which can lead to buckling or separation in floating floors. Even if your stained concrete looks dry, humidity can migrate over time, making vapor control a key part of the underlayment installation. Using a proper concrete moisture barrier and sealing seams helps protect your flooring system and preserves the long-term performance of the installed materials.
📅 Last Updated: October 10, 2026 | Topic: How to install underlayment under stained concrete floors? | Content verified for accuracy and freshness.
References
- Google Scholar Google Scholar
https://scholar.google.com/scholar?q=underlayment+over+concrete+floor+moisture+barrier - Google Scholar Google Scholar
https://scholar.google.com/scholar?q=stained+concrete+floor+underlayment+installation+vapor+barrier - Google Scholar Google Scholar
https://scholar.google.com/scholar?q=vinyl+plank+floating+floor+underlayment+over+concrete+slab+moisture - Underlayment
https://en.wikipedia.org/wiki/Underlayment - Vapor barrier
https://en.wikipedia.org/wiki/Vapor_barrier - Concrete
https://en.wikipedia.org/wiki/Concrete - https://www.epa.gov/mold/moisture-control-home
- https://www.epa.gov/indoor-air-quality-iaq/mold-prevention
- https://www.cdc.gov/mold/default.htm
- https://www.fda.gov/medical-devices/glossary-medical-device-terms/vapor-barrier