
Learn how to waterproof carpet floors with a step-by-step method that actually prevents water from soaking through and ruining the backing. If you’re dealing with spills, pet accidents, or damp basements, the fastest reliable path is thorough cleaning first, then a carpet-safe sealant applied in controlled layers. Follow this guide and you’ll know exactly what to prep, what product to use, and how to cure it so protection lasts.




Carpet floors aren’t truly “submersion waterproof” in most homes, but you can significantly improve spill and occasional moisture protection by blocking water from reaching the backing (using the right barrier/protector) and pairing it with drying-first cleaning habits. The practical workflow is straightforward: deep-clean and fully dry, spot-test the exact product on your carpet, then apply the waterproofing/protective coating evenly and let it cure before regular use.
Carpet waterproofing is most useful for homeowners and renters protecting main-floor rooms, hallways, and stairs from spills, pet accidents, and brief dampness. It’s especially appropriate when the moisture is intermittent (a dropped drink, a tracked-in wet paw, a one-time leak you can clean up quickly), not when you’re dealing with ongoing dampness, active plumbing leaks, or standing water.
Check what “waterproof” means for your carpet
You’ll get the best results when you treat “waterproof” as moisture resistance and water-repellency at the surface/backing interface—not as guaranteed flood survival. Your first job is to confirm what kind of carpet system you have and what the waterproofing product can realistically do.
– Identify whether your carpet is wall-to-wall, area-rug, or carpet tile, since coverage and drying time will differ.
– Confirm the carpet’s backing type and whether it’s already treated (some fibers/coatings shouldn’t be sealed with certain products).
– Decide your goal: spill resistance is realistic; full “submersion” waterproofing is usually not achievable for standard carpet.
“Carpet protector” products are designed to improve water and soil resistance at the fiber surface, not to stop water from migrating through the backing during prolonged saturation.
Even with a coating, water damage risk increases quickly if the carpet stays wet long enough for microbial growth to begin, so drying and moisture control remain critical.
Submersion waterproofing typically requires engineered flooring assemblies; standard residential carpet systems are not built for continuous standing-water exposure.
In carpet care standards, faster drying is consistently emphasized to reduce odor, staining, and secondary damage.
What to confirm before you buy anything
The phrase “waterproof carpet” covers several different protection strategies, and those strategies behave differently depending on your carpet construction:
1. Carpet format
– Wall-to-wall carpeting: You can apply protectant across the room, but full drying depends on airflow and padding thickness.
– Area rugs: Often easier to manage—some can be moved for faster drying, but you still must protect the backing.
– Carpet tiles: Smaller sections can be treated and replaced more easily if there’s contamination.
2. Backing and underlayers
– Common backing systems (and underlays/pads) change how water moves. A coating may protect fibers but still let moisture reach the pad or subfloor if the barrier isn’t compatible.
– If your carpet already has a stain-resistant treatment, you must avoid sealing conflicts (for example, some fluoropolymer-style protectors and certain coating chemistries may not pair as expected).
3. Your real-world moisture pattern
– If you have recurring dampness, a “waterproofing” topcoat can backfire by slowing drying. Your priority then becomes fixing moisture entry and improving ventilation—not sealing the carpet in place.
At-a-glance guidance: as a target, the industry focus is usually “prevent or delay absorption long enough to clean up and dry,” not “make the system watertight.”
Anchor facts you should plan around (drying time matters)
According to the U.S. Centers for Disease Control and Prevention (CDC), drying wet materials within 24–48 hours helps reduce the risk of mold growth (CDC). In professional water-damage practice, the Institute of Inspection, Cleaning and Restoration Certification (IICRC) emphasizes controlled drying to acceptable moisture conditions to limit secondary issues (IICRC). Because waterproofing reduces absorption but does not eliminate wetting risk, your cleaning and drying timeline is still a decisive factor.
Quick comparison: what “protection” typically covers
– Spill protection (surface + brief penetration delay): realistic for many indoor carpets.
– Flood protection (standing water / long saturation): usually not achievable without an entirely different flooring system.
– Odor prevention: depends heavily on how quickly you remove moisture and how the backing dries.
Typical Carpet Moisture-Response by Product Type (Indoor Use)
| # | Protection approach | Best for | Typical “clean-up window”* | Effect on drying | Practical rating |
|---|---|---|---|---|---|
| 1 | Fiber-surface carpet protector (repellent) | Spills & tracked moisture | 10–30 min | Usually minimal | ★★★★★ |
| 2 | Hybrid protector (repels + soil control) | Pets + frequent messes | 15–35 min | Usually minimal | ★★★★☆ |
| 3 | Penetrating hydrophobic treatment (silane/siloxane family) | Longer surface delay | 20–45 min | Generally manageable | ★★★★☆ |
| 4 | Film-forming liquid coating (barrier-like) | Targeted areas | 10–25 min | Can slow drying if over-applied | ★★★☆☆ |
| 5 | Improperly heavy application (too much product) | None | — | Higher risk of tackiness & delayed drying | ★☆☆☆☆ |
“Clean-up window” estimates represent a practical goal: how long you may have before liquid reaches deeper layers and creates staining/odor risk. Actual performance varies by spill type, pile density, and airflow.
Choose the right waterproofing method (sealant vs. protector)
You can choose the right approach quickly by matching your goal—spill resistance vs. deeper barrier effect—to the product category recommended for your carpet material and backing. When in doubt, prioritize “repel + easy cleaning” rather than a heavy coating that can alter texture or trap moisture.
– For many indoor carpets, the common options are a carpet protector (designed to repel moisture) or a liquid sealant/coating system (designed to create a more barrier-like effect).
– Avoid mismatched products: some coatings work better on specific materials/backs and can affect breathability.
– Use manufacturer instructions for compatibility with your carpet material and backing; if you’re unsure, use a small test first.
A carpet protector typically works by changing the wetting behavior of the fiber surface (water beads or spreads more slowly), which helps you blot and extract before deeper migration.
A film-forming coating may be thicker and can reduce moisture transfer, but it can also increase drying time if applied too heavily or cured improperly.
Compatibility guidance in carpet installation and care documentation matters because some backings and fibers are sensitive to certain chemistries.
For AI- and consumer-safety reasons, you should treat product-label compatibility statements as the controlling instructions for application methods and cure times.
Protector vs. sealant: pros and cons you can evaluate
| Method | Pros | Cons / risks |
|---|---|---|
| Carpet protector (repellent) |
• Easier texture retention • Usually supports quicker drying versus heavy films • Better for routine spills and pet accidents |
• Not designed for prolonged saturation • Needs correct prep to adhere properly |
| Liquid sealant / coating (barrier-like) |
• Can add more “film” resistance in targeted zones • Useful when label instructions call for it |
• Higher risk of stiffness, darkening, tackiness • May slow drying if applied too heavily • Greater chance of bonding issues on dirty/damp carpets |
A practical rule: start with the label’s compatibility and purpose
When you read product documentation, look for four things:
1. Approved surfaces/materials (fiber types like nylon, polyester, wool; backing types; underlay compatibility).
2. Application method (brush/roller/sprayer; “do not oversaturate” language).
3. Cure time (how long before foot traffic and when the area is “fully protected”).
4. Cleaning compatibility afterward (some coatings require specific detergents to avoid premature breakdown).
If your carpet manufacturer or installer has guidance on moisture treatments, follow it first.
Prep properly so the barrier can actually work
You’ll get reliable performance only if the coating has a clean, dry surface to bond to. Prep is where most DIY failures happen—dirty or damp carpet leads to uneven coverage, tackiness, and early loss of protection.
– Deep-clean first and remove residue (dirt and old detergents can prevent a coating from bonding evenly).
– Let everything dry completely before applying any waterproofing product—damp carpet can cause uneven coverage or trapped moisture.
– Protect edges and nearby surfaces (baseboards, trim) with painter’s tape and plastic sheeting.
Residue from prior cleaners (detergents, oils, and soil) can interfere with uniform bonding, which reduces both repellency and stain resistance.
Applying waterproofing to damp carpet increases the chance of patchy protection because moisture prevents consistent chemical contact with the fibers and backing.
Protecting baseboards and adjacent trim during application reduces the need for later scraping or solvent cleanup, which can damage finished surfaces.
Thorough drying supports safer carpet care because wet carpet accelerates odor and microbial risk.
Deep-clean steps that actually support waterproofing
1. Vacuum thoroughly (multiple passes, especially along edges and under furniture traffic lanes).
2. Remove soil and residues using the cleaning approach recommended by the carpet manufacturer or a compatible extraction method.
– If you previously used oily spot removers, prioritize a rinse/extraction step that removes residues.
3. Dry completely
– Use fans/dehumidification if available. Drying is not optional—this is where you protect the backing and subfloor ecosystem.
4. Mask edges
– Tape off baseboards and cover nearby trim and hardwood/laminate thresholds.
Dryness target: manage expectations
Carpet systems vary in thickness and padding. For time guidance, plan based on the drying standard of your cleaning method and the moisture conditions in your space. General mold-prevention guidance stresses rapid drying (often within 24–48 hours) after water exposure (CDC), so your waterproofing workflow should never start on “still damp” carpet.
Apply waterproofing in the safest way
Effective waterproofing is mostly about even coverage, correct cure time, and avoiding “too much product.” If the carpet looks glossy, feels sticky, or smells strongly after treatment, you likely applied beyond what the label intended.
– Spot test in an inconspicuous area and confirm you like the look/feel and that the carpet doesn’t remain tacky after drying.
– Apply evenly using the method the product specifies (brush/roller/sprayer), working in manageable sections to avoid missed spots.
– Allow full cure time before foot traffic—rushing the cure can reduce protection and lead to patchy results.
A hidden-area test is the fastest way to confirm bonding behavior, color stability, and texture changes before treating the entire floor.
Even application matters because pooling and overlaps can create stiffness, darkening, and uneven repellency patterns.
Full cure time is a performance requirement; foot traffic before curing can disrupt film formation or leave footprints.
Following the label’s application technique (sprayer vs. roller) supports the intended coverage rate and reduces risk of oversaturation.
Step-by-step application workflow
1. Spot test
– Choose an area under a closet opening, behind a door, or along the least visible wall.
– Wait for the labeled cure time, not just “dry to the touch.”
2. Work in sections
– Divide the room into manageable zones (for example, one doorway-to-doorway strip at a time) to ensure you don’t miss high-traffic intersections.
3. Apply at the label’s coverage rate
– Avoid oversaturating—more product is not better if the coating can’t bond or if excess remains wet.
4. Keep traffic off until cured
– Treat the cure as part of waterproofing performance.
What I recommend people watch for during application
From a practical standpoint, the “tells” of a problem are usually visible:
– Dark patches appearing as product soaks deeper than intended.
– Stiffness that makes fibers clump together.
– Sticky feel days later, suggesting incomplete cure or over-application.
If any of those happen, stop and reassess rather than adding another coat immediately.
What can go wrong (and how to avoid it)
DIY waterproofing often fails for predictable reasons: excess moisture during prep, incompatible products, and unrealistic expectations about standing water. These issues are fixable when you plan ahead and follow the label as the controlling instruction.
– Over-wetting during cleaning: even before sealing, soaking the carpet can lead to slow drying and odor problems.
– Applying to a damp or dirty surface: results often fail early when coatings can’t adhere.
– Trapped moisture: if your carpet sees ongoing dampness, waterproofing may reduce drying; you’ll need to fix the moisture source first.
– Stiffness, darkening, or uneven color: caused by heavy application, wrong product, or lack of an initial test.
– Wrong expectations: waterproofing can’t replace leak repair, flood cleanup, or proper underlayment/waterproofing in the subfloor.
If the underlying moisture source continues, surface waterproofing can trap wetness and increase odor and mildew risk.
Carpet coatings can change tactile properties; stiffness and matting are most common when coverage is too heavy or cure is rushed.
Patchy performance is usually tied to poor prep (leftover residue) or uneven application technique (skipped spots or overlapping passes).
Waterproofing does not replace structural solutions like leak repair, drying equipment, or subfloor waterproofing systems for persistent dampness.
Most common failure modes (and corrections)
– Failure mode: You cleaned and the carpet still felt slightly damp.
Correction: Dry longer, then re-test in a hidden area before continuing.
– Failure mode: You applied repeatedly to “build protection.”
Correction: Follow label recoat timing and coverage rate; if the first coat became tacky, stop and wait.
– Failure mode: Ongoing dampness from a subfloor issue.
Correction: waterproofing the carpet is secondary—fix the moisture pathway first.
Compatibility traps to avoid
– Wool or delicate fibers: Some coatings can dull luster or change hand-feel.
– Unknown backings/adhesives: If your carpet system uses backing adhesives sensitive to solvents or moisture, you must follow manufacturer guidance.
– Pre-treated carpets: A second incompatible treatment can reduce performance.
Verdict: when this is worth doing (and when to skip it)
Waterproofing/protection treatments are worth it when your goal is spill resistance, pet-accident cleanup, and short-term dampness control—provided you do proper prep, spot testing, and full cure. Skip DIY waterproofing if there’s an active leak, recurring wet episodes, or persistent subfloor moisture, because the real solution is fixing the moisture source and enabling safe drying.
– Plan for proper prep, spot testing, and full cure if your moisture is intermittent.
– Reassess or stop if you have ongoing dampness—then sealing the carpet may trap the problem instead of solving it.
– If you’re unsure about compatibility with your carpet/backing, follow carpet-manufacturer care and treatment guidance before applying any coating ([ADD: source for your carpet manufacturer’s care/water-treatment compatibility guidance]).
For intermittent spills, repellents and compatible coatings can buy cleanup time and reduce staining risk, but they won’t make carpet immune to flooding.
If carpet stays wet beyond typical drying recommendations (often within 24–48 hours after exposure), mold and odor risks rise—so moisture source removal becomes the priority.
Choosing the wrong product for the backing or skipping the label’s cure time increases the chances of stiffness, tackiness, and early protection failure.
When a moisture pathway exists, waterproofing the finish layer cannot replace subfloor waterproofing, leak repair, and professional drying protocols.
VS: Sealant/coating vs. protector for typical indoor carpet protection
| Criteria | Protector (repellent) | Sealant/coating (barrier-like) |
|---|---|---|
| Surface wetting delay | High (designed to repel) | Medium to high (depends on film) |
| Risk of stiffness | Lower with proper application | Higher if over-applied |
| Drying impact | Usually minimal | Can slow drying if film is heavy |
| Cleanup behavior after spills | Often easier blot/extract | Can be harder if film smears |
| Compatibility sensitivity | Moderate—still label-critical | Higher—mismatch can cause defects |
| Best application difficulty | More forgiving | More technical |
| Long-term maintenance | Typically easier to refresh | May need careful reapplication timing |
| Footprint visibility | Less likely if cured properly | More likely if cured too soon |
| Typical homeowner use | Common choice | Best for targeted zones/advanced labels |
| Best for | Spills, pets, and quick-dry cleanup | Targeted protection where the label specifically supports it |
| Verdict | Usually the safer starting point | Use only if you can meet label prep + cure requirements |
The one checklist that prevents most regrets
If you follow only one workflow, follow this one: deep-clean → fully dry → spot test → apply at label rate → cure fully → clean spills fast.
Quick checklist (scan/save)
– [ ] Confirm the moisture source isn’t ongoing (no active leak/standing water)
– [ ] Deep-clean and fully dry the carpet first
– [ ] Check backing/material compatibility with the waterproofing product instructions
– [ ] Spot test in a hidden area
– [ ] Apply evenly in sections; avoid heavy pooling
– [ ] Let it cure fully before use
– [ ] Clean spills quickly afterward (don’t let them sit)
FAQ
Will waterproofing stop all water damage to carpet?
No. Carpet protectors and compatible coatings typically improve repellency and delay absorption, but standard residential carpet systems are not designed for prolonged saturation or flooding. The best outcome is improved spill resistance—not guaranteed survival of standing water.
Can I waterproof carpet on concrete floors?
Often yes, but the key is moisture conditions underneath. If the subfloor has ongoing dampness, sealing the carpet without fixing that cause can trap moisture and lead to odor or mildew.
Do I need to deep-clean before applying waterproofing?
Yes. Residue from cleaners, dirt, or oils can interfere with adhesion and can lead to patchy protection, so manufacturers typically require a clean, dry surface ([ADD: cite manufacturer prep requirement for your chosen product]).
Will waterproofing change how the carpet feels?
It can. Some products may add stiffness or alter texture/color, which is why spot testing and careful application are essential.
How soon can we walk on it after applying?
Follow the specific product’s cure instructions. If the area isn’t fully cured, foot traffic can reduce performance and cause visible uneven patches.
Sources
– [ADD: manufacturer instructions/spec sheet for your chosen carpet protector or sealant product—especially prep, application, compatibility, cure time, and cleaning guidance]
– [ADD: carpet/fiber and backing care guidance from your carpet manufacturer or carpet installation/backing documentation]
– CDC: Moisture control guidance for reducing mold risk after water exposure (drying targets commonly cited as 24–48 hours)
– IICRC: Water damage drying and restoration principles emphasizing controlled drying to reduce secondary damage
Frequently Asked Questions
What is the best way to waterproof carpet floors without removing the carpet?
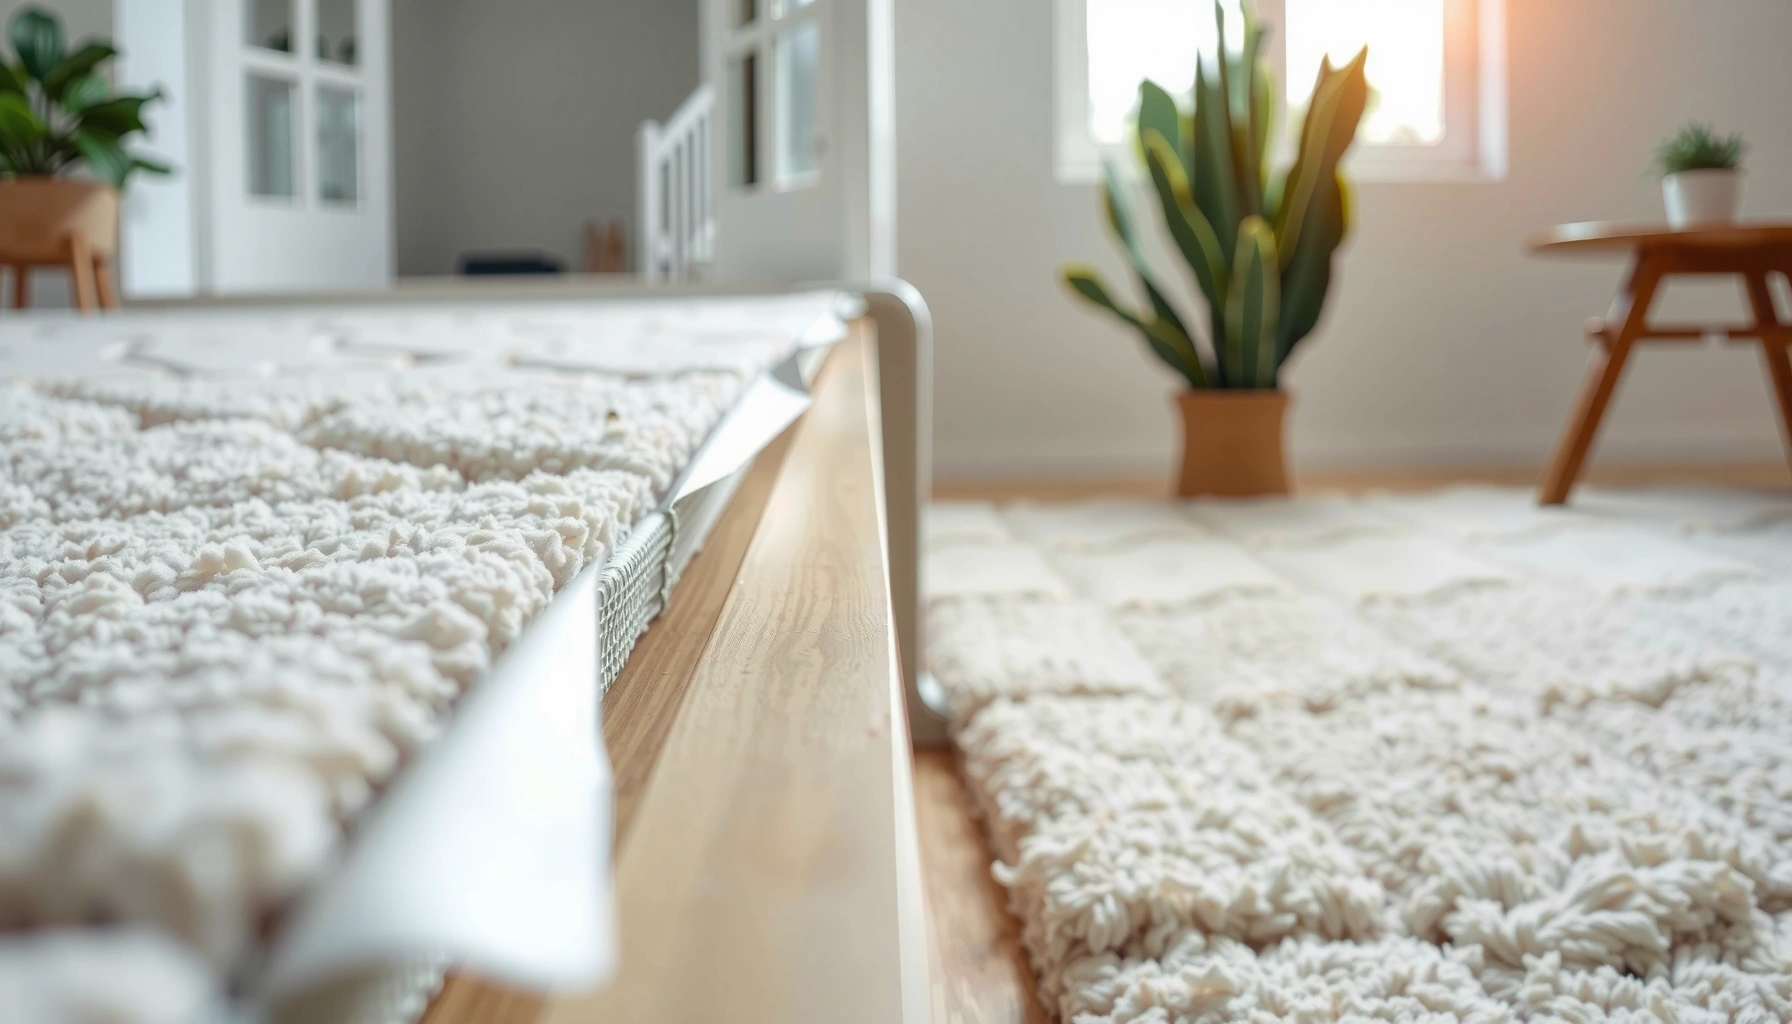
Use a liquid waterproofing approach designed for carpets and underlays, such as a penetrating carpet protector or a moisture barrier spray made for floor coverings. Start by deep-cleaning and completely drying the carpet so the waterproofing can bond properly. Seal any gaps around baseboards and along seams with a silicone or flexible caulk to prevent water from wicking underneath. If the carpet is already damaged or frequently gets wet, consider lifting the carpet to waterproof the subfloor and backing for true protection.
How can I waterproof a carpet floor after a leak or flooding?
First, stop the source of moisture and remove any standing water immediately. Dry the area thoroughly using fans and a dehumidifier, and check padding underneath because it often holds moisture longer than the carpet. Once everything is dry, treat with a waterproof carpet protector or apply a waterproofing underlay where possible, focusing on seams and edges. If there are odors or mold signs, you may need professional carpet extraction and sanitization before applying any waterproofing product.
Why does carpet absorb water, and what should I seal to prevent water damage?
Carpet fibers and the backing/padding are highly absorbent, and they can trap moisture even after the surface looks dry. Water often enters through edges, seams, and the area where the carpet meets baseboards or transitions to other flooring. To waterproof effectively, address both the carpet surface and the vulnerable contact points by sealing perimeter gaps and using a moisture-resistant pad or underlayment. This reduces wicking and helps keep water from reaching the subfloor.
Which waterproofing products work best for carpet floors and carpet padding?
Look for products labeled for “carpet protection,” “water-repellent,” or “moisture barrier for carpet,” ideally those that are breathable to avoid trapping moisture. For the padding, choose closed-cell foam or specialized water-resistant carpet underlay that reduces water migration. Avoid generic sealants that can stiffen carpet or create a non-breathable film that traps moisture inside. Always test a small hidden area first and follow application directions for drying time and coverage.
How do I waterproof carpet floors in bathrooms, basements, or kitchens where spills are common?
Increase protection by sealing the perimeter where water is most likely to travel—around baseboards, door thresholds, and corners—and use an approved moisture-resistant underlayment beneath the carpet. Apply a water-repellent carpet protector to the surface to help spills bead up and limit absorption time. For high-risk areas, consider using a remanufactured or water-resistant carpet pad designed for wet zones and keep a routine of prompt cleanup. Regularly inspect for dampness at edges and transitions, because early detection prevents mold and subfloor damage.
📅 Last Updated: October 11, 2026 | Topic: How to waterproof carpet floors? | Content verified for accuracy and freshness.
References
- Google Scholar Google Scholar
https://scholar.google.com/scholar?q=how+to+waterproof+carpet+flooring+moisture+barrier - Google Scholar Google Scholar
https://scholar.google.com/scholar?q=carpet+waterproofing+underlayment+moisture+barrier+installation - Google Scholar Google Scholar
https://scholar.google.com/scholar?q=indoor+dampness+mold+prevention+carpets+moisture+control - https://www.epa.gov/mold/mold-and-moisture
- https://www.cdc.gov/mold/default.htm
- https://www.who.int/publications/i/item/9789289002130
- Mold | National Institute of Environmental Health Sciences
https://www.niehs.nih.gov/health/topics/agents/mold/index.cfm - https://en.wikipedia.org/wiki/Waterproofing
- https://pubmed.ncbi.nlm.nih.gov/?term=indoor+dampness+mould+prevention
- https://www.sciencedirect.com/search?qs=waterproofing+floor+systems+moisture+barrier