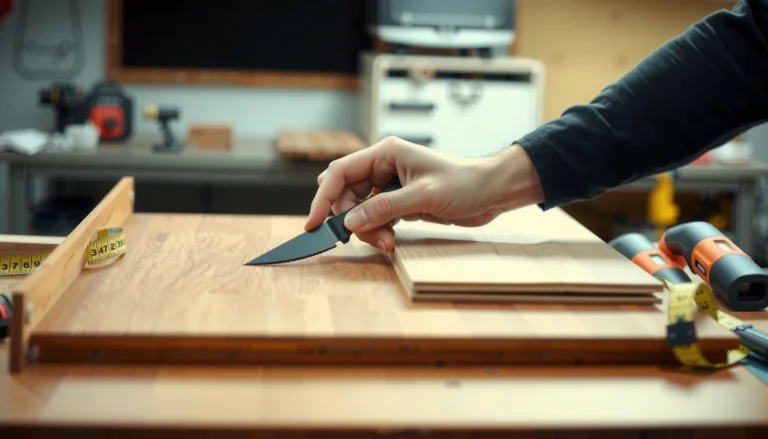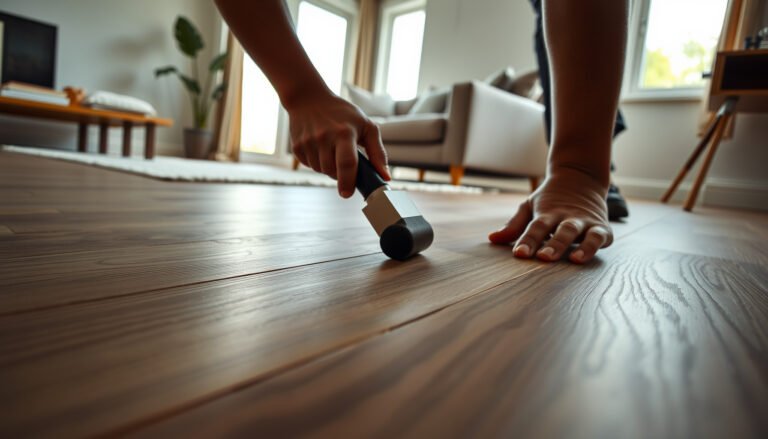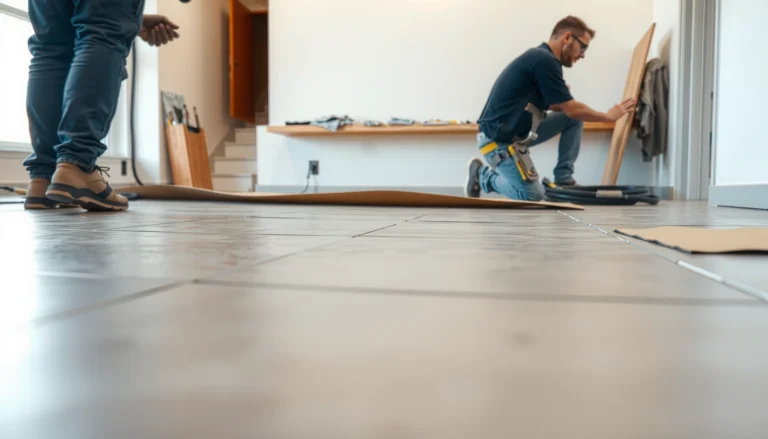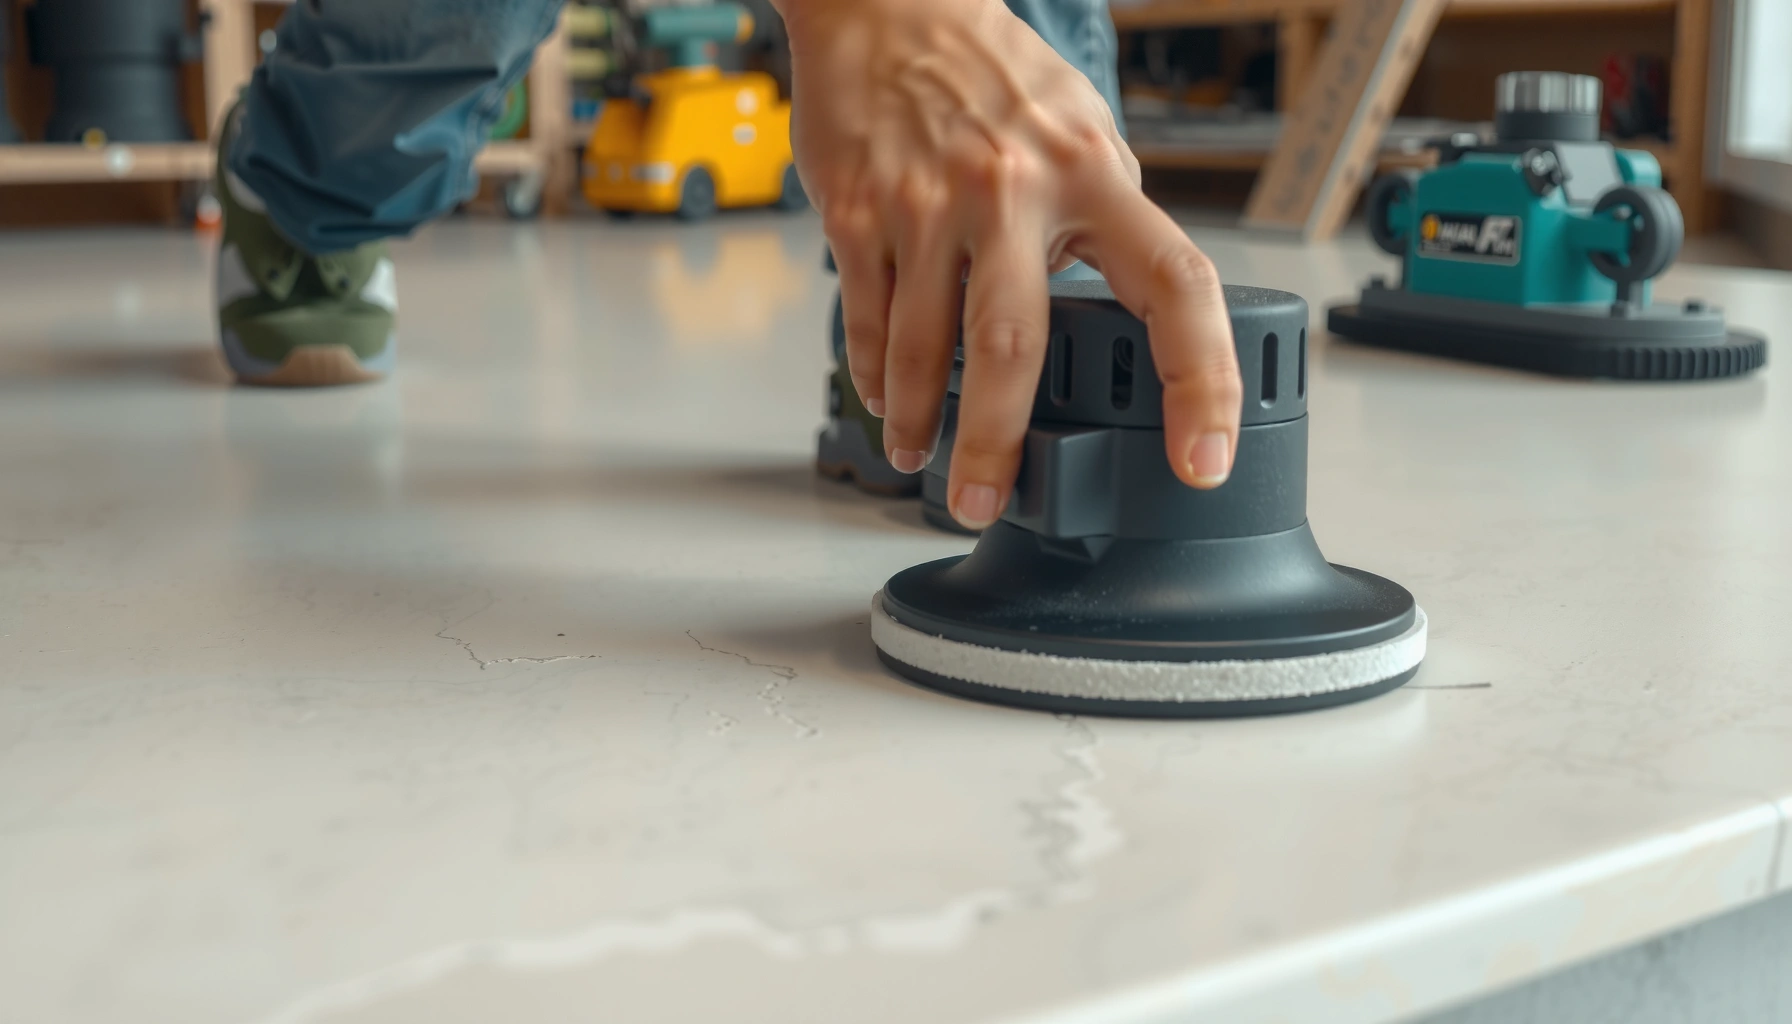

Want to know how to polish limestone floors and get a glassy finish? Follow this step-by-step process that starts with the right cleaning and burnishing, then moves through controlled grinding and honing before sealing for long-lasting shine. If you do it in the correct order and use the proper pads and compounds, you’ll avoid chalking, etching, and dull spots while bringing out the stone’s natural color.




Polish limestone floors by cleaning thoroughly, using the right honing/polishing pads in a deliberate progression, and sealing once you reach the finish you want. The biggest key is not skipping prep—grit and residue prevent consistent leveling and can leave a cloudy look even after polishing.
If your limestone floor is dull, scratched, or has a worn finish, this is for you—especially if you’re deciding between DIY polishing and hiring a pro. It also applies if you’re trying to restore shine without turning the surface tacky or uneven.
Assess Your Limestone Finish (and Why It Matters)
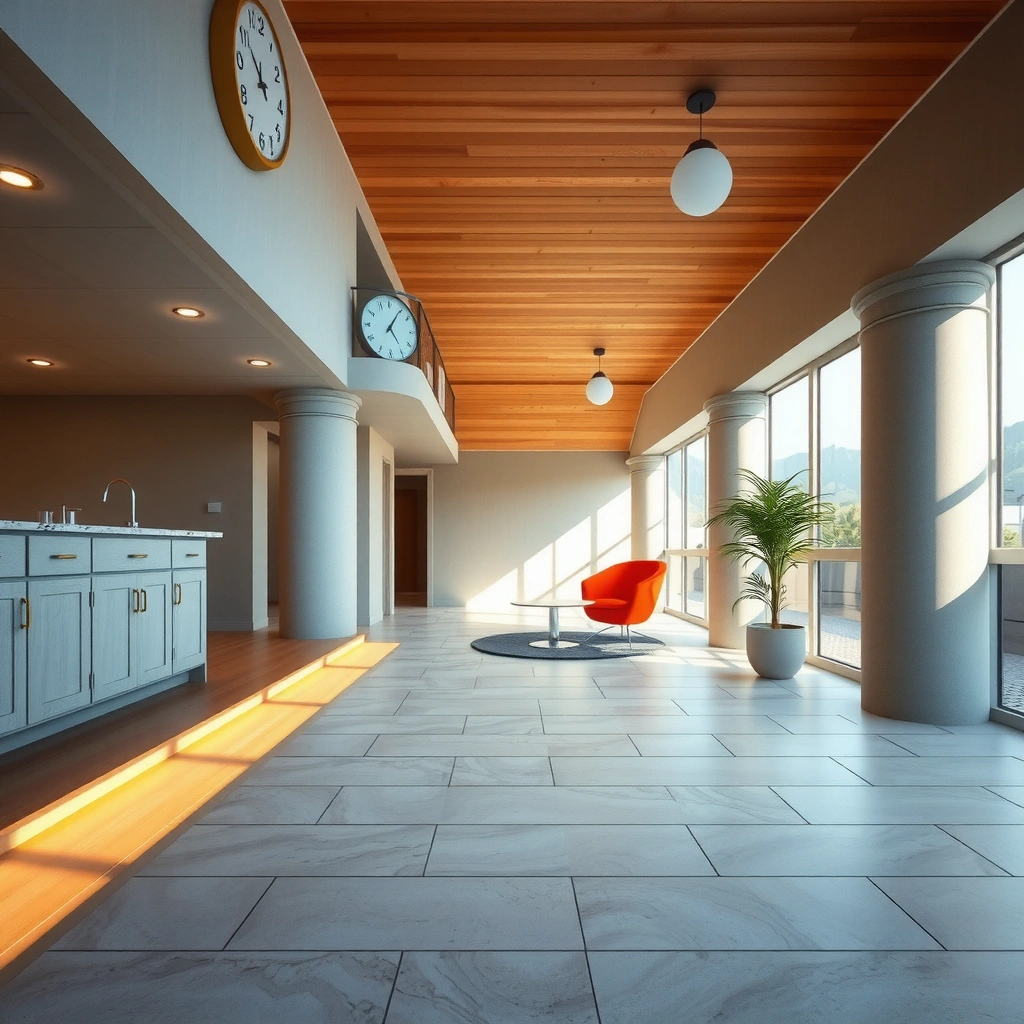
You get the best polish results by identifying the floor’s starting finish first—honed (matte), filled/treated, or already polished. That assessment determines whether you can “polish to shine” or whether you must level/repair first to avoid haze.
– Identify whether the stone is honed, matte, or already polished, because you’ll match your pad progression to that starting point.
– Check for etching, deep scratches, or loose grout/edges; those issues often need repair before polishing can look uniform.
– Confirm you’re working on true limestone (not marble or another calcite stone) since maintenance and products can differ.
Limestone is primarily calcium carbonate (calcite/aragonite family), and acidic exposure can etch the surface by dissolving carbonate minerals.
Calcite has a Mohs hardness of 3, which is soft enough that improper cleaners or abrasive debris can visibly damage or dull the finish.
A floor that has been etched or scratched needs controlled abrasion (honing/leveling) before polishing can produce an even sheen.
A practical way to assess finish type is to do a “dry light” check: wipe the floor clean, then shine a phone flashlight from a low angle across the surface. A honed limestone surface tends to scatter light softly; etched or contaminated areas “flash” dull clouds or irregular reflections. If your reflections look patchy, that’s usually a clue that either (1) surface contamination is present, (2) the floor has an uneven finish history (filled/impregnated areas), or (3) there are real surface depressions from prior damage.
Also, look at transitions—doorways, hearths, and along baseboards—because those areas tend to trap grit and old coating residue. If the floor is surrounded by loose grout or chipped stone edges, polishing equipment can magnify those problems by creating uneven wear patterns near the damaged boundaries.
Quick note on terminology
Etching is a chemical surface dulling (often from acidic products). Scratching is physical abrasion. Honing is controlled grinding/flattening to reduce surface irregularities, while polishing is finer abrasion to refine the optical finish.
Deep Clean and Remove Residue First
You polish limestone the way you sand a finish: starting with a truly clean surface. If wax, alkaline/neutral cleaners, grease, or previous coating residue remains, pads grind it into pores and the floor can look cloudy even after you reach a high-gloss pad.
– Strip dirt, wax, and buildup using a pH-appropriate cleaner recommended for limestone/calcite surfaces: residue will interfere with polishing.
– Rinse thoroughly (or follow the product’s directions) so the next steps don’t grind grime into the pores.
– Let the floor dry completely before you start abrading—polishing on moisture can smear contaminants.
Because limestone is carbonate-based, using the wrong cleaner chemistry can contribute to etching that polishing alone may not fully remove.
Residual wax, soap film, or sealer build-up can create haze by filling microscopic texture and interfering with pad action.
Starting with a dry, contamination-free surface improves pad performance and reduces the chance of creating “swirl” or patchy gloss.
Step-by-step deep cleaning approach (keep it boring and thorough):
1. Dry vac first: remove grit that could act like sandpaper when you start polishing.
2. Use a limestone-safe cleaner: choose a product explicitly labeled for natural stone and calcite/limestone use. Avoid acidic cleaners (even “light” bathroom acids) because etching shows up as permanent dull patches.
3. Work small sections: agitation is useful, but don’t let cleaner dry on the surface unless the label says so.
4. Rinse according to directions. With limestone, leaving residue behind is a common reason polish looks uneven.
5. Dry completely: if you’re using a wet polishing system, follow your machine/pad instructions, but don’t begin with standing moisture and dirty water.
According to the U.S. Geological Survey, calcite (the main mineral in limestone) has a Mohs hardness of 3—soft enough that embedded grit can leave micro-scratches during polishing if you don’t get the floor truly clean (USGS mineral hardness reference). That’s also why “spot-cleaning” a few visible spots often fails: the haze you see can be driven by residue everywhere the pad travels.
Hone to Level the Surface (Only If Needed)
You only hone first when the floor is uneven or damaged enough that polishing won’t “optically blend” it. If the limestone has etching, depth variation, or deep scratches, honing flattens high/low spots so later polishing can produce an even, consistent shine.
– If the floor is uneven or visibly scratched/etched, start with a honing step to flatten the surface before polishing.
– Use pads/grit progression (e.g., coarser to finer) rather than jumping straight to a high-gloss pad.
– Work in a consistent pattern and keep even pressure to avoid “swirl” bands or patchy shine.
For uneven or deeply damaged limestone, honing/leveling must happen before polishing to avoid permanent patchiness in the final gloss.
A controlled abrasive progression (coarser to finer) reduces micro-scratching that otherwise shows up as haze at higher grits.
Uneven pressure or long dwells in one area can create bands—what looks like “cloudiness” may actually be uneven surface refinement.
Here’s how to decide whether honing is necessary:
– Try the flashlight test again after cleaning. If the dull areas track with surface texture, honing is likely needed.
– If you can feel grooves with a fingernail (carefully), polishing alone won’t erase them—at best, it can polish around them.
– If etching is visible as “matte gray” clouds, honing can reduce the effect, but severe etching may require deeper restoration or professional assessment.
Honing workflow (conceptual, because exact equipment varies):
1. Select a coarse honing pad appropriate for your starting condition.
2. Work methodically in overlapping passes. Maintain consistent speed and avoid stopping mid-stroke.
3. Check progress frequently: wipe residue, then inspect the surface under low-angle light.
4. Move to finer pads only after the surface is level enough that the remaining flaws are within the resolution of polishing pads.
This is also where safety and equipment matter. If you don’t have a way to maintain consistent machine movement and pad contact, you’re more likely to create waves or banding that later polishing can’t fix.
Polish for Shine (Use the Proper Pad Sequence)
You polish limestone to refine the surface optics, not to “force gloss” onto damage. Once the floor is level, a structured sequence of finer pads progressively reduces haze until you reach the sheen you want.
– Switch to finer polishing pads once the surface looks level and the main damage is addressed.
– Keep the machine/pad handling consistent—pausing too long in one spot can create uneven gloss.
– Stop when you get the look you want; higher gloss doesn’t always mean better durability if the stone is still open/porous.
Polishing works by progressively reducing micro-scratches and haze created at earlier, coarser abrasive stages.
Stopping too late (or overworking one area) can magnify unevenness and create glossy bands due to localized surface wear.
Your target sheen should match your lifestyle and cleaning routine; high gloss can highlight imperfections and can require stricter maintenance.
Pad progression guidance (what “good” looks like)
Below is an example of a typical pad progression for limestone restoration. Exact pad systems vary by manufacturer and machine, so always follow the pad producer’s technical guidance.
Typical Limestone Polishing Pad Progression (Example Ranges)
| # | Stage (Pad Type) | Typical Grit (Example) | Best For | Shine/Clarity Impact |
|---|---|---|---|---|
| 1 | Coarse Honing | 50–100 | Flattening roughness | ★★★★☆ |
| 2 | Medium Honing | 150–220 | Removing deep scratch lines | ★★★★☆ |
| 3 | Fine Polishing | 320–500 | Reducing haze | ★★★★☆ |
| 4 | Very Fine | 800–1200 | Improving reflectivity | ★★★★★ |
| 5 | Burnishing/Polishing | 1500–2000 | Refining micro-surface | ★★★★★ |
| 6 | High Gloss | 2500–3000 | Maximizing sheen | ★★★★☆ |
| 7 | Finishing Pad / Soft Buff | Surface finish | Final clean-up | ★★★☆☆ |
A key observation when polishing limestone: if the stone is porous and not properly sealed afterward, the “look” can change with cleaning. That’s why polishing level and final sealing are connected steps, not independent ones.
Also, because limestone is relatively soft, embedded contaminants (even tiny grit) can create micro-marring. In practice, that means you should vacuum and wipe between pad stages—especially after switching grit ranges.
Seal After Polishing to Protect the New Finish
You seal limestone after polishing to reduce staining and to stabilize the look you created. Without sealing, even a well-polished limestone floor can dull faster and show more water/food marks in real use.
– After polishing, seal the limestone using a sealer intended for natural stone and follow the manufacturer’s application method (wipe-on vs. pour/spread).
– Allow full cure time per the product instructions before heavy traffic or wet cleaning.
– Plan on periodic resealing as recommended for your specific sealer and exposure level (kitchens, entries, bathrooms vary).
Polished limestone remains more vulnerable to staining if it is not sealed, because carbonate surfaces can be more absorbent than many harder stones.
Sealer systems for natural stone require strict cure times; using the floor too early can damage the finish and compromise protection.
Because limestone’s behavior varies by porosity and prior treatments, resealing intervals should follow the specific sealer manufacturer’s guidance.
Choose a sealer designed for limestone/natural stone—not a generic household protectant. Pay attention to:
– Sealer type (penetrating impregnator vs. film-forming): penetrating sealers often preserve the stone’s feel, while film-formers can change slip/resistance characteristics.
– Application method: wipe-on and broadcast methods both require even coverage, but they behave differently on varying porosity.
– Drying and cure: cure is not the same as “touch dry.” Cure affects real stain resistance.
According to carbonate stone chemistry guidance, acid can dissolve calcium carbonate when pH drops below neutral, which is why stone-care systems emphasize pH-aware maintenance ([ADD: source for limestone/calcite acid dissolution guidance or natural stone pH recommendations]). Sealing helps with staining and surface protection, but it doesn’t make limestone immune to acidic cleaners.
What Can Go Wrong (Common Mistakes to Avoid)
You can avoid most “mystery haze” by preventing contamination, using correct chemistry, and maintaining a consistent abrasion pattern. When results look worse after polishing, the cause is usually one of a handful of controllable failures.
– Polishing over embedded grit: it creates haze and can leave micro-scratches that don’t “disappear” at higher grits.
– Using the wrong chemicals: acidic cleaners can etch limestone (it may look worse even if you polish afterward).
– Skipping the seal: limestone can remain more prone to staining, and everyday cleaning can dull the finish faster.
– Overworking one area: staying too long in patches can leave shiny bands or an uneven appearance.
Polishing embedded grit typically produces persistent micro-scratches, because each higher grit stage can still be contaminated by the same debris.
If etching occurred from acidic cleaners, polishing may reduce the appearance but cannot reliably “undo” chemically altered surface chemistry without adequate leveling.
Inconsistent pad dwell and pressure can cause banding, where light reflects differently due to uneven surface refinement.
DIY vs. professional restoration: when each makes sense
Below is a simple decision map you can use before you rent equipment or schedule a contractor.
| Approach | Pros | Cons / Risks |
|---|---|---|
| DIY polishing | Lower cost; good for light dullness; controllable schedule | Higher chance of uneven sheen if pad progression or technique is inconsistent |
| Professional restoration | Better for widespread etching/scratches; correct equipment setup and system matching | Higher cost; results still depend on initial condition and prior coatings/treatments |
From a practical standpoint, the “cloudy limestone” symptom usually comes from either (1) leftover residue from cleaning or prior sealers and waxes, or (2) you polished after skipping the leveling/honing needed for true optical uniformity. If you see haze after the first polishing pad, don’t rush to higher gloss—go back to cleaning and confirm whether the surface is level.
Verdict / Tip: DIY Is Possible—But Know When to Skip
DIY limestone polishing can work if the damage is mostly surface dullness and you’re willing to follow a careful pad progression and sealing steps. Skip DIY (or at least get professional help) if you have widespread etching, deep cracking, major unevenness, or you’re unsure whether your floor is coated/treated—removing old coatings and choosing the right system can be tricky.
Here’s straightforward decision guidance based on your equipment availability and floor condition:
– You can DIY if: the floor is largely flat, scratches are shallow, and you can follow a measured pad progression without stopping mid-pass.
– Get pro help if: you detect deep etching clouds across many rooms, you have height variation that flashlight inspection clearly shows, or the floor has unknown coatings (common with previous “gloss enhancer” products).
– Don’t start if: you don’t have enough control to maintain consistent pad contact and you cannot keep contaminants out of the work zone.
DIY is most successful on limestone that is already level, where the primary issue is surface dullness rather than structural damage.
Professional restoration becomes necessary when etching and unevenness are widespread, because leveling and system matching determine the final optical quality.
If you cannot ensure consistent passes and pad progression, the risk of permanent banding increases even if you use finer pads later.
In terms of cost and time planning, polishing is rarely “one day to showroom shine.” Factor in cleaning, pad changes, and drying/cure time for sealing per the product instructions. If you have heavy traffic within 24 hours, you should rethink scheduling unless you can isolate the area correctly.
Quick Checklist (Scan/Save)
– [ ] Check finish type (honed vs. polished) and assess damage (etching vs. scratches)
– [ ] Deep clean to remove wax/film; rinse per product directions
– [ ] Hone only if needed to level visible scratches/unevenness
– [ ] Polish with progressively finer pads for your target sheen
– [ ] Seal with a natural-stone sealer and cure fully before use
FAQ
Can I polish limestone without sanding/honing?
Yes, but only if the floor is already fairly level and the issue is mostly light dullness. If there are scratches or uneven areas, you’ll usually need an abrading/honing step first.
What cleaners should I use after polishing limestone?
Use cleaners formulated for natural stone/limestone and follow the label. Avoid acidic products that can etch calcite stones.
Will polishing remove etching in limestone?
Minor etching can sometimes be reduced by honing/polishing, but deeper etching may require more aggressive leveling or restoration beyond a simple polish.
Do I need to reseal limestone after every polish?
Often, yes—especially if the seal was worn or removed during cleaning/abrasion. Use the sealer’s guidance for reapplication intervals.
Is a high-gloss finish always better?
Not necessarily. Higher gloss can show imperfections more clearly, and durability still depends on proper sealing and maintenance.
Sources
– U.S. Geological Survey (USGS): calcite mineral properties (including Mohs hardness)
– [ADD: Natural stone care guidance source for limestone/calcite pH sensitivity and etching mechanisms]
– [ADD: Manufacturer spec/technical guide for a limestone/natural-stone polishing system you plan to use (pad progression, sealing instructions)]
– [ADD: Sealer manufacturer application/cure-time instructions for the specific sealer product]
Limestone polishing succeeds when preparation drives the outcome: clean thoroughly, level only when needed, polish with a deliberate pad sequence, and seal to lock in the finish. If you have widespread etching, deep scratches, or unknown prior treatments, the risk of cloudy, uneven results rises—so it’s smarter to pause and match the plan to the floor’s real condition.
Frequently Asked Questions
How do I polish limestone floors without damaging the surface?
Start by sweeping and mopping with a pH-neutral cleaner to remove grit, which can scratch limestone during polishing. Test any polish or sealant in a small, hidden area first, because limestone is sensitive to acids and harsh chemicals. Use the correct pads and progress gradually from honing to polishing, never skipping grit steps. Finally, protect the finish with a compatible stone sealer to reduce staining and dulling.
What is the best way to polish limestone floors step-by-step?
Begin with deep cleaning to remove dirt and any old wax or sealant buildup, then repair chips and etch spots if needed. Hone the stone with progressively finer diamond pads (or limestone polishing powders) to level the surface, then polish with a dedicated marble/limestone polishing compound or pad. After you achieve the desired sheen, clean thoroughly to remove residue and apply a high-quality penetrating or floor-polish sealer recommended for limestone. Allow the sealer to cure fully before walking on the floor or applying heavy loads.
Which polishing compound or pad should I use for limestone?
For limestone polishing, use diamond polishing pads designed for natural stone, typically in a sequence that increases refinement (e.g., 400/800/1500/3000 grit equivalents depending on the system). Avoid abrasive powders meant for concrete unless they’re specifically rated for limestone, because aggressive compounds can create an uneven or matte look. Choose products labeled compatible with calcium carbonate stones and follow the manufacturer’s dwell time and buffing instructions for even results. If your goal is gloss, select a polishing system that matches your current sheen level rather than jumping directly to high-grit pads.
Why does my limestone look dull or etched after polishing?
Limestone is porous and can be etched by acidic cleaners (including vinegar and many descalers), leaving a cloudy or dull appearance even after polishing. Dullness can also come from residue left on the surface or from polishing over uneven spots without proper honing first. If the etching is light, careful leveling with the right diamond pad and thorough cleaning may help; for deeper etching, you may need additional honing or professional stone restoration. Always switch to pH-neutral cleaners going forward and use a proper sealer to reduce future dulling.
How often should I polish limestone floors, and how do I maintain the shine?
Many homeowners polish high-traffic limestone floors every 6–12 months, while lower-traffic areas may need less frequent polishing and more routine maintenance. For day-to-day care, use a pH-neutral stone cleaner, mop with clean water, and avoid acidic or alkaline harsh chemicals that can dull limestone. Use soft microfiber pads or non-scratch tools, and re-seal when water stops beading or the finish starts to lose protection. Regular cleaning and periodic polishing help maintain a consistent sheen without over-wearing the stone surface.
📅 Last Updated: October 09, 2026 | Topic: How to polish limestone floors? | Content verified for accuracy and freshness.
References
- Google Scholar Google Scholar
https://scholar.google.com/scholar?q=how+to+polish+limestone+floors - Google Scholar Google Scholar
https://scholar.google.com/scholar?q=limestone+floor+polishing+grinding+and+sealing - Google Scholar Google Scholar
https://scholar.google.com/scholar?q=natural+stone+floor+polishing+maintenance+limestone - Limestone
https://en.wikipedia.org/wiki/Limestone - Marble
https://en.wikipedia.org/wiki/Marble - Polishing
https://en.wikipedia.org/wiki/Polishing - https://en.wikipedia.org/wiki/Floor_polishing
- https://www.britannica.com/technology/polishing
- Tumble finishing
https://en.wikipedia.org/wiki/Stone_polishing - https://en.wikipedia.org/wiki/Grinding_(abrasive